The most advanced epoxy on the market.


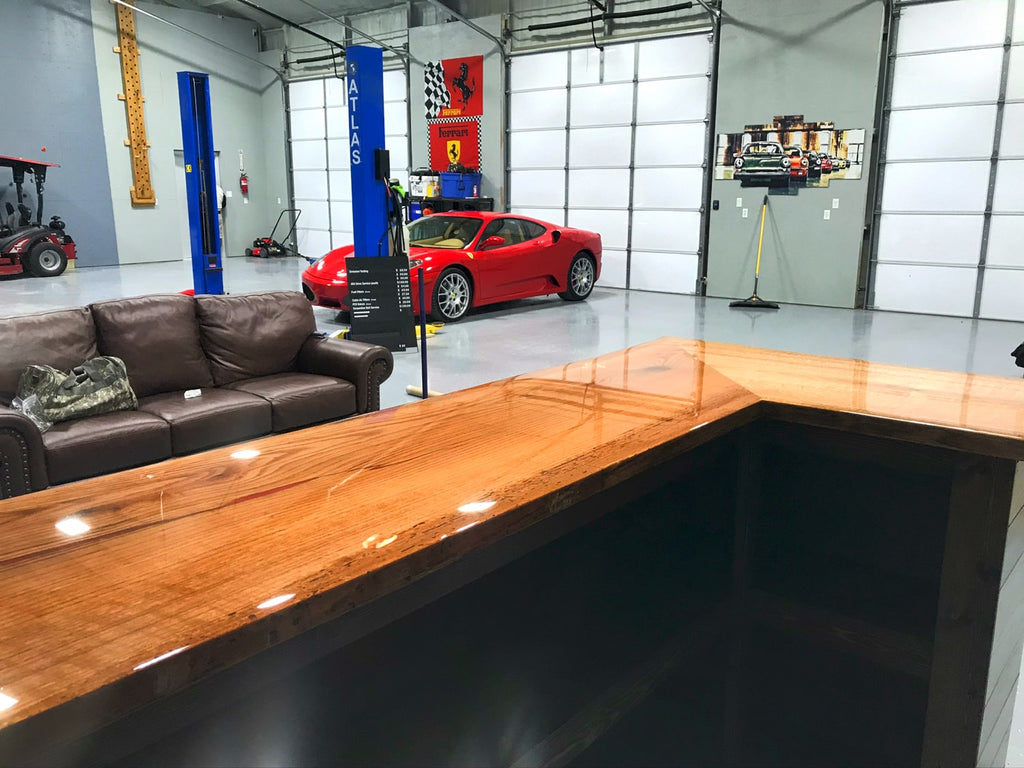
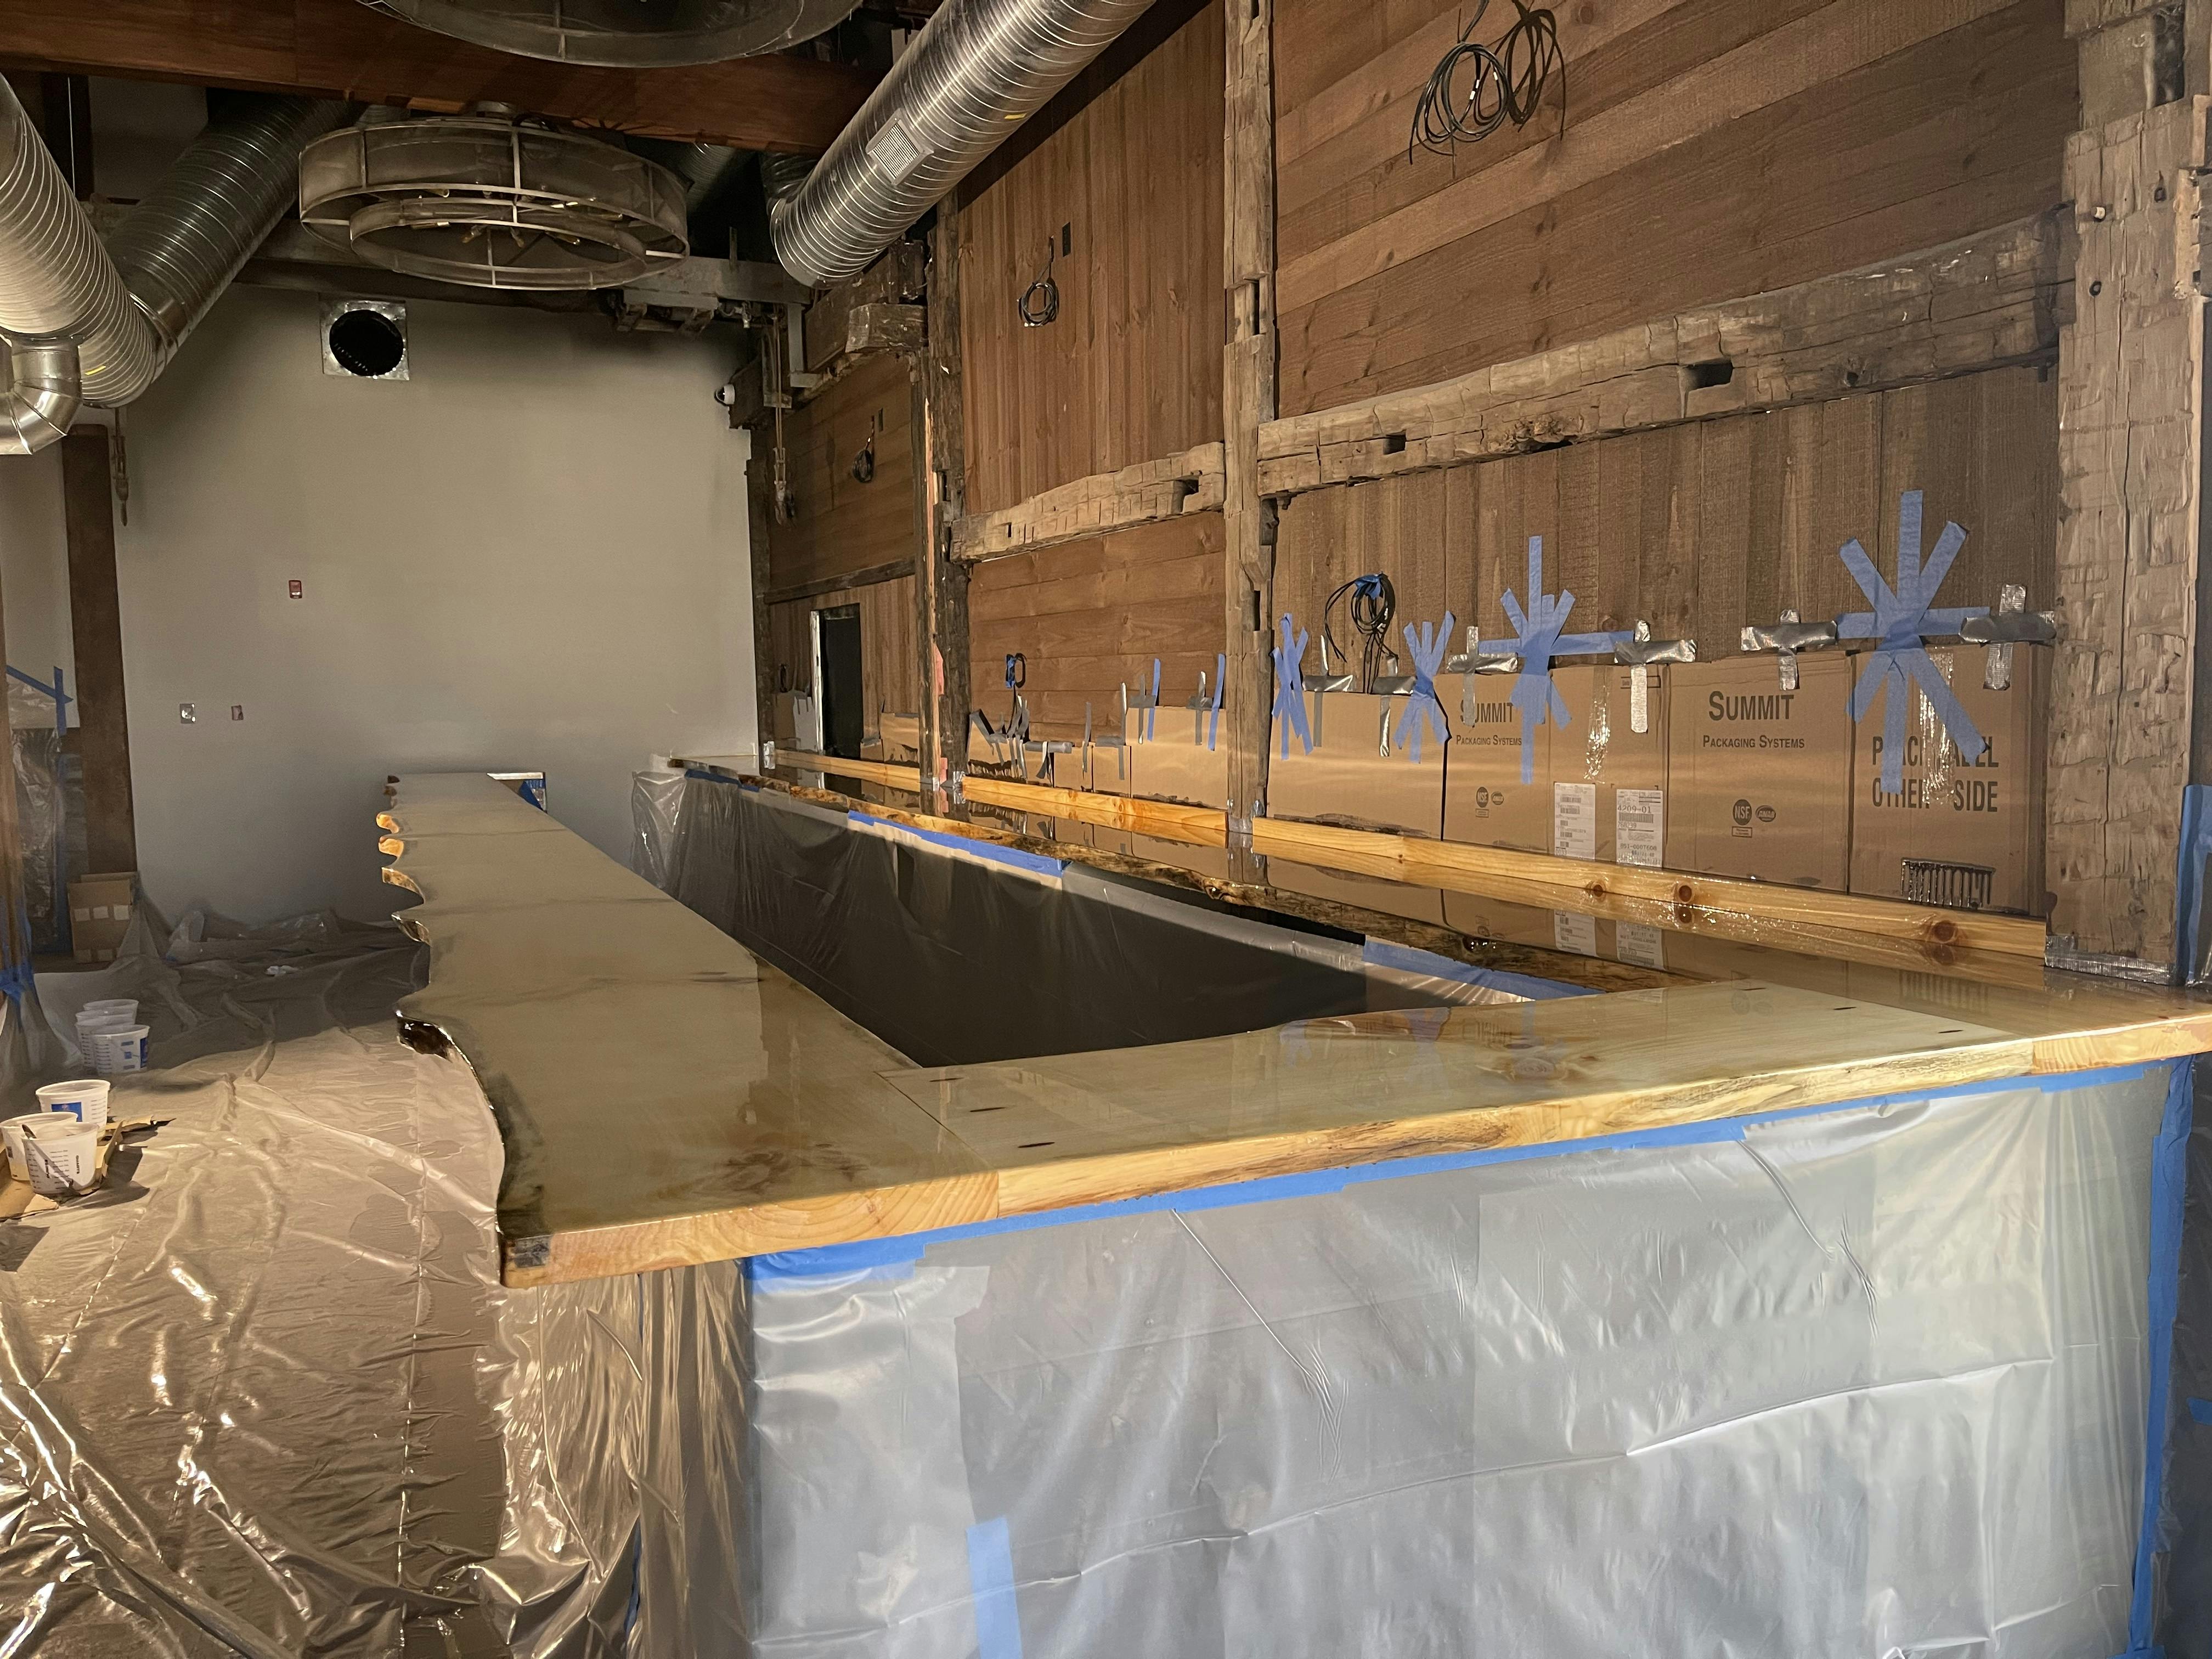
Engineered specifically for Bar Tops, Tabletops & Countertops.
Works on virtually any surface.
- Wood
- Concrete
- Granite
- Copper
- Ceramic
- Laminate
- Formica
- Quartz
- Bamboo
- Marble
- Porcelain
- Metal
- Corian
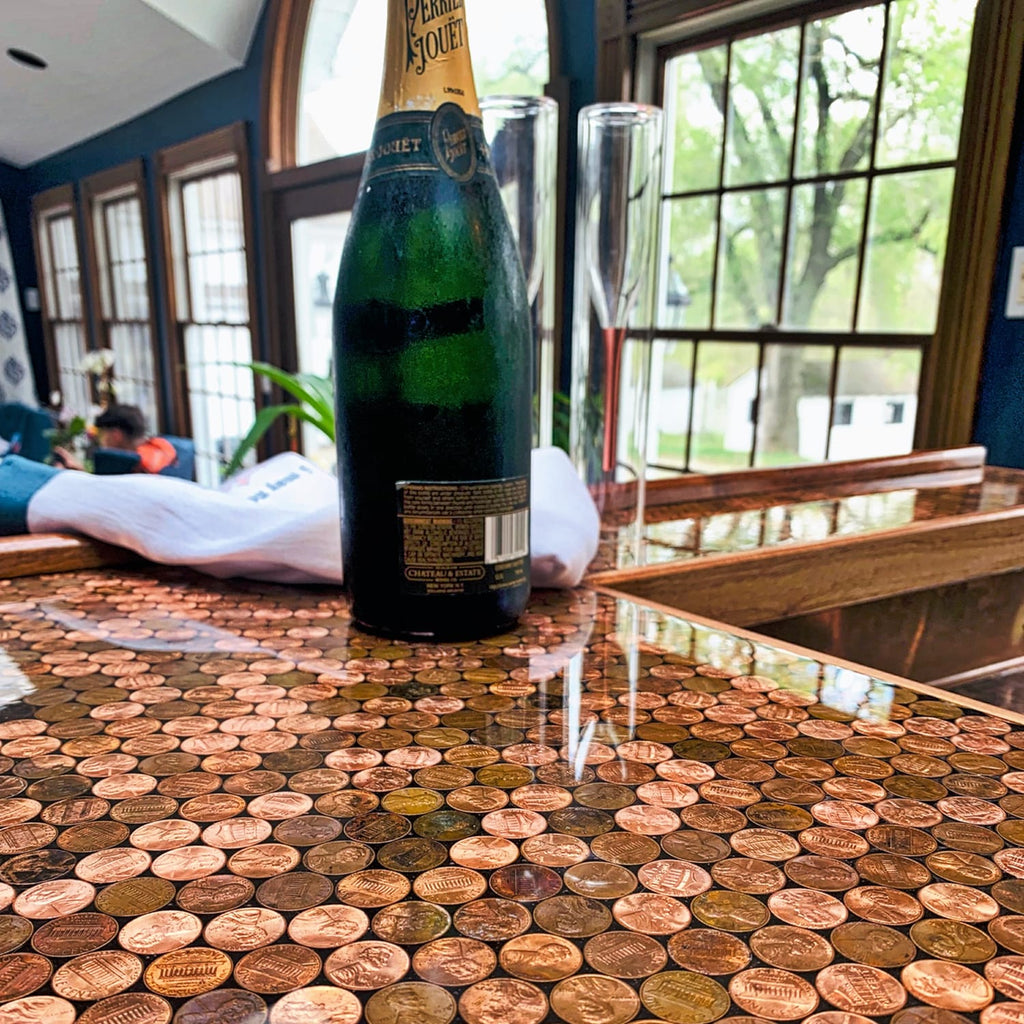
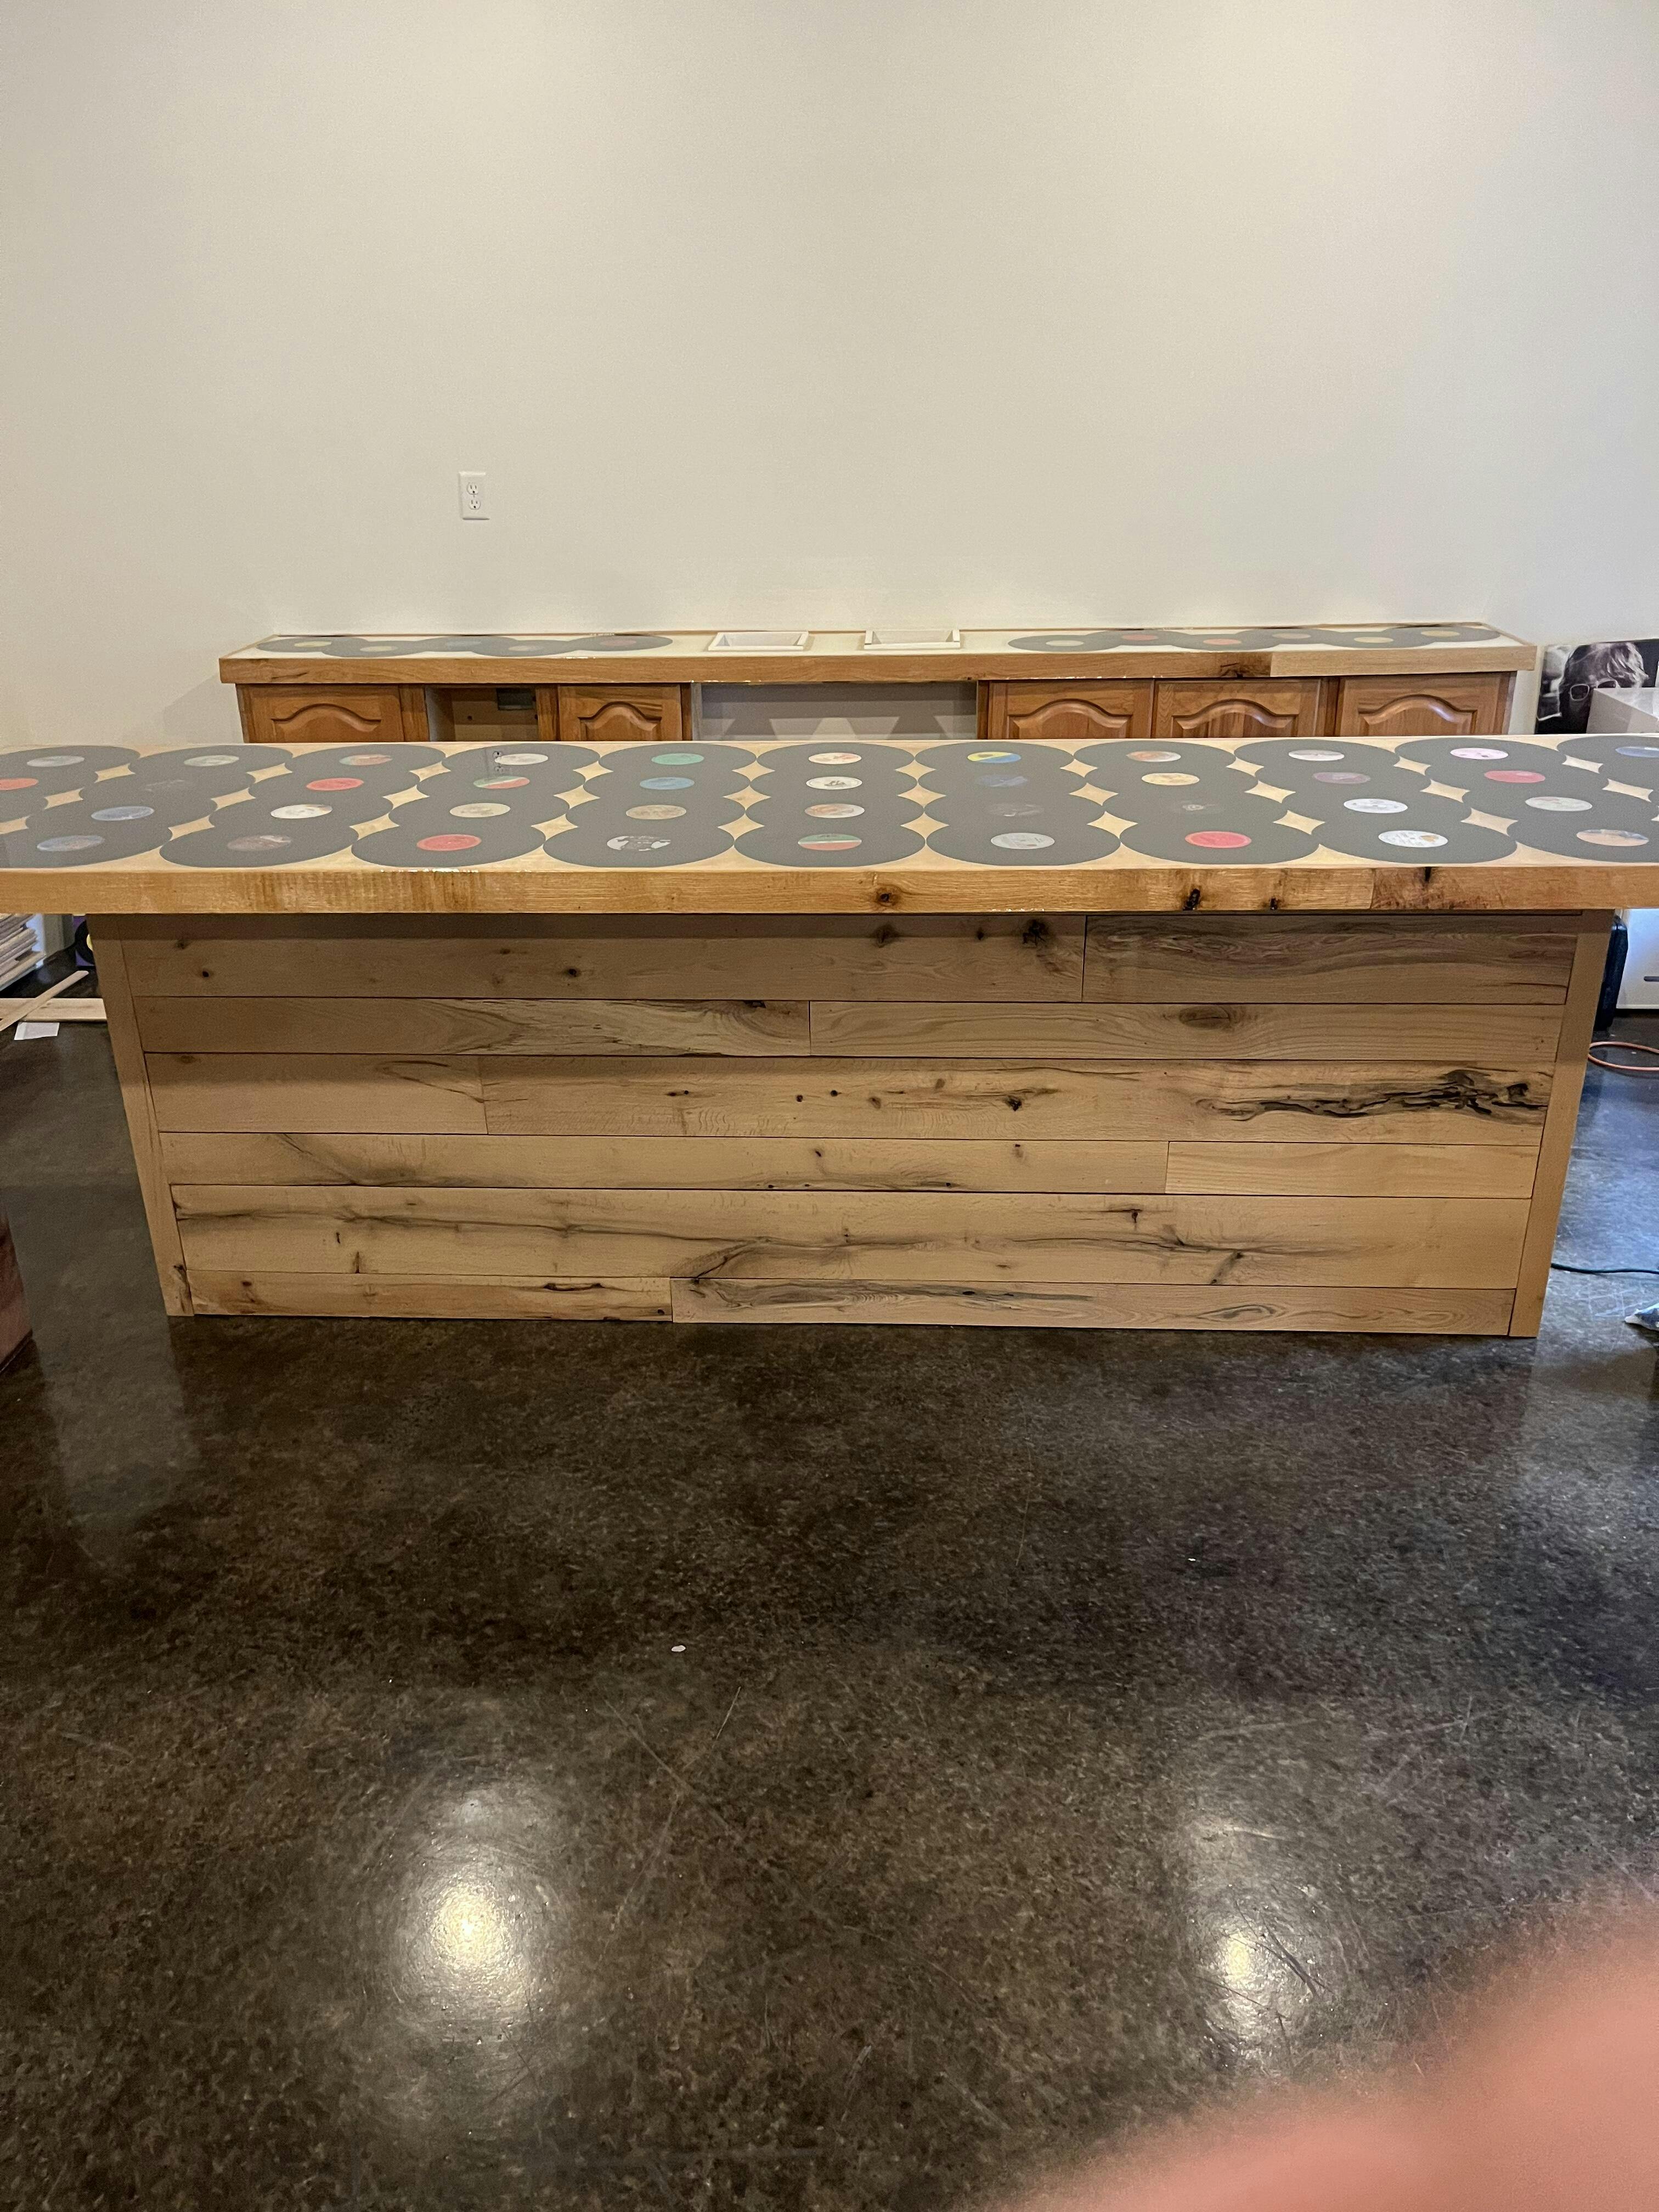
- Corks
- Pennies
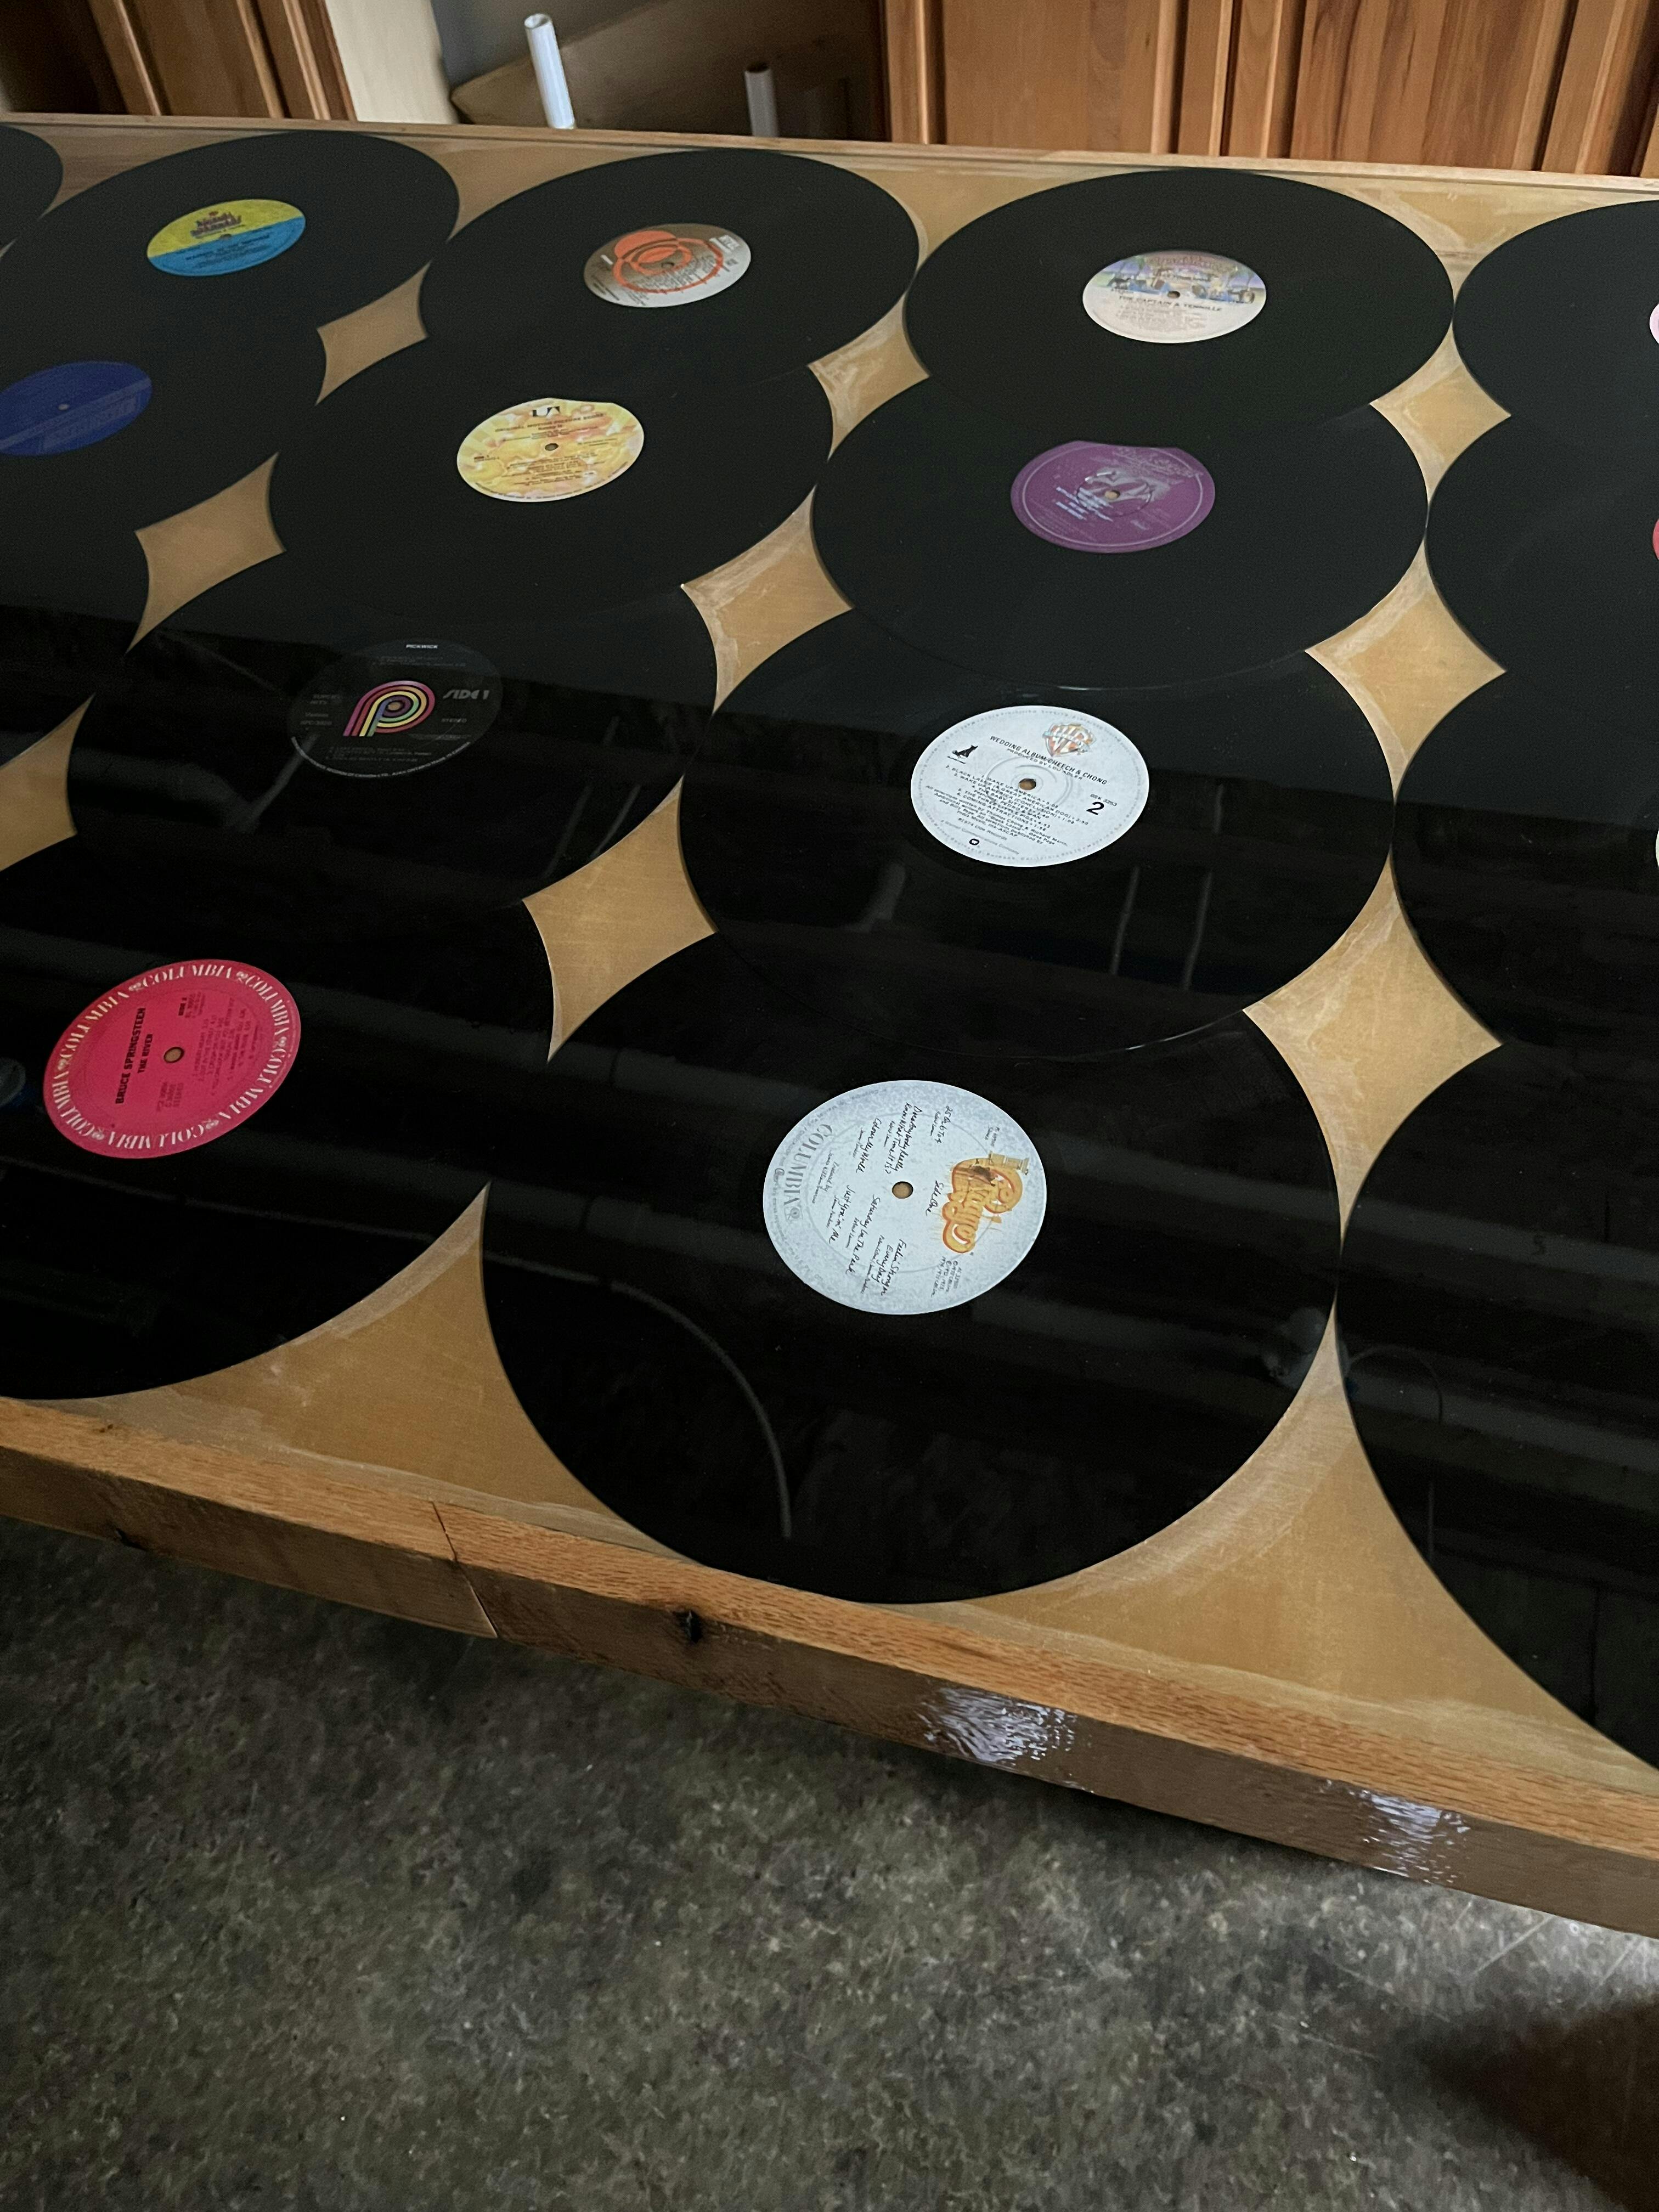
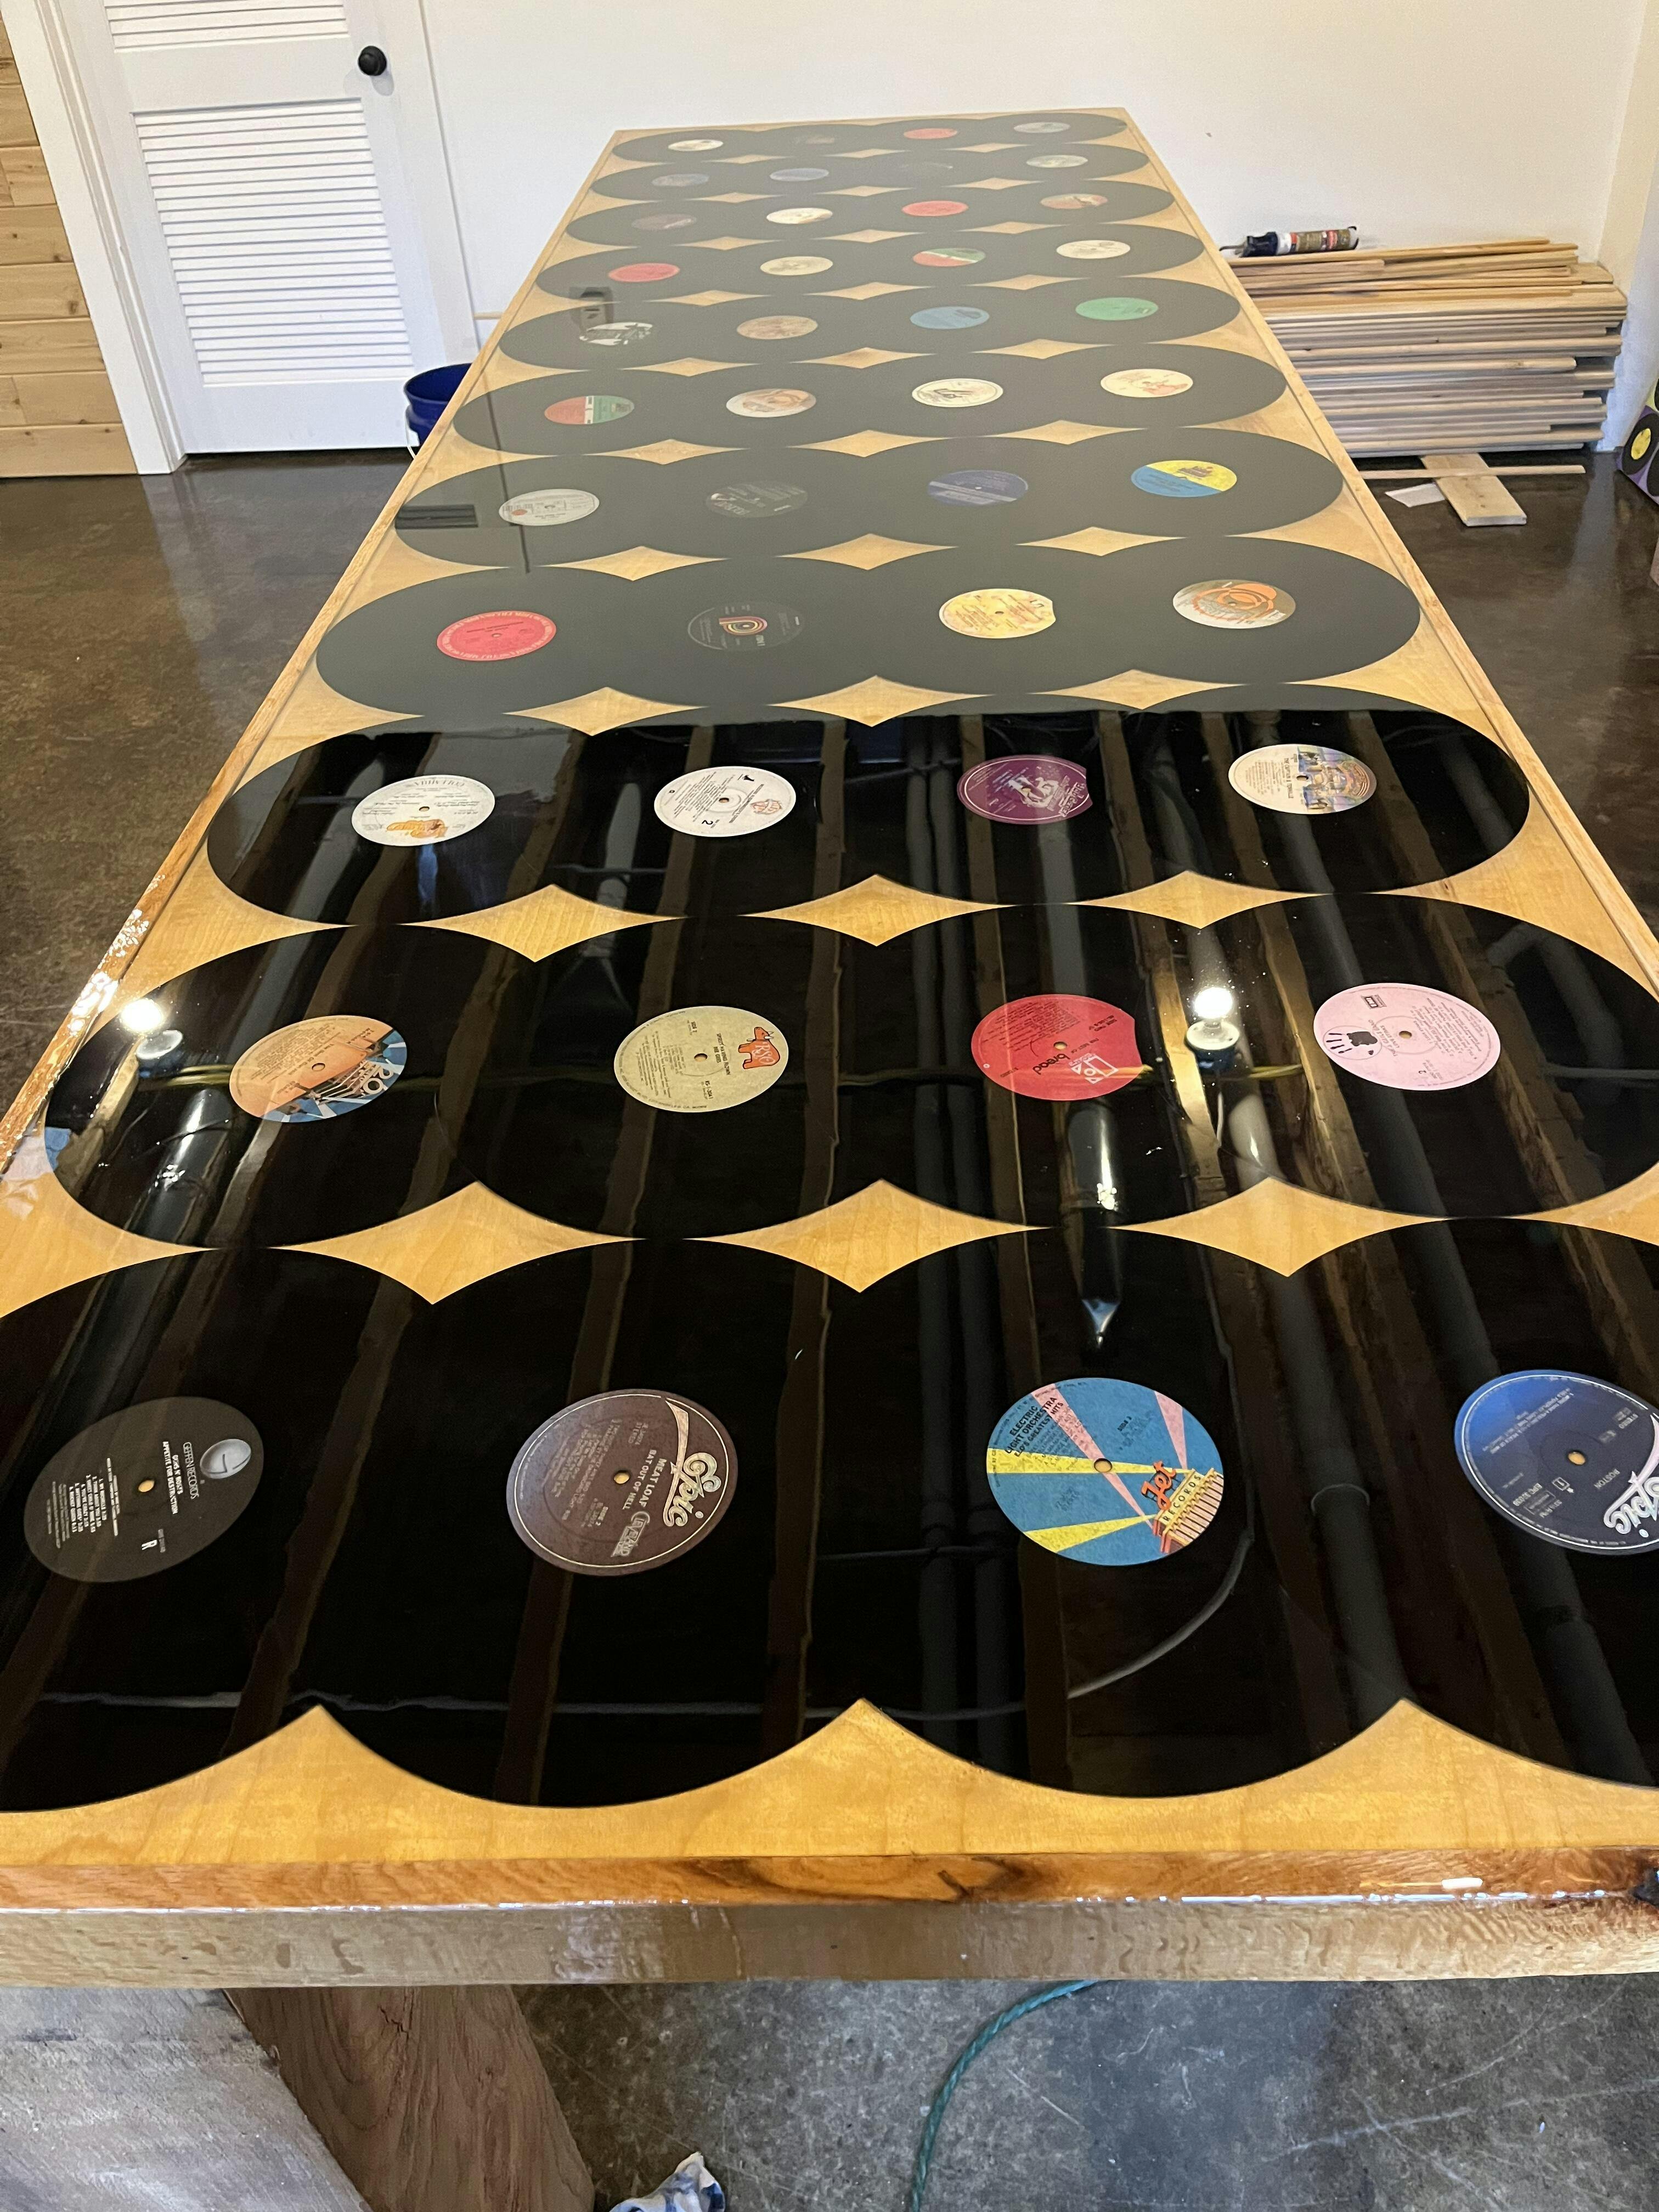
- Stickers
- Photos
- Paper
- Labels
- Shells
- Sand
- Rocks
- Stainless Steel
- Bottle Caps
Some of the world's most respected companies use UltraClear Epoxy.
Extreme Durability.
Our unique blend of Polycarbons are formulated to resist scratching and to provide extreme durability in the most demanding of environments.
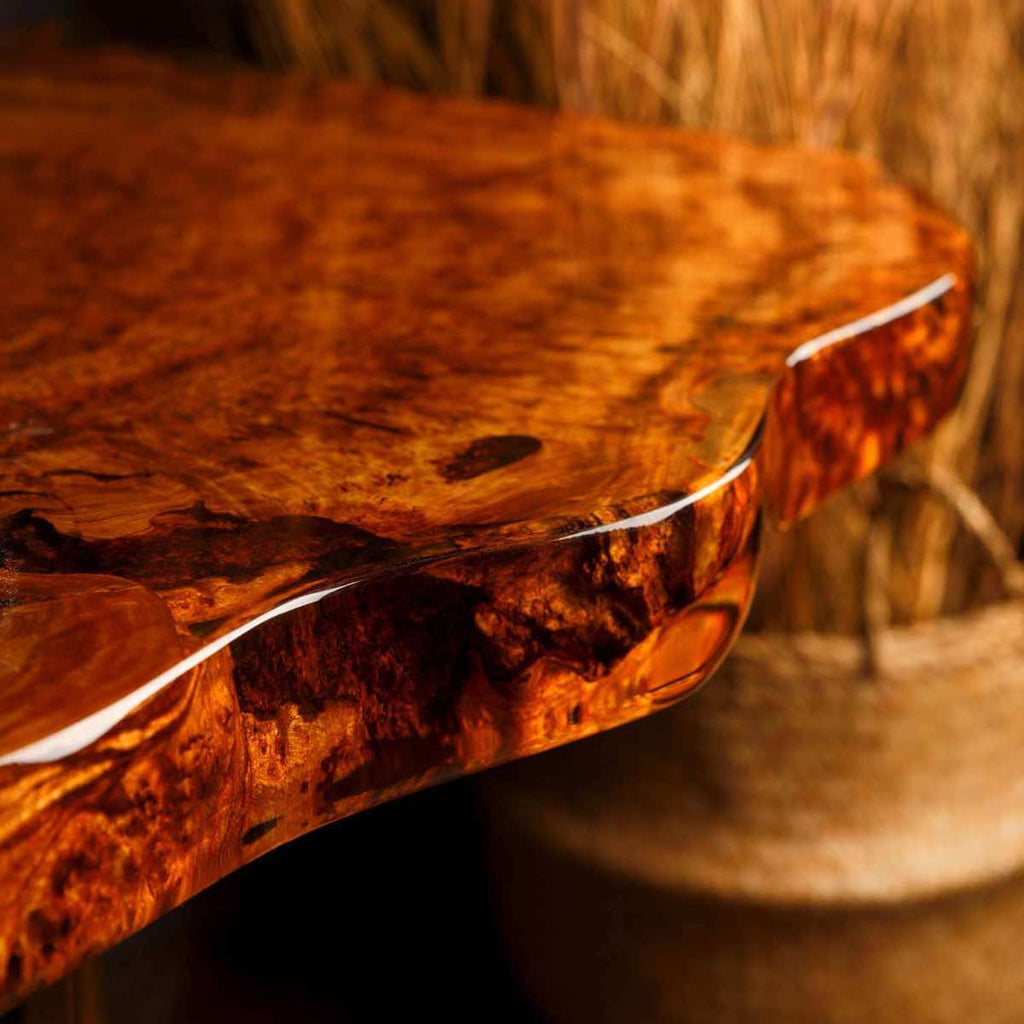
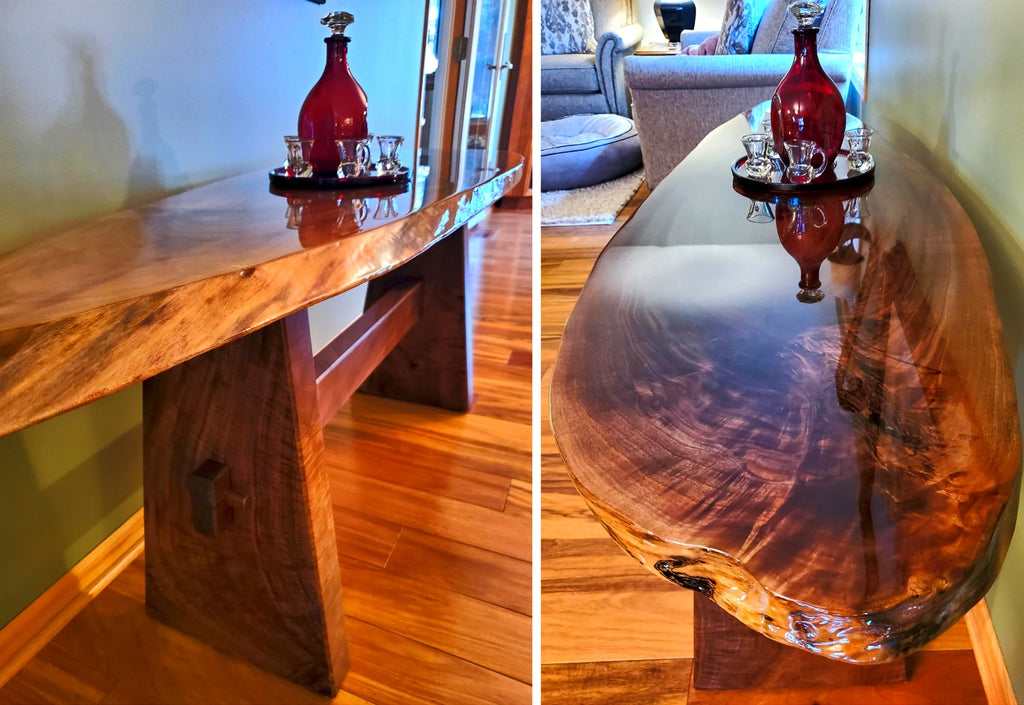
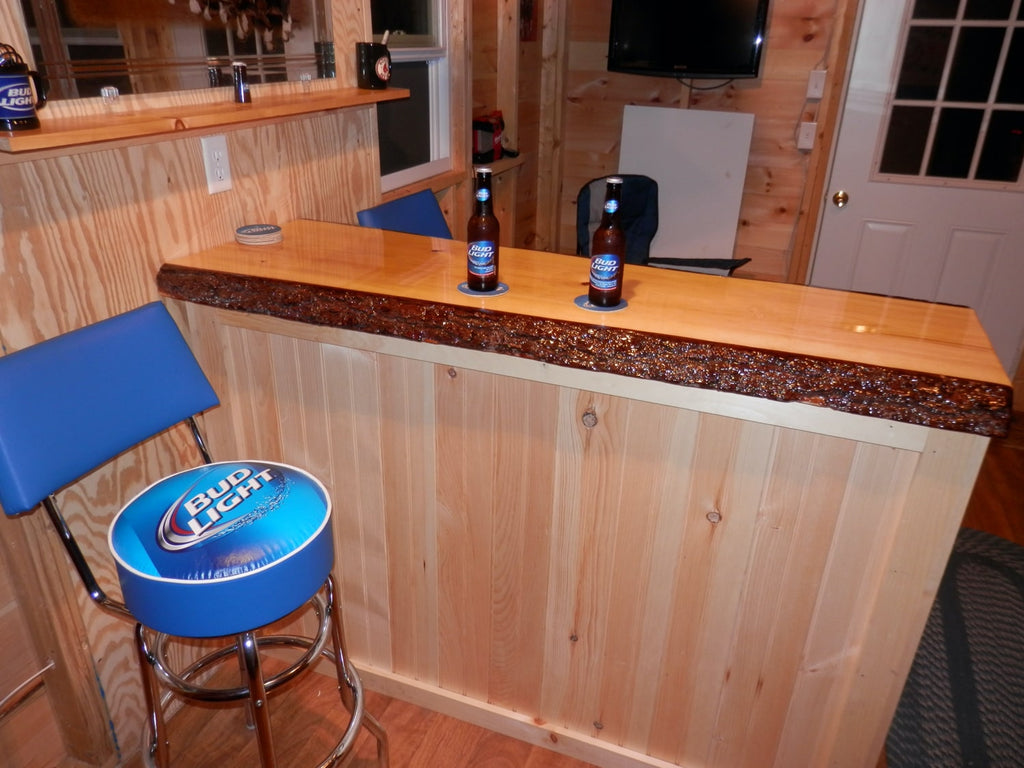
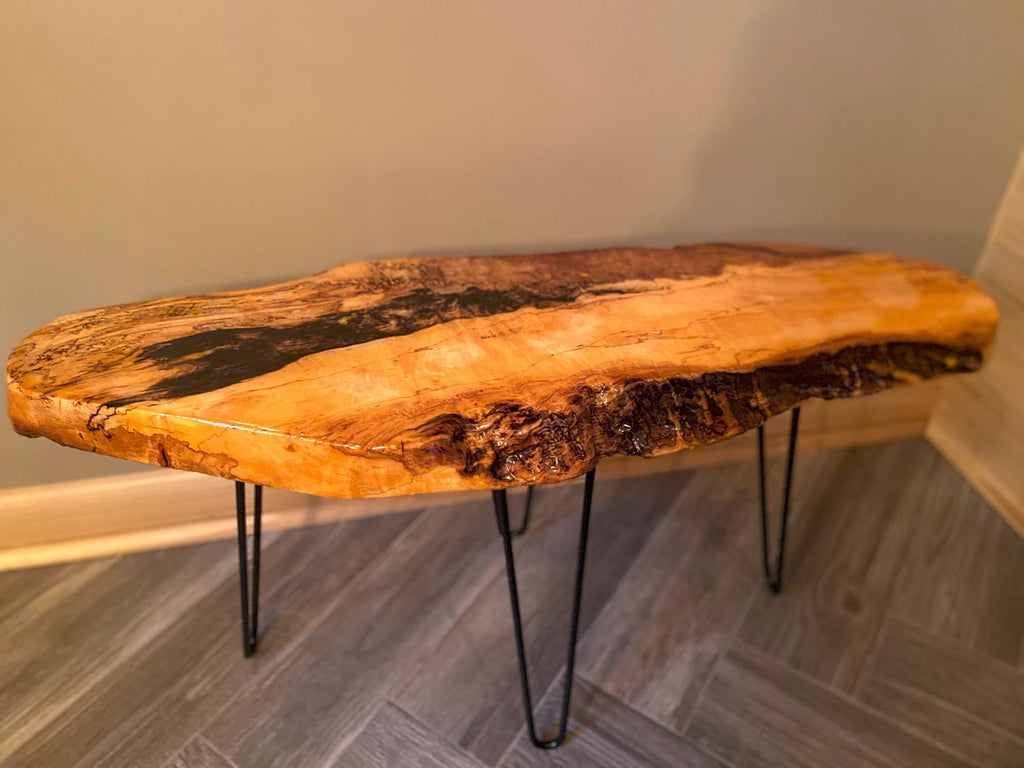
Crystal-Clear Transparent Finish.
With our bar top epoxy, you can achieve a stunningly clear, glass-like finish that can turn your bar top into the center of attention. Our nano-crystal technology enhances the natural beauty of any surface, giving it a greater sense of depth and contrast. Once it cures completely, the glass-like finish will make your bar top look exquisite, emphasizing the natural grain of the wood.
We can say with profound confidence that you might not be able to achieve a similar finish even with most of the commercial-grade epoxies available on the market today.
Great Results, Little Effort.
"This was my first time ever using epoxy and I couldn’t be happier with the results. Even with no experience I found the instructions were simple to follow but completely thorough. The surface looks like glass!" Bryan Martin - Miami, Florida
Ready to speak with an epoxy expert? Give us a ring.
250,000+
Happy Customers2
Days to Receive Product154,527,183
Cubic Inches of Epoxy Poured100%
Customer SatisfactionThe UltraClear Difference.
USA Based Materials
We start with USA based chemical polymers that are 100% VOC free and food safe, a claim few others can make. Most epoxy products on the market contain low levels of VOCs, which research shows can lead to health problems, even at low levels. We've worked diligently to ensure that our tabletop and deep pour epoxy products don't contain even trace amounts of VOCs.
Unlike some competitors, UltraClear doesn't import potentially hazardous chemicals. We believe in strict quality control and only use chemicals made in the US that meet the highest quality standards. Trust us for safe, top-quality epoxy products.
Extreme Level of Hardness
UltraClear Epoxy has been tested and verified to cure at a Shore D Hardness Rating of 98. This extreme hardness means more scratch resistance, more durability with high traffic use, and a much longer life span for your surfaces. In contrast, most epoxy products on the market typically cure at a Shore hardness level of 75-80, indicating a difference in quality and durability.
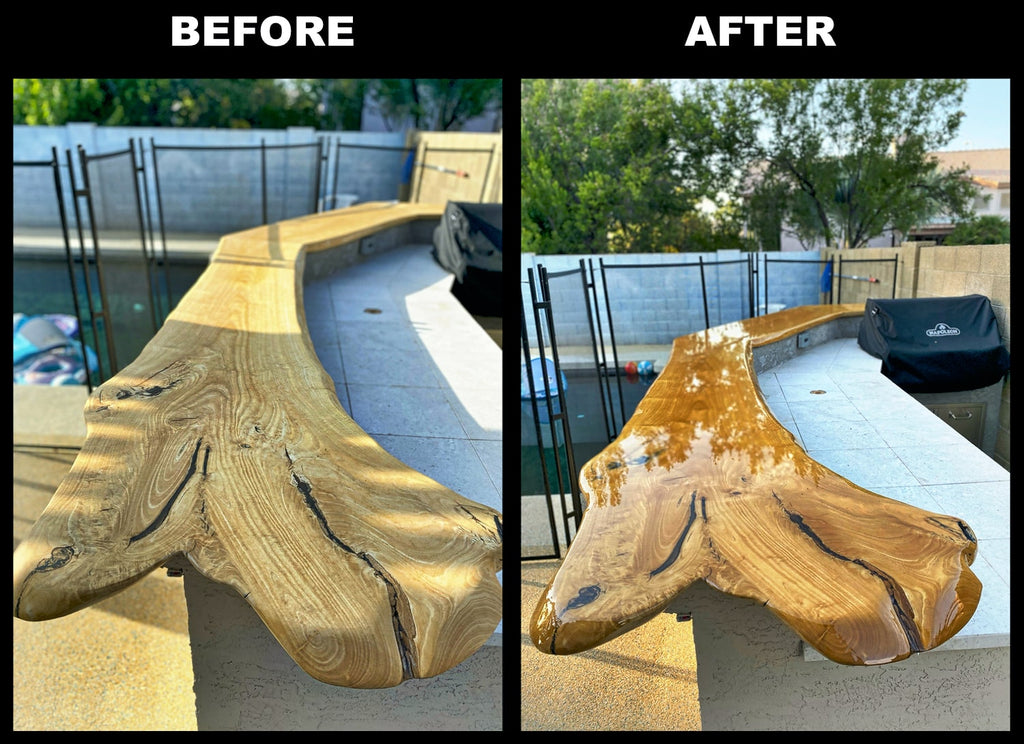
Never Yellows, Fades, or Cracks
The most popular epoxy brands all show yellowing visibly over time. UltraClear has spent over a decade perfecting our formula to resist yellowing. UltraClear Epoxy is composed of cellular non-fade prepolymers that ensure long lasting protection, durability, and shine.
100% VOC Free. Virtually Odorless.
One of the biggest problems with low-quality tabletop epoxy resins is they tend to emit an odor, which can be unpleasant, to put it mildly. While it's not likely to be a problem in an outdoor setting, it can be a problem in indoor settings - especially in odor-sensitive areas like kitchens. UltraClear bar top epoxy, on the other hand, is virtually odorless and doesn't have any harmful fumes. So it can be used in odor-sensitive areas such as wineries, restaurants, kitchens, or confined spaces.
Unique One-coat System.
Save time and money.
Ordinary epoxies self level at 1/16" requiring multiple coats. UltraClear Epoxy is a one-coat system designed to self-level at 1/8", creating a virtually indestructible surface. Avoid multiple coats and save money with UltraClear epoxy.
Chemically Strengthened.
Atomic configuration is formulated so that the UltraClear epoxy is more durable, scratch resilient, and fundamentally tougher than ordinary epoxies.
Free 9-Piece Epoxy Tool Kit
A $39 value with your $299 purchase.
Plus Free 2-Day Shipping! Get Your free Tool Kit.
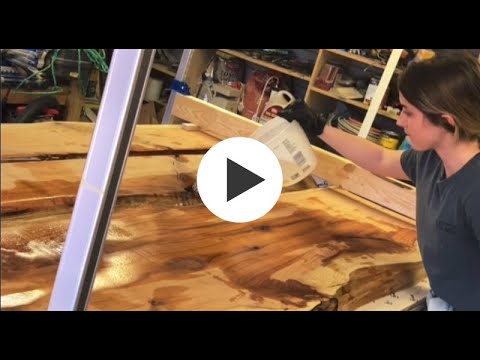
How to use UltraClear Epoxy.
No experience needed.
One of the best parts about our tabletop epoxy is that it is very easy to work with. No experience needed. Even if you have never worked with epoxy before, you can watch our tutorial videos, follow the instructions given in our how-to guides and complete your project successfully.
Step 1: Measure Epoxy
UltraClear Bar Top and Table Epoxy is a two-part epoxy coating with a one to one ratio. Pour an equal amount of hardener and resin into a new container.
Step 2: Mix Epoxy
Mix the epoxy thoroughly to ensure that the batch is completely blended. Our Basic Toolkit includes a mixer for blending epoxy thoroughly.
Step 3: Pour Epoxy
Pour the epoxy onto your surface. UltraClear Epoxy self levels so there is no need to move it around with any tools like most other epoxy products.
1 Gallon of Epoxy = 1/2 gal. Resin + 1/2 gal. Hardener
Click here to use our Epoxy Coverage Calculator
For most applications, UltraClear Epoxy is applied in two stages, the Seal Coat stage and the Flood Coat stage.
Seal Coat: The seal coat is a small batch of epoxy that is brushed on in a thin layer to seal any pores in the surface and prevent air bubbles from forming in the following flood coat. Our epoxy is used for both the seal coat and the flood coat. It is the same product that is applied to the surface with a paint brush.
Flood Coat: After waiting 4-6 hours from when the seal coat was applied, a flood coat is simply poured on the surface and it self-levels to 1/8" thick.
Side and Edges: When pouring over the Sides and Edges of a table, counter, or bar top, make sure that you purchase extra material to account for spillage over the sides as you will lose 30% of the material coating them.
Get our Basic Epoxy Tool Kit for superior epoxy results! Blend epoxy resin and hardener perfectly using the included mixing drill bit.
*Covering embedded objects will require additional epoxy. Make sure you have accounted for this.
**The calculations below are (either) (or) for the seal coat and flood coat. Example: 1 gallon will cover either 16 sq.ft. for a flood coat or 48 sq.ft. for a seal coat, NOT BOTH. These calculations are not intended to give more than a rough estimate. Precise epoxy needs will vary according to many factors, including application type and surface material. For specific advice regarding your project, contact our customer service department
Free 2-Day Shipping.
Shipping is free (lower 48 states only). Orders placed by 4pm eastern time will ship same day. Orders arrive in 2 days. Limited time offer!
Customer Reviews
Based on 13 reviews
85%
(11)
15%
(2)
0%
(0)
0%
(0)
0%
(0)
D
A product that was recommended to me due to high quality and no yellowing. Preparation was key, with a 1:1 mixing ratio it made the pour super easy. My project turned out perfect. Highly recommend this product to commercial and DIY projects.


T
Feed ex delivered to the wrong address again. Even Amazon does a better job with delivery service!
Epoxy is great to work with. The product is consistent every time. I use Ultra Clear Epoxy for my rough cut table finish and it is amazin Fed ex should learn how to be consistent like Ultra Clear Epoxy
J
Never using this type of product we were skeptical. We had questions that were answered in a very timely manner. Ultimately was told I was over thinking this product it is as simple as 1,2,3. And it was. Follow the instructions and you will be amazed as well
J
I work with epoxy every day and this brand have been my #1 option for years. No downsides and only positive things to say about this product and this company’s standards when it comes to customer service and quality control.
W
Turned out great. Crystal clear even though I had sanded between coats. Looks good and feels good. Easy as following directions.
B
I made a reclaimed barn wood table assembled with absolutely no screws, nails, brackets or glue. The tabletop is built using dowels which are then doweled in place. The tabletop is 1800s barn flooring with lots of character from over a century of hard use. I am glad I used Best Bar Top Epoxy because it was very easy to use and has beautifully locked in all that character and created a gorgeous and durable tabletop!