Epoxy Resin Tables aren’t super difficult to make, but there is a learning curve. Read through this article to help you avoid costly mistakes when making an epoxy wood table.
Here’s the most common resin mistakes people make when pouring an epoxy table:
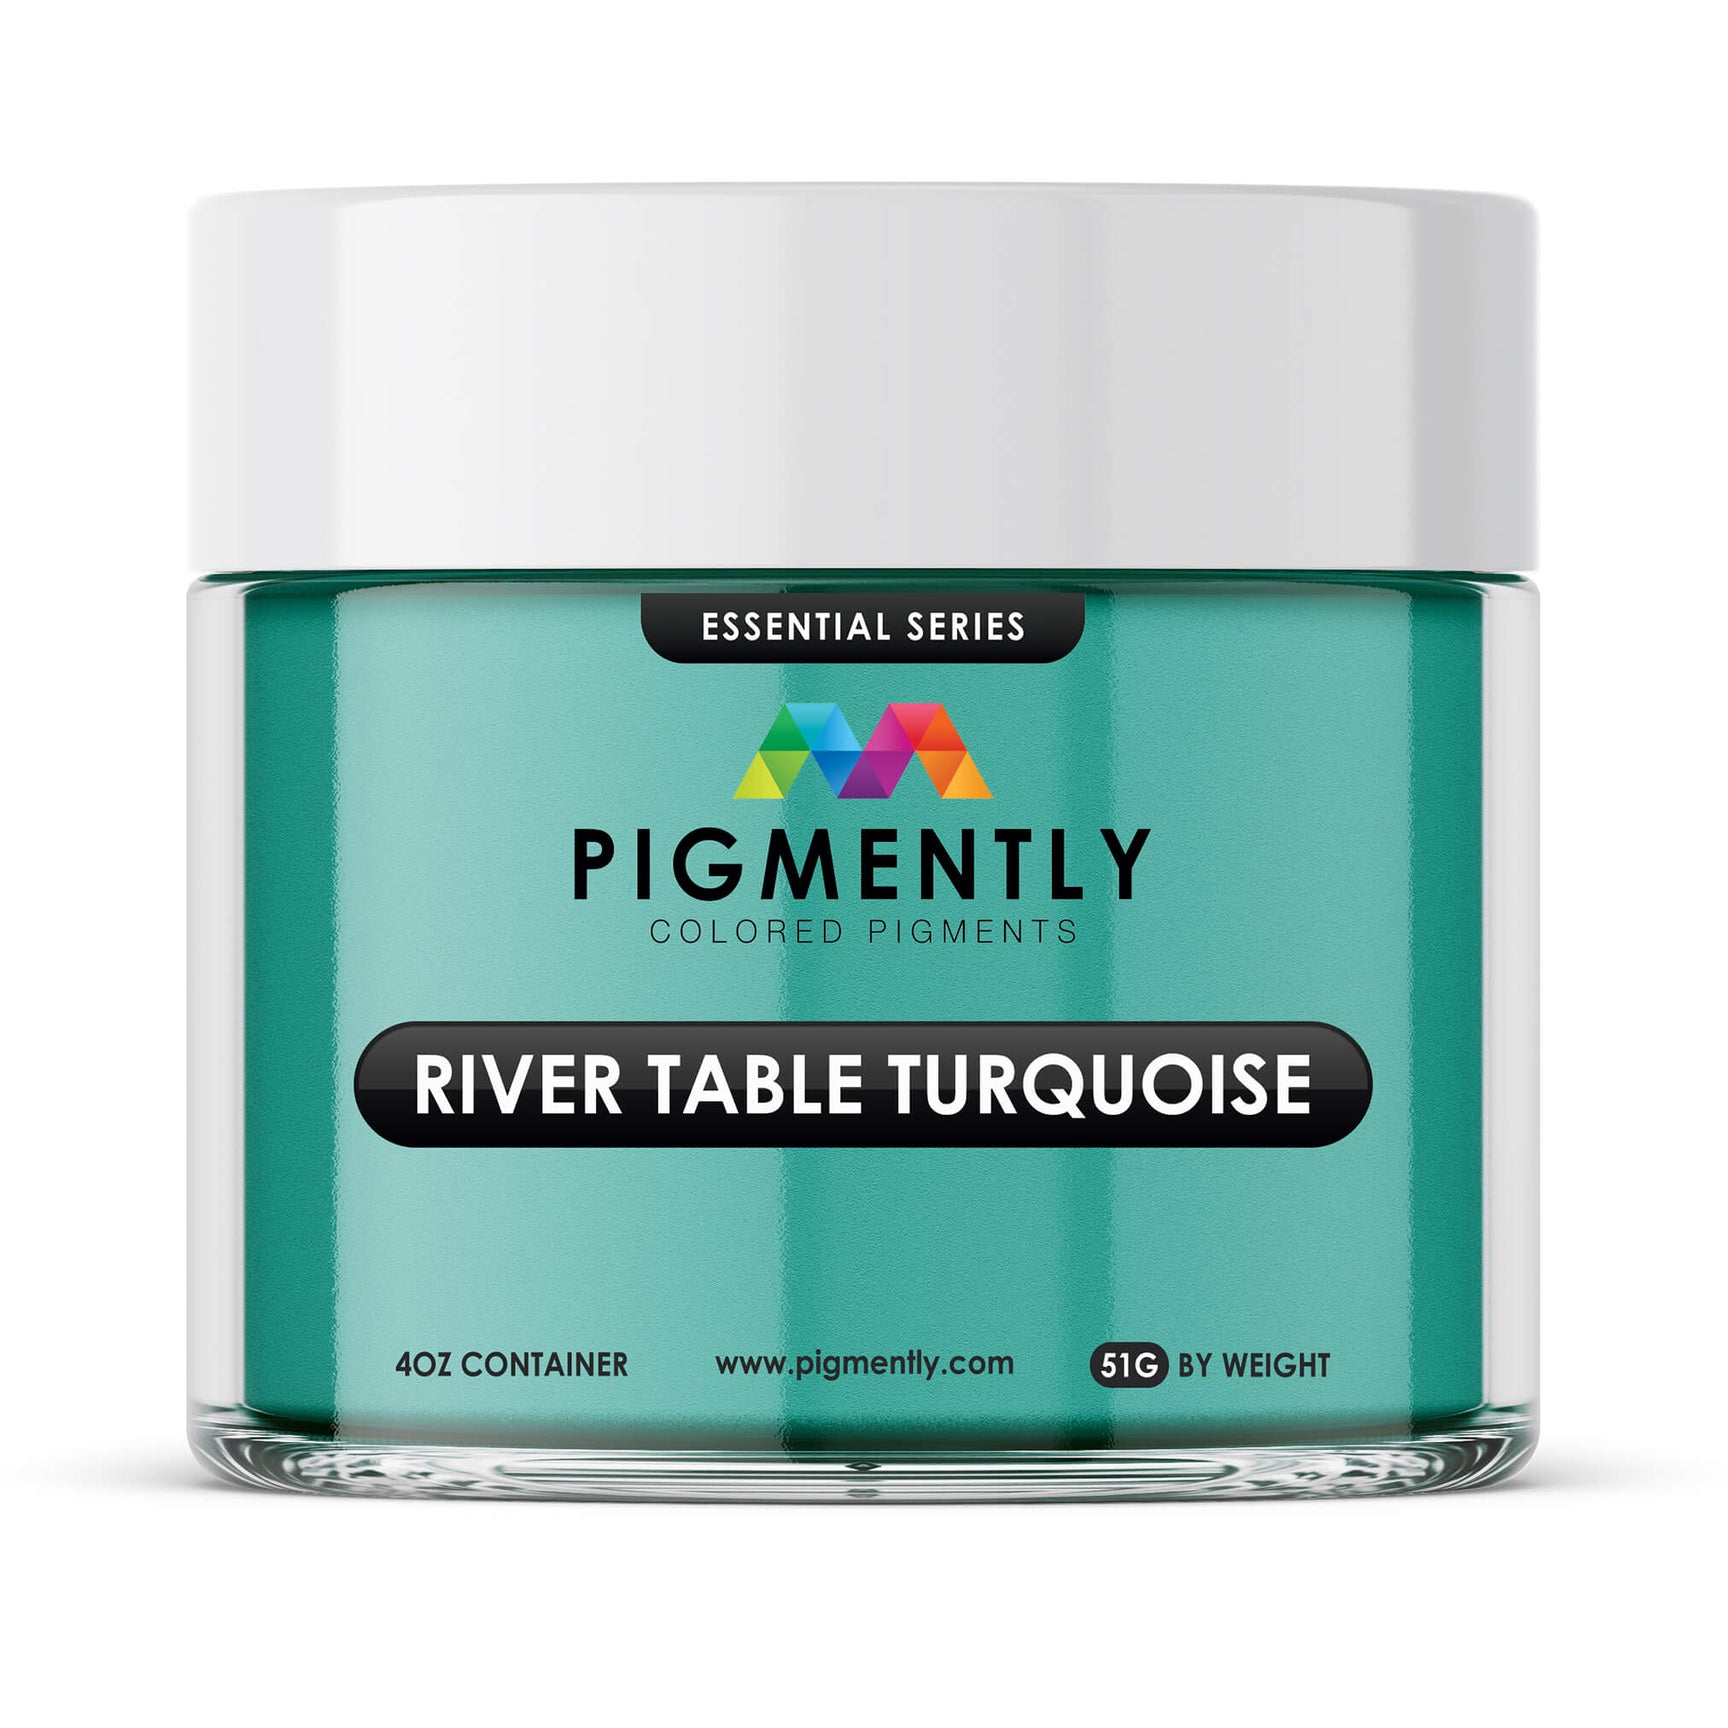
1. Applying a stain or paint that is incompatible with the brand of resin you use.
All epoxy brands have different finishes and paints that their epoxy will work over. If you do not check with your brand before applying the epoxy, you could be making a huge mistake.
Imagine you spend countless hours building a beautiful epoxy river table, only to have it ruined during the final pouring process, because you stained the wood with a water based stain that the epoxy you chose won’t adhere to. This would be devastating and a messy/costly mistake to fix.
You can avoid all the extra work it would take to fix this mistake, simply by looking at the company’s website, or contacting them directly to verify the stain you used will bond with their epoxy. A few minutes of research can save you a few hours of work and additional money on the extra material you’d need.
2. Not following directions carefully when pouring the resin.
Every resin kit you buy will have a specific set of instructions for that product. Don’t make the mistake of thinking one set of resin instructions will work for all resin kits that you have to mix.
We’ve seen this happen in the past and it’s an easily avoided mistake. Some resin kits have different mixing ratio’s of resin to hardener, some have longer or shorter mixing times, but they all have to be followed correctly to achieve the best results.
3. Not having your environment at the right temperature before pouring.
Epoxy mixing is a chemical reaction between the resin and the hardener. These two chemicals have to be mixed correctly to react and generate the heat necessary to harden into a solid form.
The room temperature you pour the chemicals in also plays a huge factor in this. If the room is too hot or too cold, the right amount of heat may not be dispersed or generated, and the mixture could fail at curing properly or cure with a cloudy finish.
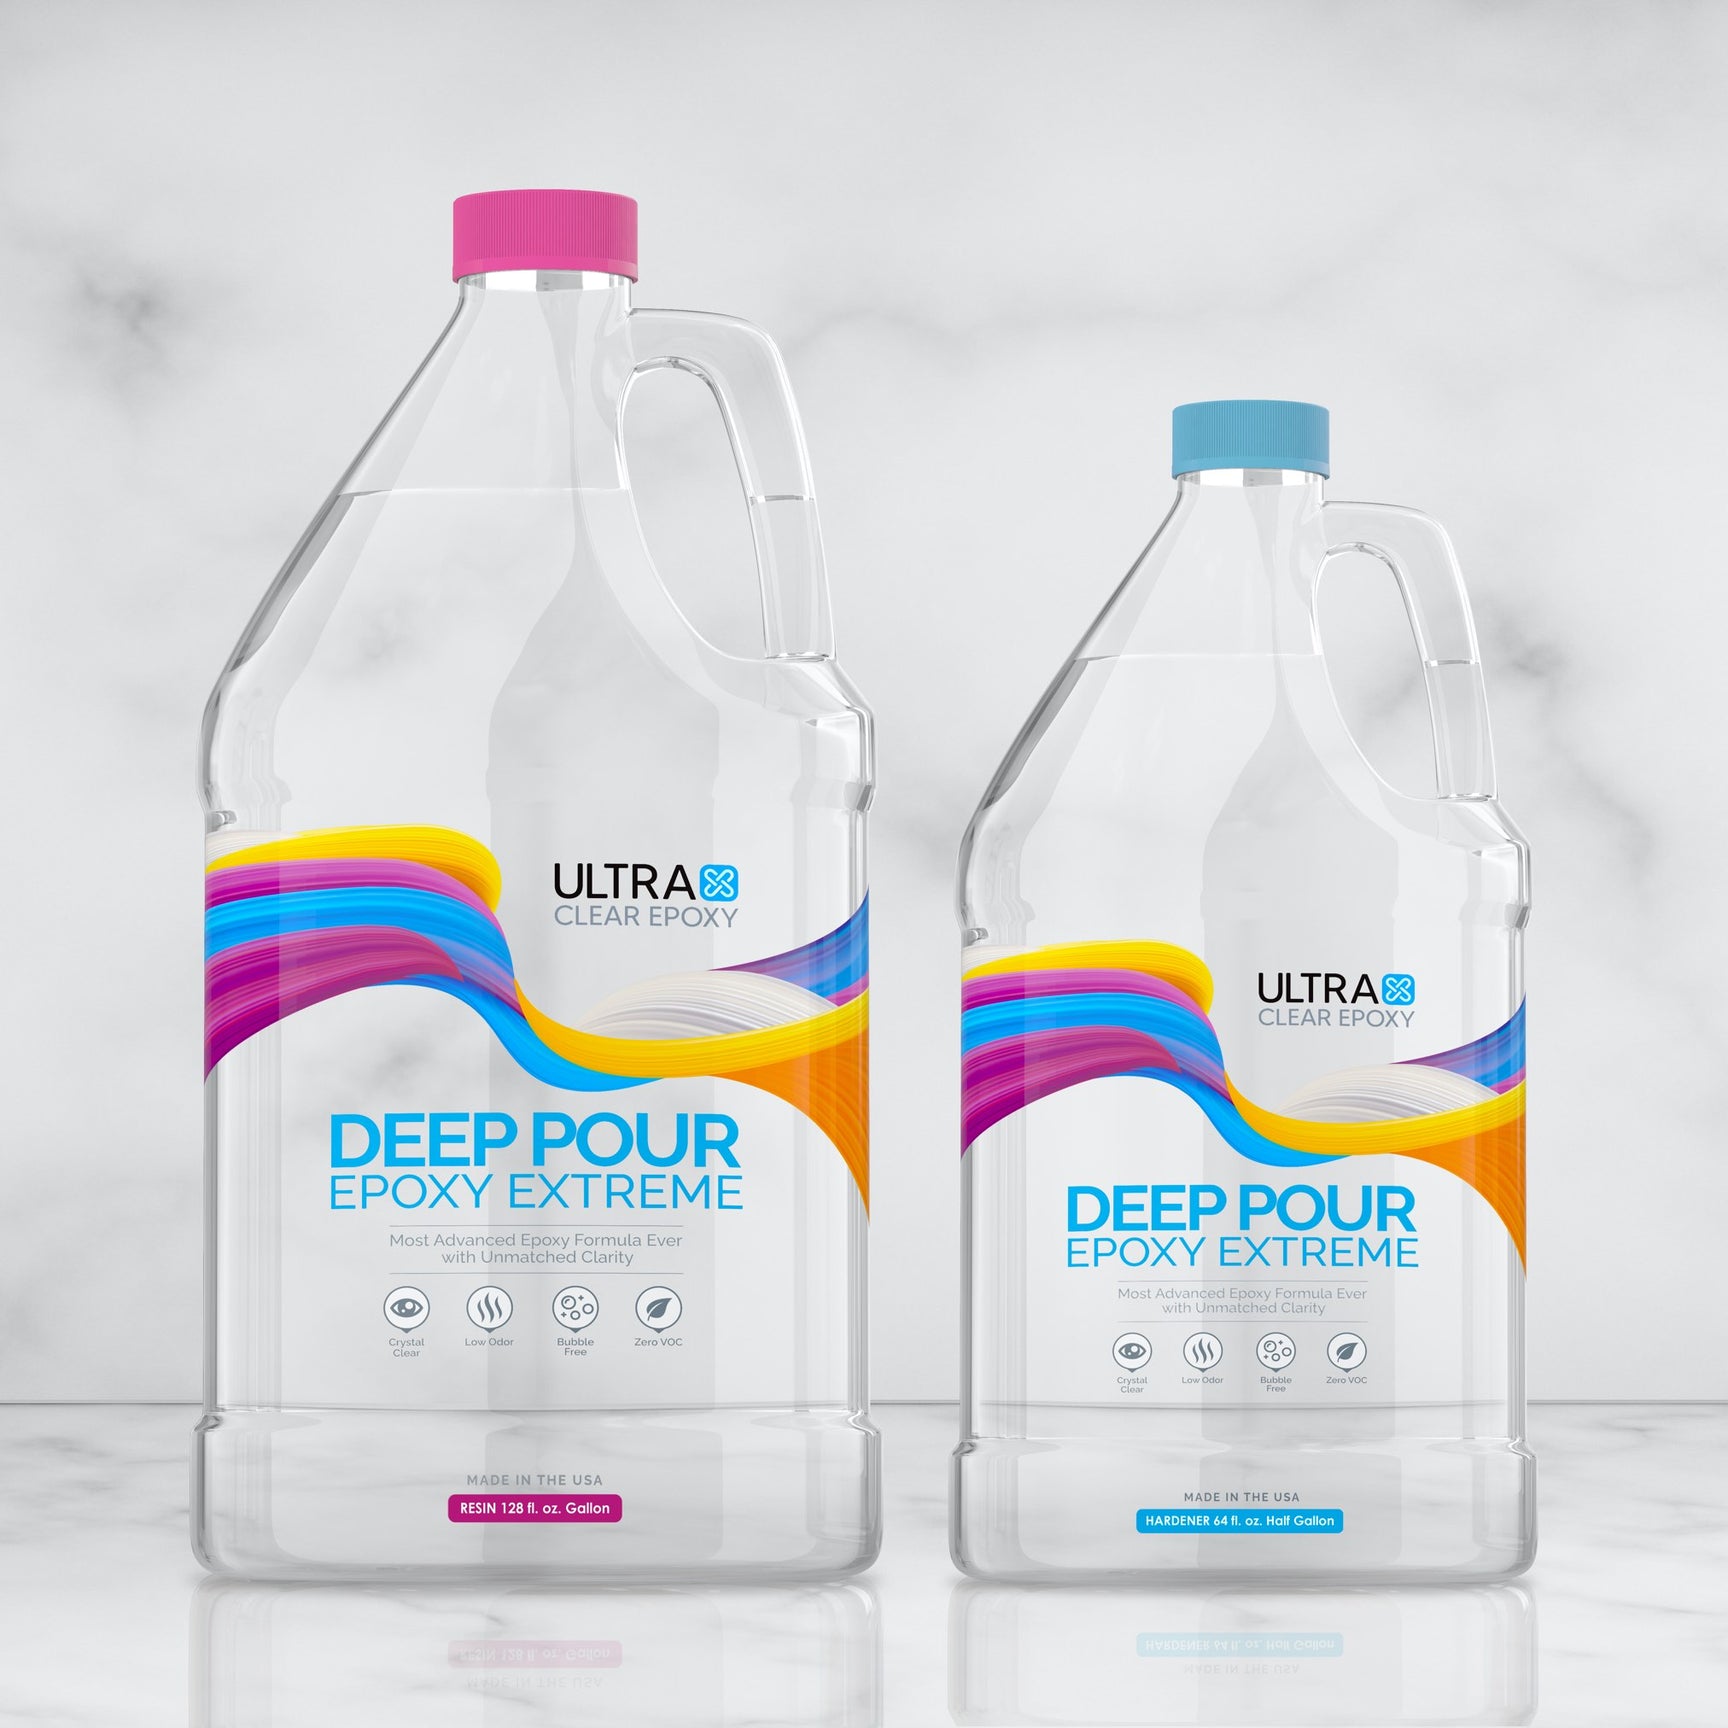
For example, our Table Top epoxy has to be poured in a room that’s above 75 degrees Fahrenheit, while our Deep Pour Epoxy has to be poured in a room between 60 and 80 degrees Fahrenheit. While they’re both epoxy resin kits, they both have specific requirements that are easy to meet, but very important for best results.

Here’s some less common but still costly and easily avoidable epoxy wood table mistakes:
4. Over or under mixing the resin.
If you’ve never mixed resin before you may think mixing resin for a few minutes like you’ve see on YouTube videos is all that you need to do. Or if you have poured epoxy before, and you needed to mix for say 5 minutes total, then you may think all other pours you make only need to be mixed for 5 minutes.
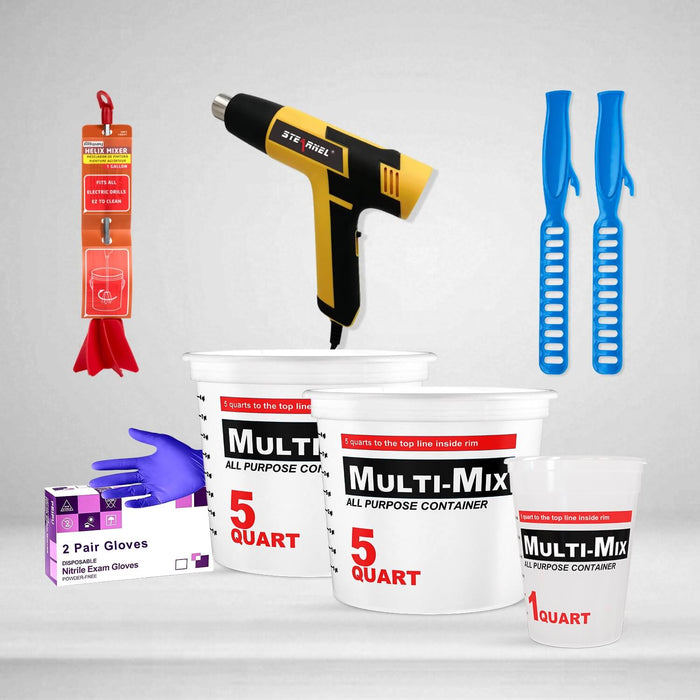
No matter your previous experience or knowledge, none of it matters when you’re working with a product you’ve never used before. If you can’t find the mixing directions on the bottle or on the website, contact the company directly and ask them for it. You should always have the mixing instructions read and understood before starting the process.
5. Not heating up your resin container prior to mixing.
Resin has a thick consistency, and if you try to mix the resin and hardener while it is this thick, you will have to work extremely hard to mix it together, which can whip air bubbles into the mixture and leave you with thousands of micro bubbles and unsatisfactory results.
Here’s how you can avoid this: simply set the resin container in a hot water bath for roughly 15 minutes before you plan on using it to mix. This hot water bath will lower the viscosity of the resin, allowing it to flow around more like water, and mix extremely easily. You can hold the jug up and watch the resin as it moves around inside the jug to see how viscous it is and determine how long you want to leave it in the hot water bath.
6. Underestimating how much epoxy you’ll need.
Anytime you pour an epoxy wood table, you need to account for the loss of epoxy over the sides. There are some times where you will have a raised edge where this is not an issue.
But if you allow the epoxy to flow over the sides to coat the edges of your table, you will lose roughly 30% of your material. If you do not factor this in when ordering, you will be left in a tough situation that could be costly to fix.
You either have to wait to order more material, and pour in the remaining area, which can leave you with a seam from the line where the new pour joins up with the older pour. Or, you can sand all the epoxy down and re-do the whole surface. Either way, this is a costly mistake that can be easily avoided by calculating how much you need to order, and erring on the side of caution by ordering more than you think you’ll need.