A common concern for people hoping to start their first epoxy project is that they'll make irreversible mistakes. To newcomers, it can seem like a complicated process with no room for error.
While it's true that epoxy resin needs to be handled in specific ways and under certain conditions, usually what goes wrong is simply misunderstanding how to perform certain steps in the process.
There are two types of epoxy resin typically used for interior decor projects: table top epoxy and deep pour epoxy. The guidelines in this article are written with these in mind.
Below, we'll be covering the pouring step, which starts immediately after mixing. Once you know how, pouring epoxy becomes surprisingly straightforward due to epoxy's self-leveling properties.
Contents |
4 mistakes to avoid when pouring epoxy

Ensure an excellent epoxy resin pour by avoiding these common mistakes:
- Working with unprepared bonding surfaces for epoxy resin
- Using epoxy resin at the wrong temperatures
- Mixing your epoxy incorrectly
- Pouring a layer that's too thick
Mistake #1: Working with unprepared surfaces
Prior to mixing and pouring, you'll need to prepare the surface you'll be pouring onto. This surface is called your substrate, and the epoxy will attempt to form a chemical bond with it once makes contact.
Click here to learn more about substrate materials.
It's important to make sure that your substrate is completely dry and clean. Dust, debris, and residues can contaminate the mixture and prevent it from properly bonding. These particles can also affect the clarity of the finish.
Organize your project work area neatly, so that everything you'll need is conveniently reachable but not in the way of your movement.
You can use plastic sheeting (sometimes referred to as painters plastic) to protect your other surfaces (e.g., cabinets, floors) from contact with epoxy resin. We recommend 4 mil plastic.
Mistake #2: Using epoxy at the wrong temperatures
Before you begin mixing your epoxy, you must be certain that both components of the epoxy as well as the project environment are within the appropriate temperature range, this will be important for the entire project, until the epoxy has cured.
Using epoxy resin outside of the safe range can affect the bonding or result in a murky, cloudy finish instead of the transparent glasslike appearance it will normally have.
The proper temperature range varies slightly between different epoxy types and should be listed in the instructions received with your chosen brand of epoxy.
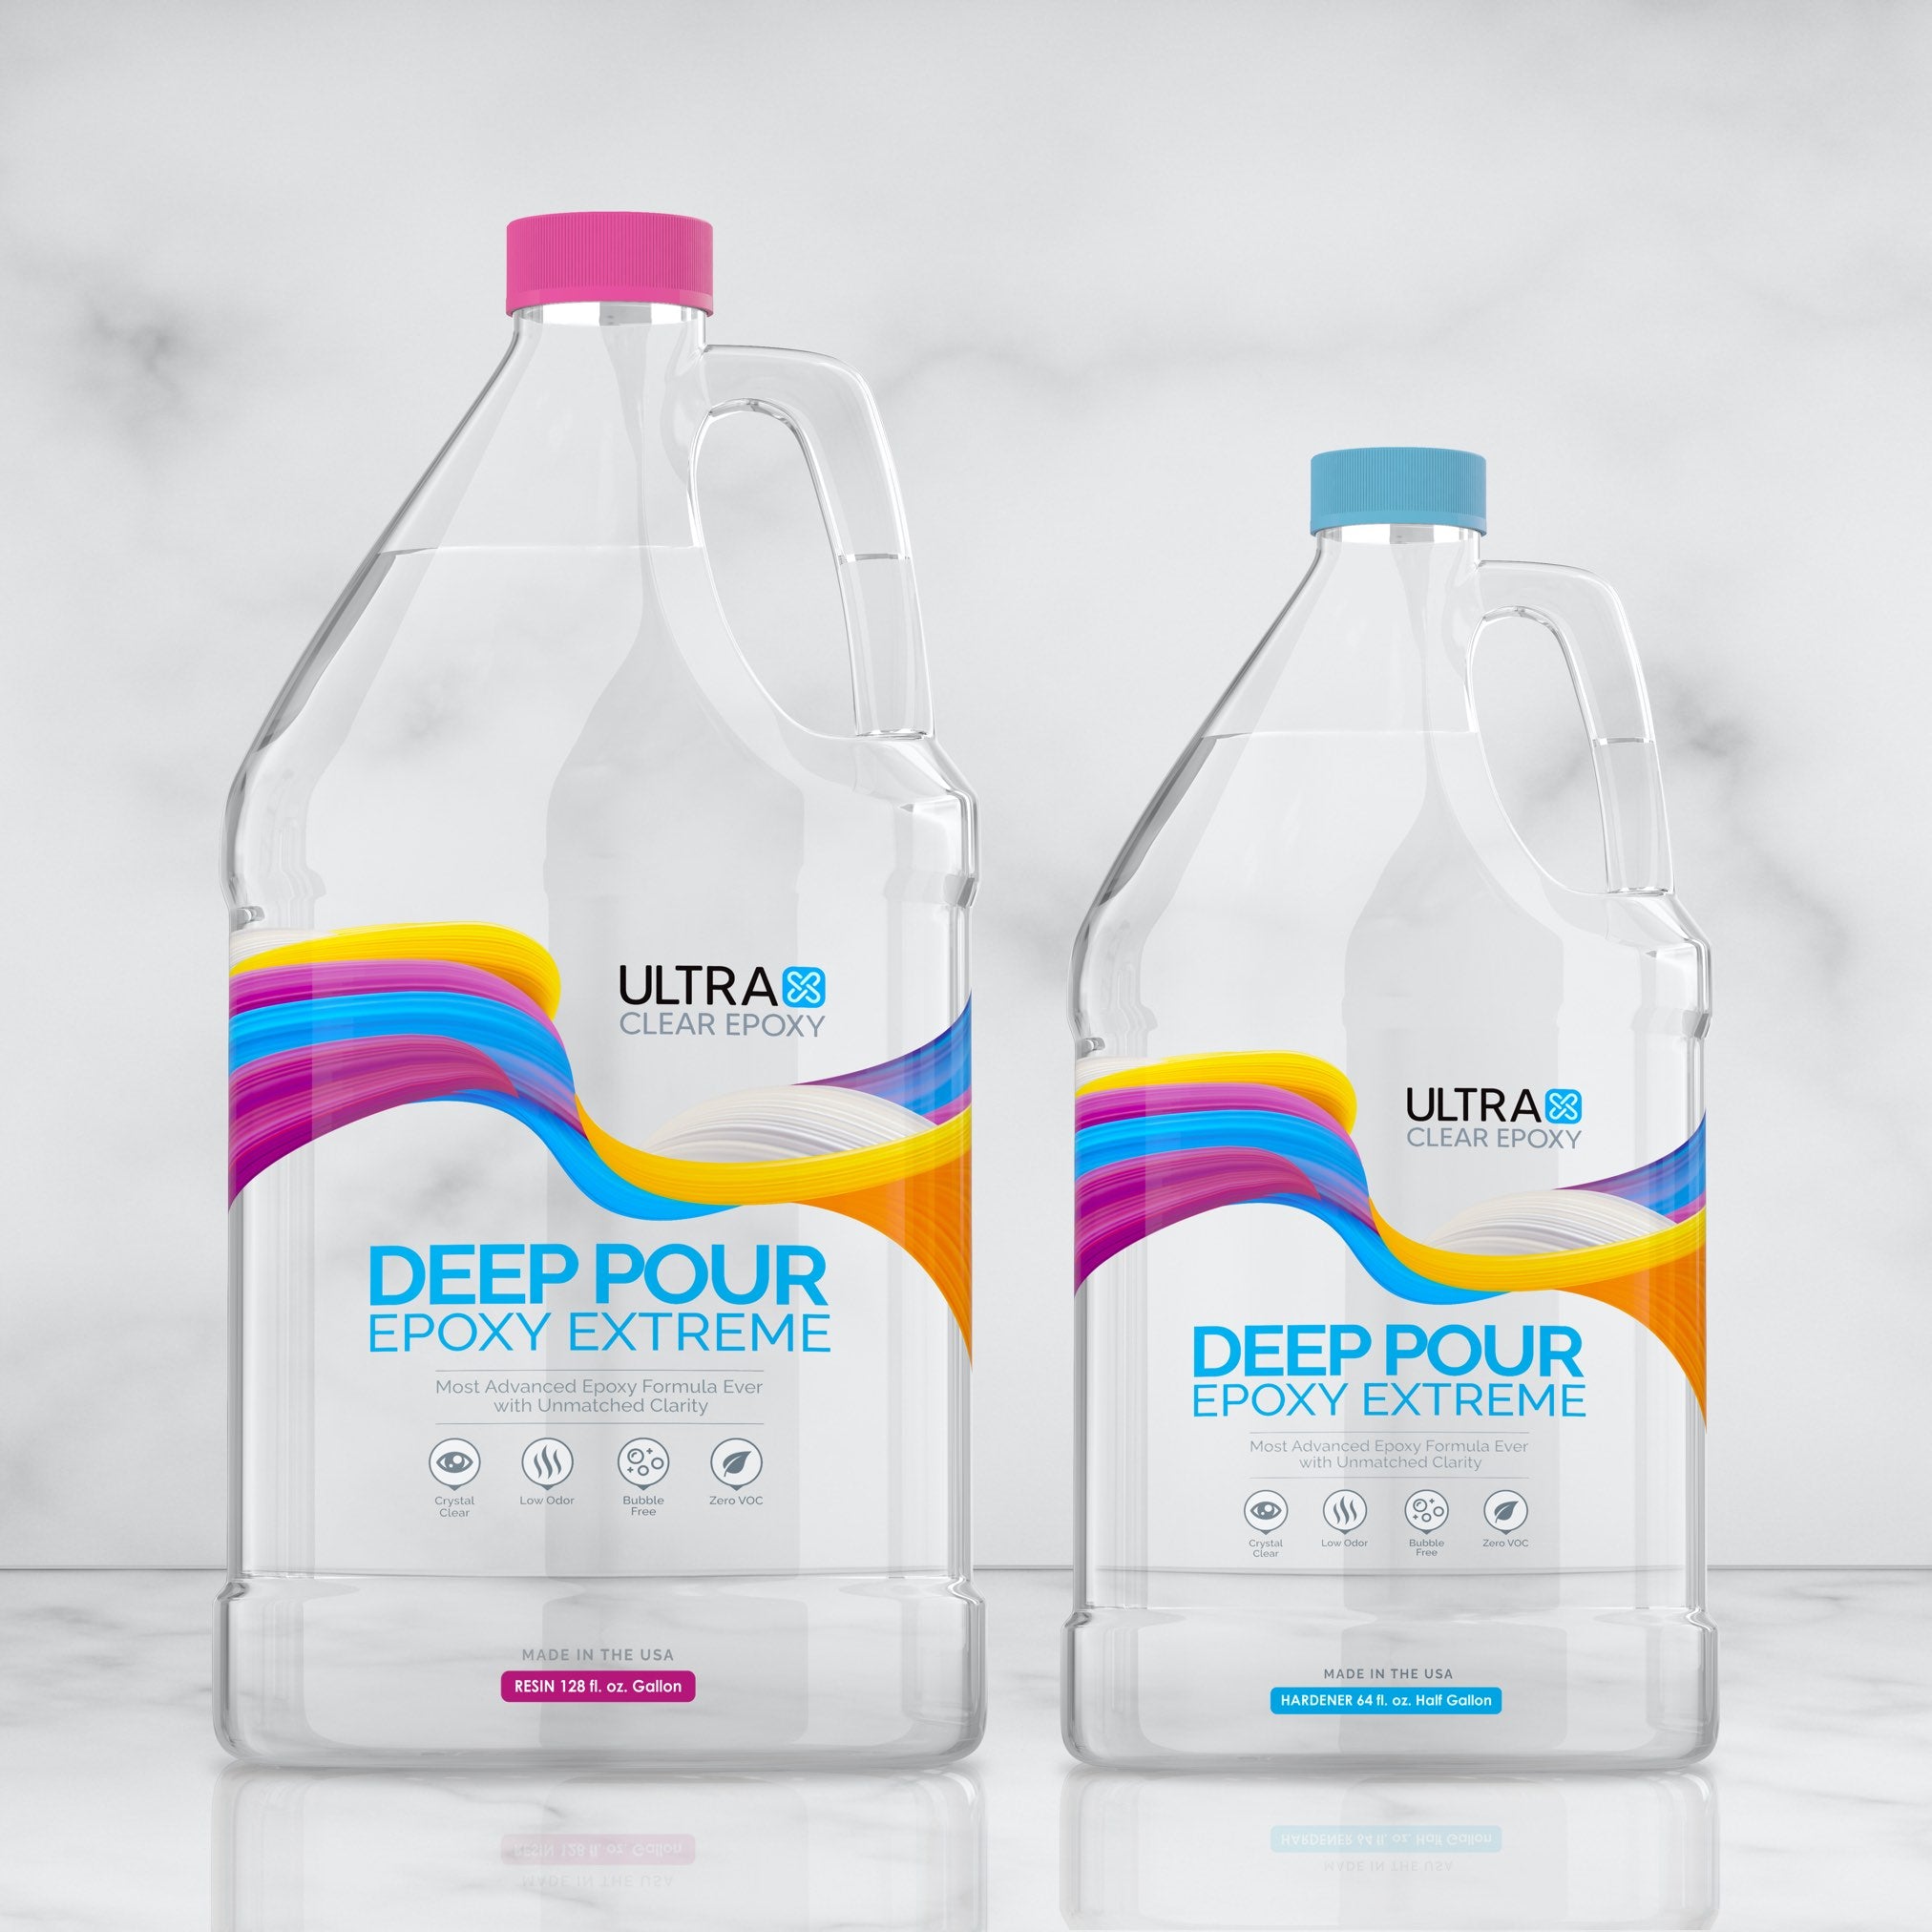
For example, here's what we recommend for UltraClear Epoxy:
- UltraClear Table Top Epoxy: 70°F - 80°F with an ideal of 75°F
- UltraClear Deep Pour Epoxy: 60°F - 85°F
As you can see, deep pour epoxy tends to have a wider range of viable curing temperatures.
For the project environment, you'll want to check the humidity. A humidity below 60% is helpful to avoid issues with the epoxy bonding.
Be sure to plan ahead, because the epoxy curing process itself will require these temperatures to be maintained for a full 72 hours to properly harden.

Mistake #3: Mixing your epoxy incorrectly
Most liquid epoxy is stored as two separate components: resin and hardener. As soon as they're mixed together, a chemical reaction starts the curing process. Because of this, you should only mix when you're ready to pour the epoxy.
When you are ready to mix, make sure you know your mixing ratio, measured by volume not weight.
- For UltraClear Table Top Epoxy, it's 1:1 (e.g., 12 oz of resin goes with 12 oz of hardener). Check out our Table Top Epoxy Calculator.
- For UltraClear Deep Pour Epoxy, it's 2:1 (e.g. 12 oz of resin goes with 6 oz of hardener). We also have a Deep Pour Epoxy Calculator.
It's important to measure these accurately—only measure by volume, as weight is inconsistent. Many mixing containers will have a scale on the exterior or interior to measure liquid contents.
Learn more about measuring epoxy here.
For the actual mixing itself, there are two proper methods: you can use a power drill with a mixing bit, or you can stir manually with stir sticks. We have a guide for recommended tools and supplies.
If you're using colorants, you should add those into the batch partway through the mixing process.
When to mix using stir sticks
If your epoxy batch measures less than one gallon total, use only stir sticks; mix it by hand for 3 to 4 minutes. As you're mixing, scrape the sides and bottom to prevent some of the epoxy from sticking.
Don't use a drill for amounts smaller than one gallon total. At amounts less than a gallon, the drill is likely to pull in air, creating bubbles in the mixture that can cause you problems during pouring.
When to mix using a power drill
You should only use a power drill when you want to mix a batch of one gallon or more. A mixing drill bit is excellent for these scenarios. You'll want to set it to medium speed. At slower speeds it may not mix well; at faster speeds it will likely pull in air.
To mix epoxy using a power drill:
- Lower the drill bit into the epoxy batch. You want it deep to avoid pulling in air.
- Begin mixing, moving the drill bit around within the epoxy to blend it evenly. Be careful not to lift the drill bit to the surface or it may pull in air. Do this for about 2 minutes.
- Briefly pause and use a stir stick to scrape the interior sides and bottom of the container to prevent some of the epoxy from sticking. If the top of the epoxy seems to be slightly stickier, push it down with the stick so that it can blend properly with the rest of it.
- Resume drilling for just 3 more minutes, then pour immediately.
Note: Different epoxy brands will recommend different mixing times. Always follow the directions included with the brand of epoxy you're using.
If you're using our UltraClear Epoxy, you'll have a detailed set of instructions for each type you've purchased. You can also view or download the instructions at our support website:
- Digital instructions for UltraClear Table Top Epoxy
- Digital instructions for UltraClear Deep Pour Epoxy
Mistake #4: Pouring a layer that's too thick
Uncured epoxy is poured in layers with a depth determined by the type of epoxy. Our UltraClear Table Top Epoxy, for instance, will self-level to 1/8 of an inch and shouldn't be poured in single layers greater than that.
Our UltraClear Deep Pour Epoxy is a casting resin and can be poured in layers of up to 2 inches thick.
These epoxies support multiple layers. After a layer is poured, it must be given adequate time to settle and partially harden. For example, our Table Top Epoxy requires 4-6 hours to settle, then you can add an additional layer.

Additional Resources
Here are some additional resources you may find helpful:
- How to wash away resin and epoxy on your hands and skin - Our guide to cleaning resin off skin. Useful to know in case of accidents.
- Guidelines for cleaning epoxy surfaces - Some tips on cleaning epoxy surfaces after it has fully cured.
Have questions? Want advice? Contact us!
At UltraClear Epoxy, our resin experts are here to provide answers to your questions so that you can plan your epoxy project with confidence.
If you have any questions about pouring epoxy or other resin topics, you can contact us for assistance via phone or email here.
During business hours, you can also text chat online with one of our epoxy specialists by clicking the Help button at the bottom right of your screen.


