Few things can match the aesthetic appeal of a handcrafted river table. As stylish as it is functional, a river table can fit in perfectly in any kind of setting – home, office, as well as commercial establishments like restaurants and bars.
What Exactly is a River Table?
It is a hybrid table which is made of two planks of wood with a layer of deep pour epoxy in between. The epoxy resin layer in the middle resembles a river stream, while the wooden planks on either side look like river banks.
These tables are made with live edge wood, which enhances their rustic appeal significantly. Since no two pieces of live edge wood look exactly alike, each river table is unique in its own way.
The best part about an epoxy river table is that you can use it any way you want. There is virtually no place where a stunningly beautiful river table would look out of place.

How to Build an Epoxy River Table?
Step 1
Choose the timber you want. If you want to prepare the wood by yourself, you need a planer machine, a hand circular saw, and an angle grinder. If you do not have these machines or if you do not have any experience in cutting and smoothing wood, you can get it cut, sawed, and planed by a carpenter.
Since you are building a live edge table, you should only cut and finish one side of the wooden planks so that the other side retains its natural, live edge.
Step 2
Build the mold needed for your table using MDF chipboards. Make sure you leave sufficient space in the middle for the epoxy river portion. Cover the surface of the mold with a waterproof tape. Seal the edges of the wooden planks with a little bit of clear epoxy. Place the wooden planks into the mold.
Step 3
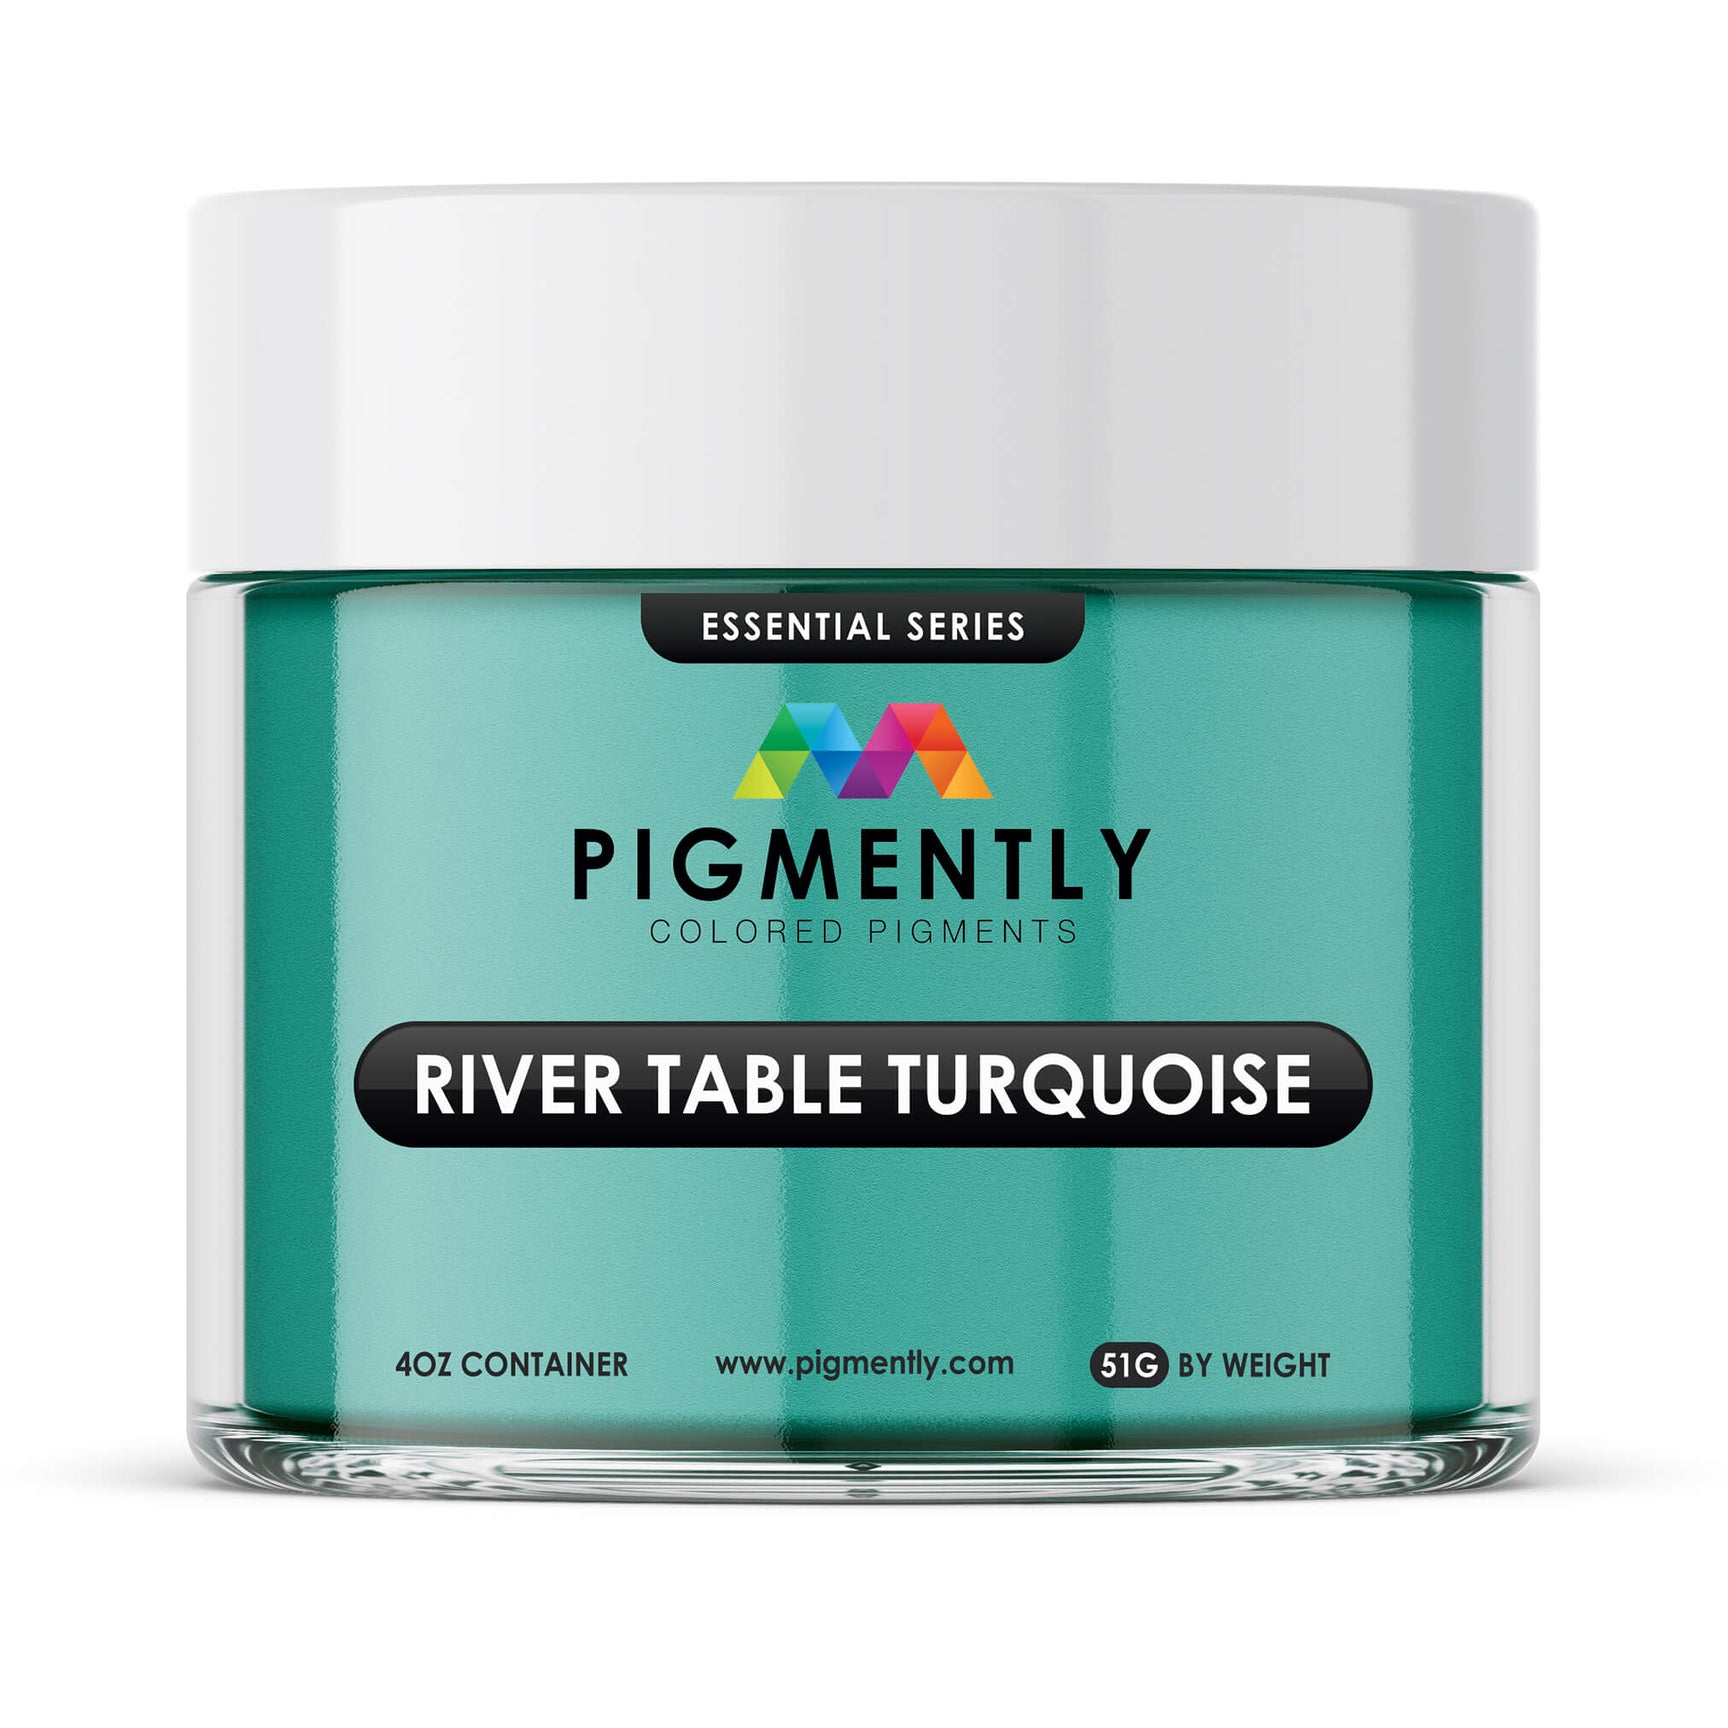
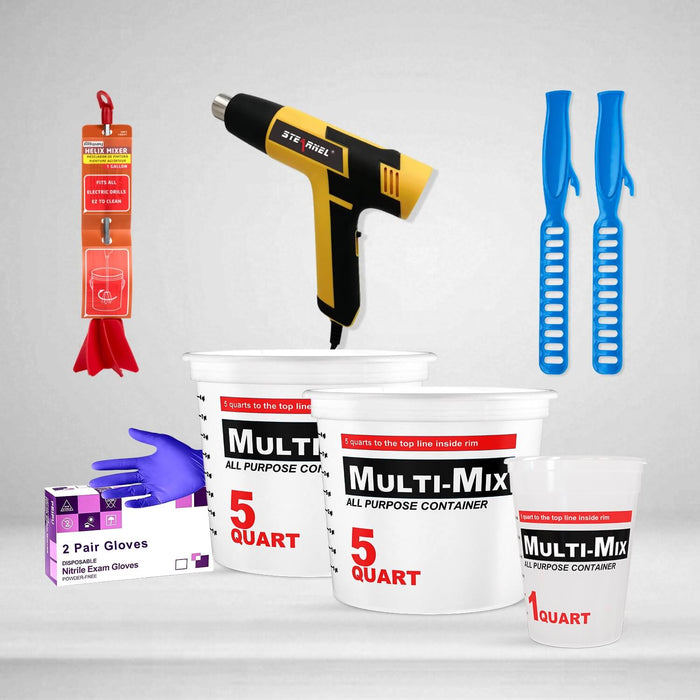
Calculate the amount of deep pour epoxy resin needed for your river table. Mix the resin and the hardener exactly as per the manufacturer’s instructions. Add a liquid or powdered pigment of your choice to the mixture and stir it well using a stir stick. Blue or turquoise are our favorite, but you can use any color you want depending on your preference.
Step 4
Pour the epoxy slowly. It is advisable to pour up to 1” at a time, as pouring it too thick could cause too many bubbles to form. You can pour it multiple times to get the desired level of thickness. Use a heat gun to help remove any bubbles if they are beginning to form. Let it cure for 7 to 14 days.
Step 5
Remove the mold. Clean and sand the table thoroughly. Apply a coat of table top resin to get a high-gloss finish. Fit your table with legs and voila; you’ve got yourself a gorgeous river table!

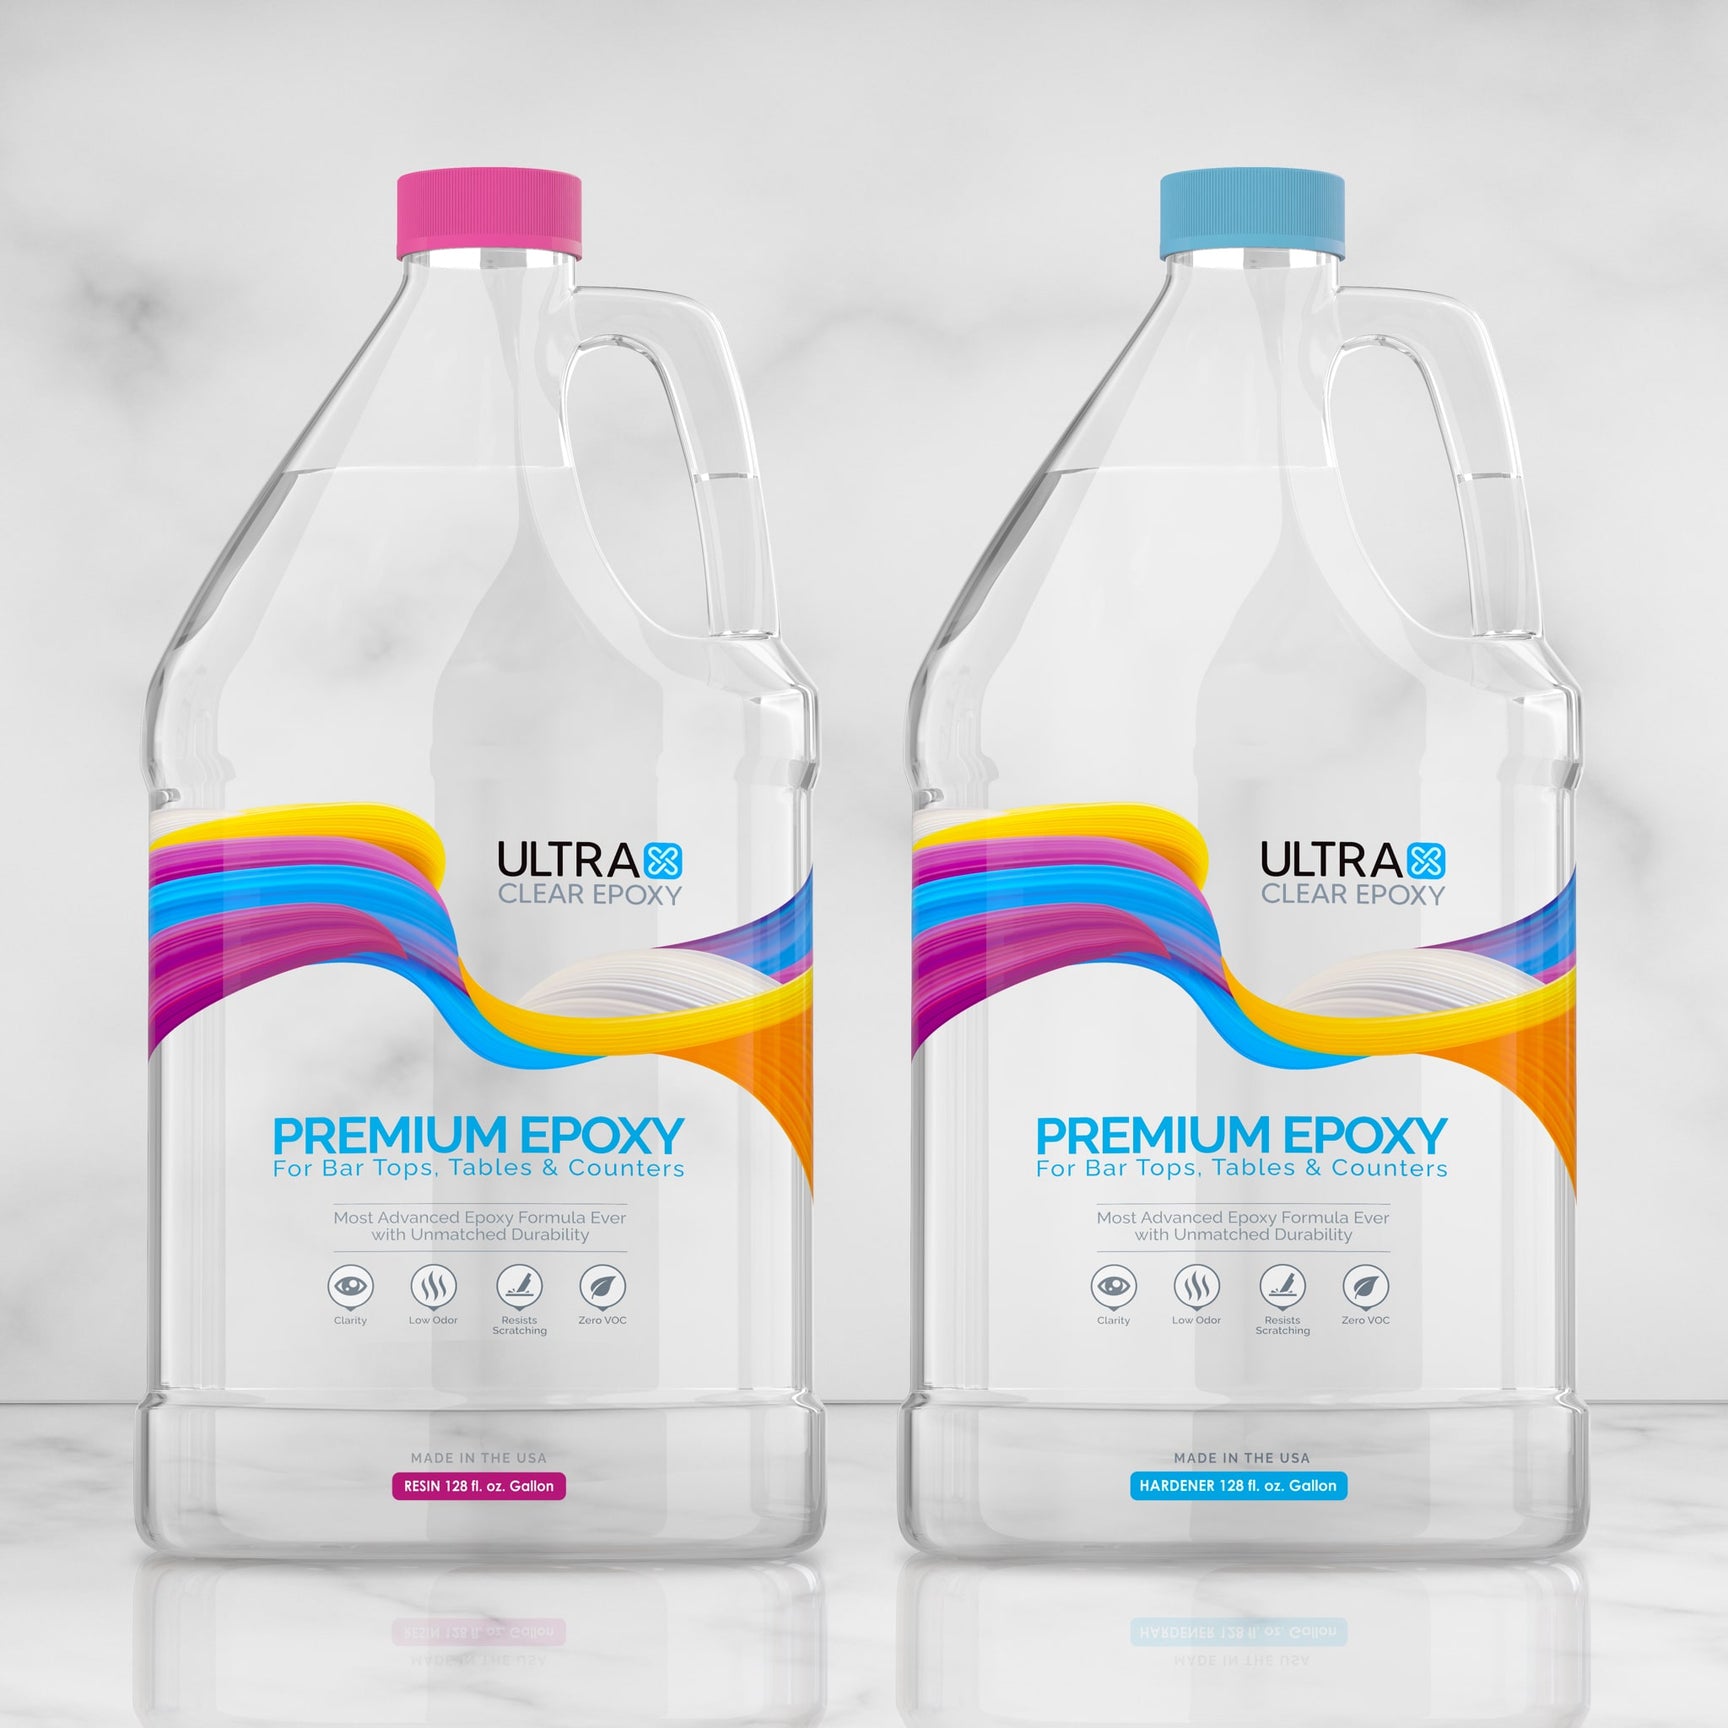
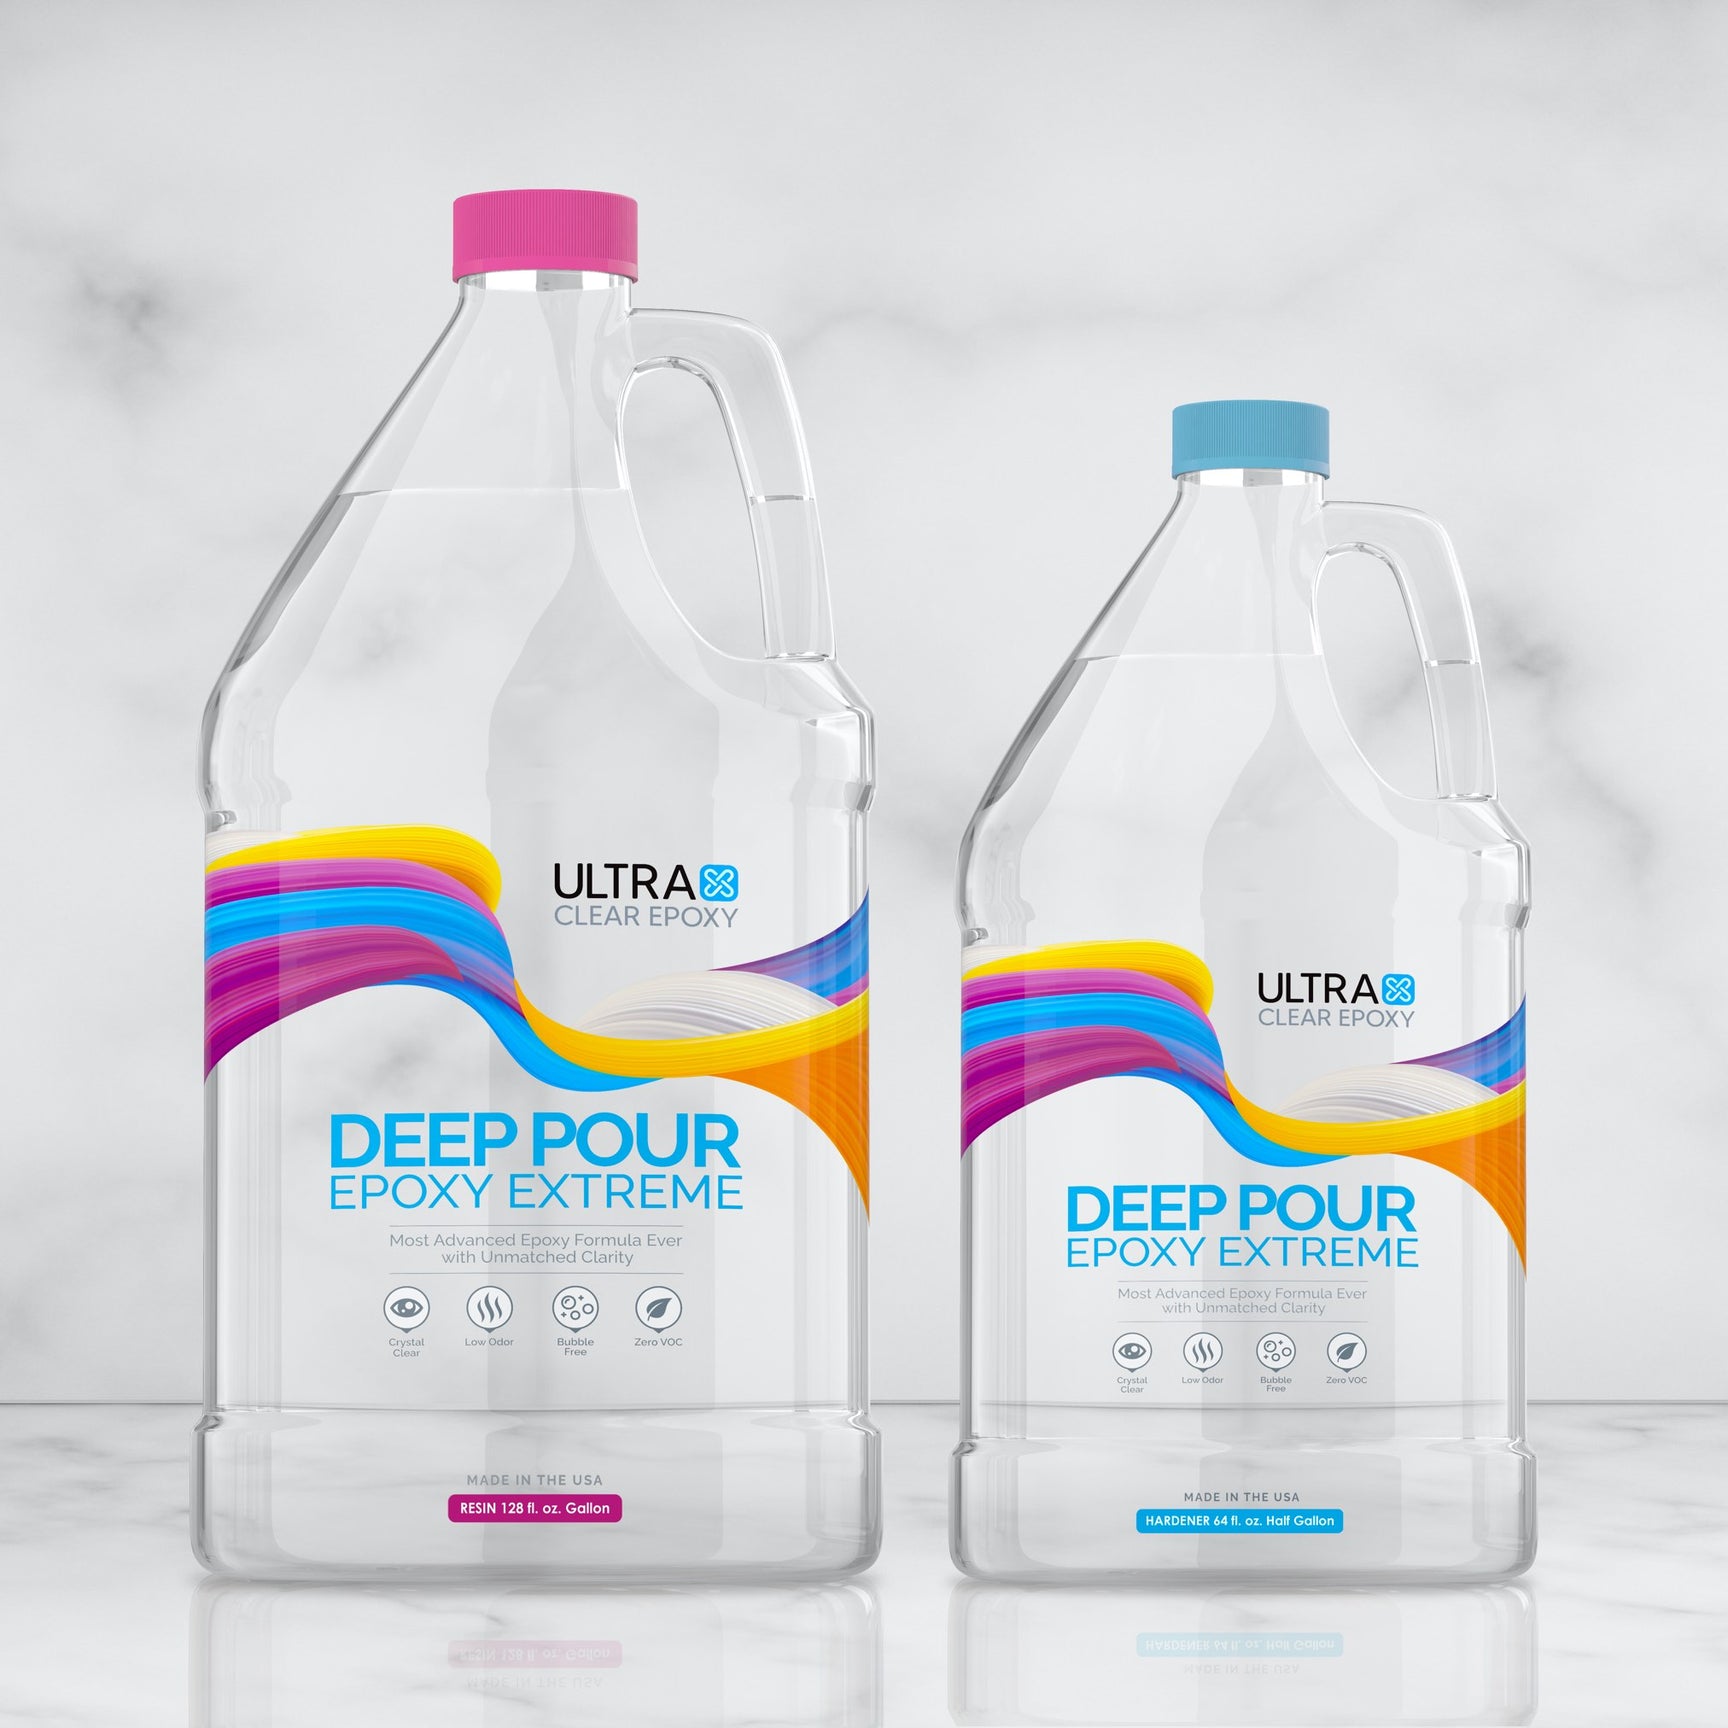
UltraClear – The Ideal Choice for Your Epoxy River Table
UltraClear deep pour epoxy is easy to use, durable, and blends well with a wide range of colors. You can pour up to six inches deep, which makes it a perfect choice for river tables as well as casting art and craft work.
Free of harmful chemicals, UltraClear deep pour epoxy is safe to work with and can be used to make dining tables and charcuterie boards as well. To place an order, call us today at 800-259-1619 or contact us online.