
Epoxy resin provides table tops with a durable, glossy, and water-resistant finish that outperforms varnish, polyurethane, or lacquer. It works exceptionally well on hardwoods (oak, walnut, maple) and even engineered substrates like MDF or plywood, sealing pores and highlighting grain. Unlike brush-on finishes, epoxy self-levels and forms a thick protective layer that resists moisture, UV damage, and surface wear.

Top Beginner Mistakes and How to Prevent and Fix Them
Mistake #1: Using an Incorrect Epoxy Mixing Ratio
Why It Likely Happens:
It's not uncommon for new epoxy users to eyeball measure the volume of resin and hardener, or use improper containers, instead of measuring it methodically.
How to Prevent This from Happening:
-
Use dedicated measuring cups marked with volume lines. In our store, we have 1-quart containers (for small batches and seal coats) and 5-quart containers (for large batches) with graduated mixing lines for convenience.
-
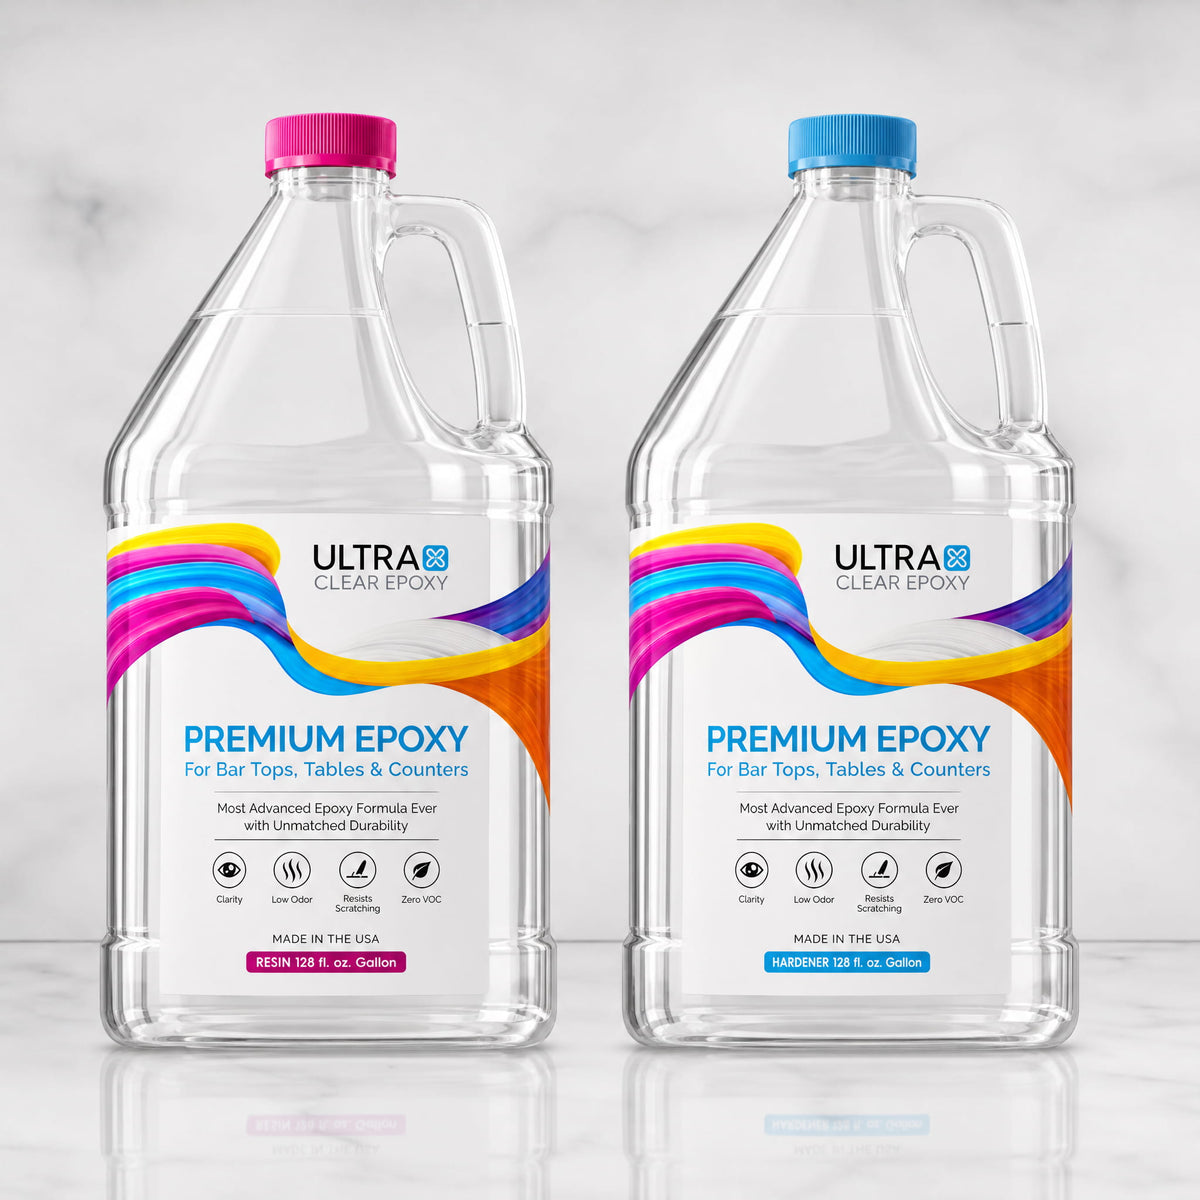
Follow the manufacturer’s mixing ratio. For example, our UltraClear Bar & Table Top Epoxy uses a 1:1 mixing ratio, meaning equal amounts of resin and hardener should be added to the container when measuring.
-
Stir thoroughly for 3–5 minutes, scraping sides and bottom.
How to Fix This Mistake When It Does Happen:
If uncured patches appear, you can sand those areas smooth and apply a thin flood coat of properly mixed epoxy.
See our guide to fixing common issues for more advice.


Mistake #2: Mixing Too Vigorously
Why It Likely Happens:
It's common convention for many materials that mixing rapidly is an effective way to achieve a smooth blend, but epoxy's highly viscous nature requires a less intuitive approach to avoid inducing air.
How to Prevent This from Happening:
-
When stirring, move slowly in a figure-eight or circular motion to minimize bubbles.
-
If you think you've pulled in air unintentionally, pause briefly to let trapped air rise before finishing the mix.
How to Fix This Mistake When It Does Happen:
Use a heat gun or propane torch immediately after pouring to pop surface bubbles. It may take extra passes if excessive air was pulled into the mixture.

Mistake #3: Poor Environmental Control
Why It Likely Happens:
Workshops without temperature or humidity management lead to curing issues. Without measuring, it's not always obvious when the temperature or humidity level is too high.
How to Prevent This from Happening:
-
Maintain 70–80°F—ideally 75°F—using space heaters or AC.
-
Keep humidity below 60% using a dehumidifier.
-
Seal off drafts and dust with a plastic drop tent and a fan with a furnace filter.
How to Fix This Mistake When It Does Happen:
If the cure is too slow or sticky, gently warm the area (under 90°F) and allow extra cure time. If amine blush appears, wash with warm soapy water and sand before recoating.

Mistake #4: Inadequate Surface Preparation
Why It Likely Happens:
Skipping the sanding and cleaning steps of a table top project may be tempting, but it's they're essential to achieving a crystal-clear finish, as otherwise dust and oil can mar the result.
How to Prevent This from Happening:
-
Prior to epoxy application, sand your substrate progressively from 80 to 220 grit.
-
Afterward, wipe it down with mineral spirits and a tack cloth, then let it dry before applying any epoxy.
How to Fix This Mistake When It Does Happen:
Sand the flawed area smooth, clean thoroughly, then apply a seal coat and flood coat.

Mistake #5: Omitting a Seal Coat
Why It Likely Happens:
A seal coat is necessary to push air out of small, nearly imperceptible pores in a substrate surface. However, substrate pores are often hard to see, leading some users to believe that the seal coat is unnecessary.
How to Prevent This from Happening:
-
Always use a brush to apply a thin seal coat of UltraClear Bar & Table Top Epoxy to remove or lock in air from porous wood and other materials.
- Let the seal coat partially cure (4 to 6 hours) before applying a flood coat.
How to Fix This Mistake When It Does Happen:
After cure, sand lightly and pour a new seal coat before the flood coat.

Mistake #6: Pouring Too Thick
Why It Likely Happens:
Sometimes enthusiasm or a misunderstanding of the epoxy layer limitations leads to overly thick pours.
How to Prevent This from Happening:
-
For standard coats, limit to 1/8" per layer with UltraClear Bar & Table Top Epoxy. You can apply additional layers as needed (see this guide for info).
-
For deeper pours (up to 2"), use UltraClear Deep Pour Epoxy in stages.
How to Fix This Mistake When It Does Happen:
If overheating or cracking occurs, sand out the damage and rebuild layers correctly.


Mistake #7: Ignoring Edge Protection
Why It Likely Happens:
Resin runs off edges, wasting material and creating drips.
How to Prevent This from Happening:
-
Use painter’s tape on underside or build a simple form with melamine boards sealed with silicone.
How to Fix This Mistake When It Does Happen:
Chip away cured drips, sand flush, and tape edges before the next pour.

Low-Cost Import Epoxies vs. UltraClear Epoxy
Many budget-brand epoxies are produced in unregulated factories with inconsistent quality, unknown ingredient sources, and elevated volatile organic compounds (VOCs). These formulations often cure yellow, remain sticky, or develop pinholes. They may also release harmful fumes, posing health and safety risks in poorly ventilated shops.

Premium Resin Delivers Premium Results
By contrast, UltraClear Epoxy products are 100% made in the USA under strict quality controls. They deliver:
-
Consistent clarity without yellowing
-
Reliable cures that reach full hardness
-
Low VOC formulations for safer indoor use
-
Durable, easy-to-clean surfaces needing minimal maintenance
Investing in professional-grade epoxy allows you to avoid rework, health hazards, and long-term upkeep. That's why it's always a good idea to spend a little more for quality, saving you from wasted time, money, and a headache-inducing experience.
You'll find our premium UltraClear Epoxy products on the following pages:
- UltraClear Bar & Table Top Epoxy—Our strongest epoxy, formulated to withstand wear and tear through heavy use. It self-levels to a clear, waterproof finish with unmatched durability.
- UltraClear Deep Pour Epoxy—Our specialty deep casting resin, designed for thick layers, river veins, and filling voids within a substrate material or resin mold.
- UltraClear Art & Craft Epoxy—Our art epoxy designed for smaller projects. More manipulable with a longer working time, this resin allows for greater nuance and is commonly used for resin art, trays, and small tables.

FAQs: Avoiding Epoxy Table Top Errors
Question #1: What if my epoxy remains tacky after recommended cure time?
This is typically the result of either using the wrong mixing ratio for the epoxy or inadequate mixing. Before making a batch or applying, be sure to check the ratio for your chosen epoxy and carefully mix it per the manufacturer's instructions.
For dealing with tacky spots in your epoxy, see our help page on the issue.
Question #2: How do I remove cured bubbles or pinholes?
For surface-level bubbles, lightly sand the surface with 220–320 grit, clean, then pour a thin corrective coat of UltraClear Bar & Table Top Epoxy.
For more advanced techniques on deeper bubbles, see our dedicated guide.
Question #3: Can I combine different UltraClear Epoxy formulas in one project?
Yes, and this is a common technique to achieve a thick epoxy finish/layer with the highest possible surface durability.
Use UltraClear Deep Pour Epoxy for filling in deep voids, river veins, or simply for producing a much thicker layer (up to 2 inches at a time), then switch to Bar & Table Top Epoxy for the final topcoat to ensure a glossy finish with maximum strength.
Learn more about combining epoxies here.
Question #4: How can I prevent amine blush in high humidity?
Amine blush can be caused in different ways, but the most common is probably excessive humidity during the project.
You can prevent this by keeping the relative humidity of your work area below 60% at all times until the finish has fully cured.
Surface-level amine blush can be cleared away via the following steps:
- Washing your epoxy finish with warm soapy water, then dry it.
- Sand the epoxy. (Learn more here.)
- Recoat it under appropriate environmental conditions.
Question #5: What safety equipment should I use during an epoxy project?
We recommend that you wear nitrile gloves, safety glasses, and an organic-vapor respirator when working with epoxy, especially lower-cost epoxies that tend to compromise on safety.
Question #6: How long do I need to wait before I can safely place items on my cured epoxy?
Most table top epoxies reach a usable state after 72 hours of curing under appropriate conditions. We recommend waiting 72 hours for light usage and a full week for full use.
See our guide to epoxy drying times and curing advice for more details.

Have Questions? Want Advice? We're Here to Help!
If you have any questions about proper handling of epoxy or fixing mistakes, or if you'd simply like assistance in planning an epoxy project, please reach out to us at UltraClear Epoxy—our epoxy experts are ready to assist!
You can contact us via phone or email here. During business hours, you can also text chat online with one of our resin specialists by clicking the Help button at the bottom of your screen.
In our online store, you'll find a variety of useful tools and supplies, ideal for resin projects, plus our award-winning UltraClear Bar & Table Top Epoxy and our UltraClear Deep Pour Epoxy.