Knowing how to apply multiple layers of epoxy, each atop the previous layer, can be a useful technique for certain situations.
In most epoxy projects involving a substrate, there are two types of coatings: the seal coat and the flood coat.
Understanding the epoxy seal coat and flood coat
Epoxy seal coats
The seal coat is a thin, brushed-on coating of epoxy that "seals" the pores and tiny grooves/crevices of the substrate material to prevent air from getting trapped in the full epoxy finish.
Epoxy flood coats
On the other hand, the flood coat is the primary coating of epoxy resin—the one that protects and preserves the substrate material. This coating is thicker, gets poured on (in almost every case), and needs to be applied and handled with a little more care to prevent imperfections and blemishes appearing later.
For the purposes of this guide, we'll be talking about how to apply multiple flood coats.
To learn more about applying seal coatings, click here.
How to apply multiple layers of epoxy resin
Applying multiple flood coat layers of epoxy is not difficult, but it does require a little knowledge.
The first thing to understand is that after applying your flood coat, there is a period of time you must wait before you apply the next one.
For most table top epoxy resins, this period starts at about 4 hours after the current layer and ends about 10 hours after the current layer. Those first 4 hours give that layer time to settle and partially cure so that your next layer has something to properly mesh and bond with.
If more than 10 hours have passed, the epoxy will have a slightly hardened exterior, and you'll need to do a very light sanding before applying an additional layer.
In other words, to apply an additional layer of epoxy to a previous one:
- Wait at least 4 hours after the previous layer, but no more than 10 hours—ideally 4 to 6 hours.
- Next, mix up a batch of epoxy.
- Then, pour the epoxy over your previous layer.
- Remove any air bubbles using a heat gun or torch.
- Repeat as needed; we recommend not going beyond 3 total layers of epoxy resin.
- Let the entire project cure for at least 72 hours.
This process can be repeated as needed, but we don't recommend going over 3 layers of epoxy through this method, as the chance of blemishes appearing becomes a concern from that point.
Frequently Asked Questions about epoxy layering
We sometimes receive questions related to bonding or epoxy layering. Below we answer some of the most relevant ones:
Question #1: Can you apply epoxy twice?
Yes. Learn how in this very guide with the the step-by-step instructions listed above.
Question #2: Can you epoxy over other epoxy?
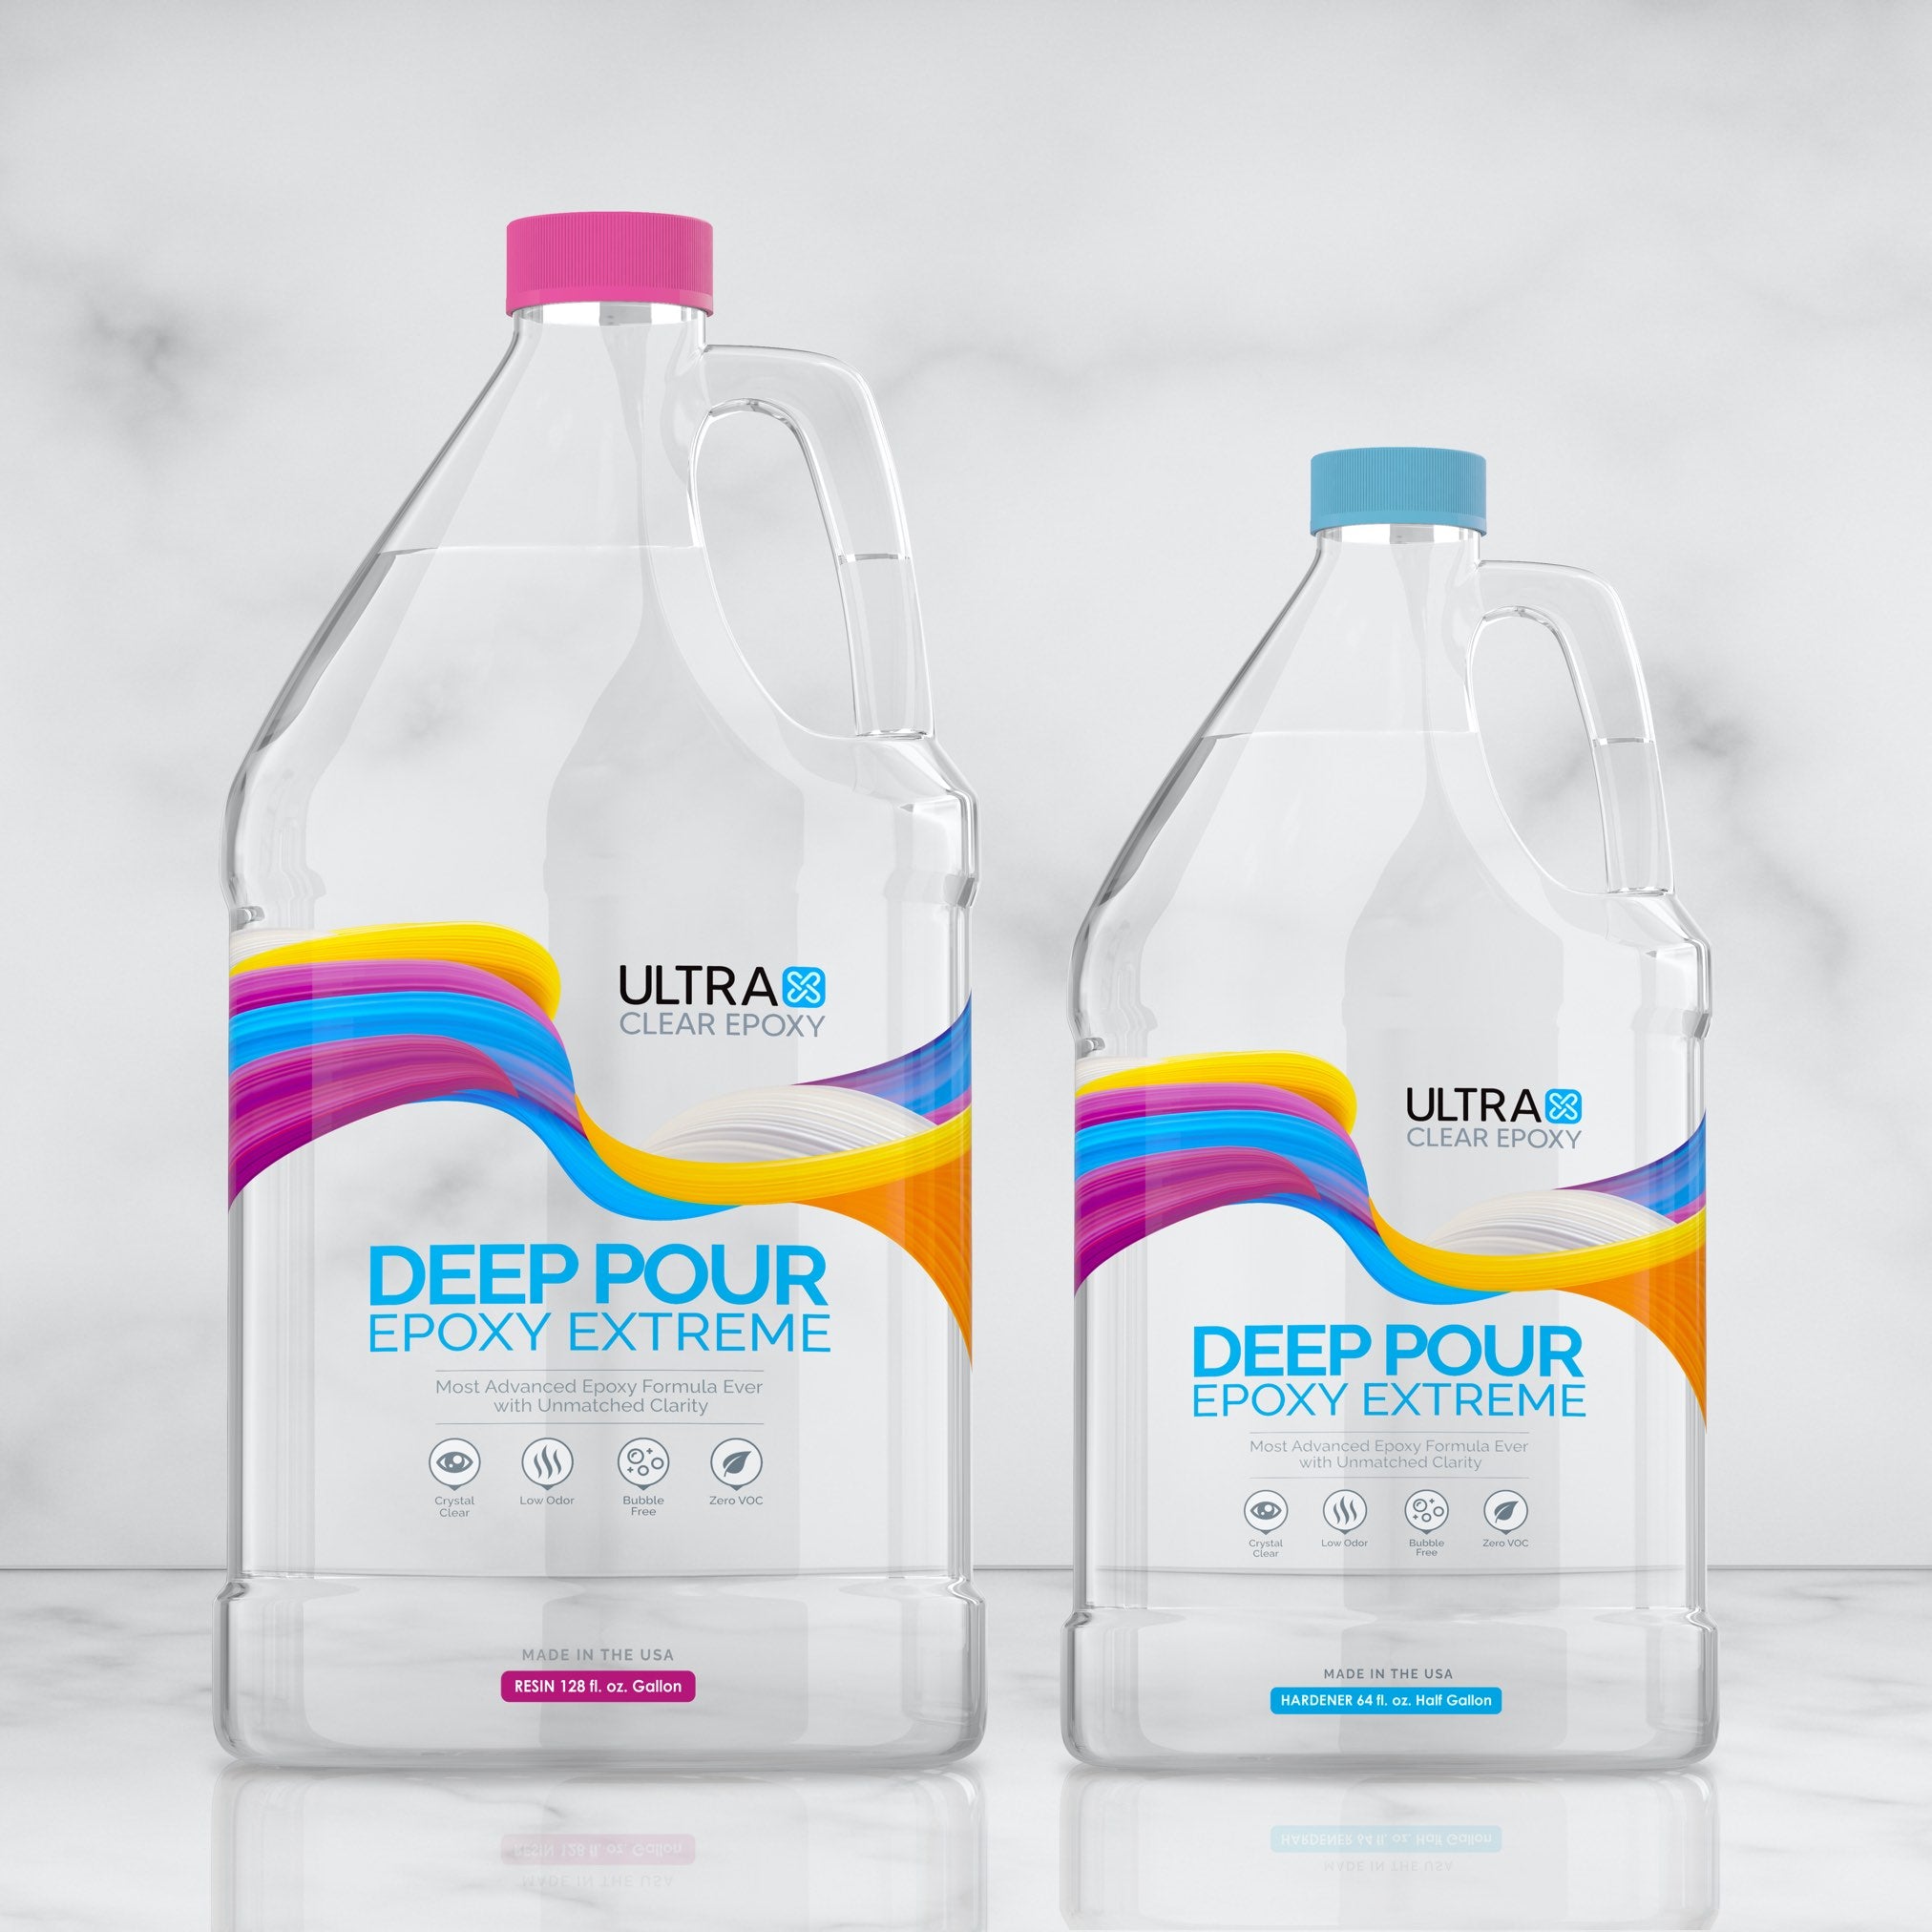
Yes. In fact, this is common for Deep Pour Epoxy projects, in which a topcoat of Table Top Epoxy is typically applied as a final sealant layer to give the project the ultimate protective finish.
Question #3: Do you sand between coats of epoxy?
Only if 10 or more hours have passed since the previous layer was applied. At this point it's hardened enough that a light sanding is necessary to facilitate a stronger bond between layers.
For a fully cured resin finish, the sanding will need to be a little more extensive, but the application method is quite similar.
Click here to learn how to sand cured epoxy resin surfaces.
Question #4: Can you pour epoxy 2 inches thick?
Yes, but only with a premium deep pour epoxy.
Most deep pour resins are limited to a one-inch layer, beyond which there is a heightened risk of air bubbles and other blemishes.
To achieve a 2-inch layer depth, you can use our UltraClear Deep Pour Epoxy, which supports 2-inch layers, with additional layers possible for a combined total max of 6 inches of epoxy depth.
Applying multiple layers is easy once you know how!
Multi-layered epoxy finishes aren't much different from those with a single layer. The added thickness provides more protection or stability in some cases, but the application of it is nearly the same.
To achieve the best results takes a little bit of know-how and some high-quality epoxy resin. You can find our UltraClear Epoxy Resins on the following pages:
- UltraClear Bar & Table Top Epoxy - For providing ultimate protection.
- UltraClear Deep Pour Epoxy - For pouring thick layers and deep casting.
Have questions? Want advice? Contact us!
If you have any questions about applying multiple layers of epoxy, or if you'd like assistance in planning an epoxy project, please reach out to us at UltraClear Epoxy—our epoxy experts are ready to assist!
You can contact us via phone or email here. During business hours, you can also text chat online with one of our resin specialists by clicking the Help button at the bottom of your screen.
In our online store, you'll find a variety of useful tools and supplies, ideal for resin projects, plus our award-winning UltraClear Bar & Table Top Epoxy and our UltraClear Deep Pour Epoxy.


