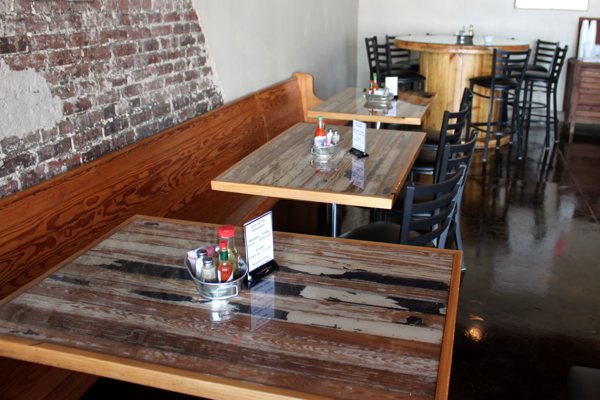
An epoxy finish can elevate a table top from ordinary to visually striking, offering both aesthetic and functional benefits. Whether you're restoring an old table or crafting a new one, epoxy delivers lasting results. As a DIY option, epoxy can also be quite approachable. With the right instruction and some handy tips, even a complete beginner can produce a beautiful epoxy finish for the table top of their choice.
In this article, we'll discuss the distinct features of an epoxy table top finish, compare it to other sealant possibilities, then provide a DIY-friendly guide to finishing your own table top with epoxy for a long-lasting protective seal.

The Benefits of an Epoxy Table Top Finish
A good sealant must be able to preserve its substrate from a wide array of damage types, including moisture, chemical, and physical. Epoxy does all of that and more.
Here's a list of some of the benefits of an epoxy finish:
-
Durability: Highly resistant to scratches, dents, and everyday wear.
-
Moisture Protection: Seals the substrate, preventing water damage and stains with an impermeable surface.
-
Aesthetic Appeal: Delivers a deep, glass-like finish that enhances wood grain or embedded designs.
-
Customizable: Easily tinted, pigmented, or layered for personalized looks.
-
Food-Safe Options: Once cured, our UltraClear Epoxy products, (such as UltraClear Bar & Table Top Epoxy) are food-safe.
-
Easy Maintenance: The naturally smooth, non-porous surface allows for easy cleaning and sanitation, saving you time and keeping your guests safe.

Comparing Table Top Sealant Options
| Sealant Type | Durability | Water Resistance | Appearance | Maintenance |
|---|---|---|---|---|
| Polyurethane (Oil-Based) |
Moderate | Good | Satin/Gloss | Moderate |
| Polyurethane (Water-Based) |
Moderate | Fair | Matte/Satin | Low |
| Lacquer | Low | Poor | Glossy | High |
| Varnish | Moderate | Good | Glossy | Moderate |
| Shellac | Low | Poor | Glossy | High |
| Epoxy Resin | Superb | Waterproof | High-gloss | Minimal |

Supplies Checklist for Epoxy Table Top Projects
-
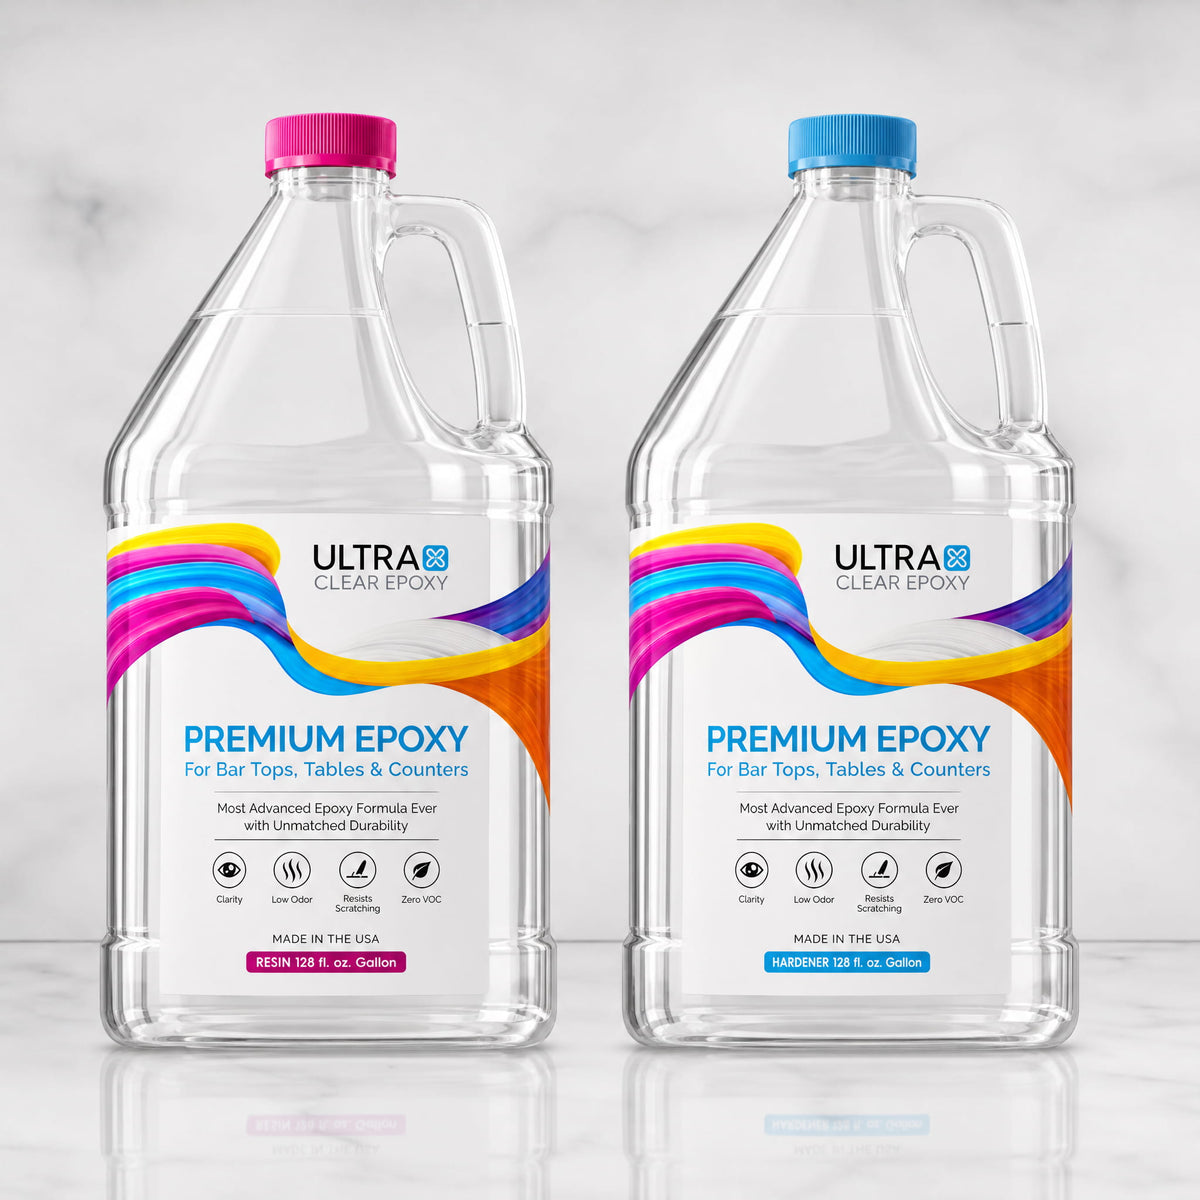
UltraClear Bar & Table Top Epoxy—High-gloss epoxy with unparalleled durability made in the USA.
-
Mixing containers—For precisely measuring a 1:1 resin to hardener ratio. Containers with graduated mixing lines are the best for accuracy.
-
Stir sticks—Used to manually stir the epoxy for a thorough blend.
-
Heat gun or torch—The heat generated by these will remove any air bubbles after pouring, resulting in a blemish-free finish.
-
Plastic sheeting/tarps—Lay these out as a safety measure to catch accidental resin drips.
-
Painter’s tape—Contains the epoxy to prevent it from unintentionally flowing over edges or mold barriers.
-
Leveling tools—A quick and easy way to ensure your table top is flat.
-
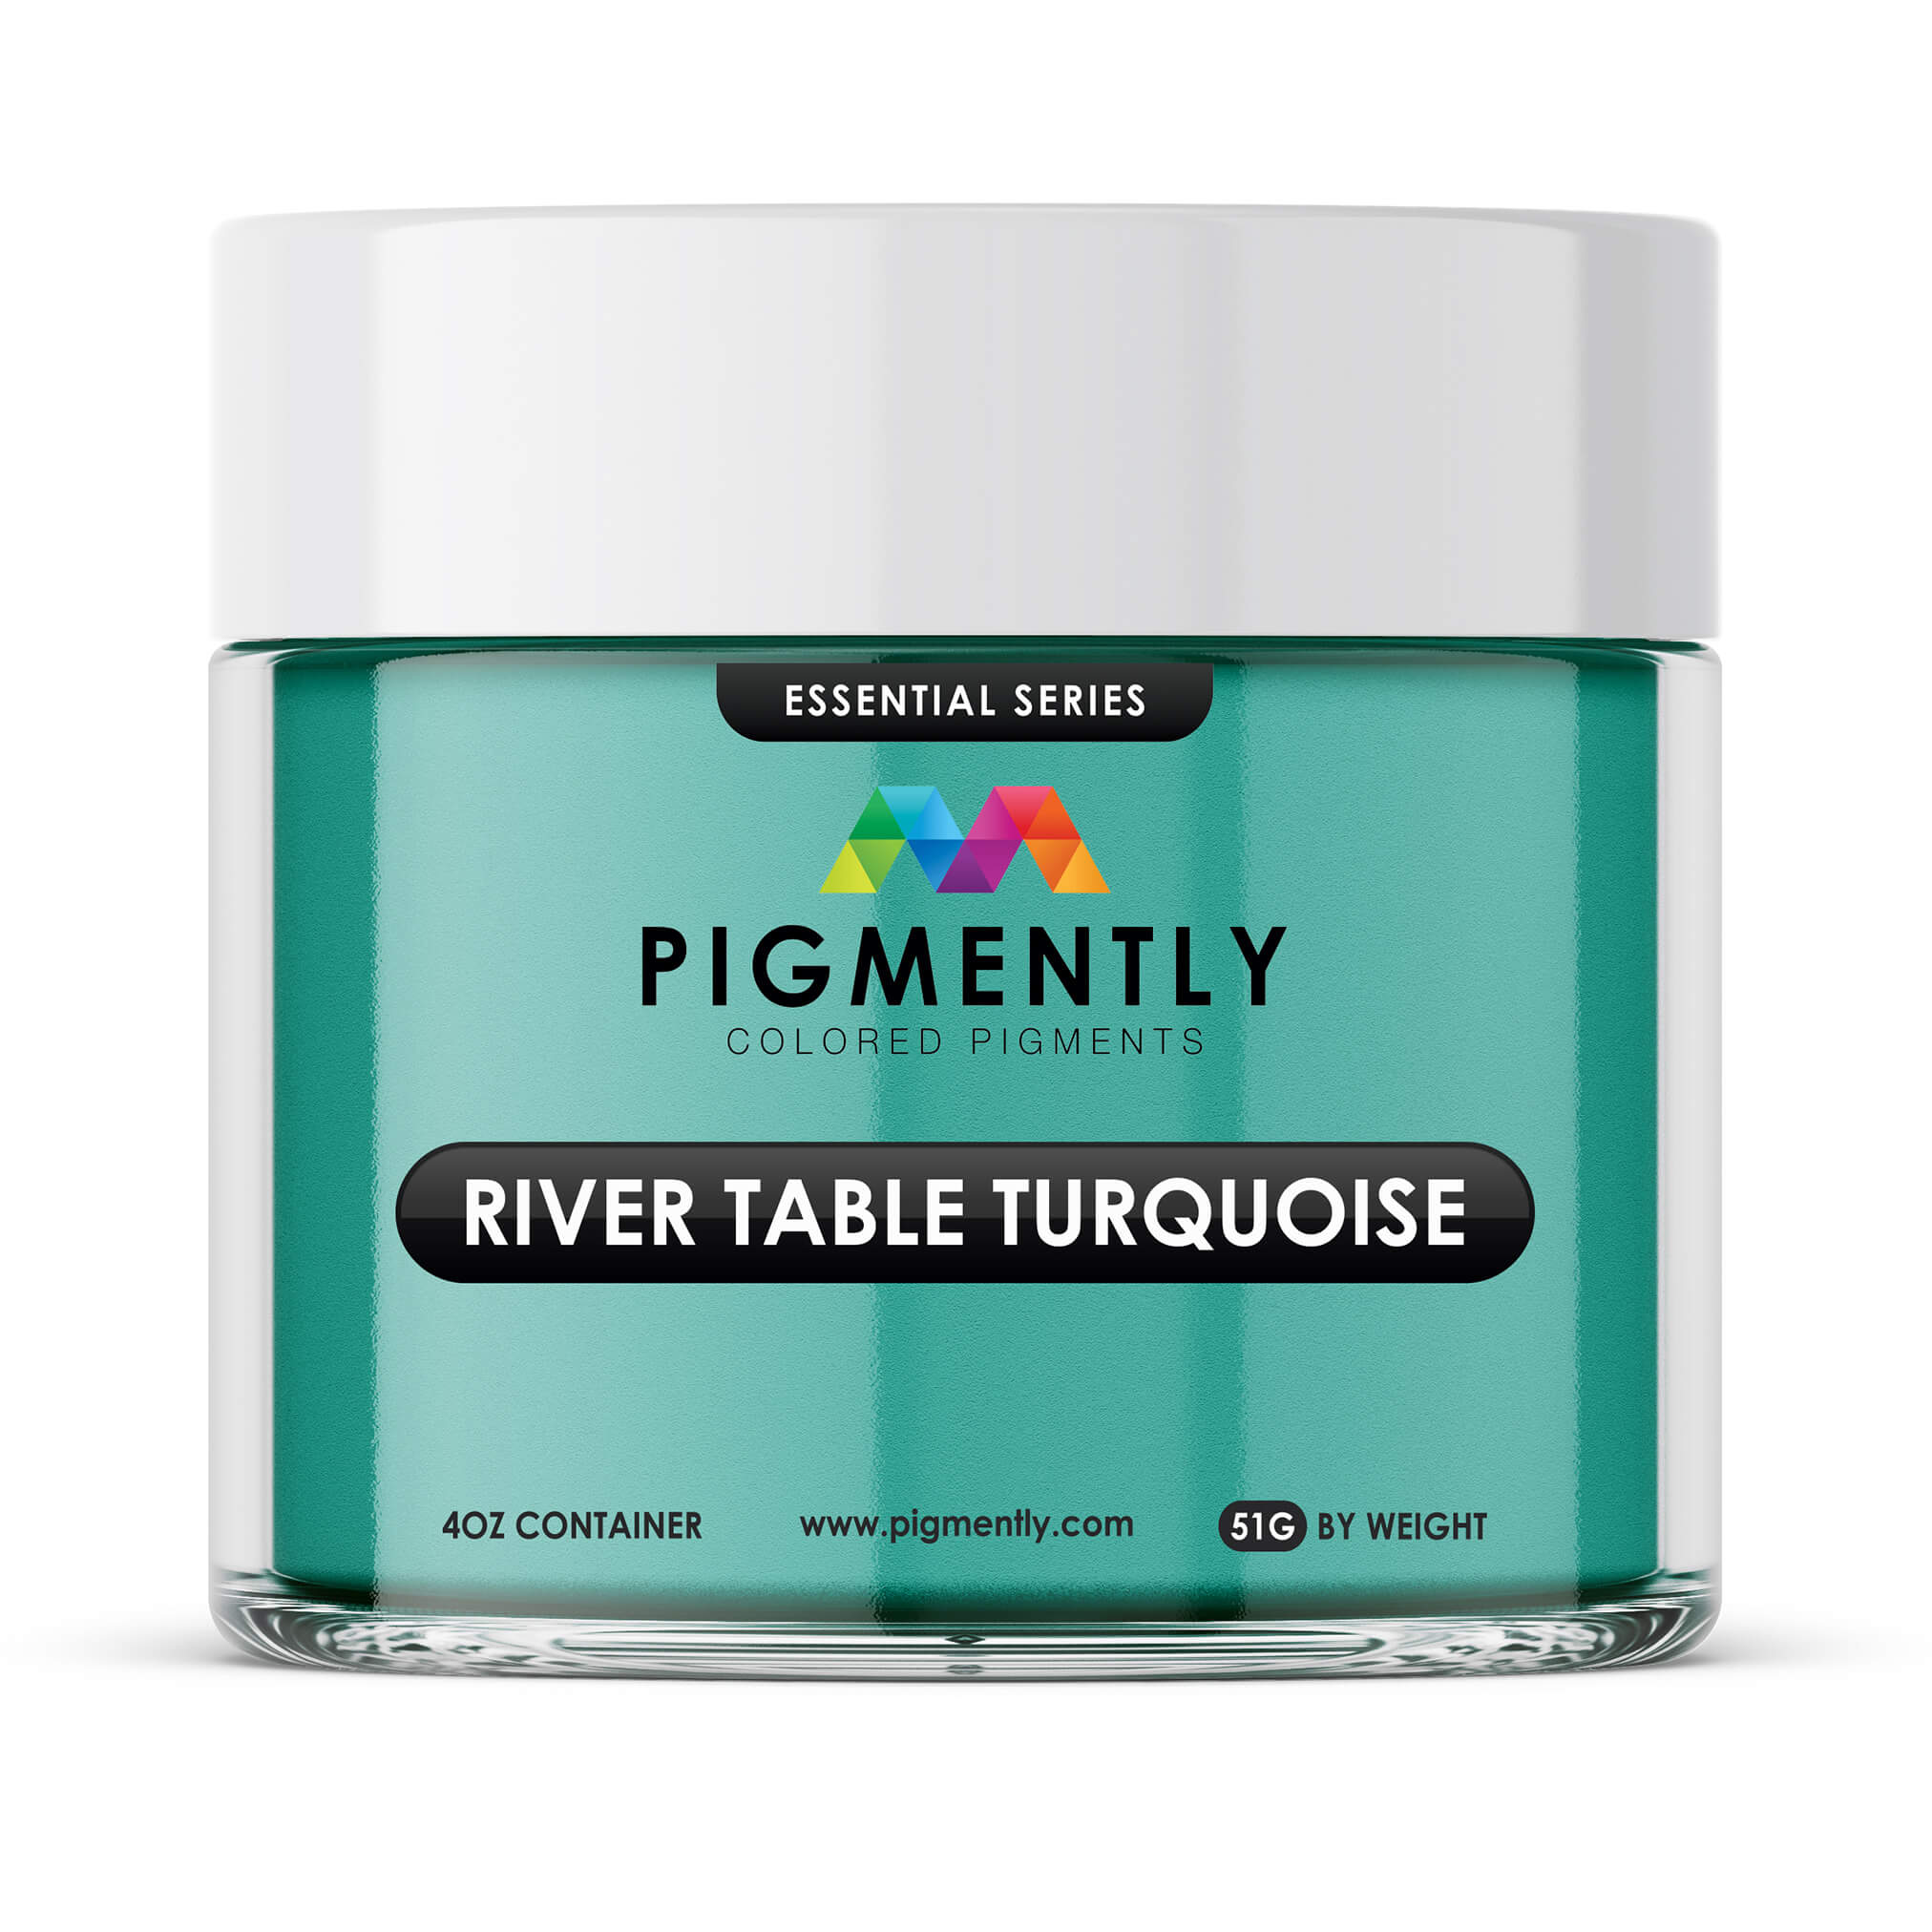
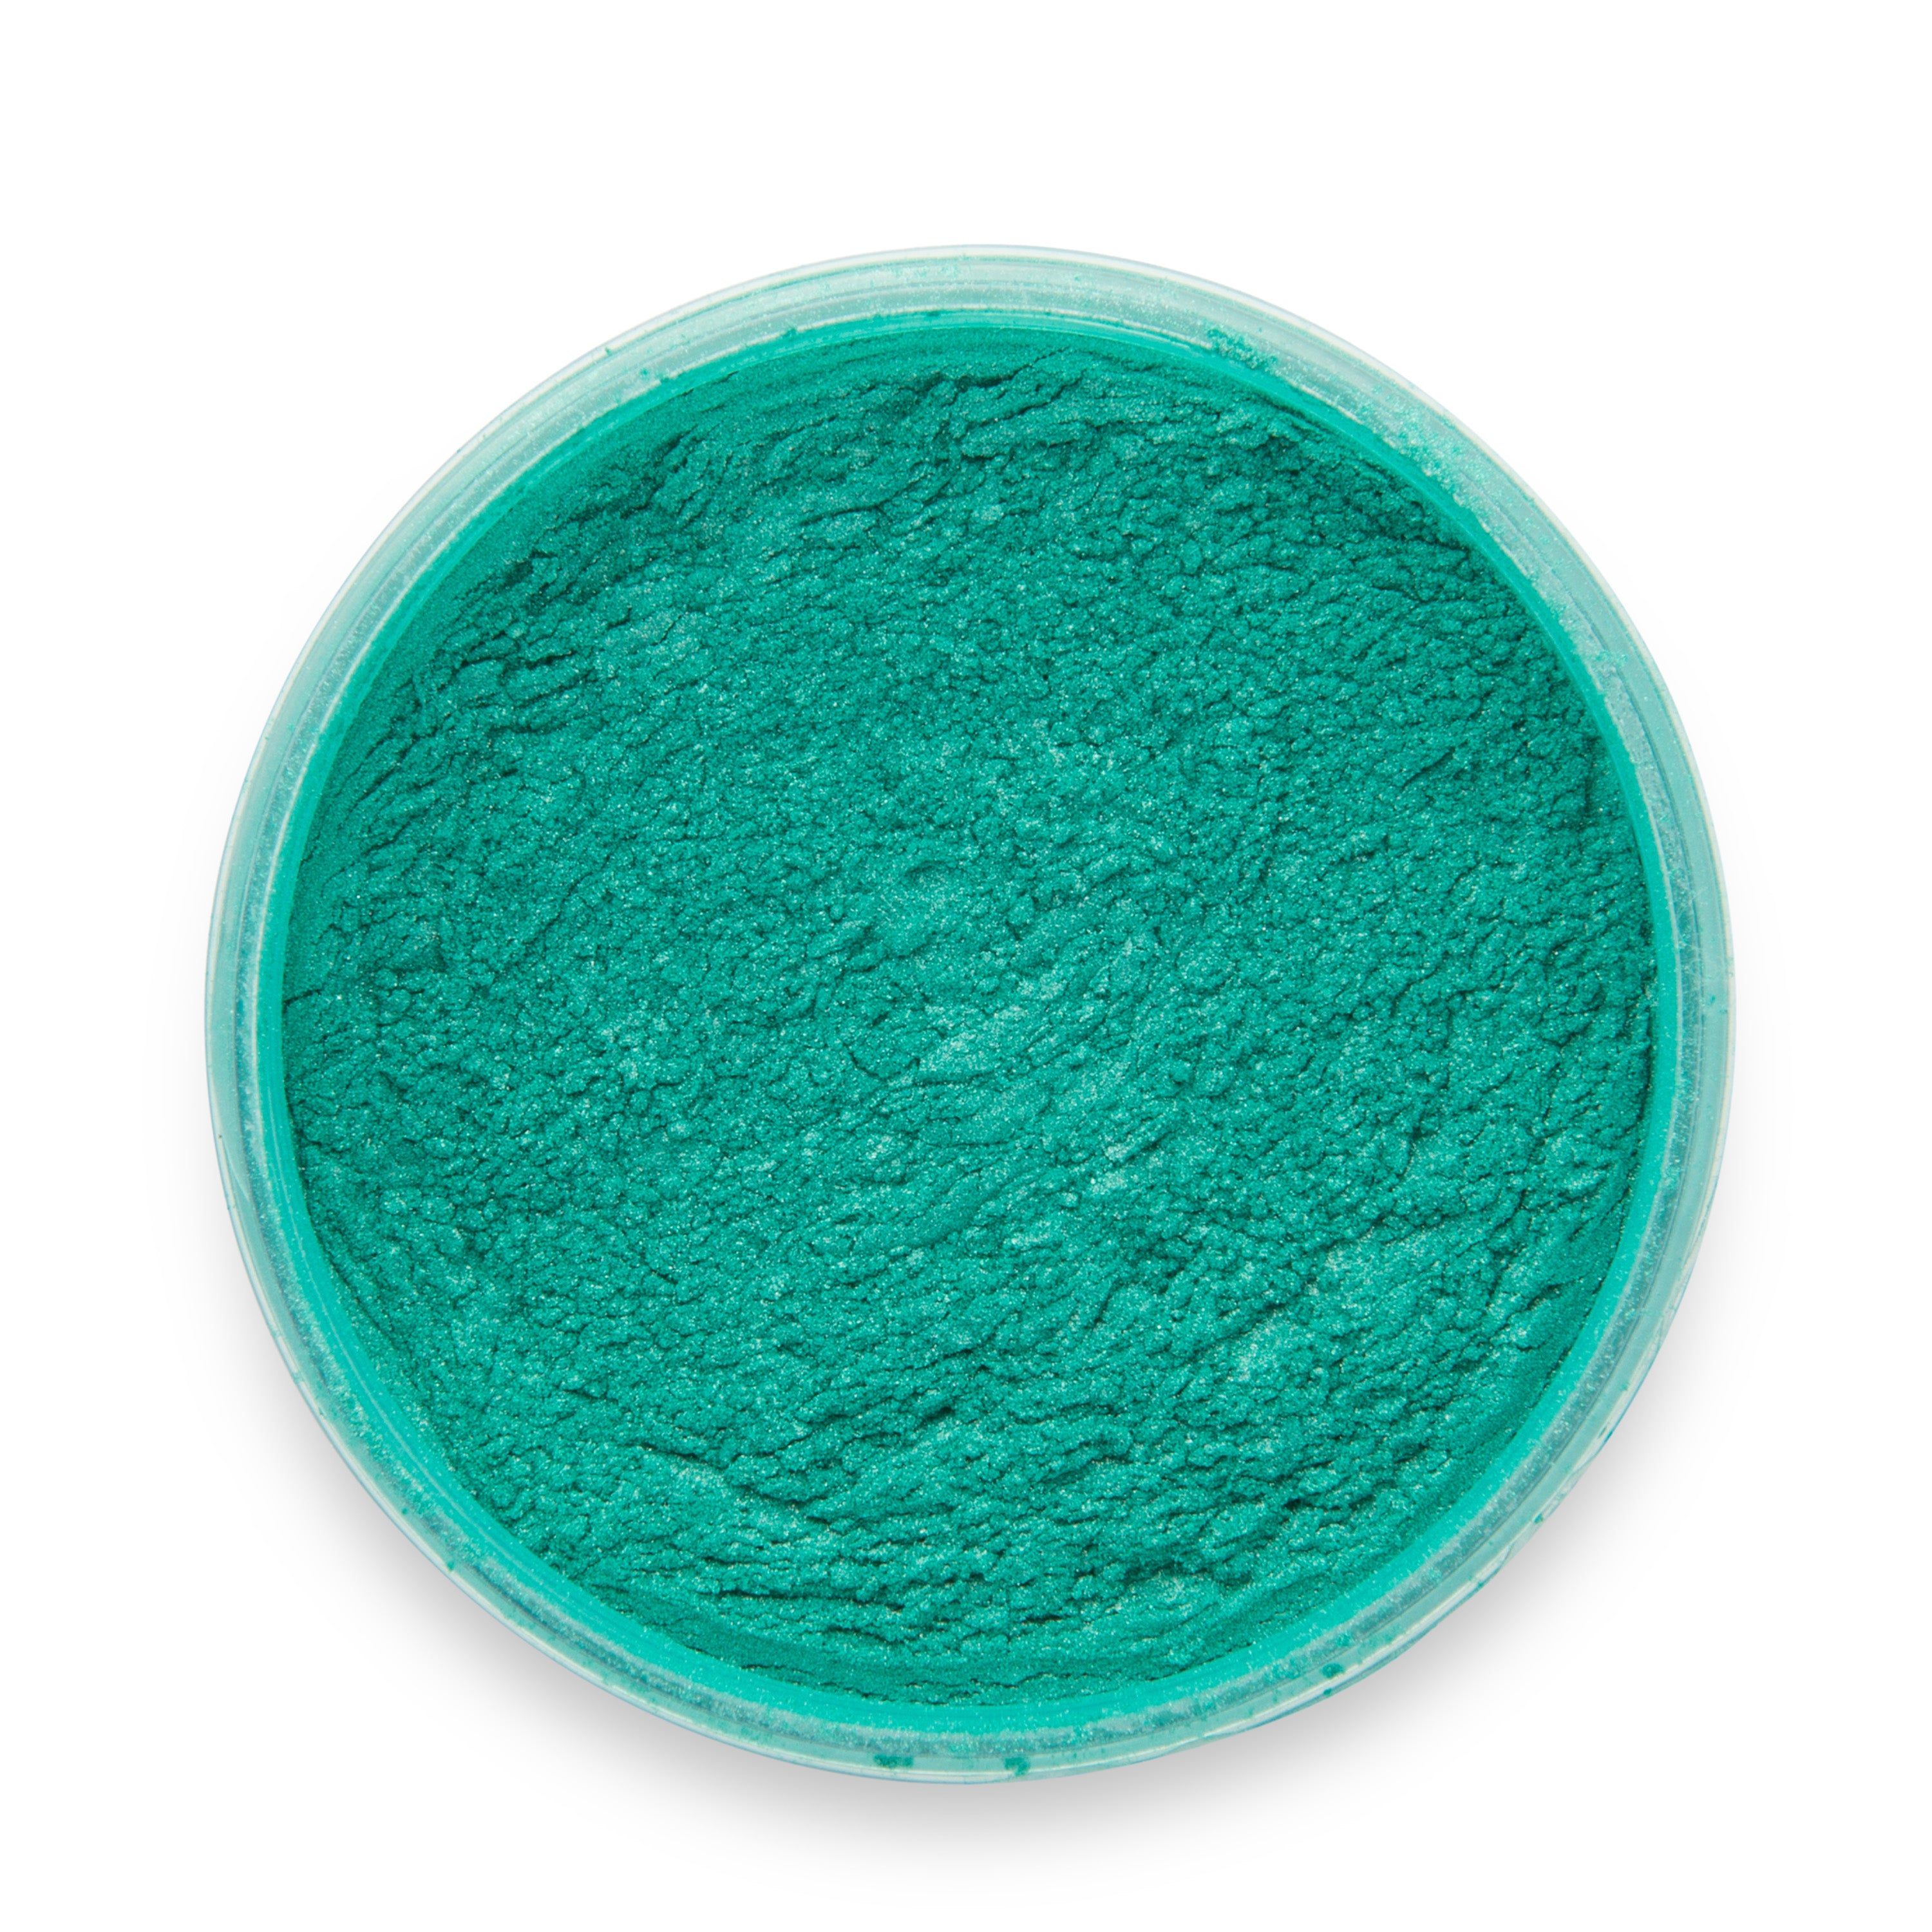
Optional: Pigments or dyes – For custom color effects. Learn more here.
-
Optional: Safety gear (gloves, mask) – For a safer working environment.

Step-by-Step Guide to Epoxy Table Top Installation
Depending on the level of customization and the type of epoxy table top you're performing, there are a lot of different ways your project can go. Below, we've written a step-by-step guide for a conventional epoxy table top—i.e., a standard flat table top with a single comprehensive epoxy finish.
These instructions are for conventional tables. For our DIY river table guide, click here.
And remember, you can always get expert advice directly from one of our resin specialists by contacting us.
Step #1: Prep the Workspace
Before working with the epoxy, your first goal is to prepare your workspace. This will help the epoxy cure evenly and prevent surface imperfections.
Make sure your workspace is clean, dry, and dust-free. Ideal environmental temperatures should be between 70–75°F (21–24°C) with less than 60% humidity.
Step #2: Level the Table Top
Set your table top on a flat, stable surface. Use a level to confirm that it’s even—any tilt may cause the epoxy to pool or drip off the edge unevenly.
Step #3: Seal the Surface
Apply a thin seal coat of UltraClear Bar & Table Top Epoxy using a foam brush or roller. This helps prevent air bubbles from emerging during the flood coat. Let this coat cure until tacky (typically 4–6 hours).
Step #4: Mix the Epoxy Properly
Next up is preparing your flood coat batch. Measure the resin and hardener according to the UltraClear Bar & Table Top Epoxy ratio (usually 1:1). Mix slowly but thoroughly for 3–5 minutes, scraping the sides and bottom of the container. Mixing too quickly introduces bubbles; under-mixing can cause curing issues.
Step #5: Pour the Epoxy Flood Coat
Pour the epoxy across the surface in a smooth motion. Let it spread naturally and then use a notched trowel or brush to help distribute it if needed. The self-leveling nature of UltraClear epoxy will smooth it out.
Get a perfect pour by following these tips!
Step #6: Remove Bubbles
Use a heat gun or torch to pass over the surface 6–8 inches away. This releases air bubbles. Do this within 10–15 minutes of pouring for the best effect.
Bubble prevention is key to an iconic pristine finish. Learn more here.
Step #7: Let the Epoxy Cure
Allow the epoxy to cure in a dust-free environment for 72 hours. Avoid touching or covering the surface during this time to prevent imprints or defects.
Try these 5 tricks for achieving a smooth, rock-solid cure.
Step #8: Sand and Recoat if Needed
If the surface is uneven or you want to apply another coat, lightly sand the surface with 220-grit sandpaper, clean the dust, and repeat the flood coat process.
Read our epoxy layering guide for detailed advice.


Why Budget Epoxies Don’t Measure Up
Throughout the epoxy marketplaces, there are numerous low-cost "budget brands" of epoxy being offered. These brands exhibit a surprisingly low price that can seem hard to pass up.
But while saving money by buying cheap epoxy brands may be an appealing prospect, the truth is that their long-term performance is lacking. These products are almost always sourced from unreliable overseas manufacturers where they're produced in under-regulated environments, and therefore lack the quality control needed for safe use. This isn't just physical flaws, either; health risks also can arise due to improper formulations that emit harmful VOCs or fail to cure completely.
Functionally, low-cost epoxies are more prone to ambering, soft curing, and surface flaws like pitting or cloudiness. Over time, this means more maintenance, more repairs, and ultimately, more expense. The old adage of "you get what you pay for" still rings true here.
Learn more about the importance of choosing a good epoxy here.

The Value of Choosing UltraClear Epoxy
Unlike most budget-brand epoxies, UltraClear Bar & Table Top Epoxy is 100% made in the USA and is designed for professional-level clarity and strength—that doesn't mean it isn't DIY compatible, though! Each UltraClear product is beginner friendly, with a 3-stage application process followed by an easy curing phase.
Our Table Top Epoxy cures to a crystal-clear finish, resists scratches and stains, and is easy to clean. The formula ensures a smooth, self-leveling coat with high resistance to UV damage, making it ideal for both decorative and functional applications.

FAQs: Table Epoxy Epoxy Projects
Question #1: How thick should I pour my epoxy layer?
The ideal epoxy finish for most table tops consists of a single UltraClear Bar & Table Top Epoxy layer. This epoxy self-levels to a 1/8" thick coating and cures to a rock-solid transparent finish.
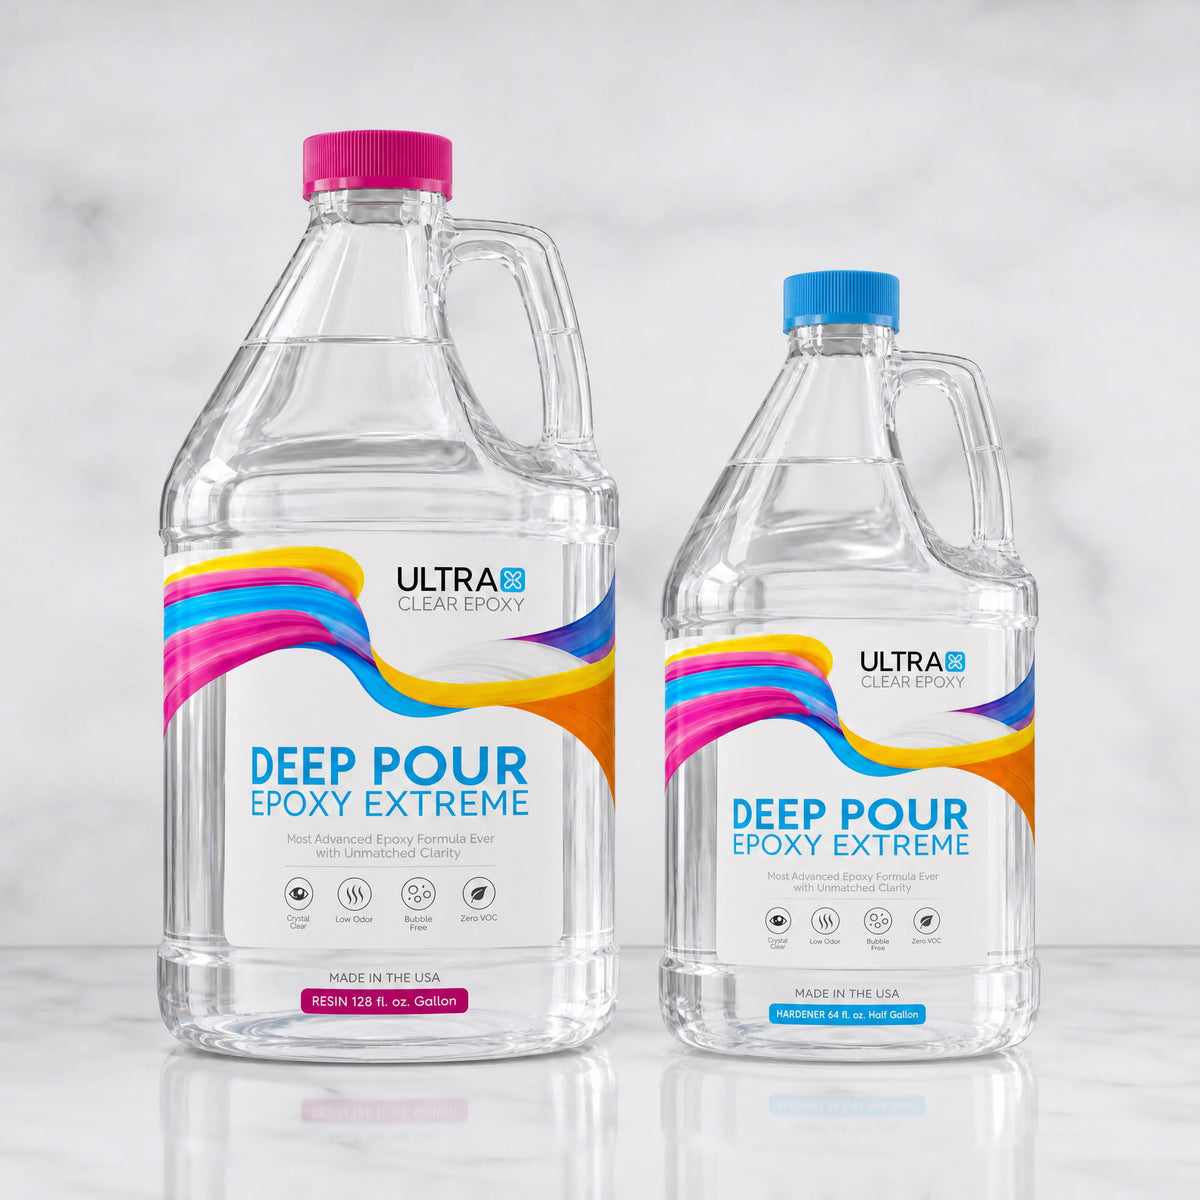
For some table projects, a thicker finish is needed, and for that we recommend UltraClear Deep Pour Epoxy. which is designed for high-depth pours of up to 2-inches without trapping in air bubbles. These coatings can be further bolstered by a final topcoat of Table Top Epoxy for maximal durability and longevity.
Question #2: Can I apply epoxy to a painted surface?
Yes. In fact, painting a table top prior to an epoxy coating is a common way to personalize it for its intended location, adding a thematic flair. However, you must ensure ensure that the paint is fully dry and well-bonded before you apply your epoxy.
To improve epoxy adhesion, lightly sand the surface and wipe away the dust just before application.
Question #3: What temperature should my workspace be?
Maintaining a temperature between 70-75°F is the ideal for optimal curing. Avoid high humidity or cold environments.
Learn more about optimal curing conditions here.
Question #4: How do I prevent dust from settling in the finish?
Work in a clean room, to start. Many users buy plastic sheeting to build a dust tent or wait until air movement has settled before pouring. If you've prepared your substrate in advance, dust is much less likely and typically not a problem.
Question #5: Can I recoat epoxy if I messed up the first layer?
Yes. Lightly sand the cured layer with 220 grit and clean it thoroughly before applying a second coat.
We've written a guide to applying multiple epoxy layers. Check it out here.
Question #6: How do I fix surface imperfections?
Small imperfections can be sanded and recoated. Larger ones may require sanding down and repouring a fresh layer.
See our guide to fixing these issues here.
Question #7: Do I need a seal coat for raw wood?
Yes, absolutely. A thin seal coat can prevent bubbles caused by wood off-gassing during the main pour, resulting in a much clearer, cleaner finish.
Question #8: How long does epoxy last on a table top?
With proper care, an epoxy table top can last 7+ years. Its durability depends on use, maintenance, and the quality of the epoxy.
For the best outcome, use a premium epoxy like our UltraClear Bar & Table Top Epoxy.

Have Questions? Want Advice? We're Here to Help!
If you have any questions about epoxy resin, or if you'd like assistance in planning an epoxy project, please reach out to us at UltraClear Epoxy—our epoxy experts are ready to assist!
You can contact us via phone or email here. During business hours, you can also text chat online with one of our resin specialists by clicking the Help button at the bottom of your screen.
In our online store, you'll find a variety of useful tools and supplies, ideal for resin projects, plus our award-winning UltraClear Bar & Table Top Epoxy and our UltraClear Deep Pour Epoxy.