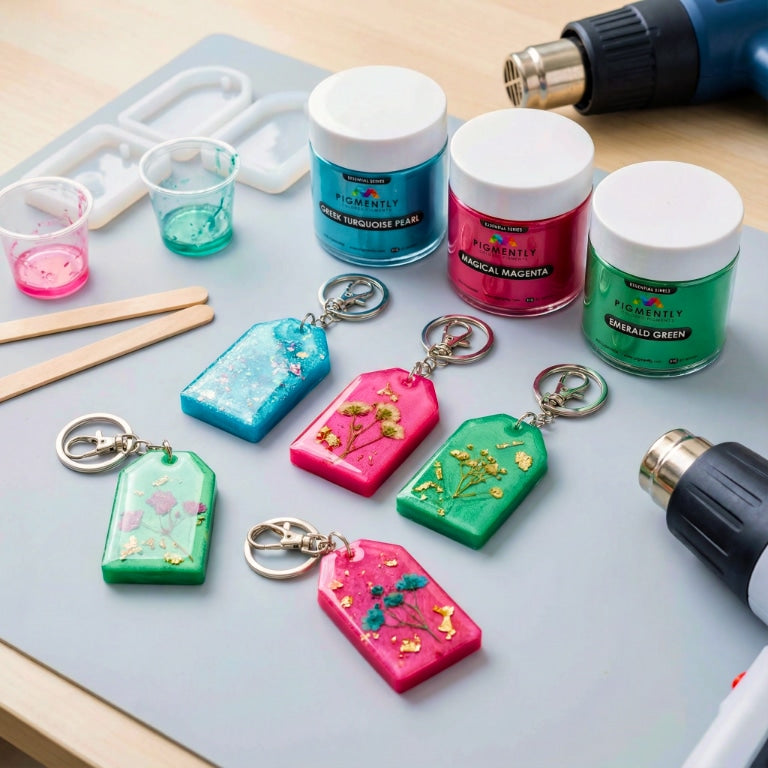
Welcome to our resin keychain crafting guide.
Of the many epoxy arts-and-crafts projects we teach, resin keychains might be one of the best options for someone newer to resin crafting, including adult beginners and children (with adult supervision).
Since keychains tend to be small, each attempt requires very little resin. This is great for gaining experience, as you can repeat the process until you're more confident in your skills.
Additionally, making your own resin keychains is a good way to familiarize yourself with several epoxy concepts, such as:
- The use of colorants (epoxy pigments and resin dyes)
- Working with multiple resin layers
- Using resin molds
In this guide, you'll learn what supplies you need to create your own resin keychains, as well as how to set up a safe and convenient workspace to craft in. We'll then cover each step of the crafting process, one-by-one.
If you're new to epoxy resin, we recommend reading our article on removing and preventing air bubbles. Though it's written with larger projects in mind, the fundamentals are the same.
However, before we begin, let's talk about colorants.
What are resin colorants?
Resin colorants are substances that can be added to epoxy resin during mixing to infuse it with deep or vibrant color tones.
They can also be used to change the resin's appearance from transparent to translucent (i.e., partially see-through) or fully opaque (i.e., not see-through at all).
These colorants tend to come in two forms: epoxy pigments and resin dyes.
Epoxy pigments are powder pigments made from ground mica and other minerals, usually natural, sometimes synthetic.
They come in a wide variety of different hues and tones, and when mixed with epoxy resin, the numerous tiny particles in these pigments will tint the epoxy with shimmering, pearlescent, or sparkling colors.
Some pigments are intensely vibrant—e.g., the Neon Series by Pigmently—and a few even generate their own light, such as the Glow in the Dark Series by Pigmently.
Resin dyes are liquid colorants that imbue epoxy resin with a uniform color tone. They're usually highly potent, so a little is all that's needed to give resin a nice shade of the chosen color.
In fact, we often tell customers to start with a small amount, mix it in, and slowly add more from there until they're satisfied with the result.
Learn more about resin dyes and epoxy pigments in our dedicated guide to epoxy colorants.
How to make resin keychains
Step 1: Gather the supplies you'll need.
We'll start by gathering the necessary tools and supplies needed to make resin keychains.
Some things are listed as optional, meaning they aren't essential, but you'll probably find they make things more interesting.
Here's the list:
-
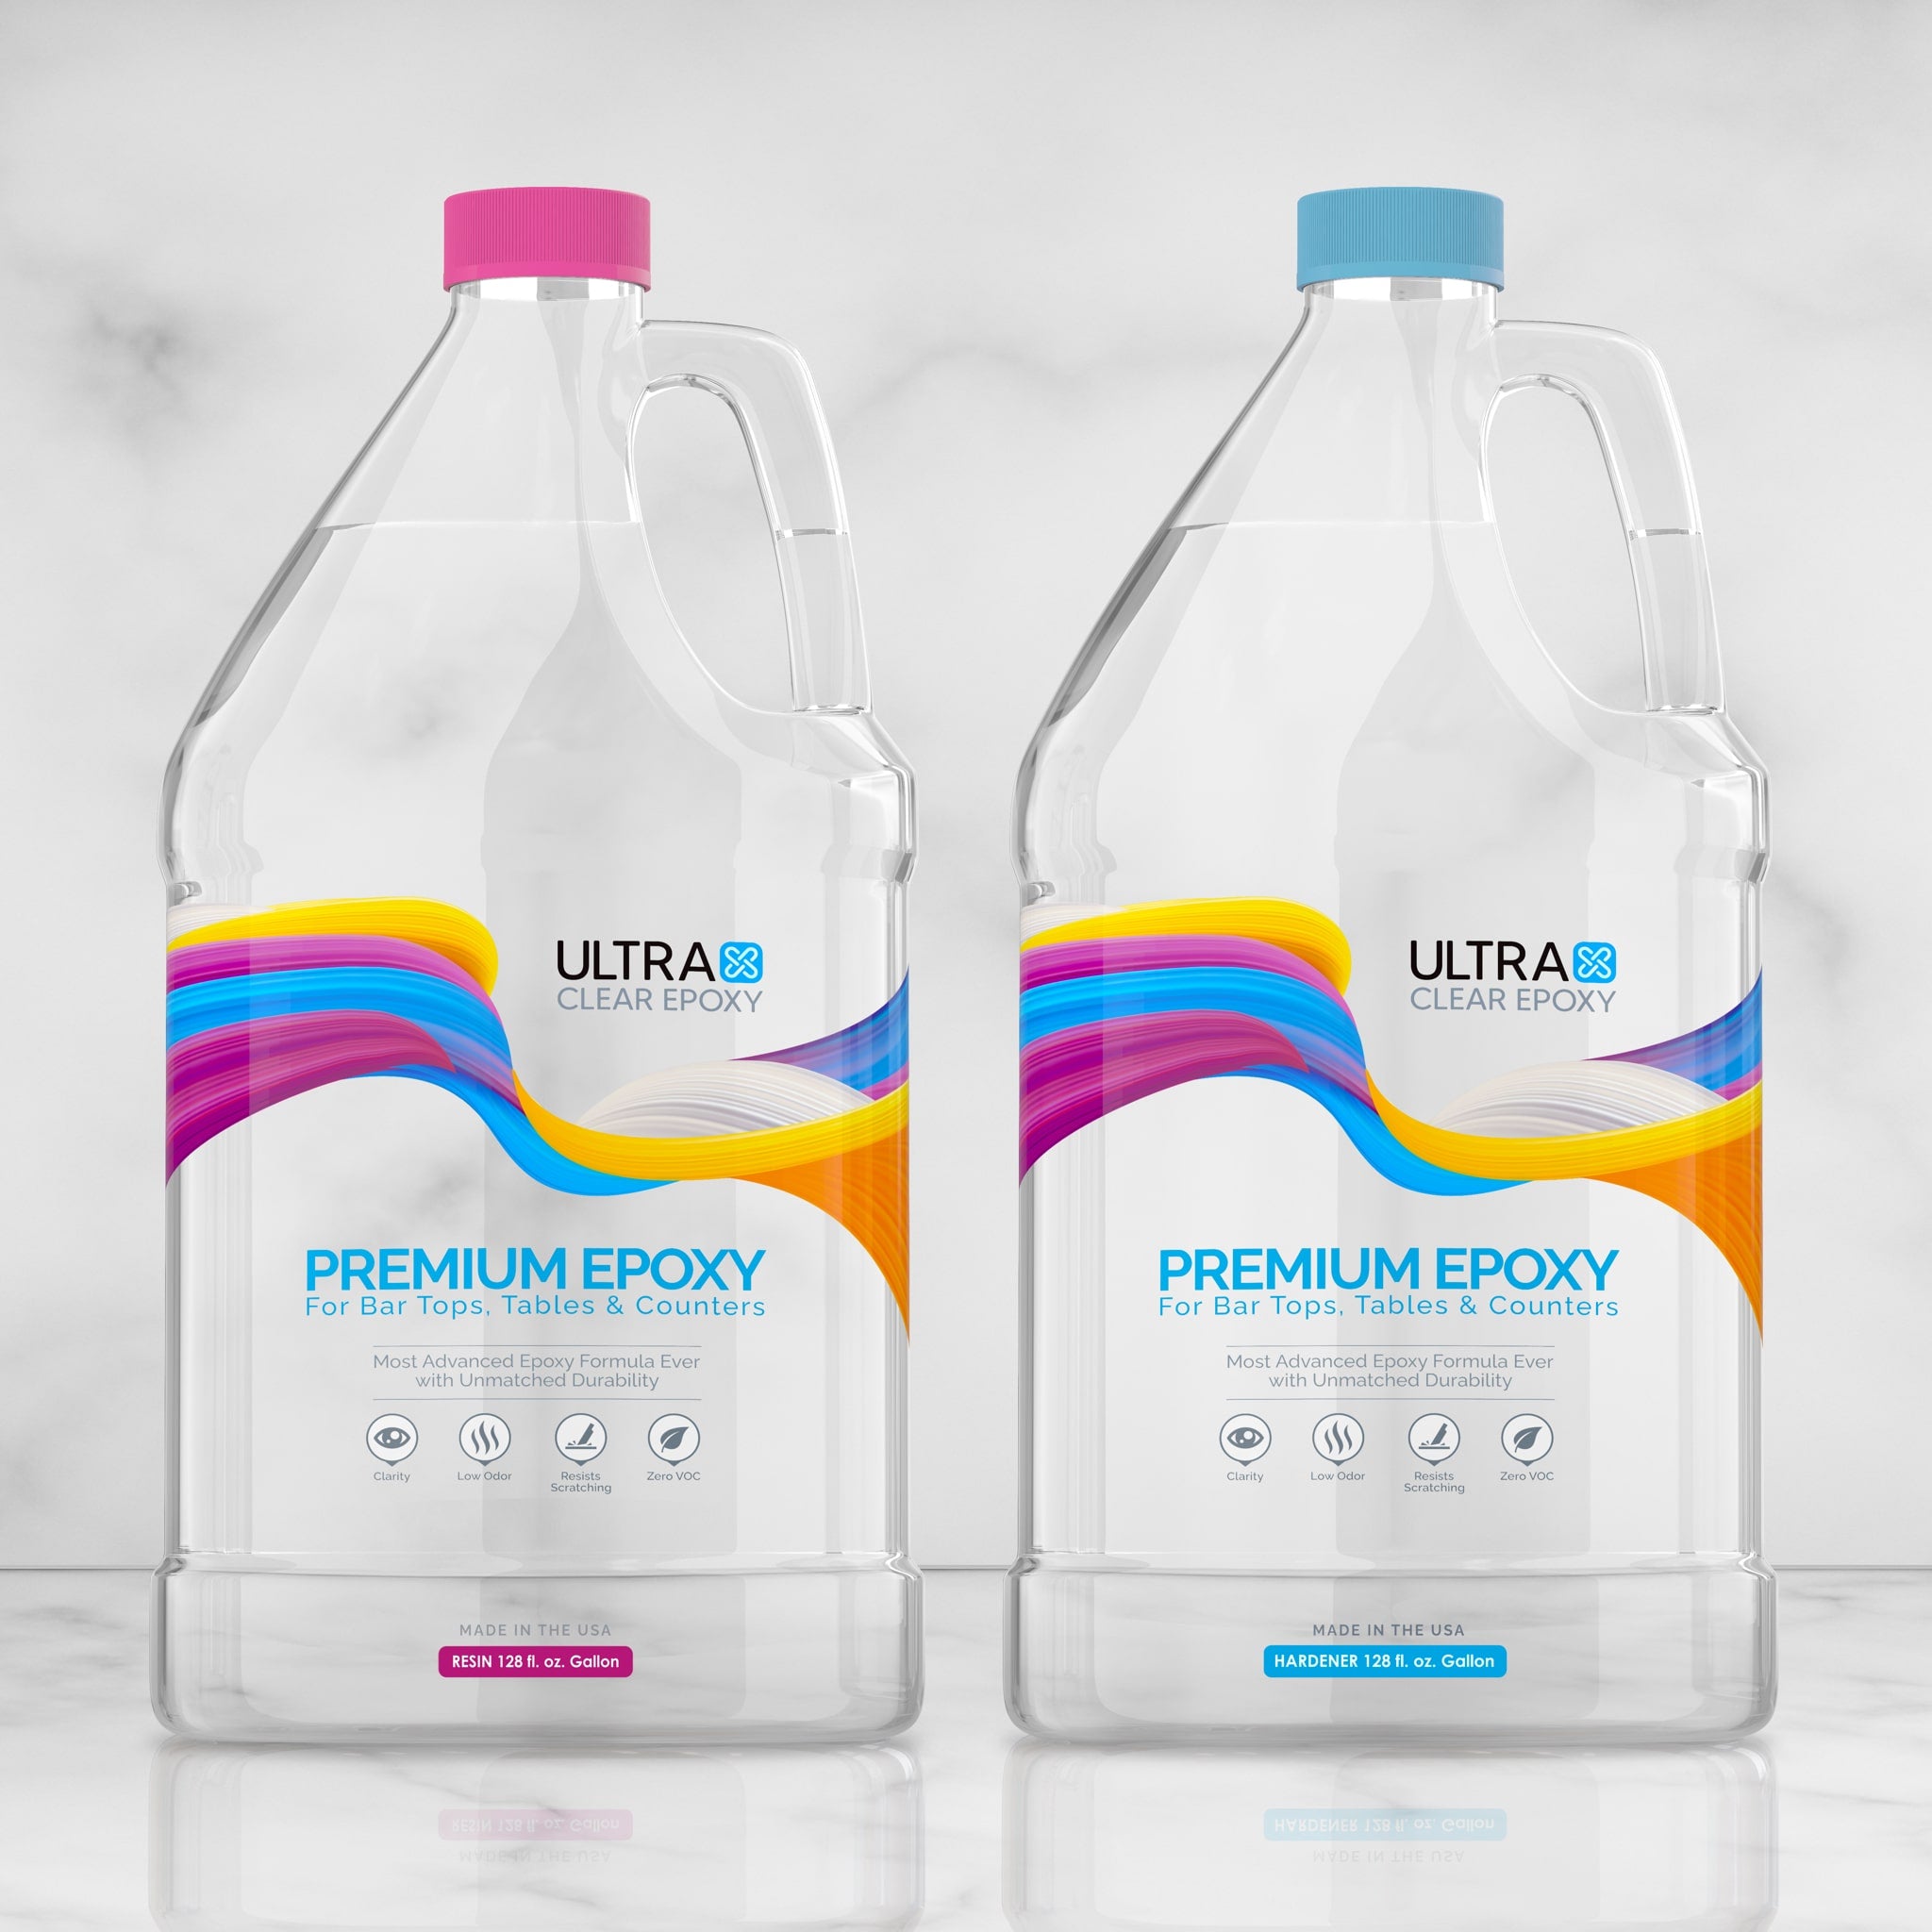
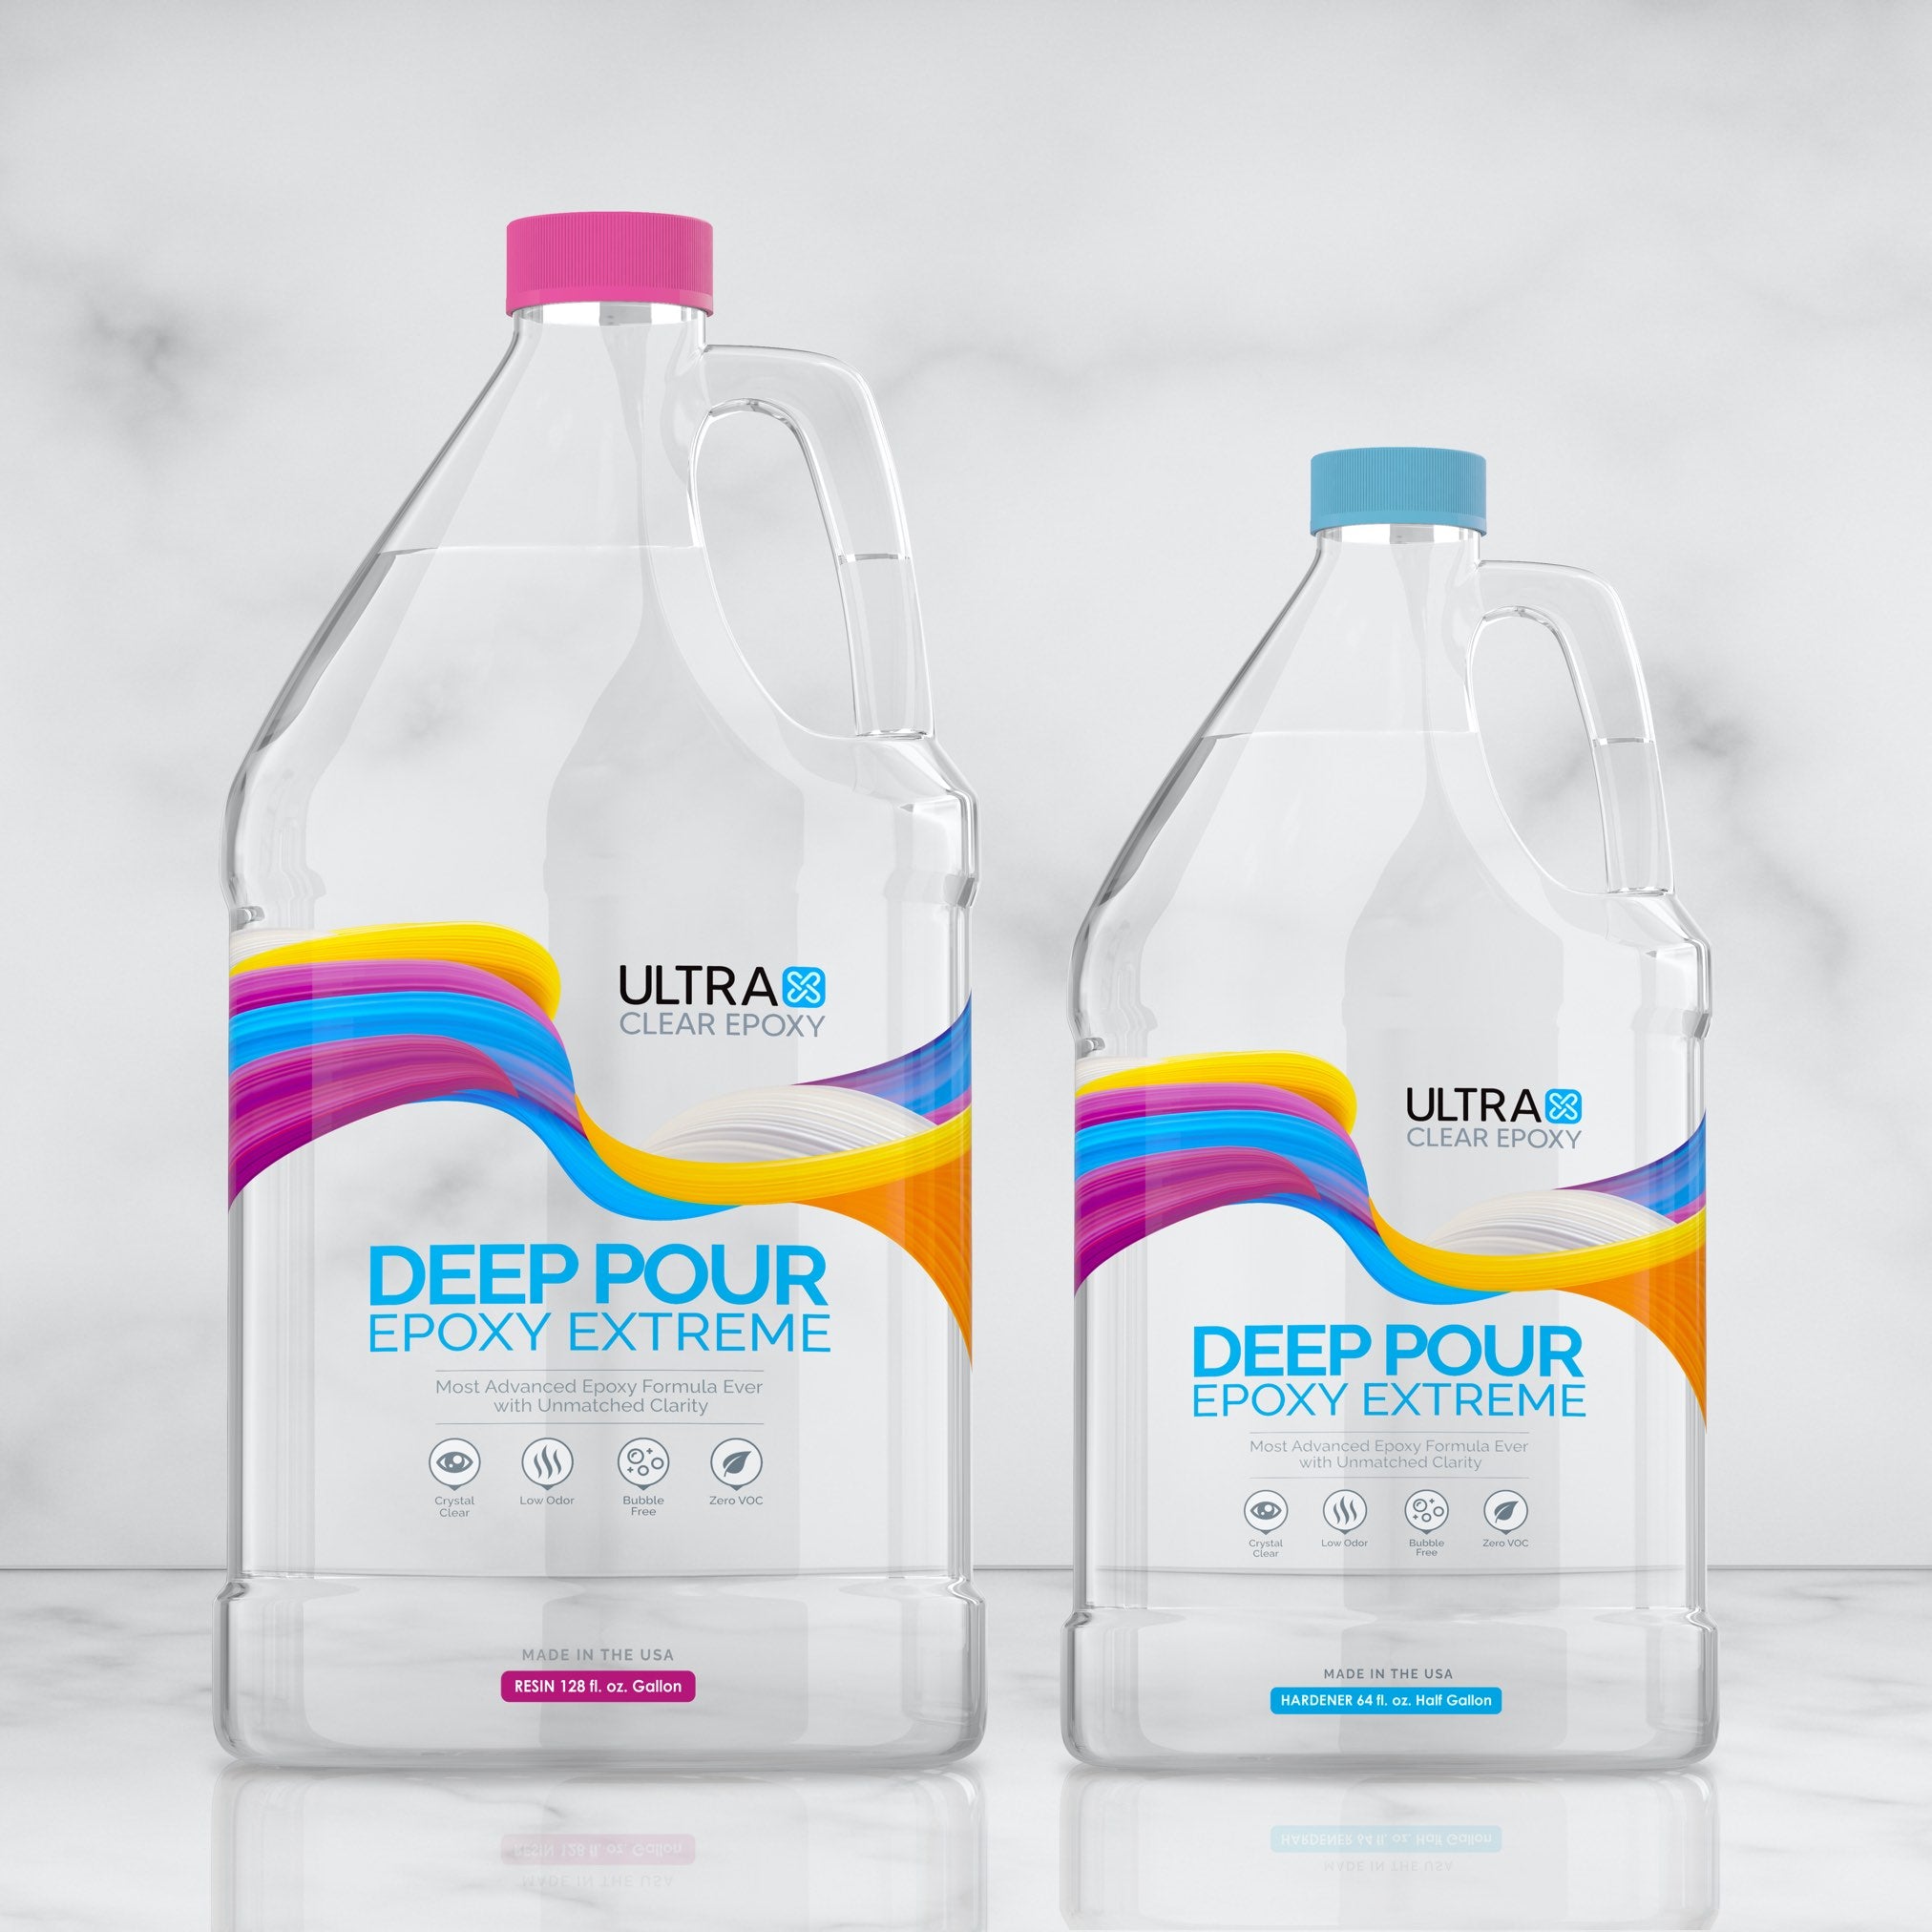
Two-part epoxy resin: There are many different resin brands of varying qualities. Most decent brands will work just fine.
Of our own brand, we recommend our UltraClear Art & Craft Epoxy, which is our premium casting resin. It's excellent for filling molds while generating fewer air bubbles than most other types of resin.
You can also find various resin brands at many home improvement stores and sometimes arts-and-crafts stores. -
Disposable plastic cups/containers: These are what you'll mix your resin in. For keychains, it's best to use small, clear cups since you won't need much resin.
If you can get graduated mixing cups, which have measuring lines, it will make measuring a little easier.
Note: These cups should never be reused. Whenever you need a new resin batch, use a new cup. The reason for this is that epoxy resin will always leave behind at least a small amount of residue after being mixed and poured. If this residue is then immersed in a new batch of epoxy, it will contaminate it and leave behind imperfections in that batch when you pour it.
Make sure you have enough of disposable cups/containers for mixing. Fortunately, they're pretty cheap and can be found in most grocery stores and big-box retailers. - Stir sticks: These are used to mix the two-part epoxy resin. Small wooden or plastic stir sticks are ideal for little projects like this.
-
Silicone molds (suitable for keychains): These are what you'll pour your resin into to make the keychain.
Many hobbyists like simple shapes that they can alter or decorate later. Others use alphabet molds to make resin "letter" keychains. Truthfully, almost any small mold can be used to make a keychain.
When searching for molds, just choose ones that appeal to you.
These are easily found at many online stores throughout the internet, and you'll sometimes find them in local arts-and-crafts stores, though we recommend calling first for distant locations. -
A heat gun or propane torch: You'll use this to remove air bubbles after each layer of resin is poured.
We offer a reliable heat gun in our store. You can also find them at most local hardware and home improvement stores. -
Keychain ring set: Near the end of the project, you'll drill a tiny hole into the resin piece to attach these to it. They can be found in many places online (sold individually or in bundles) and also in hardware or arts-and-crafts stores.
Choose a set that you find appealing. Most sets include jump rings, but if the one you like doesn't, you can just get those separately.
Note: For any resin pieces that are too thick to fit a jump ring through, you'll also need an eye screw. - Flat-nose pliers: These are for opening and closing jump rings.
-
A drill with a suitable bit: You'll need a drill to put a small hole into your resin for attaching the jump ring.
The bit size you need is determined by the size ring you'll be using. You should be able to find out which size from the product page/packaging or by contacting the seller of the jump rings. - Gloves and an N95 or KN95 respirator: Always wear these while working with resin. They'll protect your skin from potential allergies, and prevent you from breathing in fumes from the mixing/curing as well as any resin dust from the drilling.
- Painters plastic: You'll place this over any surfaces you want to protect from possible resin spills during your project.
-
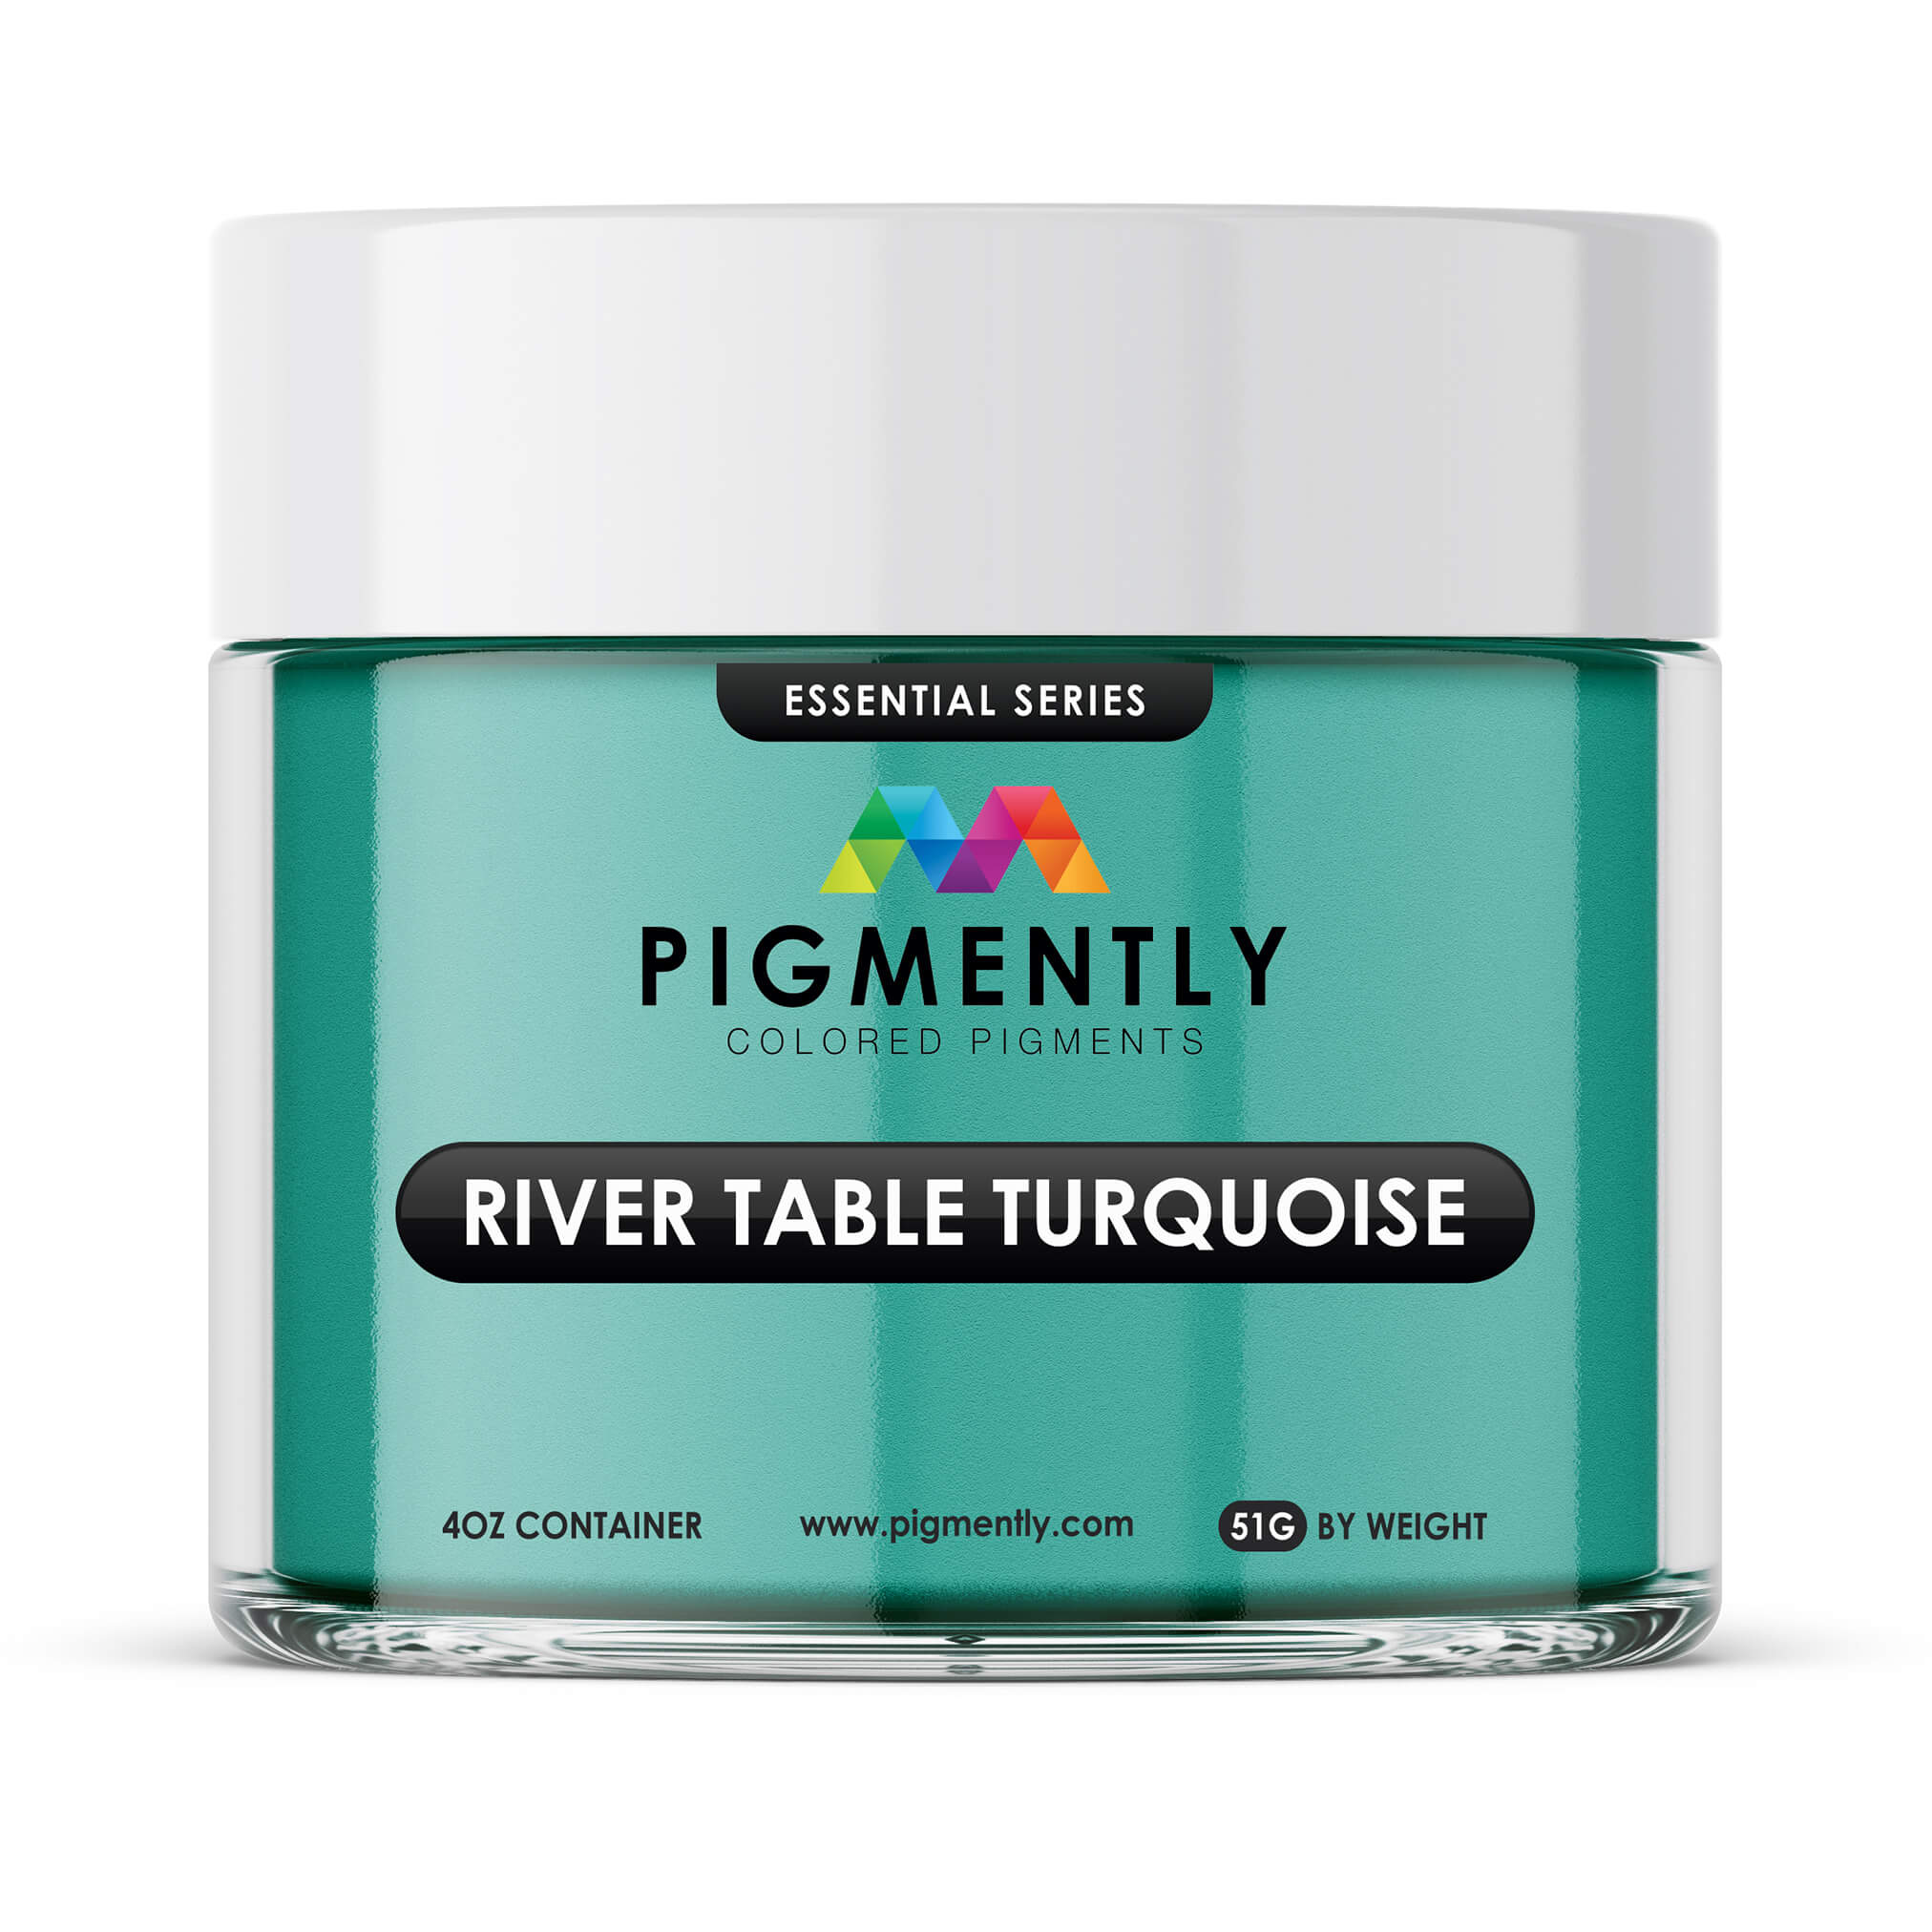
(optional) Resin colorants: You can mix suitable colorants into your epoxy to give it a seamless tint of your choice.
In our store we offer a wide selection of premium epoxy pigments and resin dyes by Pigmently, which is the brand we like because they've been consistently high quality. -
(optional) Embedments, decals, etc.: These are decorative items you can seal into your resin—things like shells, small decals/stickers, glitter, dried pressed flowers, beads, and so on.
Make sure anything you choose can fit comfortably within the mold so you can seal it with the resin. Other than that, you can pick whatever appeals to you.
It's also a good idea to have some tweezers for placing and repositioning any small objects you want to embed.
Step 2: Prepare your workspace.
Choose a location that's comfortable to work in and well-ventilated. A nice sturdy table or workbench is a great option. Ideally, you'll want your epoxy to cure within a temperature range of 70°F to 80°F, so a room with climate control is nice.
Place your painters plastic over any surfaces you want to protect from potential resin spills or accidents. Then lay out your tools and supplies in a convenient spread that's easy to reach but won't get in the way of your movements.
Check your silicone molds to make sure they're clean. You don't want to accidentally include dust or other sediment into your resin.
A lint-free cloth and some rubbing alcohol are effective for cleaning them. Soap and water may work as well, but be sure the mold is dry before using it.
Next up is the resin phase of the project.
Step 3: Mix your epoxy resin.
Note: Before you begin this step, make sure you've read the instructions for the brand of epoxy you'll be using.
If you're using our UltraClear Art & Craft Epoxy, you'll have received a physical set in your order, but you can also find a digital version here.
Otherwise, you can probably find the instructions for your chosen brand on the manufacturer's support site.
-
Measure your resin. Make sure you use the correct mixing ratio. For example, our Art & Craft Epoxy uses a 1:1 ratio of resin to hardener.
The combined total per resin keychain varies based on the size of the keychain mold. It's usually somewhere between 1 fl oz and 1.5 fl oz.
Note: If you'll be adding embedments or similar features, you'll have to do two layers of resin. For this first one, you only need enough resin to fill the mold a little less than halfway. - Mix the epoxy resin. Follow the instructions for your epoxy. Generally, this will take about 5 minutes of manual stirring.
-
(optional) Add colorants. If you intend to use any colorants, now is the time to mix them into your resin. Start small and add more as desired.
Once you're satisfied, move on to the next step.
Step 4: Pour your resin into your mold.
The next step is determined by whether you'll be embedding objects into your epoxy or not:
If you're not embedding objects, follow Step 4a.
If you are embedding objects, follow Step 4b.
Step 4a: Pouring your resin without embedding objects.
- Pour your epoxy resin into the mold. Carefully fill the mold interior. Epoxy is self-leveling, so it should be fairly straightforward. You may notice some air bubbles as it fills—don't worry, we'll deal with those next.
- Use your heat gun/torch to remove air bubbles. Hold it a few inches away from the epoxy, and briefly pass over it. Move smoothly back and forth until you've passed over the entire resin surface, and avoid lingering over any spot for more than a second to prevent heat damage.
-
Examine the resin surface for remaining air bubbles. If there are any, you can do a second pass with the heat gun/torch. Most likely they will be gone after this.
After you finish pouring, move to Step 5.
Step 4b: Pouring your resin with the intent to embed objects.
- Pour your epoxy resin into the mold about 1/3 to 1/2 of the way. Epoxy is self-leveling and should gradually fill in
- Use your heat gun/torch to remove air bubbles. Hold it several inches away from the surface and briefly pass over the epoxy resin. Move back and forth smoothly until you've passed over the entire surface. Avoid lingering over any spot for more than a second to prevent heat damage.
- Carefully add your objects to the epoxy layer. You can use tweezers to place and reposition fine objects. Just rinse and wipe the tweezers when you're done so that the resin doesn't cure to them.
- Wait four hours for the resin to partially cure. This will secure the objects in place for your final resin layer.
- Mix up a second batch of epoxy resin. This will be a bit larger than the first, because you'll be filling the rest of the mold.
- Pour your resin into the mold. Carefully fill the mold the rest of the way.
- Use your heat gun/torch again to remove any new air bubbles. Do it the same way as previously.
- Examine the resin surface closely for remaining air bubbles. If you see any bubbles, do another pass.
Step 5: Let the epoxy cure.
From here, it's time to let the resin fully cure. This can take 24 to 72 hours for most brands of epoxy. Check your instructions for more precise times.
You can safely remove the resin piece from the mold after 24 hours if it cured under the right temperature conditions.
Step 6: Finish your keychain.
Now that your resin has cured, you can use your drill or eye screw to make a small hole in the piece. Afterward, clean the resin surface and attach your jump ring and chain.
And with that, you should be finished. If you followed this guide from beginning to end, you should now have your own custom resin keychain. Congratulations!
Additional Resources
Here are some additional resources you may find helpful:
- How to wash away resin on your hands and skin: Our guide to cleaning resin off your skin and hands. It's good to be prepared for mistakes/accidents.
- Epoxy: Proper storage, shelf life, and preventing "yellowing": Tips on how to store excess epoxy when you're done with your project.
- Our step-by-step guide to making resin jewelry: A guide to creating different types of resin jewelry.
And here is the store page of our recommended epoxy, plus the instructions for it.
- UltraClear Art & Craft Epoxy: Our recommended epoxy resin for making resin keychains.
- Instructions for UltraClear Art & Craft Epoxy: Digital instructions of the epoxy variant we recommend for resin keychain crafting.
Have questions? Want advice? Contact us!
At UltraClear Epoxy, we strive to provide comprehensive assistance and customer support to epoxy beginners and professionals alike. You can contact us via phone or email here.
If you have any questions about making resin keychains or similar resin craft projects—or just project planning in general—please reach out to us.
During business hours, you can also text chat online with an epoxy resin expert by clicking the help button at the bottom right of your screen.
UltraClear Epoxy—Trusted by over 1 Million+ Happy Customers


