A flawless epoxy table top starts with meticulous surface preparation. Beyond protecting the wood, sanding, cleaning, and sealing create the mechanical “tooth” epoxy needs to bond securely and cure to a glass-smooth finish.
Proper prep prevents bubbles, adhesion failures, and visible imperfections, ensuring your final finish highlights the wood’s natural beauty and maintains lasting durability.
In this article, we'll explain how to prepare your wood surface for an epoxy coating so that you can achieve the crystal-clear, highly durable finish that epoxy is known for.

Why Epoxy Works So Well on Wood
As a sealant, epoxy performs exceptionally well on wood, thanks to its superb bonding compatibility and waterproof seal. Other benefits to wood include:
-
Seals Porosity: Epoxy fills pores and grain, creating a non-porous barrier that prevents liquids from permeating or leaving behind stains.
-
Enhances Grain Contrast: Clear resin magnifies color variations and figure.
-
Durable Protection: Resists impacts, heat, and chemical spills better than varnish.

Planning Your Epoxy Project
Supplies You’ll Need
-
Wood slab or table top (solid hardwood or MDF) – Provides a stable, flat substrate for epoxy.
-
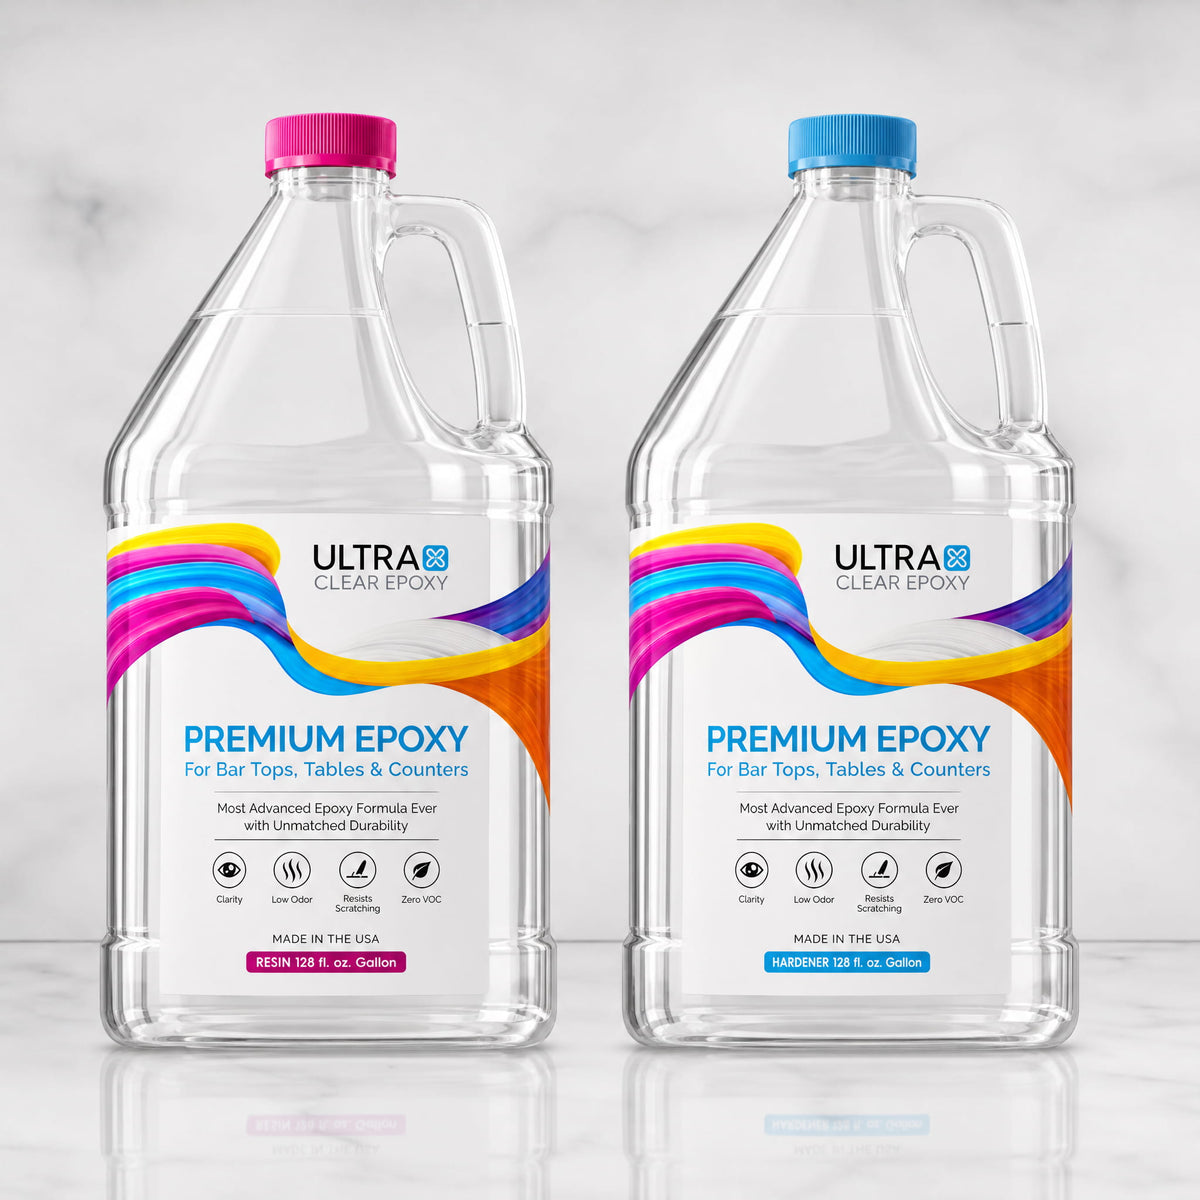
UltraClear Bar & Table Top Epoxy – Ideal for seal and surface coats; delivers crystal clarity.
-
(optional) UltraClear Deep Pour Epoxy – Used for thick pours or filling large voids; minimizes heat buildup.
-
Sandpaper (80–220 grit) – Coarse grits remove old finishes and level surfaces; finer grits smooth scratches.
-
Power or hand sander – Speeds up sanding on large flat areas; hand sanding offers control on edges. We recommend an orbital sander for ease of use.
-
Tack cloth and mineral spirits – Removes sanding dust and surface oils for a clean bond.
-
Mixing containers, stir sticks, and measuring cups – Ensures accurate resin-to-hardener ratios. You can find these in many places, including within our store.
-
Foam rollers or spreaders – Distributes epoxy evenly without introducing bubbles.
-
Heat gun or propane torch – Used to remove air bubbles immediately after pouring.
-
Protective gear (nitrile gloves, respirator, safety glasses) – Shields against skin contact and fumes.

Creating the Right Workspace
An optimal workspace for epoxy is a temperature-controlled room at 70–80°F—ideally 75°—with humidity under 60%, good ventilation, and minimal dust. Having a level floor and sturdy workbench prevents pooling or runs.
If you lack a dedicated shop, transform a garage or basement corner by adding a portable heater, dehumidifier, and a simple dust tent made from PVC and plastic sheeting. Ensure air still circulates through a window or fan with a furnace filter to capture airborne particles.

Preparing Wood for an Epoxy Coating
Follow these detailed steps to ready either an old table top or a new build:
Step #1: Inspect, Strip & Repair
For an Old Table Top: Use a chemical stripper or coarse (80-grit) sanding to remove paint, varnish, or damaged wood.
Work in the direction of the grain to avoid gouges. After stripping, inspect for cracks or holes; fill any deep ones with wood filler or a small amount of UltraClear Deep Pour Epoxy, then sand flush.
For Building a New Table Top: Examine knots and voids. Decide whether to highlight them or fill them. For large gaps, mix epoxy with sawdust or pigment for a matching filler.
Step #2: Sanding for Adhesion
You'll start with coarser grit when sanding and gradually progress to something finer.
Coarse Sanding (80–120 grit): Level out high spots and remove any remaining finish. Move the sander evenly—don’t linger in one spot to prevent dips.
Fine Sanding (180–220 grit): Next, smooth over any scratches and prepare the surface for sealing. Keep the sandpaper flat and let the grit do the work; pressing too hard creates swirl marks.
Edge and Detail Work: Wrap 180-grit sandpaper around a foam block or backing pad to control sanding on rounded edges and contours. This type of manual sanding provides greater control.
Step #3: Cleaning and Dust Control
Mineral Spirits Wipe: Dampen a clean cloth with mineral spirits and wipe the entire surface to dissolve oils and lift fine dust.
Tack Cloth Pass: Gently pat the surface with a tack cloth, capturing any remaining particles without leaving residue.
Final Visual Inspection: Under good lighting, look for missed dust or scratches and address them before moving on.
Step #4: Masking & Edge Sealing
Protect Surroundings: Use painter’s tape along undersides and legs to prevent drips. Cover the floor with plastic sheeting extending beyond your table.
End Grain Sealing: Using a paintbrush, apply a thin coat of UltraClear Bar & Table Top Epoxy to porous end grain areas to lock in air. This prevents little bubbles from releasing during your flood coat.
Step #5: Dry-Fit Layout
Arrange Inlay Items: Lay out any decorative elements—coins, stones, or wood plugs—dry, without epoxy. Photograph your arrangement for reference.
Test Position: Lightly press each item; ensure it won’t shift when epoxy is poured.
See our guide to embedding techniques for more ways to handle embedments.


Budget Epoxies vs. UltraClear Quality
These days, the epoxy market is filled with options, but many of them are supplied by shady dealers selling low-cost, imported products. These resins often use questionable ingredients, are made overseas in underregulated facilities, and pose health risks (such as high VOCs). They commonly cure soft, yellow quickly over time, and trap bubbles.
That's why it's important to choose a high-quality resin from the start, such as our UltraClear Bar & Table Top Epoxy.

Each UltraClear Epoxy product is 100% made in the USA and offers:
-
Balanced, low-VOC formulas
-
Superior UV resistance (no yellowing)
-
Crystal clarity and unmatched hardness
-
Reliable self-leveling and convenient bubble release
- Beginner-friendly use for professional-grade results
An UltraClear Epoxy finish reduces maintenance and retains its shine under everyday use.
You'll find our table top epoxy resins on the following pages:
- UltraClear Bar & Table Top Epoxy—The go-to for most table top projects; this is our strongest epoxy finish. It self-levels to a firm 1/8 of an inch and cures crystal clear for superb, long-lasting results.
- UltraClear Deep Pour Epoxy—One of our specialty epoxies, this resin is designed for pouring in extra-thick layers of up to 2 inches. It's perfect for river tables and other unique designs.

FAQs: Preparing Wood for Epoxy
Question #1: Do hardwoods need a seal coat before epoxy?
Yes. Even dense woods have grain pores; a thin seal coat of UltraClear Bar & Table Top Epoxy prevents trapped air.
Check out our dedicated guide to epoxy seal coats for a detailed step-by-step process.
Question #2: How long after sanding should I wait before pouring epoxy?
Anytime after sanding is fine, as long as you clean the surface immediately before any epoxy application to minimize dust contamination and oxidation.
Question #3: Can I embed wood plugs or fill voids with epoxy?
Yes—use UltraClear Deep Pour Epoxy for filling large voids; sand flush once cured.
Learn more about the unique qualities of Deep Pour Epoxy here.
Question #4: What if I have rust or metal stains on an old table top?
Neutralize metal stains with oxalic acid. It typically doesn't need to be high concentration and you can use a premade mixture such as Barkeeper's Friend.
Afterward, just rinse thoroughly, then sand and clean before applying any epoxy.
Note: If you need to use oxalic acid to remove rust, be sure to wear gloves and scrub carefully to avoid skin absorption, as oxalic acid is toxic.
Question #5: How do I know my workspace is dust-free enough?
Wipe surfaces with a damp cloth—if no dust appears, it’s suitable. Use a simple dust tent for added protection.
Question #6: Can I pour epoxy in cold garages?
Cold slows curing and increases bubbles; it's important to maintain the optimal temperature range of 70°F to 75°. Many users use space heaters to achieve this.

Have Questions? Want Advice? We're Here to Help!
If you have any questions about preparing your wood for epoxy resin, or if you'd like assistance in planning an epoxy project, please reach out to us at UltraClear Epoxy—our epoxy experts are ready to assist!
You can contact us via phone or email here. During business hours, you can also text chat online with one of our resin specialists by clicking the Help button at the bottom of your screen.
In our online store, you'll find a variety of useful tools and supplies, ideal for resin projects, plus our award-winning UltraClear Bar & Table Top Epoxy and our UltraClear Deep Pour Epoxy.