If you are someone who loves to host parties and get-togethers, you simply cannot do without a charcuterie board. It allows you to wow your guests with a gorgeous spread of cured meats and cheeses. Although the term ‘charcuterie’ refers only to meat products, you can use your charcuterie board to serve fresh fruit, dried fruit and nuts, cheese, crackers and breads, chocolate, and many more.
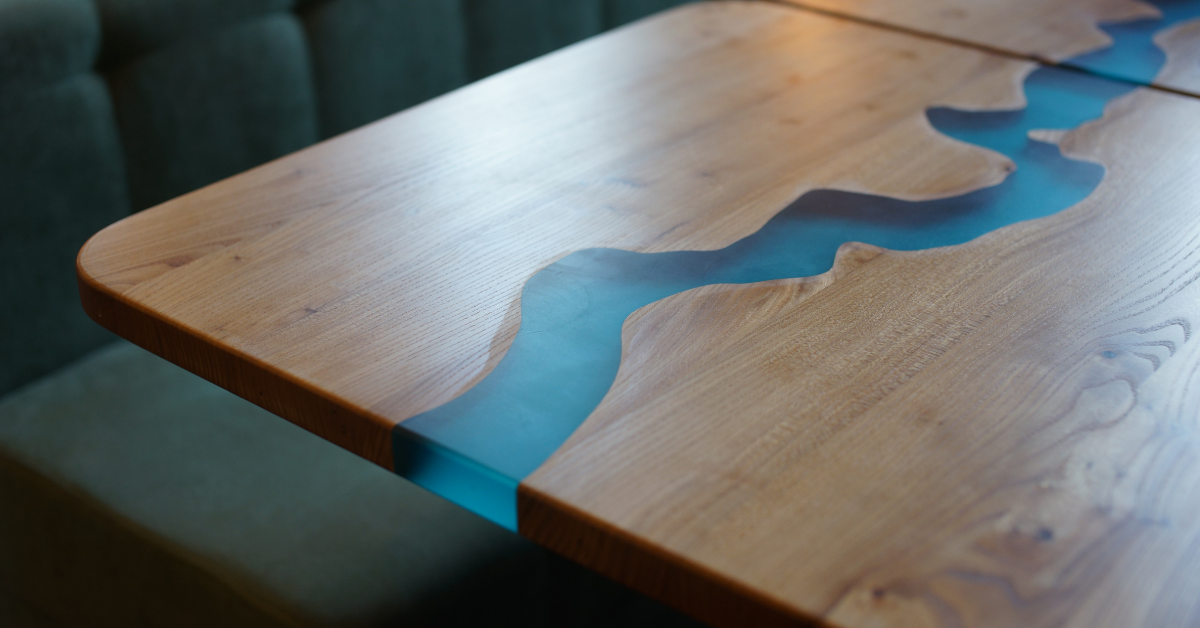
Now, here’s an interesting idea. Rather than buying a plain, run-of-the-mill charcuterie board from the store, why not build a wood epoxy board yourself?
Even if you have never worked on any epoxy project before, do not worry. Epoxy resins are easy to work with, and as long as you follow the manufacturer’s instructions properly you will get the results you want.

Making a Wood Epoxy Charcuterie Board – The Steps Involved
- Choose the type of wood you want. Walnut, mahogany, cherry, oak, and maple are the most preferred choices for charcuterie boards, but you can use any kind of wood you want – depending on your budget and preference.
- Plane the wooden piece until you achieve the desired level of thickness.
- Create a template for the charcuterie board using cardboard, trace it onto the wooden piece, and cut it out using a circular saw.
- Sand the board.
- Make a form for the charcuterie board using MDF board. Seal the sides of the form with caulking so that the epoxy does not leak out. Coat the surface of the form with a release agent or cover it with waterproof tape, so that you can remove the wood epoxy board easily once it is fully cured.
- Place the board into the form.
- Mix the resin and the hardener and add any colors you want. Since you are going to be using the board for serving food, make sure you use a food safe epoxy which is free of volatile organic compounds and other substances that can be harmful to your health.
- Pour the resin on to the board. Be sure to pour it slowly and only up to a ¼” inch at a time to avoid bubbles. Still, a few bubbles might pop up, which you can remove using a heat gun.
- Set the board aside and let the epoxy resin cure.
- Remove the board from the form and sand it thoroughly.
- Apply cutting board oil all over the surface of the board, leave it for 15 to 30 minutes, and wipe the excess oil away.
- Once the epoxy is fully cured, you can start using your charcuterie board.

UltraClear Food Safe Epoxy – The Right Choice for Your Charcuterie Board
UltraClear Epoxy is free of volatile organic compounds, does not emit any harmful fumes, and does not produce any unpleasant odor. It is the perfect food safe epoxy for your cutting board and charcuterie board. It blends well with a variety of different colors and can help you create seamless, vibrant patterns that can make your charcuterie board look stunning.
Ready to wow the guests at your next get together? Call us today at 800-259-1619 or contact us online. Our dedicated customer care team is happy to answer any questions or concerns you may have.


