An epoxy project is more than feasible even for DIY beginners, with professional-grade results achievable when done correctly. However, such excellent results require some attention to detail, especially when it comes to the coating process.
Two key stages in the epoxy process are the epoxy seal coat and the epoxy flood coat. Skipping or mishandling these stages can lead to bubbles, adhesion issues, and a poor final appearance.
In this article, you'll find a basic guide to understanding and applying both types of coats, ensuring a smooth, crystal-clear finish every time. Throughout it, we’ll explain what each coat is, how to apply them, which epoxies to use, and how to avoid common mistakes.
Contents |
|
Why Epoxy Requires Careful Application Beginner Tips for Epoxy Seal & Flood Coats |
Why Epoxy Requires Careful Application
Epoxy is prized for its stunning clarity, durability, and resistance to moisture and stains, but these benefits depend heavily on how it's applied. Because epoxy is a reactive material, it must be mixed and spread correctly to avoid curing issues. Even subtle variations in environmental conditions, surface materials, or technique can affect the final look.
When applied with care, epoxy creates a glossy, professional finish that enhances and protects surfaces like wood, concrete, and artwork. But to reach that level of quality, every layer counts—especially the often-overlooked seal coat.
What Is an Epoxy Seal Coat?
A seal coat is a thin layer of epoxy manually applied before the flood coat, designed to penetrate and seal porous materials, lock in air bubbles, and provide a smooth, tacky base for the final pour.
A seal coat is especially important when working with porous materials like raw wood and concrete, or absorbent art surfaces, as these materials tend to trap and release air during the flood coat stage, which can result in bubbles or craters. Applying a seal coat allows you to control that air release early on and establish a strong foundation for your thicker finish.
For best results, UltraClear recommends using a high-quality two-inch paint brush for applying seal coats. Paint brushes allow precise, even coverage and help force epoxy into the substrate's pores. Foam brushes or rollers are sometimes used but are not ideal, as they may leave air pockets or fail to seal deeply enough.
How to Apply an Epoxy Seal Coat (Step-by-Step)
Step #1: Sand and clean the surface.
Before you apply a seal coat, it's important to sand your substrate to ensure it has good adhesion. Use medium-grit sandpaper (around 120–150 grit) to scuff the surface gently.
Then, remove any dust or residue using a vacuum and a lint-free cloth dampened with isopropyl alcohol. The cleaner the surface, the better the seal coat can bond.
Step #2: Confirm your workspace is level.
Leveling your workspace is helpful for the seal coat just like for a flood coat pour. If your surface is uneven, the epoxy may pool or run off, creating a lopsided coat.
Use a bubble level and adjust your table or support surface using shims or levelers. Ensuring a flat base now helps prevent defects later.
Step #3: Mix your epoxy properly.
Follow the manufacturer’s instructions for mixing ratio—usually a 1:1 ratio by volume for UltraClear Bar & Table Top Epoxy. Mix slowly in a clean container for 3 to 5 minutes, scraping the sides and bottom frequently. A slow, steady stir will minimize air bubble formation and promote even curing. The resulting mixture should appear uniform and free of swirls or streaks.
Step #4: Apply the seal coat with a 2-inch brush.
Pour a small amount of mixed epoxy directly onto the surface or dip your brush into the container. Use a high-quality 2-inch brush to spread a thin, even layer across the entire area, brushing in multiple directions to work the epoxy into the grain or texture of the substrate.
The goal is coverage—not depth—so avoid overloading the brush or leaving pooled areas. Applying too much can lead to uneven permeation or delayed curing.
Step #5: Allow the seal coat to cure to a tacky stage.
After applying, allow the seal coat to sit undisturbed. It should become tacky (sticky to the touch) within 4 to 6 hours depending on temperature and humidity. This tacky stage provides ideal adhesion for the flood coat.
If the surface cures fully before the next step, lightly sand it and wipe clean before proceeding with the flood coat. Otherwise, you're ready to move onto the flood coat phase.
What Is an Epoxy Flood Coat?
A flood coat is the thicker, self-leveling top layer of epoxy that gives your project a smooth, glass-like finish. Unlike the thin seal coat that comes first to fill pores and lock in bubbles, the flood coat is poured more generously—typically at about 1/8 inch thick—and is responsible for creating the final, high-gloss surface.
This coat is where the clarity, depth, and polish of your epoxy project really shine through. A proper flood coat ensures durability and visual appeal, especially for surfaces like table tops, bar tops, counters, and art pieces.
How to Apply a Flood Coat (Step-by-Step)
Step #1: Prepare your work surface and ensure it’s level.
Start by confirming that your project is completely level in all directions. Use a bubble level and adjust the surface if needed by placing shims under the legs of your table or workbench. A slanted surface will cause the epoxy to pool in low areas, creating uneven thickness and potential overflow.
Step #2: Mix your epoxy correctly.
Measure your resin and hardener according to the manufacturer’s instructions—a 1:1 ratio for UltraClear Bar & Table Top Epoxy. Pour each component into a clean mixing container and blend slowly for 3 to 5 minutes, scraping the sides and bottom regularly.
- For small-to-medium batches, use stir sticks to manually mix things.
- For large batches, use a power drill with a mixing bit to blend your batch evenly. Keep the drill bit head fully submerged to avoid inducing air, and use a stir stick occasionally to scrape the sides and bottom, preventing any settling.
The mixture should be uniform with no streaks or cloudiness. Proper mixing ensures a consistent cure and prevents soft or tacky spots.
Learn more about mixing epoxy here.
Step #3: Pour the epoxy flood coat.
Pour the epoxy directly onto the substrate surface and let it naturally spread outward. We recommend starting near one end of the substrate and slowly making your way to the other end, ensuring a comprehensive coating.
You can use a notched trowel or plastic spreader to help further guide the flow and achieve a consistent 1/8-inch thickness. Work steadily and avoid overworking the resin, which can introduce bubbles or shift the surface unevenly.
Step #4: Remove bubbles using a heat source.
After pouring and spreading the epoxy, wait about 2–5 minutes, then remove surface bubbles by sweeping a propane torch or heat gun across the surface.
Hold it about 6 to 8 inches above the epoxy and move in smooth, quick passes. Avoid lingering over any spot—no more than a second—to prevent scorching or rippling.
Step #5: Let the flood coat cure undisturbed.
Allow the epoxy to cure in a dust-free, temperature-controlled environment. Avoid touching the surface, and keep pets, people, and airflow (like fans or open windows) away from the area for at least 24 hours. Cover the surface loosely with a dust tent if possible to keep debris from settling into the wet epoxy.
Click here for additional guidance on what makes a good workspace.
Beginner Tips for Epoxy Seal & Flood Coats
Start with a level surface.
Most epoxy is self-leveling, but it can only do that job properly on a flat, level surface. If your project surface is uneven or tilted, the epoxy will drift toward the lower points, causing buildup on one side and thinning on the other.
Use a bubble level before you begin your project to verify that your surface is perfectly horizontal. If needed, shim the legs of your workbench or support frame to ensure a flat workspace.
Always mix carefully and thoroughly.
Improper mixing is one of the leading causes of epoxy problems. When part A (resin) and part B (hardener) aren’t fully blended, the epoxy can cure unevenly, leaving soft spots, tacky areas, or weak spots in the finish.
Mix slowly but thoroughly using a flat mixing stick or paddle, scraping the sides and bottom of your container as you stir. A good rule of thumb is to mix for 3–5 minutes depending on batch size, and make sure your mixture is a consistent color with no streaks.
Seal porous materials first.
When working with porous surfaces like raw wood, concrete, or paper materials, a seal coat is a must. Without it, air trapped in the material may escape during the flood coat, forming unsightly bubbles in the cured surface.
Always apply a thin seal coat first to fill these pores and lock in any air before moving on to a thicker pour. Let the seal coat cure until tacky—approximately 4 to 6 hours at 75°F—before applying the flood coat.
Avoid using heat guns or torches too aggressively.
While heat guns and torches are helpful for removing surface bubbles after pouring, overusing them can scorch the epoxy or cause rippling.
During bubble removal, keep the flame or heat source at least 6 to 8 inches away from the surface and sweep it evenly across the area instead of holding it in one place—never linger over one area for more than a second to avoid potential heat damage.
A quick pass is usually enough to eliminate bubbles without damaging the finish, and a second pass can be performed after examining the results of the first if needed.
Work in a dust-free space.
Dust can ruin an otherwise perfect finish by settling into your curing epoxy. Choose a clean, enclosed area and turn off fans or vents that might stir up debris. You can also cover your project with a clean dust tent or box while it cures.
Make sure to prepare your workspace ahead of time so you can move quickly once the epoxy is poured.
Use edge tape or painter’s tape around the project perimeter.
Edge tape and painter’s tape are excellent tools for containing epoxy and preventing drips or overflows. Apply either type around the edges of your project where you want clean lines or where epoxy might run off.
Once the epoxy begins to gel but hasn’t fully cured, you can carefully remove the tape to avoid leaving sharp ridges or hardened epoxy lips.
Pre-warm your epoxy in cold environments.
The ideal temperature for epoxy to cure at is 75°F. If your workspace is on the cooler side (below 72°F), your epoxy may become thick and harder to mix.
Pre-warming the resin and hardener bottles by placing them in a warm water bath (sealed and upright) for 10–15 minutes can make mixing easier and help reduce bubble formation.
Be careful not to overheat, though, as this can shorten the working time significantly.
Don’t rush the process.
Curing takes time, and rushing through the stages can lead to irreversible mistakes. Make sure each coat has had enough time to set before moving to the next stage.
If you're unsure whether your surface is ready, lightly touch it with a gloved hand—if it’s still tacky but doesn’t pull away, you’re ready to proceed with the next pour.

Why Cheap Epoxies Cause More Problems
While it may be tempting to save money by choosing an inexpensive epoxy brand for your project, doing so nearly always leads to disappointment. Many budget epoxies, which are mostly manufactured overseas, cut corners on quality control and resin formulation. This can result in inconsistent cures, cloudiness, yellowing, and weak surface integrity.
One of the biggest risks with cheaper resins is poor mixing performance. Even when following instructions carefully, these products may fail to cure correctly or produce unpredictable results due to outdated formulations or contaminated chemicals. Worse yet, many of these brands do not include reliable safety data or usage guidelines, putting your health and your project at risk.
These low-cost imports may also lack proper heat and chemical resistance, meaning your finished project could warp, stain, or degrade far sooner than expected. Without a reliable support team, you may find yourself stuck with an unusable surface and no assistance.
Learn more about the importance of choosing quality here.
The Value of Choosing UltraClear Epoxy
Choosing UltraClear Epoxy ensures a consistent, professional-grade finish that performs under pressure. Whether you're crafting a bar top, artwork, or serving tray, UltraClear provides strength, clarity, and ease of use, backed by U.S.-based customer support and strict manufacturing standards.
-
UltraClear Bar & Table Top Epoxy—The ideal choice for flood coats and surfaces that require high clarity and durability. This epoxy has the highest level of durability and cures crystal clear.
-
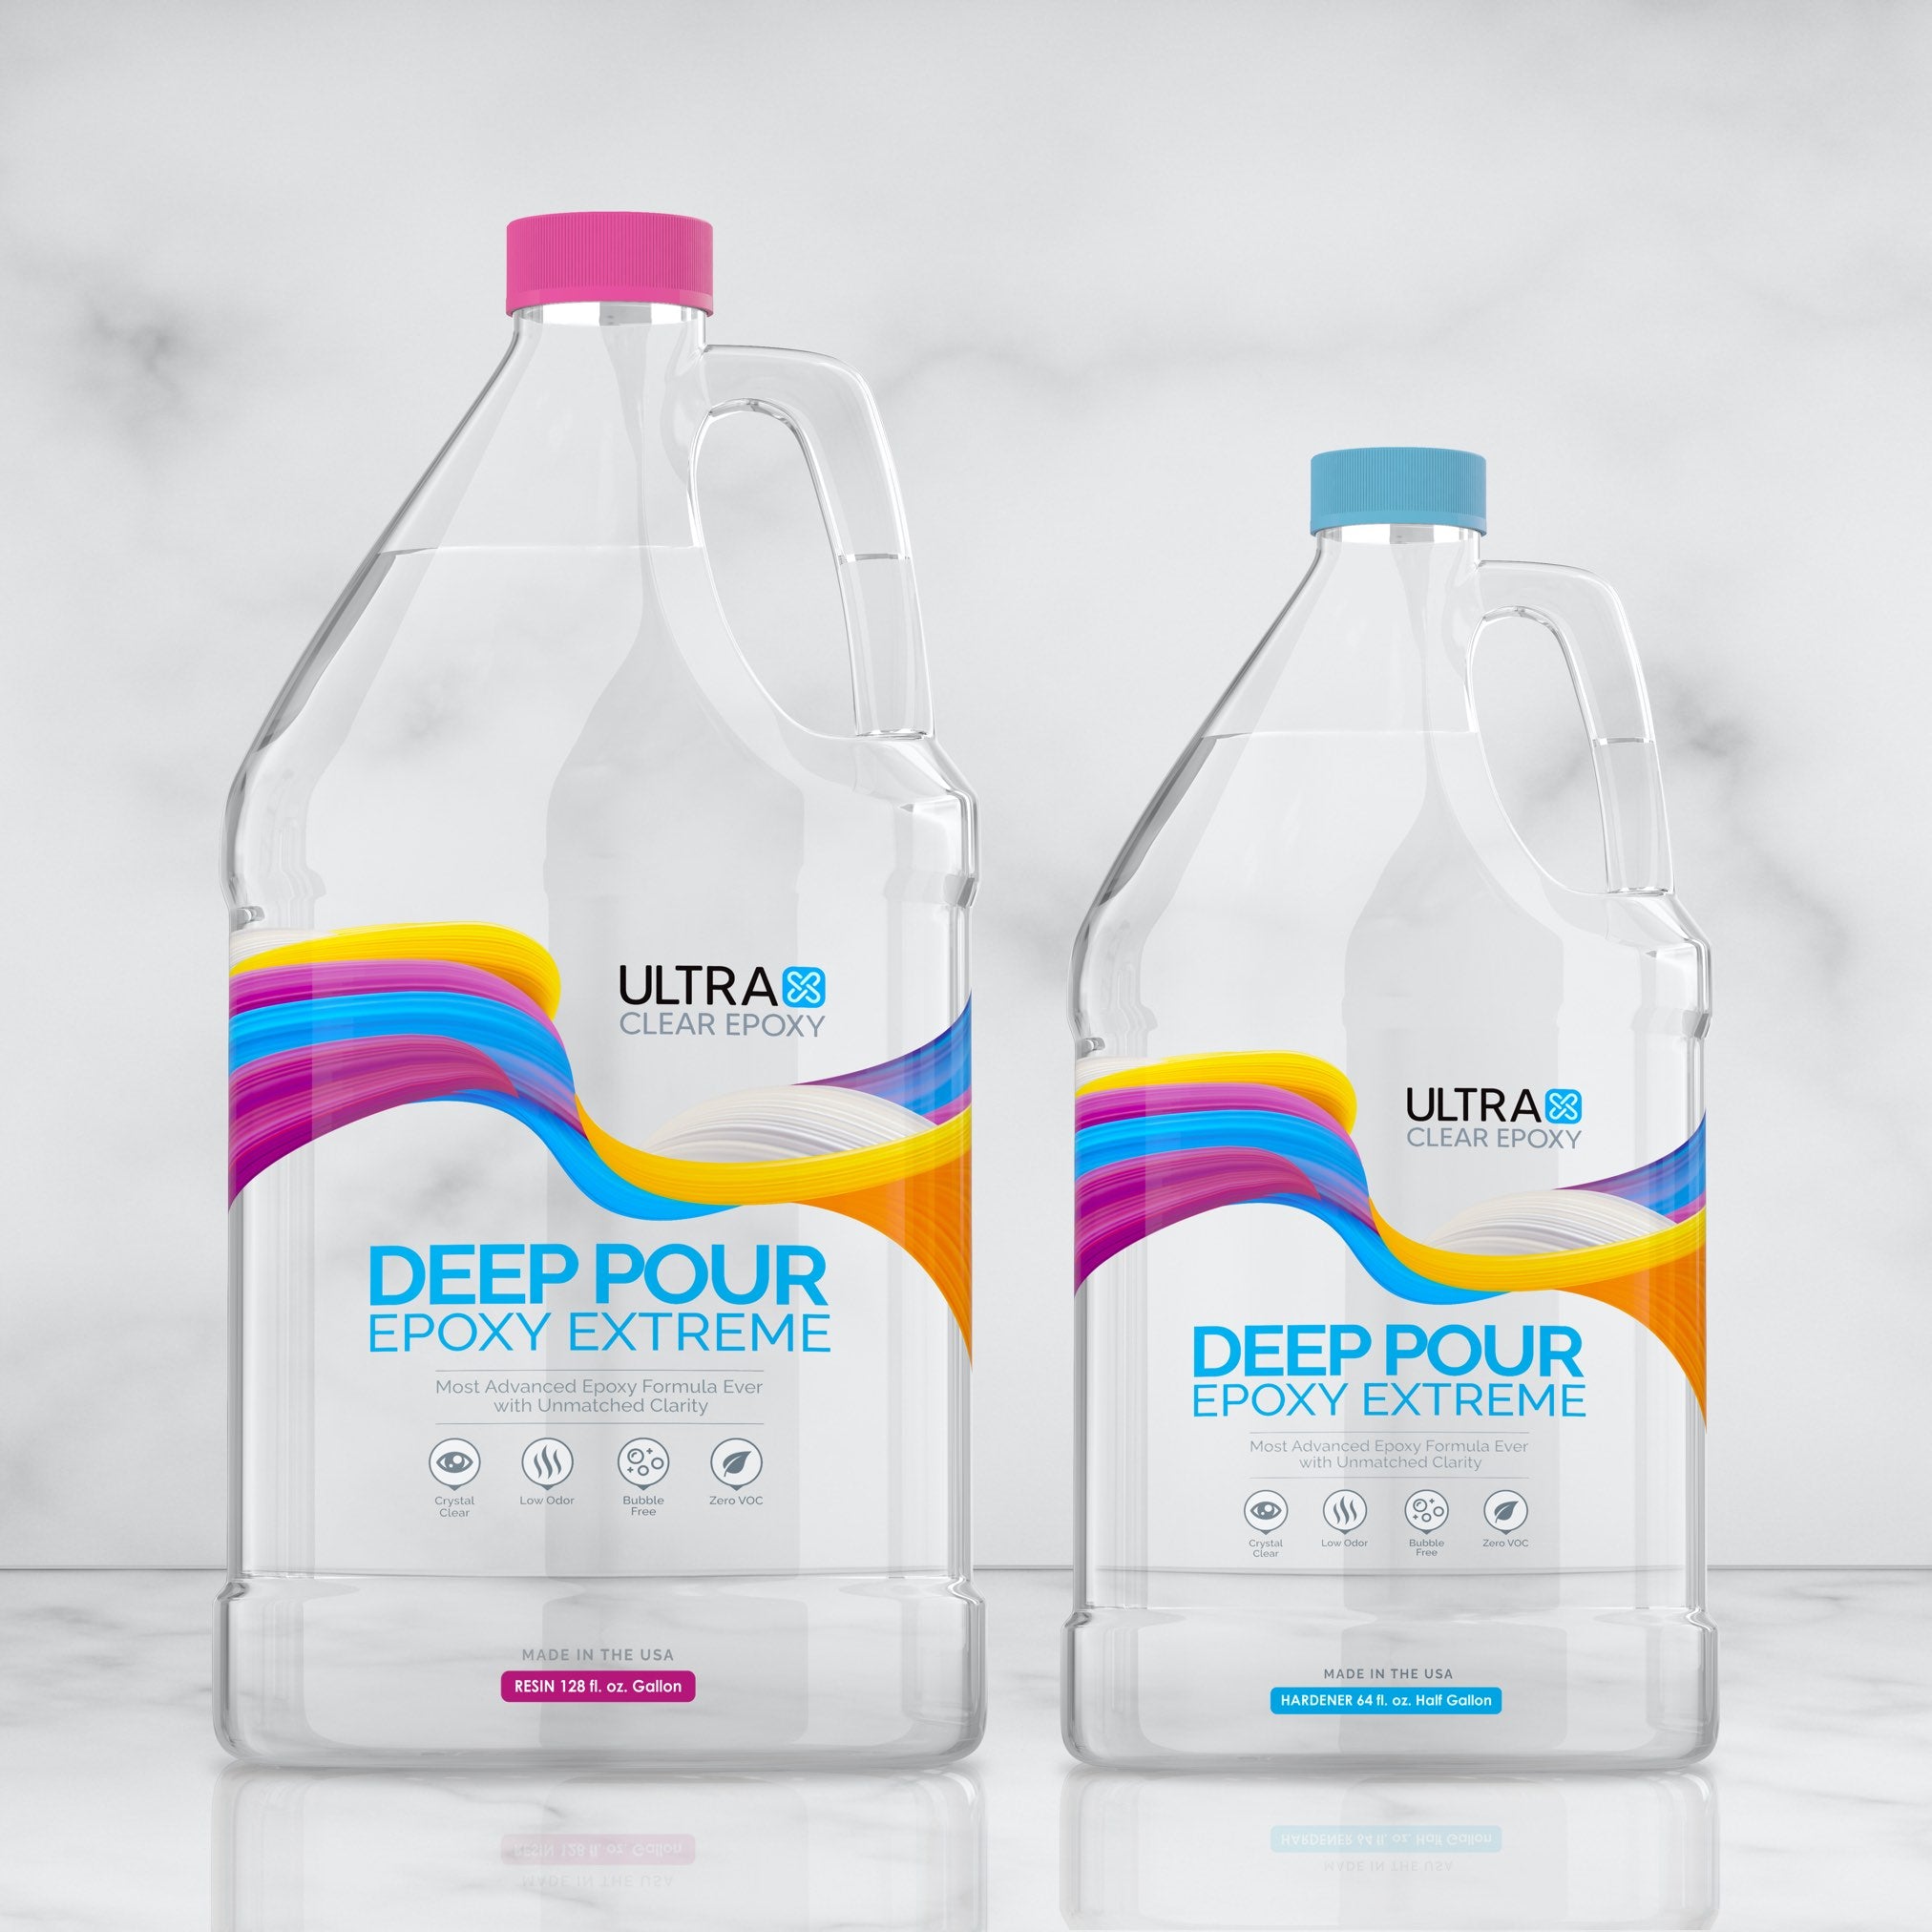
UltraClear Deep Pour Epoxy—Best for river tables, castings, and thick pours up to 2 inches deep. Use this if you need an extra-thick epoxy finish.
-
UltraClear Art & Craft Epoxy—Great for smaller decorative projects, vibrant color work, and detailed embedding.
FAQs: Epoxy Coating Basics
Do I always need a seal coat before a flood coat?
If your surface is porous, like wood or concrete, then yes—a seal coat is essential. It prevents bubbles from forming during your flood coat and helps ensure a smooth final surface.
How much epoxy do I need for a seal coat?
A seal coat uses much less epoxy than a flood coat. Typically, you’ll need about 2.5 oz of mixed epoxy per square foot.
Which epoxy should I use for a seal coat?
For seal coats, a more viscous epoxy is preferable, such as UltraClear Bar & Table Top Epoxy or UltraClear Art & Craft Epoxy.
Though viable, we recommend against using UltraClear Deep Pour Epoxy because its watery consistency prior to curing makes it harder to apply and fully seal a substrate.
Can I apply a flood coat without waiting for the seal coat to fully cure?
Yes. In fact, that's the ideal way to apply one.
The best time to pour the flood coat is when the seal coat is tacky to the touch; this typically occurs between 4 and 6 hours after the seal coat application. If the seal coat fully cures, lightly sand and clean it to improve adhesion.
What happens if I pour too thick of a flood coat?
Pouring epoxy too thick can cause overheating, which may lead to yellowing, cracking, or bubbling. Stick to 1/8 inch per flood coat layer with UltraClear Bar & Table Top Epoxy.
If your project calls for extra-thick epoxy layers, consider using UltraClear Deep Pour Epoxy, which can be poured in deep layers of up to 2 inches each, saving a lot of time and hassle.
How long should I wait between coats?
If pouring multiple flood coats, wait until the previous layer is tacky (about 4 to 6 hours). If fully cured, sand lightly before applying the next layer.
See our guide to multi-layer applications for detailed advice.
Can I sand the epoxy surface after it cures?
Yes. If needed, you can sand cured epoxy to smooth out imperfections or prepare it for another coat. Use a fine grit (220 or higher) and wipe away dust before recoating.
Have Questions? Want Advice? We're Here to Help!
If you have any questions about epoxy resin, or if you'd like assistance in planning an epoxy project, please reach out to us at UltraClear Epoxy—our epoxy experts are ready to assist!
You can contact us via phone or email here. During business hours, you can also text chat online with one of our resin specialists by clicking the Help button at the bottom of your screen.
In our online store, you'll find a variety of useful tools and supplies, ideal for resin projects, plus our award-winning UltraClear Bar & Table Top Epoxy and our UltraClear Deep Pour Epoxy.
UltraClear Epoxy—Trusted by over 1 Million+ Happy Customers


