Welcome to our guide on resin mold cleaning and proper storage!
Keeping your resin molds clean after your epoxy has finished curing and been removed is essential to ensuring their longevity and preventing unnecessary damage to the molds themselves.
In this guide, we'll teach you some of the best methods for cleaning silicone resin molds, both before and after use.
We'll also provide tips on properly storing these molds to reduce contamination and prevent them from being damaged between projects.
How to clean resin molds
Cleanup is one of the least fun aspects of epoxy projects. Perhaps you've finished making some epoxy coasters, or a resin keychain. If everything went well, the molds you used may seem fairly clean already.
Nevertheless, it's important to always give them a proper cleaning after each use, because silicone relies on a clean, smooth surface at microscopic levels to perform it's nonstick job as a resin mold.
Cleaning your silicone mold is basically a three-step process:
- Preliminary cleaning: This is an optional step using techniques that remove loose grime and debris prior to washing the mold.
- Primary cleaning: This is a required step when most/all of the remaining debris is removed primarily using common dish detergents and water.
- Secondary cleaning: A second optional step that weakens the bonds between silicone and any stubborn residues that remain after washing—intended for resin, but applicable to other materials as well.

Step #1: Preliminary cleaning methods
Let's start with some preliminary cleaning. These are optional methods that you'll do prior to the primary cleaning to make that task easier.
Method One: Use tape to remove loose residue, grime, and dust.
- Cut a strip of tape and press the adhesive side into the surface of the mold. This will cause anything loose like dirt, crumbs, and hair to stick to the adhesive and be pulled up with the tape.
- Repeat this over the entire surface to remove as much sediment as you can. You can get a new strip of tape if the one you're using seems to be getting clogged.
Method Two: Use adhesive putty to pull away bits of debris.
Though less effective than tape, you can use adhesive putty to remove sediment in much the same way.
- Take a small amount of adhesive putty and press it against the surface, then pull it back. Some of the grime should stick to it and leave the silicone mold surface.
- Repeat this over the entire surface. You can reshape the putty in your hand if it seems clogged. This should expose unclogged areas so you can continue removing debris.
Once you've finished with either of these techniques, move on to the next step.

Step #2: Primary cleaning
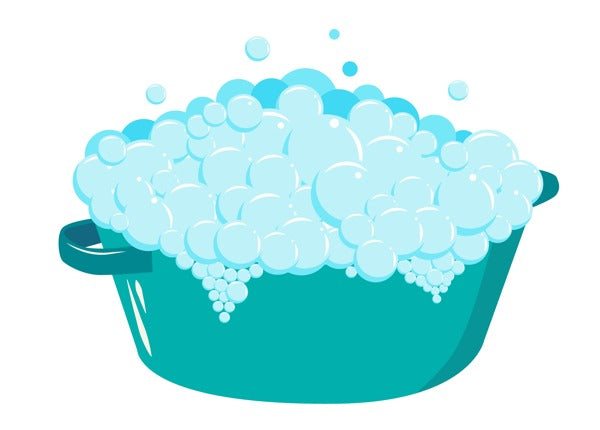
Much like with washing resin from skin, primary cleaning employs the tried-and-true method of hot, sudsy water and is usually all you'll need.
Note: Consider wearing some gloves while working with hot water cleaning solutions. Hot water can heat your skin rapidly which causes it to dry out, and the dish detergent can be a skin irritant for some.
Primary cleaning method: Soaking molds in a solution of hot water and dish detergent.
- Fill a bucket or basin (large enough to submerge your mold in) with hot water. If your faucet can't deliver hot water, you can microwave it. It doesn't need to boiling, just hot.
- Add some grease-removing dish detergent (at least a teaspoon, if you like to measure). Agitate the water a bit to make sure the detergent gets properly dispersed. You'll know it's happening as suds start to form.
- Submerge your mold into the cleaning solution and let it rest for at least half an hour. This gives the solution time to weaken the bonds between any residue and the silicone mold surface.
-
Lift your mold out of the solution and apply a couple drops of detergent to your fingers or—if suitable—a soft, nonabrasive sponge.
Note: Don't use a rough sponge or any other abrasive scrubber, as those can damage the silicone's smooth nonstick surface. - Gently rub the mold. Be sure to get into corners and grooves as best as you can.
- Rinse the mold thoroughly with running hot/warm water. When you're satisfied, use your fingers to feel for any remnants of residual sediment or resin. If you feel any, you can repeat this method.
-
Allow the molds to air-dry. This can take several hours, depending on the temperature and humidity of the air.
Note: You can also use a high-quality lint-free cloth to dry them manually. Just make sure they're actually lint-free, and you should be good. This is particularly useful if you have hard water in your area, as letting hard water evaporate naturally will often leave behind the minerals in the water, which can affect the nonstick aspect of the mold.
Once the molds are dry, move onto the next step.

Step #3: Secondary cleaning method
At the moment, we only have one method that we consider 100% safe for stubborn resin remnants:
If hot water and detergent weren't sufficient, you can place your molds in the freezer for a short period of time to embrittle the bond between silicone and most residues (including resin).
- Place your silicone molds into a freezer. Find a clean spot for them to rest.
-
Wait about an hour, giving the residue's bond time to become brittle.
Once that time has passed, take the molds out of the freezer. - Using your fingers, gently separate the residue you were having trouble with from the mold. At this point, it should be relatively easy to peel or push from the mold. You can try using something flat (like a plastic spatula, plastic fork, or even a toothpick) to carefully scrape it away.
- After this, you can rinse your molds and either let them air dry or manually dry them with a true lint-free cloth.
Once you're done with this, your resin molds should finally be clean.
Additional cleaning notes for cleaning resin molds
If after trying each of these techniques, you still have residue problems with your silicone molds, you may need to simply replace them.
Sometimes silicone develops tiny imperceptible holes that disrupt the ultra-smooth surface which enables it to be nonstick in the first place.
If this is the case, there's not really anything you can do to repair it that won't likely ruin the form of the mold and make it useless for its purpose.
Expert tips on storing your resin molds
Here are some tips to make sure your molds last as long as possible and to save you time on cleaning:
- Store your molds in a cool environment, away from direct sunlight and high heat. Over time, sunlight can degrade the integrity of silicone.
- Store your molds in clean, air-tight containers or sealable plastic bags. This will prevent dust and other particles from drifting onto the mold surface. You can press the air out of plastic bags manually before fully sealing them.
- Make sure your molds are not under pressure when they're stored. Avoid stacking anything on them. Silicone molds are resilient, but under pressure they can eventually deform or retain a compressed shape due to strain.

Additional resources
Other resin-related articles that may interest you:
- Guidelines for cleaning epoxy surfaces: Techniques for keeping your resin surfaces clean and in excellent condition.
- Epoxy: Proper storage, shelf life, and preventing "yellowing": Tips for storing unused epoxy resin to increase longevity and prevent accidents.
Have questions? Want advice? Contact us!
If you have any questions about cleaning resin molds, or about resin in general (such as project planning), please reach out to us at UltraClear Epoxy. Our resin experts are ready to assist you.
You can contact us via phone or email here, or you can text chat online with an epoxy specialist by clicking the Help Button at the bottom right of your screen.


