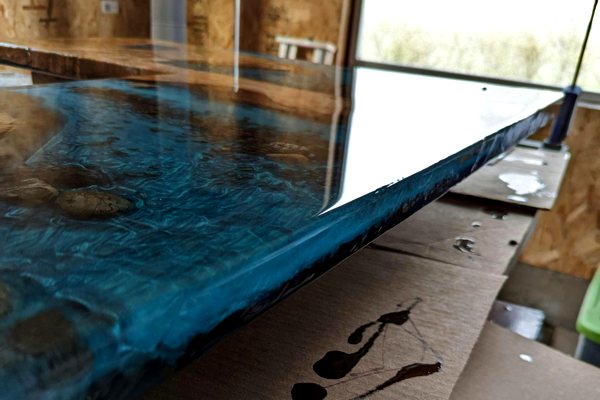
Epoxy resin is celebrated for its ability to preserve and enhance the appearance of furniture and fixture surfaces, as well as to create stunning, multidimensional art pieces. One of the most impactful ways to achieve a pleasing sense of depth and dimension in your projects is through layering techniques. Whether you're working on a canvas, table top, custom jewelry, or something else, layering allows you to build complex designs that capture light and create visual appeal.
This guide will help you master epoxy layering, from planning your design to performing flawless pours.
Why Layering Matters
Layering epoxy resin adds a sense of depth that flat designs simply can’t pull off. For example, by stacking transparent and opaque layers, embedding objects, or using varying pigment concentrations, you can produce:
- 3D Effects: Mimic water, clouds, or other natural elements through the use of layering techniques.
- Visual Complexity: Add interesting elements to otherwise simple designs.
- Dynamic Light Interaction: Alter the way your creation catches and reflects light.

Materials and Tools Needed
You'll need to gather some supplies to complete your project. Here's a list of what's used in most projects:
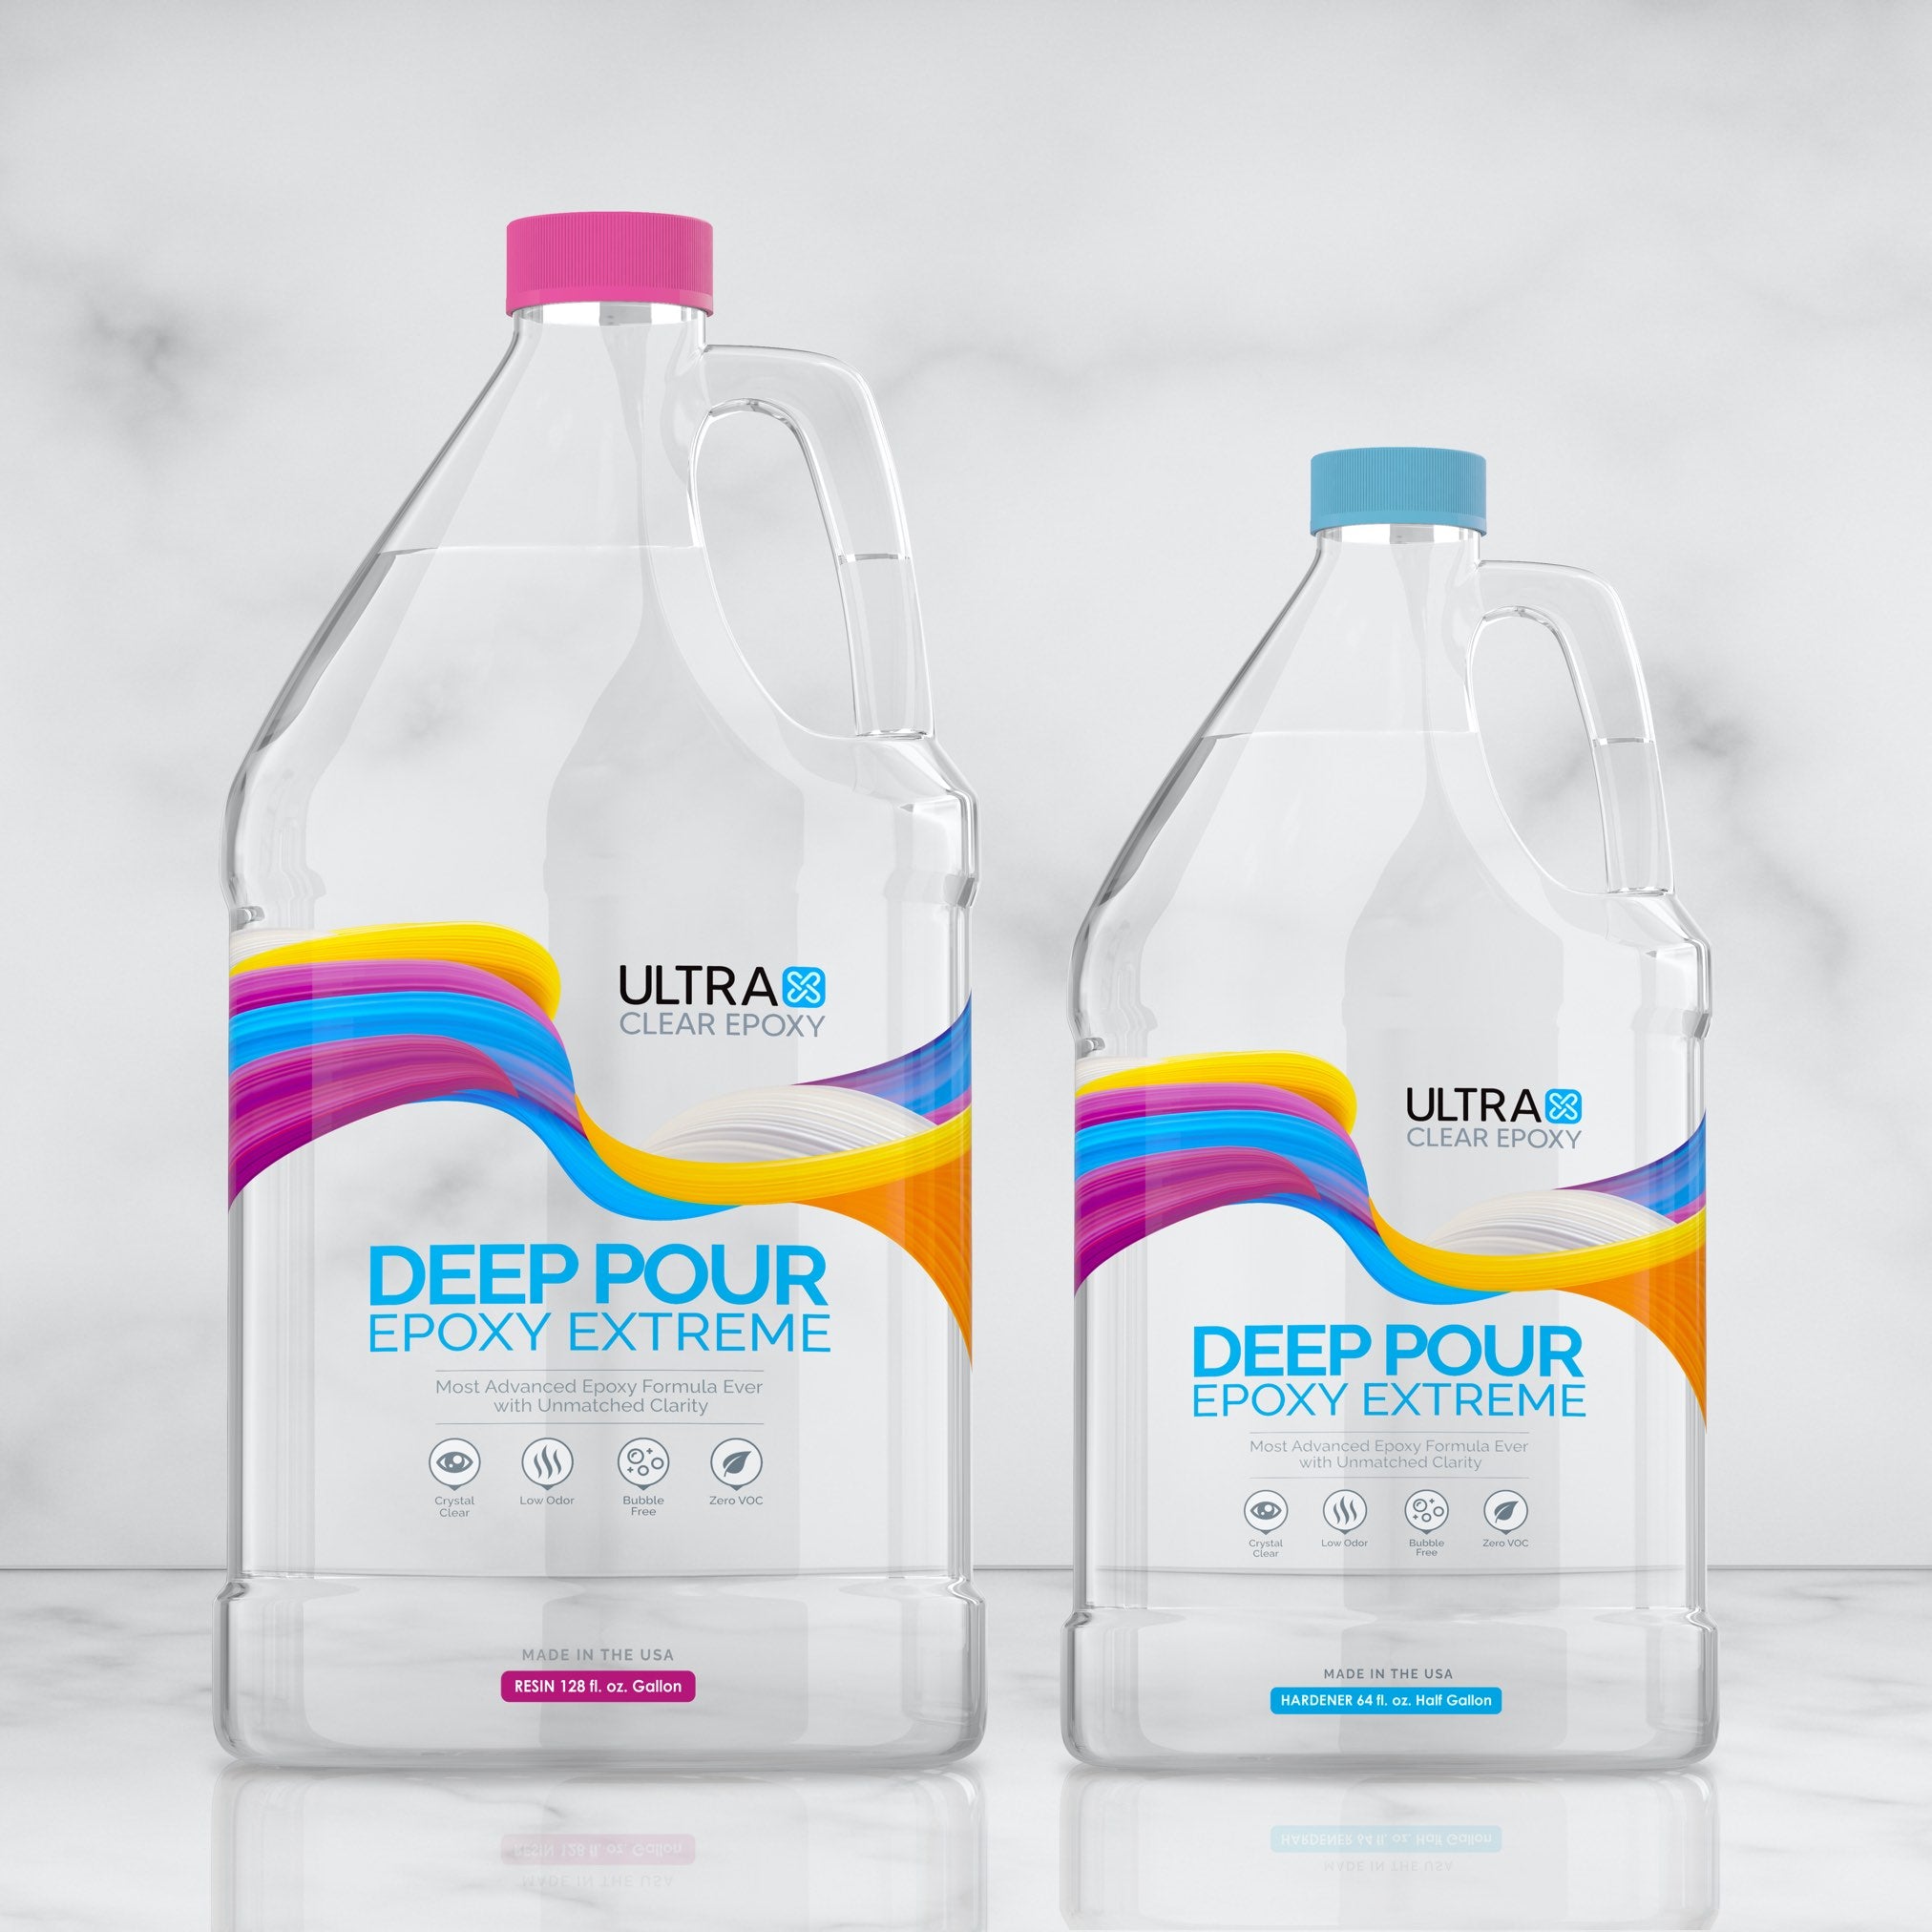
- Epoxy Resin: Use UltraClear Bar & Table Top Epoxy or UltraClear Art & Craft Epoxy for thin layers and UltraClear Deep Pour Epoxy for thicker applications.
- Pigments and Inks: Alcohol inks, mica powders, and opaque pigments for varied effects.
- Heat Gun or Torch: For bubble removal and blending layers.
- Measuring Cups and Stir Sticks: For precise mixing.
- Silicone Molds or Substrates: Depending on your project type.
- Protective Gear: Gloves, apron, and a well-ventilated workspace.
Step-by-Step Guide to Layering Epoxy
#1. Plan Your Design
Once you've decided on a project type, you'll want to start by planning out the design of your work.
- Sketch your design or visualize the effects you want to achieve.
- Decide how many layers you’ll need and what each layer will contribute to the overall look.
- Choose your pigments and materials accordingly.
#2. Prepare Your Workspace
Next is setting up the area you'll be working in. We recommend protecting any surface that isn't part of the project and making sure everything you'll be using is conveniently placed.
- Ensure your surface is level and protected with plastic sheeting.
- Keep all tools and materials within reach to work efficiently between layers.
For conventional projects (e.g., an epoxy table top), be sure to prep your substrate as well (see our guide here). Many projects benefit greatly from a subsequent epoxy seal coat.
#3. Mix the Epoxy Resin
- Follow the manufacturer’s instructions for mixing our UltraClear Epoxy.
- Mix thoroughly to avoid sticky or improperly cured layers.
Learn to avoid common mixing mistakes here.
#4. Pour the Base Layer
- Start with a thin, even layer of clear or lightly tinted resin.
- Use a heat gun or torch to remove bubbles.
- Allow the layer to partially cure (tacky but firm) before adding the next layer. This typically takes 4-6 hours, depending on the resin.
Learn how to color your epoxy resin here.
#5. Add Subsequent Layers
-
Mix a new batch of epoxy for each layer. Consider the following techniques:
- Transparency Variation: Use different pigment concentrations for each layer to create depth.
- Embedded Objects: Place dried flowers, glitter, or other items between layers to give a suspended effect.
- Color Swirls: Pour multiple colors in the same layer and manipulate them with a stick or heat gun for a marbled look.
-
Repeat the curing process for each layer, ensuring the previous one is tacky but not fully cured.
Take your time and be careful not to pour a layer thicker than what the epoxy you're using can handle. If you need an extra-thick layer, use UltraClear Deep Pour Epoxy, which supports up to 2-inch layers.
#6. Build Highlights and Details
At this point, many users will finetune their design with additional accents using more precise application.
- Add fine details such as streaks of metallic pigment or drops of alcohol ink to create focal points.
- Use a thin brush or stick to position these features precisely how you want them.
For additional ideas, check out our coloring techniques guide.
#7. Finish with a Clear Top Layer
- Seal your design with a final clear layer to protect the details and enhance the depth.
- Allow the piece to cure completely according to the epoxy’s instructions.
Tips for Perfect Layering
- Timing Is Key: Pour each layer at the right time to ensure good adhesion and avoid smudging previous layers.
- Use Transparency Wisely: Clear layers can help create the illusion of depth without overwhelming the design.
- Experiment with Textures: Use tools like combs, brushes, or even bubble wrap to add texture between layers.
- Practice Patience: Rushing the process can lead to uneven layers or trapped bubbles.
- Test First: Try out new techniques on small test pieces before applying them to larger projects. This is really helpful if you're new to using epoxy.
Common Layering Mistakes and How to Avoid Them
- Bubbles Between Layers: Ensure each layer is bubble-free before pouring the next. Use a heat gun or torch effectively.
- Poor Adhesion: Don’t wait too long between layers; tacky surfaces bond better.
- Excessive Colorant: Using too much pigment or dye can disrupt the curing process and may create cloudy layers. Stick to manufacturer recommendations. For tailored advice to your project, you can contact us!
When Layering Epoxy, Practice Makes Perfect
Mastering epoxy layering techniques allows you to unlock the full potential of this versatile material. With high-quality products like UltraClear Bar & Table Top Epoxy and UltraClear Deep Pour Epoxy, you can create pieces with incredible depth and dimension. Whether you’re crafting abstract art, jewelry, or furniture, layering will take your epoxy projects to the next level. Take your time, experiment with techniques, and enjoy the process of creating stunning, multi-dimensional works of art.
Have questions? Want advice? Contact us!
If you have any questions about epoxy resin, or if you'd like assistance in planning an epoxy project, please reach out to us at UltraClear Epoxy—our epoxy experts are ready to assist!
You can contact us via phone or email here. During business hours, you can also text chat online with one of our resin specialists by clicking the Help button at the bottom of your screen.
In our online store, you'll find a variety of useful tools and supplies, ideal for resin projects, plus our award-winning UltraClear Bar & Table Top Epoxy and our UltraClear Deep Pour Epoxy.


