Layering epoxy properly is essential for achieving a clear, strong, and smooth table top finish. Whether you're sealing natural wood, embedding objects, or pouring colored resin, understanding when and why to use multiple layers will help you avoid common mistakes and produce a professional result.

Types of Epoxy Coatings Used in Table Top Projects
Different table top projects call for different types of epoxy applications. Each type of pour plays a specific role in the finished product:
-
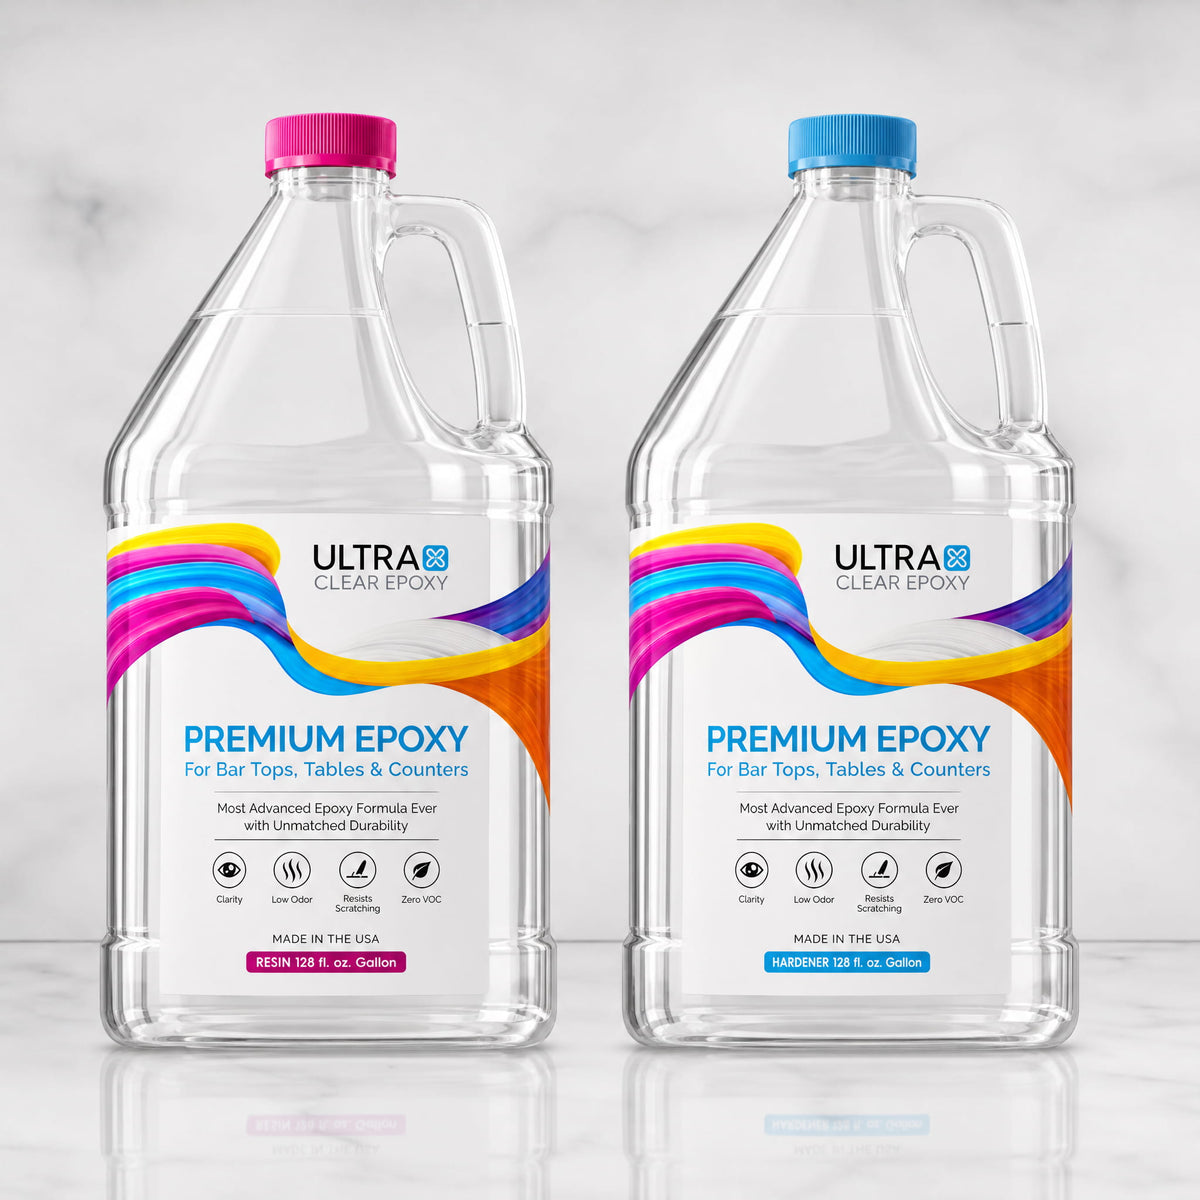
Seal Coat: A thin, initial coat that soaks into wood or porous surfaces to prevent air bubbles from rising in later layers. Typically applied using UltraClear Bar & Table Top Epoxy.
-
Flood Coat: A thicker, self-leveling layer that forms the visible top surface. Also done with UltraClear Bar & Table Top Epoxy.
-
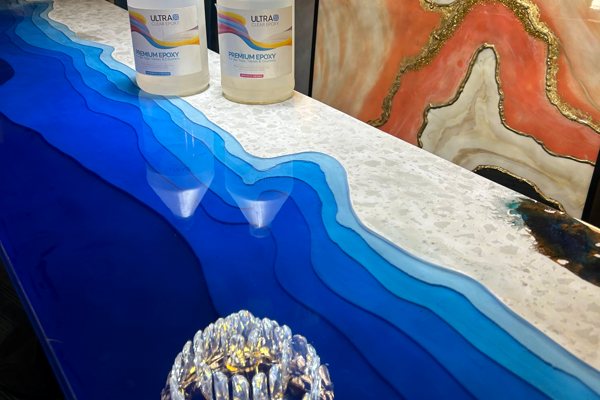
Deep Pour Layer: Used when pouring thicker sections or casting features like river tables. Requires UltraClear Deep Pour Epoxy, which cures slower to prevent heat buildup.
-
Art or Accent Layers: Colored or textured layers, usually added in small amounts with pigment or dyes. Can be achieved with UltraClear Art & Craft Epoxy or UltraClear Bar & Table Top Epoxy.
Each layer type contributes to structural integrity, visual clarity, and surface smoothness.

When and Why Multiple Layers Are Needed
Using multiple epoxy layers is a useful way to solve problems and achieve specific visual or functional goals:
-
Bubbling Prevention: A seal coat locks in air from porous wood, preventing bubbles in the flood coat.
-
Thicker Finishes: Epoxy should not be poured too thick at once unless using a deep pour formula. Layering allows safe thickness buildup even of thin-coat epoxies such as table top epoxy.
-
Embedding and Inlays: Adding objects (e.g., photos, coins, or leaves) may require separate pour stages to fully encase them without shifting.
-
Color Effects: Complex color patterns often need several pours to create depth without muddying the design.
-
Surface Corrections: If a previous layer cures unevenly, adding a new flood coat can level and restore the finish.

How to Layer Epoxy the Right Way in Different Situations
Technique #1: The Conventional Layering Order (Clear Finish on Wood)
-
Step 1: Sand and clean the table top substrate.
-
Step 2: Apply a seal coat using UltraClear Bar & Table Top Epoxy. Use a foam brush to spread thinly. Learn about seal coats here.
-
Step 3: Let the seal coat cure until tacky (4–6 hours).
-
Step 4: Pour the flood coat (up to 1/8") and level with a spreader. Use a torch to pop bubbles. Get tips on flood coating here.
-
Step 5: Allow to cure within a temporary enclosure or beneath a dust cover.
Technique #2: Layering the Same Epoxy Type Multiple Times (e.g., Colored Art Table)
-
Step 1: Mix, pour, and spread your first colored layer using your chosen epoxy.
-
Step 2: Wait until it reaches the tacky phase (approx. 4 to 6 hours).
-
Step 3: Pour the second layer, repeating with color or effect as desired.
-
Step 4: Apply a final clear coat of UltraClear Bar & Table Top Epoxy for full-strength surface protection.
Technique #3: Deep Pour Projects (e.g., River Tables)
-
Step 1: Use UltraClear Deep Pour Epoxy in layers no thicker than 2 inches at a time.
-
Step 2: Allow each pour to partially cure (around 12 hours) before adding the next.
-
Step 3: Finish with a flood coat of UltraClear Bar & Table Top Epoxy for a glass-like top layer.


Why Epoxy Quality Matters for Layering
Low-cost epoxy resins often produce hazy results, bubble excessively, or fail to bond properly between layers. This leads to yellowing, delamination, or soft surfaces that dent easily.
For lasting clarity and strength, use UltraClear Epoxy products.
UltraClear Epoxy—Professional-Grade & Beginner Friendly
-
-
100% Made in the USA
-
UV-resistant to minimize yellowing
-
Highly durable and scratch-resistant
-
Formulated for excellent inter-layer adhesion
- Usable by beginners to achieve professional results
-
Each of our resins specialize in particular layering types:
-
UltraClear Bar & Table Top Epoxy for clear coats and surface finishes.
-
UltraClear Deep Pour Epoxy for thick pours and river tables.
-
UltraClear Art & Craft Epoxy for small artistic projects and end tables.

FAQs: Epoxy Layers and Layering
Question #1: Can I pour a new layer of epoxy over a fully cured surface?
Yes, but sand it lightly with sandpaper between 220 to 320 grit first to help the next layer bond. Wipe away the dust and when you apply a new layer the scratches will disappear into a seamless epoxy blend.
Question #2: How long should I wait between layers?
For optimal bonding, pour the next layer while the previous one is still tacky—typically after 4 to 6 hours—and no more than 10 hours.
Question #3: Do I need to seal every type of wood before epoxy?
Yes. Even non-porous hardwoods benefit from a seal coat to avoid bubbles.
Question #4: Can I switch epoxy types between layers?
Yes, as long as they are compatible and you follow sanding or tacky-layer timing rules. For instance, it's common to apply a topcoat of UltraClear Bar & Table Top Epoxy over a Deep Pour Epoxy river vein to achieve of full seal of the highest duragbility.
Question #5: What happens if I pour too thick of a layer?
Overheating may occur, causing cloudiness, cracks, or weak spots. Use UltraClear Deep Pour Epoxy if going thicker than 1/8".
Question #6: Can I fix an uneven layer?
Yes. Sand the uneven surface and reapply a flood coat for a smooth, level finish.

Have Questions? Want Advice? We're Here to Help!
If you have any questions about layering epoxy resin on a table top, or if you'd like assistance in planning an epoxy project, please reach out to us at UltraClear Epoxy—our epoxy experts are ready to assist!
You can contact us via phone or email here. During business hours, you can also text chat online with one of our resin specialists by clicking the Help button at the bottom of your screen.
In our online store, you'll find a variety of useful tools and supplies, ideal for resin projects, plus our award-winning UltraClear Bar & Table Top Epoxy and our UltraClear Deep Pour Epoxy.