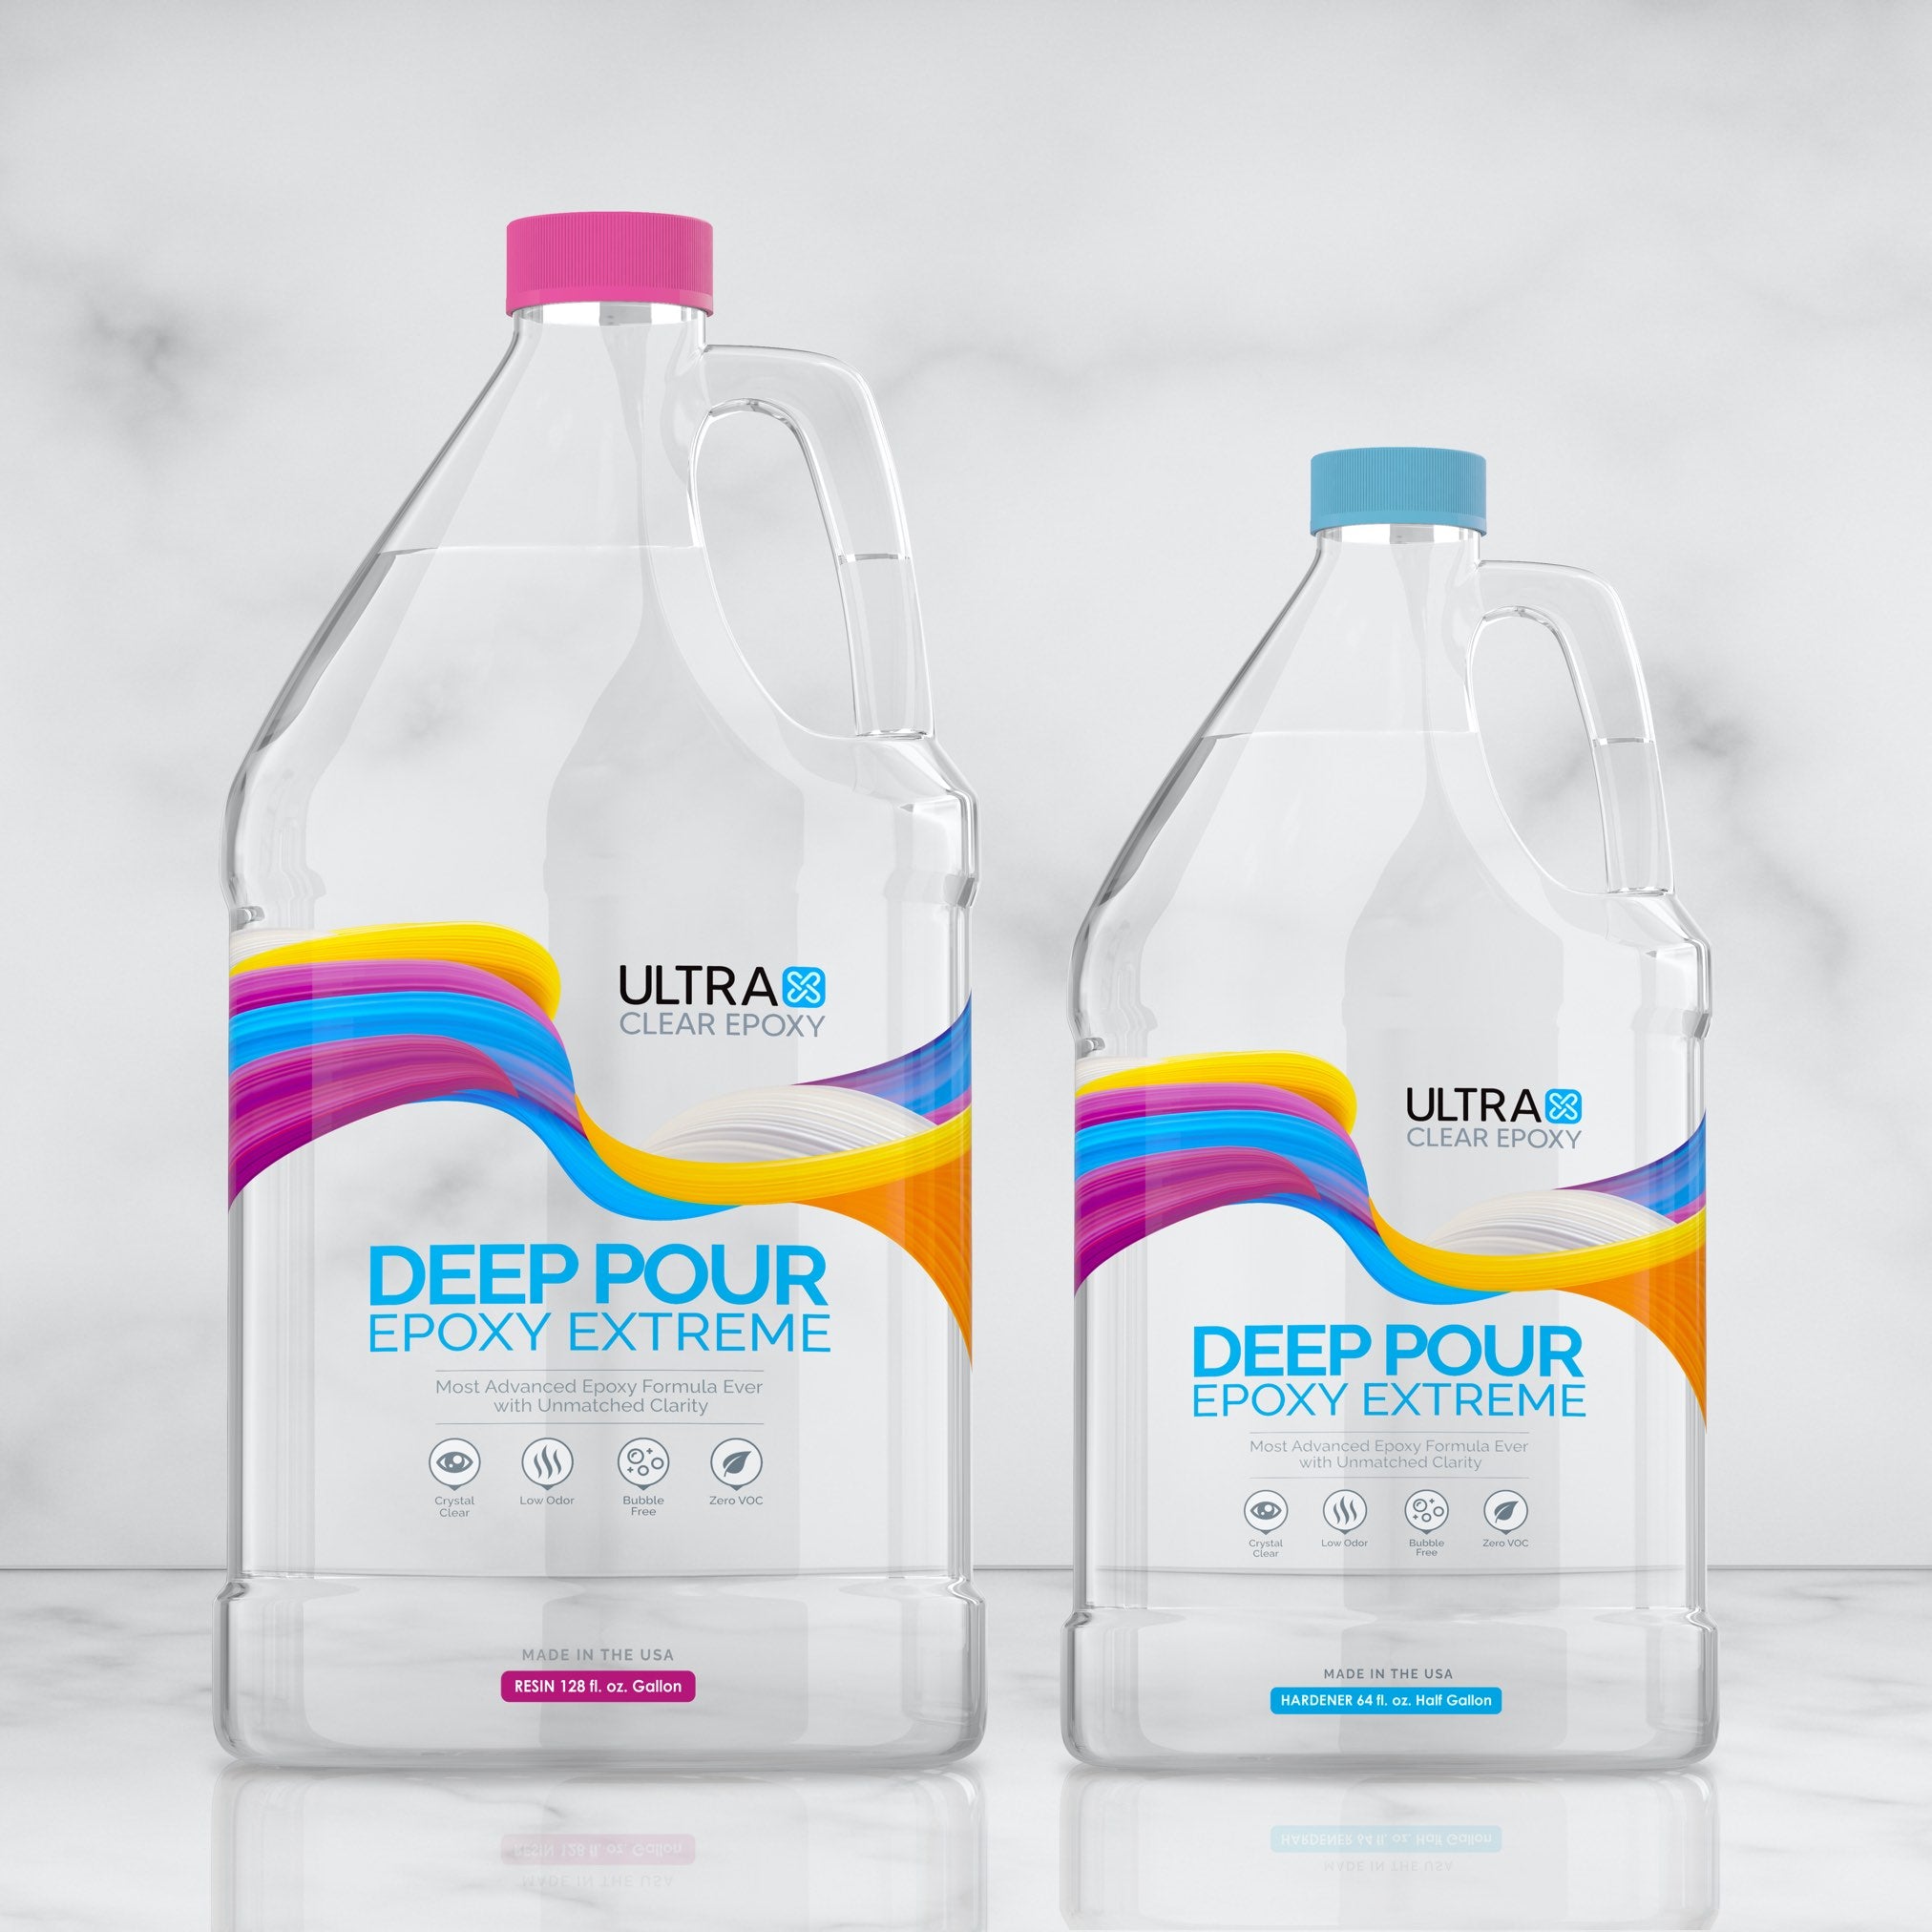
The Unique Role of Deep Pour Epoxy
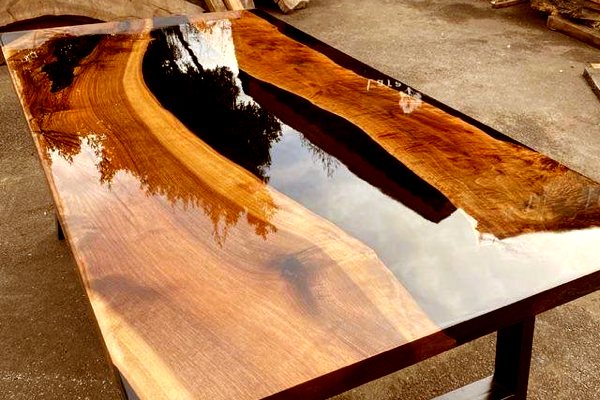
If you’ve ever seen a stunning river table, a thick crystal-clear casting, or a large embedded art piece, chances are it was made with deep pour epoxy. This specialized resin is formulated to handle thick layers—up to 2 inches in a single pour—without overheating, cracking, or clouding.
But here’s the catch: you can’t simply substitute table top epoxy for a deep pour project and expect great results. Deep pour epoxy has a different chemistry, a longer cure time, and a formulation that releases bubbles more effectively during a slow, even cure.
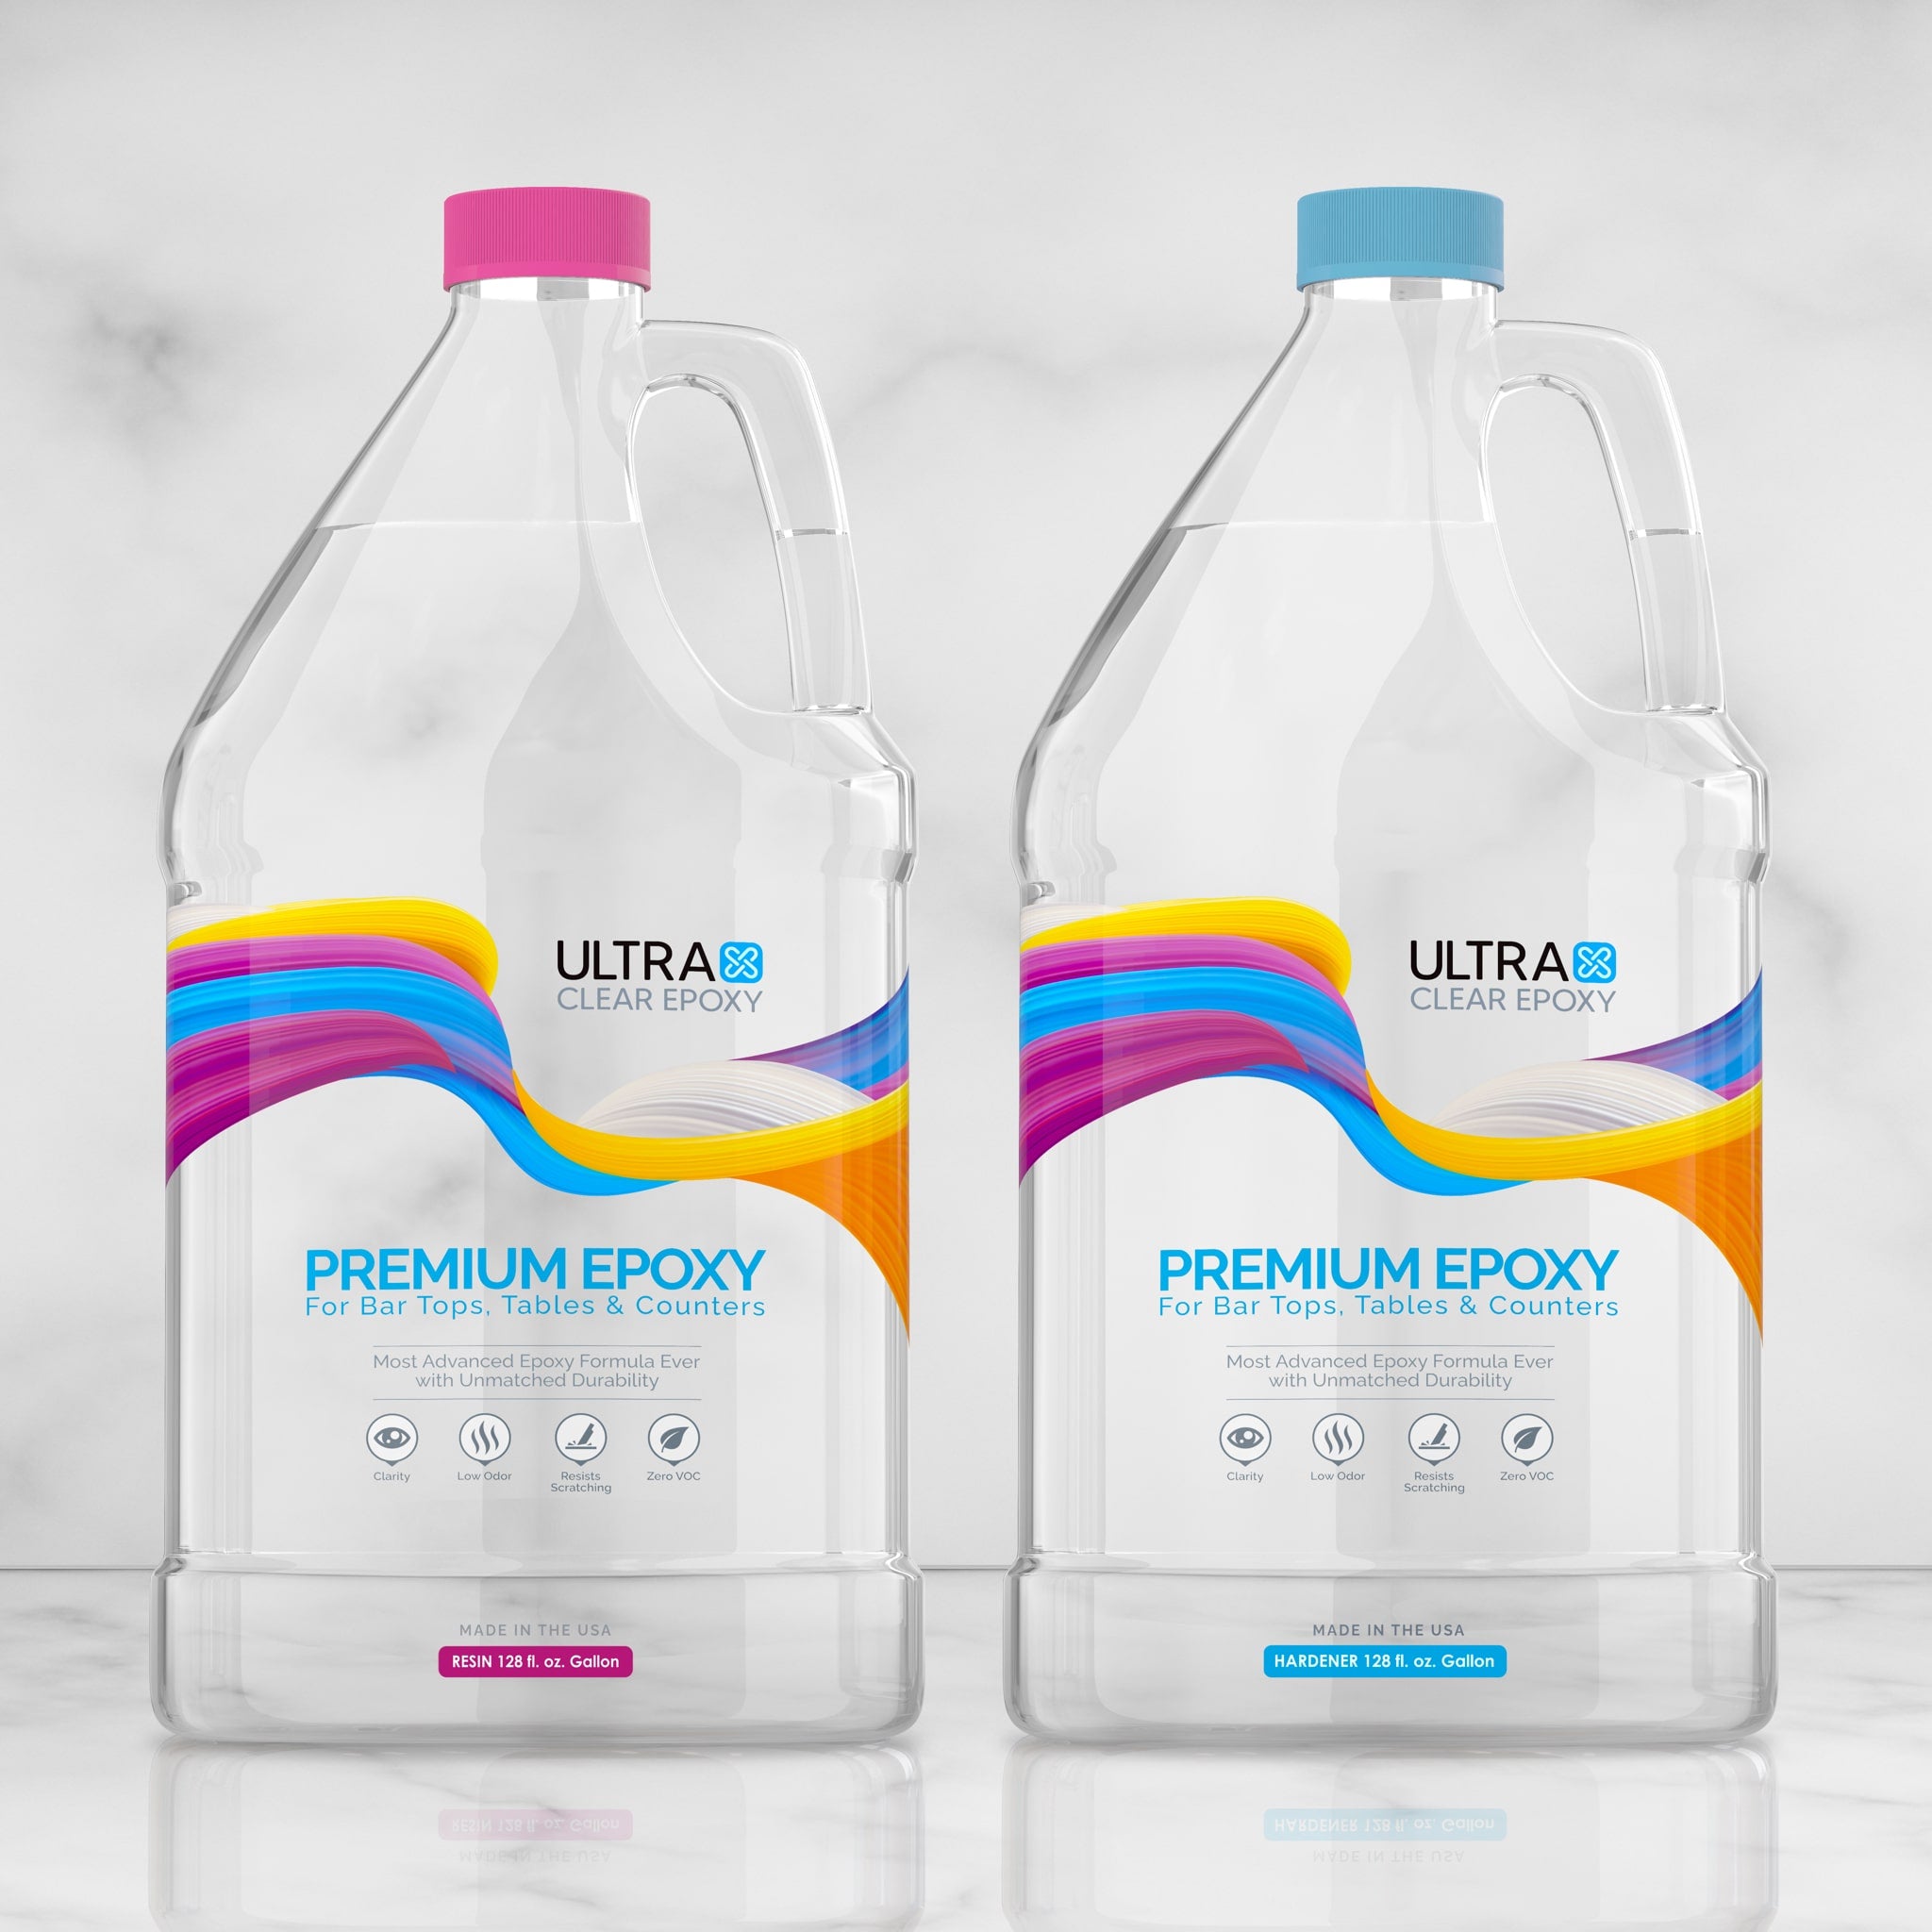
In this guide, we’ll cover what deep pour epoxy is, why quality matters, the most common mistakes to avoid, troubleshooting tips, and how to plan and execute your own thick-pour project using UltraClear Deep Pour Epoxy.
Contents(Click any link to jump to that section) |
|
The Premium Benefits of UltraClear Deep Pour Epoxy Common Mistakes with Thick Pours (and How to Avoid Them) Troubleshooting Deep Pour Problems Step-by-Step Guide to Pouring UltraClear Deep Pour Epoxy |

What Is Deep Pour Epoxy?
Deep pour epoxy is a specialized two-part resin system—made up of a resin (Part A) and a hardener (Part B)—that’s designed for thick applications, typically ranging from 1 to 2 inches in a single pour. Unlike table top epoxy, which is intended for thin surface coats, deep pour formulas are engineered to cure slowly and evenly over many hours, reducing the risk of overheating, cracking, or developing a cloudy appearance.
When the resin and hardener are combined in the proper ratio, they trigger a chemical reaction that transforms the liquid mixture into a solid, glass-like material. This slower reaction is what allows deep pour epoxy to release bubbles more effectively and stay crystal clear, even in large castings.
Why it’s different from other epoxies:
-
Longer Cure Time: Gives trapped air more time to escape and prevents the extreme heat buildup (known as exotherm) that can ruin a thick pour.
-
Lower Viscosity: Thinner consistency while liquid helps the epoxy flow into tight spaces and around embedded objects.
-
Specialized Formulation: Includes additives to maintain clarity and reduce shrinkage during the cure.
Best uses for deep pour epoxy include:
-
River tables and live edge furniture – Fill the gap between wood slabs with a clear or colored resin pour.
-
Large molds and block casting – Create thick, solid resin pieces for functional or decorative use.
-
Encapsulation projects – Embed objects such as stones, shells, or keepsakes in thick layers of resin.
-
Sculptural or artistic work – Achieve depth and volume that’s impossible with thin-pour epoxies.
In short, if you need to fill a large volume of space with flawless clarity and long-term durability, UltraClear Deep Pour Epoxy is the resin built for the job.

The Premium Benefits of UltraClear Deep Pour Epoxy
Not all epoxy is created equally—and when you’re working on a thick pour, quality makes the difference between a flawless, crystal-clear result and a cloudy, brittle disappointment. Lower-cost or imported brands often save money by using lower-grade raw materials or by skimping on the testing process. The result? A resin that may look fine at first but quickly develops haze, yellowing, or soft spots.
UltraClear Deep Pour Epoxy is engineered from the ground up to avoid those problems:
Exceptional Clarity, Even in Thick Casts
The resin’s commercial-grade formulation produces a water-like transparency that lets the details of your project shine through. Even in pours up to 2 inches thick, it cures without the cloudiness or amber tint you’ll often see in cheaper alternatives.
Long, Controlled Cure for Perfect Bubble Release
Its slower curing speed allows trapped air to rise naturally before the resin sets. This means fewer bubbles to chase with a heat gun and a much smoother final surface.
Superior UV Resistance
Built-in UV inhibitors help protect against yellowing over time, keeping your project looking as fresh and clear years from now as it did the day you finished it.
Durability That Lasts for Years
Once fully cured, UltraClear Deep Pour Epoxy forms a rock-hard, impact-resistant surface that resists chipping, cracking, and warping—even in thicker sections.
Safe and Consistent Quality – Made in the USA
Every batch is produced under strict U.S. quality control standards, ensuring you get the same high performance every time. No hidden additives, no shortcuts—just resin you can trust.
While bargain brands can seem appealing up front, the risk of failed pours, short lifespan, or safety concerns often costs more in the long run. With UltraClear, you’re investing in a resin that delivers professional results, whether you’re making your first river table or your fiftieth.

Common Mistakes with Thick Pours (and How to Avoid Them)
Even with the right resin, thick pours demand precision. Small oversights can lead to cloudy finishes, cracks, or wasted material. Below are the most common mistakes beginners (and even some experienced users) make—plus clear steps to avoid them.
Pouring Too Thick at Once
Deep pour epoxy is formulated for thick layers, but it still has a maximum safe depth—typically 2 inches per pour for UltraClear Deep Pour Epoxy. Going beyond this limit can cause excessive heat buildup (exotherm), leading to cracks, discoloration, or even smoking.
How to avoid it: Follow the manufacturer’s recommended depth per layer. If you need more depth, pour in multiple layers, allowing each to partially cure before adding the next.
Skipping the Seal Coat on Porous Materials
Raw wood, concrete, and some natural materials have tiny pores that trap air. If left unsealed, these pores release bubbles into the resin during curing, creating cloudy spots or pockmarks.
How to avoid it: Always apply a thin seal coat of UltraClear Bar & Table Top Epoxy (recommended) or deep pour resin before the main pour. This locks in air and prevents bubble formation.
Learn more about seal coating here.
Inaccurate Measuring or Mixing
Epoxy relies on precise chemical balance. If the resin and hardener aren’t measured correctly or are mixed inconsistently, you may end up with soft spots, sticky areas, or incomplete curing.
How to avoid it: Use graduated mixing containers to measure exactly according to the ratio (2:1 for UltraClear Deep Pour Epoxy). Mix slowly but thoroughly, scraping the sides and bottom for at least 3–5 minutes until the mixture is uniform.
Have a mistake you want to fix? See our guide to fixing common issues here!
Working in the Wrong Environment
Temperature and humidity directly affect how epoxy cures. High humidity can cause cloudiness or amine blush (a waxy surface layer), while low temperatures slow the cure and can make the resin too thick to pour.
How to avoid it: Work in a clean, dust-free environment between 70–80°F with humidity under 60%. Pre-warm your resin if the shop is cool.
Using the Wrong Type of Epoxy
Some makers try to use table top epoxy for thick pours, but it’s not designed for that purpose. Its faster reaction generates heat too quickly in large volumes, almost guaranteeing cracks and yellowing.
How to avoid it: Match your epoxy type to your project. Deep pour epoxy for thick layers, table top epoxy for thin, protective finishes.
For smaller projects, UltraClear Art & Craft Epoxy can be the best option, as its longer working time allows for more intricate manipulation of the epoxy for artistic purposes.
Neglecting to Protect the Project During Cure
Dust, insects, or debris can settle into the surface during the long cure time, especially for deep pours that take several days to set.
How to avoid it: Cover your project with a dust tent or clean plastic sheeting immediately after pouring, making sure it doesn’t touch the resin surface.
By recognizing these pitfalls and following proper preparation and pouring techniques, you’ll drastically improve your odds of getting a flawless, professional-quality result.

Troubleshooting Deep Pour Problems
Even if you follow instructions closely, deep pour projects can sometimes develop imperfections. The good news is that most issues have clear causes and practical fixes.
Below are some of the most common deep pour epoxy problems and how to correct—or prevent—them.
Cloudy or Milky Finish
Cause: Moisture contamination is the most common culprit, often from high humidity in the workspace, damp wood, or condensation forming on cold resin.
How to Prevent or Fix It:
-
Check humidity levels before you start; keep them under 60%.
-
Make sure wood or other materials are completely dry before pouring.
Ripples or Surface Waves
Cause: Temperature changes during curing can cause the resin to expand and contract unevenly, leaving surface distortion. This often happens if the workspace cools down significantly at night.
How to Prevent or Fix It:
-
Maintain a consistent 70–80°F—ideally 75°F—temperature for the first 72 hours of curing.
-
Avoid placing your project near doors, windows, or vents where drafts can cause sudden cooling.
Sticky or Soft Spots
Cause: Improper resin-to-hardener ratio, incomplete mixing, or scraping unmixed material from the sides of the mixing container into your pour.
How to Prevent or Fix It:
-
Always measure with precision and mix thoroughly, scraping the sides and bottom of the cup as you stir.
-
If soft spots appear after curing, remove the affected areas with a scraper or sander and re-pour with fresh, correctly mixed resin.
Persistent Bubbles
Cause: Air trapped in porous materials, overly vigorous mixing, or pouring in a cool environment where the resin is too thick for bubbles to escape.
How to Prevent or Fix It:
-
If the contents of your resin bottle have solidified or are cold, warm the resin bottles in a water bath before mixing you unseal them to reduce viscosity to proper levels.
-
Seal porous materials with a thin seal coat before your deep pour.
-
Use a propane torch or heat gun to lightly pass over the surface immediately after pouring and again during the first hour as bubbles rise. This will remove the bubbles.
Learn more about handling bubbles here.
Yellowing or Amber Tint Over Time
Cause: Exposure to UV light or low-grade epoxy without sufficient UV inhibitors.
How to Prevent or Fix It:
-
Always use UltraClear Deep Pour Epoxy, which contains premium UV protection.
-
Keep cured projects away from prolonged direct sunlight or apply a UV-protective urethane topcoat.
Cracks After Curing
Cause: Pouring too thick in a single layer, causing overheating and stress fractures.
How to Prevent or Fix It:
-
Follow the maximum recommended pour depth (2 inches per layer for UltraClear).
-
If cracks appear, you may need to sand them out and pour a fresh layer to restore the surface.
With the right preventive steps and quick action when problems arise, you can rescue most deep pour projects and avoid repeating the same mistakes.

Planning a Deep Pour Project
A successful deep pour starts long before you open the resin bottles. Careful planning will save you from wasted materials, avoidable mistakes, and frustrating do-overs. Here’s what to think through before you start mixing:
Choose or Build a Proper Mold/Form
Your mold or form needs to be completely leakproof—deep pour epoxy is thin during the first hours of curing and will seep out of even the smallest gaps. If you’re using a ready-made mold, inspect it for cracks or worn edges.
Alternatively, if you’re building a form for a river table or large casting:
-
Use melamine-coated boards or HDPE sheets, which epoxy won’t bond to.
-
Seal seams with silicone caulk, and give it time to cure before pouring.
-
Line the inside with mold release tape or apply a release agent to ensure easy demolding.
Calculate Resin Volume Accurately
Guesswork can leave you short on resin in the middle of a pour or leave you with costly excess. Use the UltraClear Deep Pour Epoxy Calculator to determine exactly how much you need based on length, width, and depth. Remember that deep pour epoxy is measured by total mixed volume (resin + hardener combined) and uses a 2:1 ratio of resin to hardener.
Prepare the Pouring Surface or Object
If you’re embedding wood, metal, or other objects:
-
Sand and clean surfaces so dust, oils, or debris don’t get trapped in the epoxy.
-
For porous materials like raw wood, apply a thin seal coat first—this prevents air pockets from forming as the resin penetrates the material.
Choose Your Additives Wisely
Colorants, glitter, or other effects must be epoxy-safe to prevent curing problems. Avoid water-based paints or dyes, as they can cause cloudiness or bonding issues. For pigments, mix them into the resin slowly to avoid introducing extra bubbles.
Plan Your Pour Schedule
UltraClear Deep Pour Epoxy can be poured up to 2 inches thick in one layer. If your project requires more depth:
-
Allow the first layer to partially cure (usually 18–24 hours) until it’s firm but still tacky before adding the next pour.
-
This ensures chemical bonding between layers without sanding.
Control the Environment
Work in a stable environment between 70–80°F with low humidity (under 60%). High humidity can cause cloudiness, and temperature swings can cause warping or ripples. Minimize dust by covering your workspace and keeping fans off during curing.
Prioritize Safety
Wear nitrile gloves, eye protection, and work in a well-ventilated space. Epoxy resin is safe to use when handled properly, but skin contact and fume inhalation should be avoided.
By taking the time to plan each of these elements, you set yourself up for a smooth, controlled pour and a final result that’s both beautiful and durable.

Step-by-Step Guide to Pouring UltraClear Deep Pour Epoxy
UltraClear Deep Pour Epoxy cures to a rock-solid epoxy surface with a glass-like appearance. But to achieve that, it must be handled properly. Here's how to successfully apply this epoxy for crystal-clear results.
-
Prepare Your Workspace: Ensure your space is between 70–80°F, free of dust, and well-ventilated. Have all tools, molds, and materials ready before mixing.
-
Measure Precisely: Use a clean measuring container. Mix resin and hardener at a 2:1 ratio by volume, being exact—small measurement errors can cause soft spots.
-
Mix Slowly and Thoroughly: Stir for 3–5 minutes, scraping the sides and bottom of the container to ensure even blending without whipping in excess air.
-
Seal Coat Porous Surfaces: Apply a thin layer of mixed resin to porous wood or materials and let it tack up to prevent bubbles during the deep pour.
-
Pour in Layers if Needed: For depths greater than 2 inches, pour in multiple layers, allowing partial curing between each pour to prevent overheating.
-
Bubble Removal: After pouring, pass a heat gun or torch lightly over the surface in short bursts to release surface bubbles. Avoid lingering to prevent scorching.
-
Protect the Curing Surface: Cover the project with a dust shield or box to keep debris out during curing.
-
Allow Full Cure: Wait 5–7 days for the epoxy to reach full hardness before demolding, sanding, or finishing.
Once cured, remove the piece from the mold carefully. Sand gradually from coarse to fine grits, and polish with a plastic-safe compound.
For extra protection, you can apply UltraClear Bar & Table Top Epoxy as a final coat. This is a common choice for river tables, in which the river vein(s) are made with deep pour epoxy and a clear topcoat of table top epoxy is applied over the entire top for a smooth, glass-like surface.

FAQs—Deep Pour Epoxy Questions Answered
How thick can I pour UltraClear Deep Pour Epoxy in one layer?
You can pour up to 2 inches per layer. If your project is deeper than that, plan for multiple pours. Allow each layer to reach the “firm but tacky” stage (about 18–24 hours) before adding the next layer to ensure strong chemical bonding without sanding.
See our guide to layering epoxy for more information.
Can I use deep pour epoxy for thin coatings or a table top finish?
It’s possible, but not ideal. Deep pour epoxy is designed to cure slowly for thick applications, so it can be too soft initially for high-traffic surfaces. For thin, glossy finishes—like a bar top or table top—UltraClear Bar & Table Top Epoxy is the better choice because it cures faster and has a harder surface sooner.
How long until my project is fully cured?
UltraClear Deep Pour Epoxy typically reaches full hardness in 5–7 days. You can usually handle it gently after 48–72 hours, but avoid heavy sanding, machining, or using the piece until it’s fully cured.
Can I add pigments, tints, or glitter?
Yes—just make sure they’re epoxy-safe. Avoid anything water-based, as moisture can cause clouding or bonding issues. For even color distribution, stir pigments into the mixed resin slowly to avoid introducing excess bubbles.
Discover what works and learn new techniques in our coloring guide.
What happens if I pour too thick?
Exceeding the 2-inch limit can cause overheating (exothermic reaction), which may lead to cracking, yellowing, or clouding. If you need greater depth, pour in stages to allow heat to dissipate between layers.
How do I prevent bubbles?
Start with a seal coat on porous materials, mix slowly to minimize air, and warm the resin bottles in a water bath before mixing. After pouring, use a heat gun or torch lightly over the surface to pop remaining bubbles.
Is UltraClear Deep Pour Epoxy food-safe?
Yes—once fully cured, it is safe for incidental food contact, making it suitable for projects like serving boards and decorative table tops. However, it should not be used as a cutting surface.
Can I use deep pour epoxy outdoors?
While UltraClear Deep Pour Epoxy has UV resistance, prolonged outdoor exposure can still cause yellowing over time. If you must use it outdoors, apply a UV-resistant urethane topcoat for added protection.
How do I know how much resin to buy?
Use the UltraClear Deep Pour Epoxy Coverage Calculator for precise volume measurements based on your project’s dimensions. This prevents running out mid-pour or wasting excess material.
How do I store leftover epoxy?
Keep resin and hardener bottles tightly sealed in a cool, dry place out of direct sunlight.
Stored properly, unopened UltraClear Deep Pour Epoxy has a minimum shelf life of 1 year. Once opened, though, it should be used within 2 months.

Have Questions? Want Advice? We're Here to Help!
If you have any questions about deep pour epoxy, or if you'd like assistance in planning an epoxy project, please reach out to us at UltraClear Epoxy—our epoxy experts are ready to assist!
You can contact us via phone or email here. During business hours, you can also text chat online with one of our resin specialists by clicking the Help button at the bottom of your screen.
In our online store, you'll find a variety of useful tools and supplies, ideal for resin projects, plus our award-winning UltraClear Bar & Table Top Epoxy and our UltraClear Deep Pour Epoxy.
UltraClear Epoxy—Trusted by over 1 Million+ Happy Customers