Creating a stunning epoxy table top is one of the most rewarding DIY or professional-level projects in furniture making. With the right materials, tools, and preparation, your finished table top can look professionally crafted and last for years. This 2026 guide walks through every stage of the process while offering smart tips and guidance for beginners and experienced creators alike.

Should You Build a New Table or Coat an Existing One?
Before diving into epoxy, you need to decide whether to coat an existing table or build one from scratch.
-
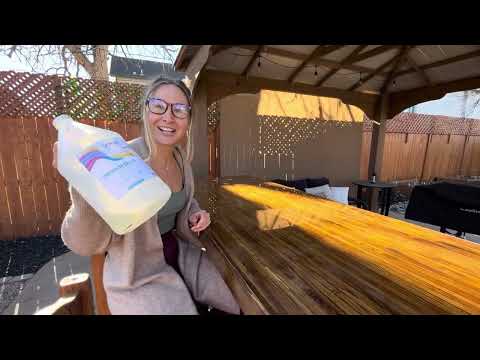
Coating an existing table is great for beginners or anyone looking to upgrade a table with good structure but an outdated finish. This requires less carpentry experience and reduces project time.
-
Building a new table gives you complete creative control over materials, shape, and size. It’s ideal if you want to embed objects, create river-style designs, or use unique slabs of wood. This option suits intermediate to advanced users who have access to woodworking tools.

Getting Started as a Beginner
If this is your first epoxy project, consider starting with a rectangular or round surface using hardwood or MDF. Choose simple designs and avoid deep pours unless you're ready to learn advanced techniques. Practice on a small surface first—such as a bar stool or cutting board—to get a feel for mixing, pouring, and curing epoxy.
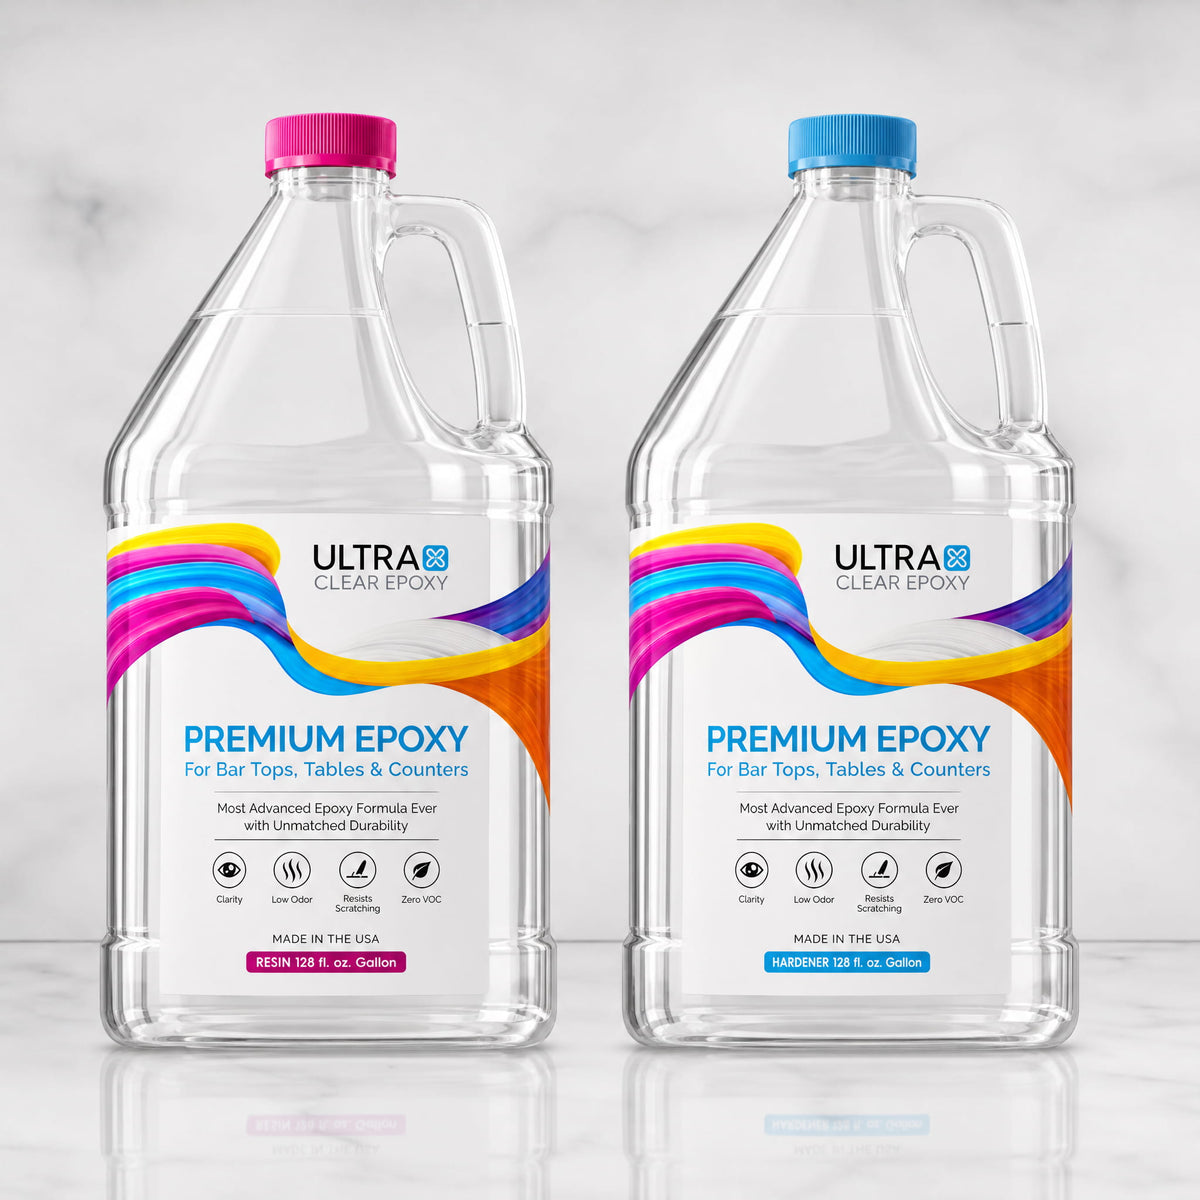
Use UltraClear Bar & Table Top Epoxy, as it’s engineered for ease of use and excellent results—even for beginners. It has a forgiving formula, superior bubble release, and a crystal-clear finish.


Common Table Styles & Application Methods
Here are some of the most popular epoxy table top types and what to consider with each:
-
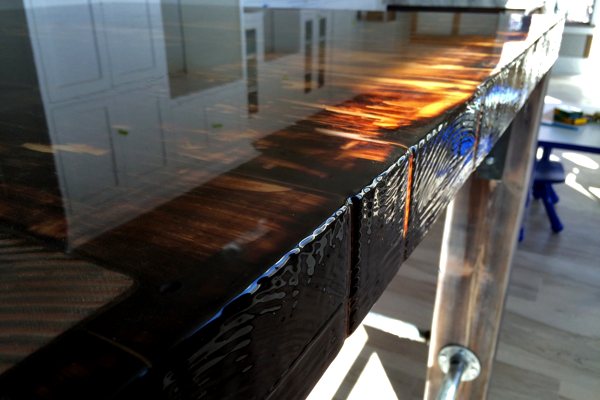
Clear Coated Wood Table: Preserves the natural wood grain under a glossy epoxy layer. Great for rustic or minimalist interiors. Simple to execute—just seal, pour, and cure.
-
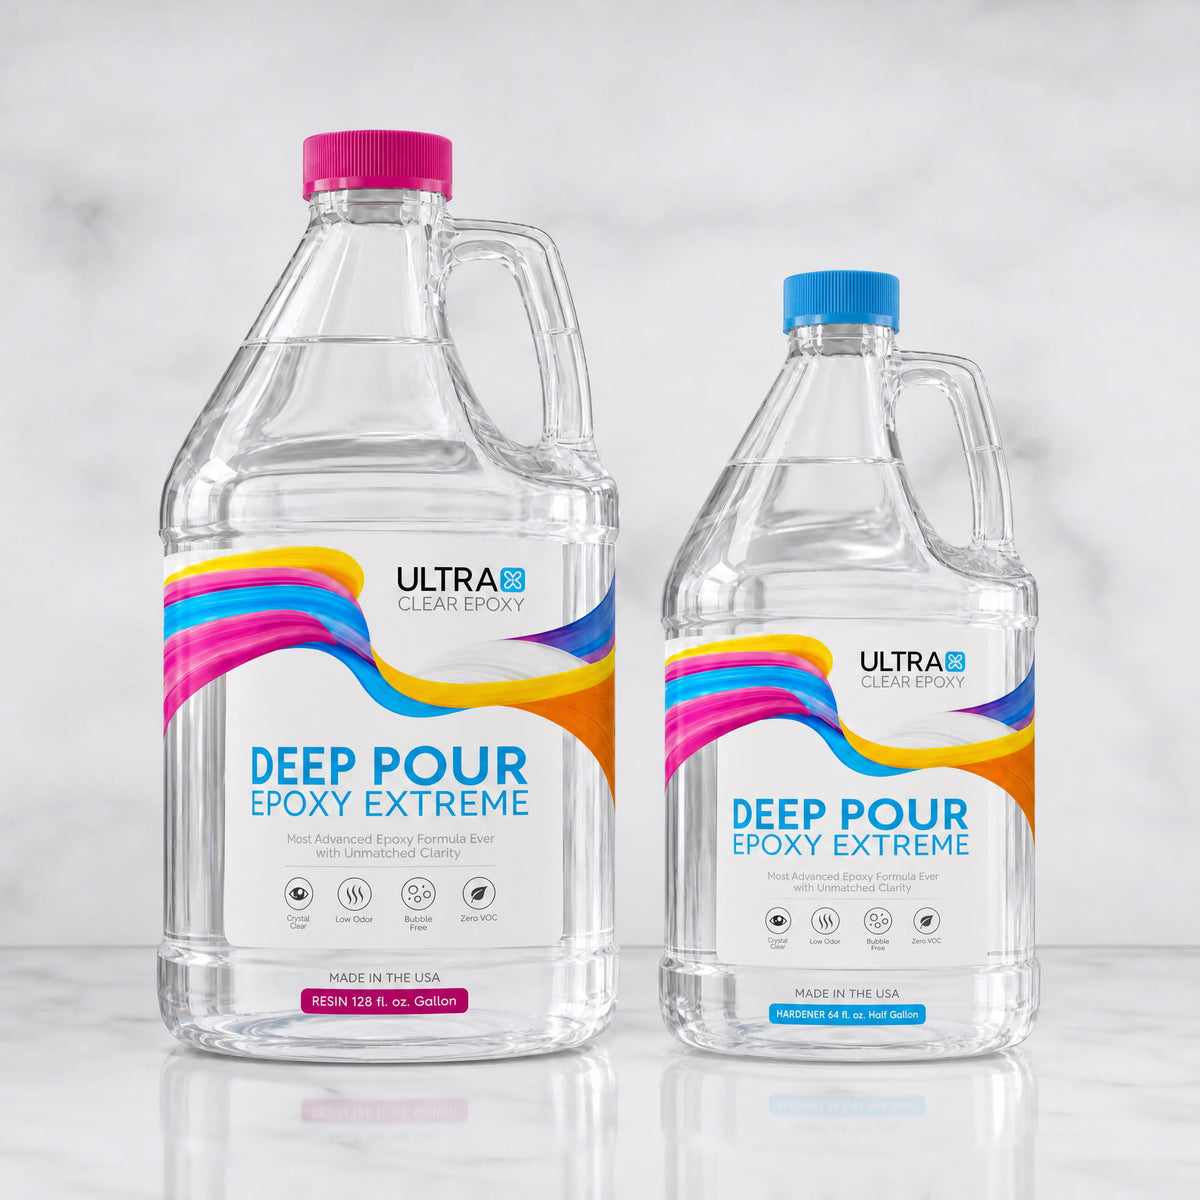
Live Edge River Table: Uses two slabs with a "river" of epoxy between them. Requires form-building, deep pours, and often multiple epoxy layers. In most cases, you should use UltraClear Deep Pour Epoxy for this type.
-
Embedded Object Table: Features coins, shells, photos, or memorabilia beneath the epoxy layer. Seal porous items before embedding. Requires detailed planning but yields a very personalized look.
-
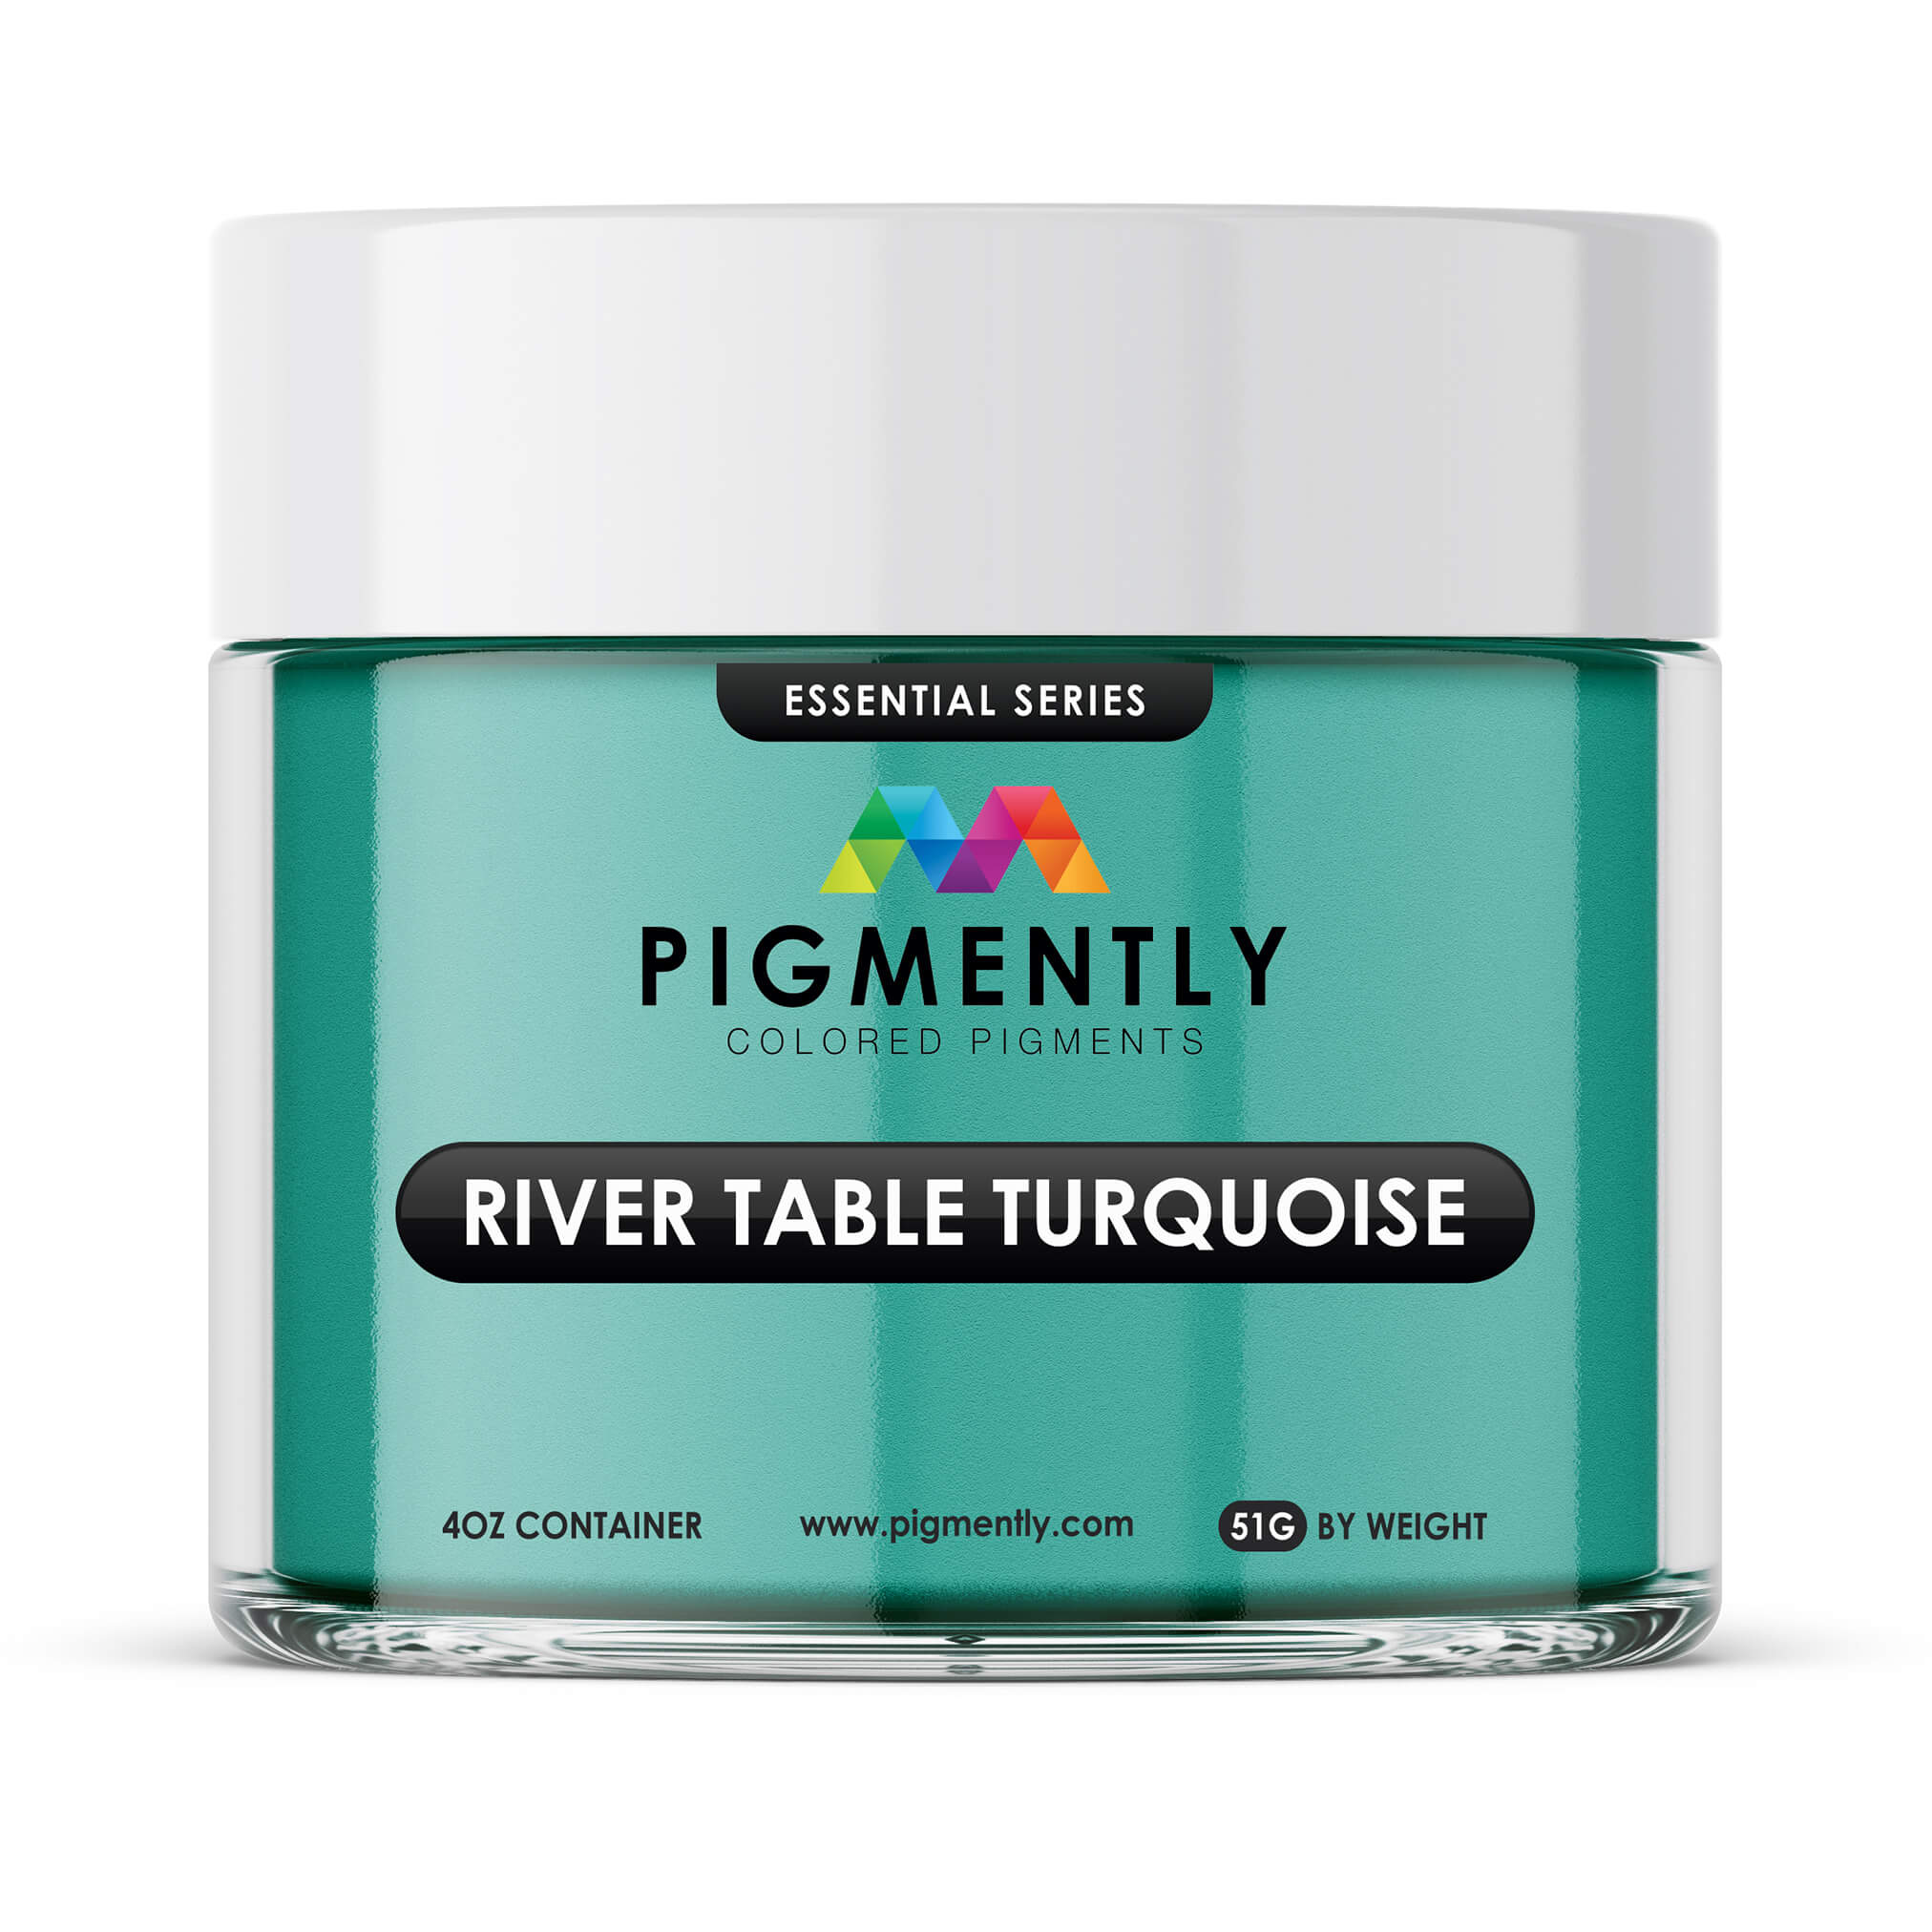
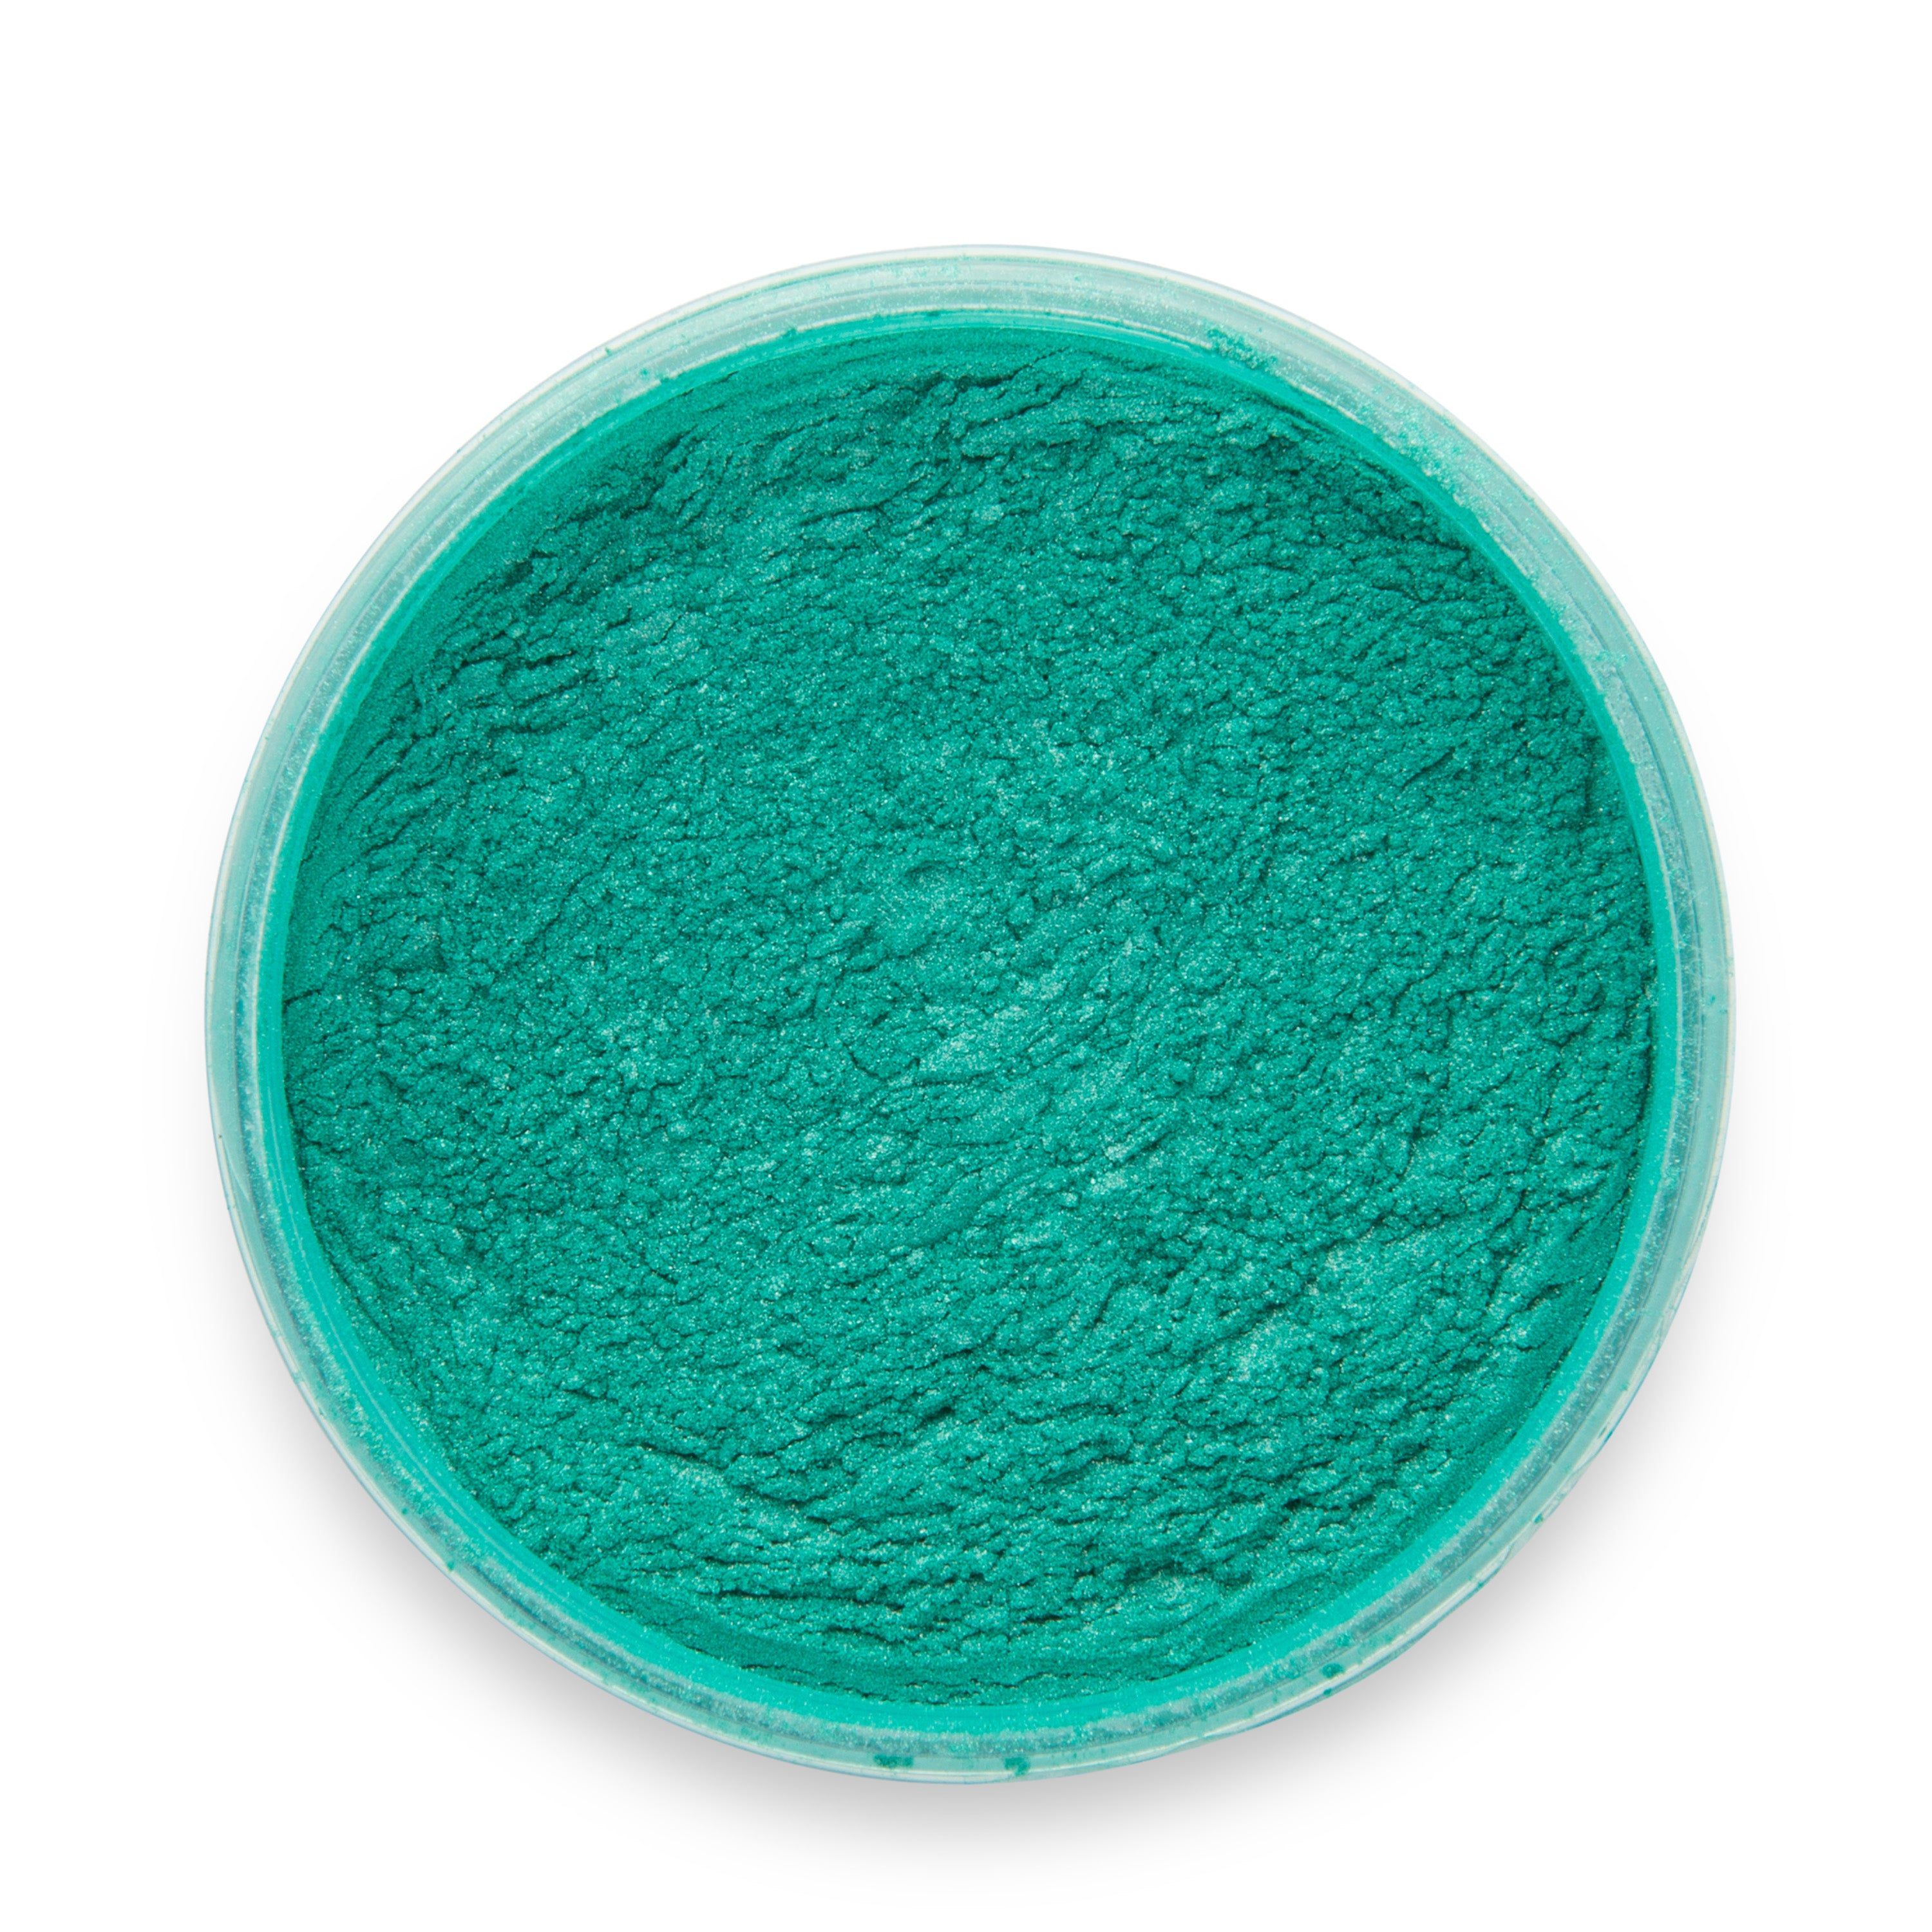
Color-Tinted or Metallic Epoxy Table: Adds pigments or resin dyes for dramatic effects. Choose this for high-impact designs in modern or luxury settings. Requires careful mixing and pouring to avoid swirls or cloudiness.
Each option has its strengths—choose based on your creative preferences and experience level.

Step-by-Step Guide: Building an Epoxy Table Top
Step #1: Gather Your Materials
-
Wood slab or surface (live edge slabs are popular)
-
Measuring containers
-
Mixing drill attachment
-
Plastic sheeting or drop cloth
-
Painter’s tape or Tyvek tape
-
Torch or heat gun
-
Personal protective gear (gloves, safety glasses, respirator)
Many of these items can be acquired together in our epoxy tool kit bundle.
Step #2: Prepare the Work Area
Set up in a clean, dust-free area with good ventilation. Lay down plastic sheeting to protect the floor and nearby surfaces.
Step #3: Seal the Wood (Optional but Recommended)
If your table top is made from porous wood, seal it with a thin layer of epoxy to prevent air bubbles from surfacing during the main pour.
Step #4: Mix Your Epoxy Properly
Use the 1:1 ratio as specified by UltraClear Bar & Table Top Epoxy. Mix thoroughly for 3–5 minutes, scraping the sides and bottom of the container. Improper mixing is a common cause of curing issues.
Step #5: Pour the Epoxy
Slowly pour the epoxy across the surface, allowing it to level naturally. Some users like to use a plastic spreader to guide it toward the edges.
Step #6: Remove Air Bubbles
Use a heat gun or torch about 6–8 inches from the surface to eliminate bubbles. Sweep across the surface methodically. It may take multiple passes depending on the porosity of your substrate and the depth of your finish.
Learn more about handling air bubbles here.
Step #7: Let It Cure
Allow the epoxy to cure in a dust-free environment for 24–72 hours. Avoid touching or disturbing the surface during this time.
Step #8: Sand and Polish (Optional)
Once fully cured, you can choose to sand any rough edges and apply a polish or wax if you want to enhance the shine even further.


Why Epoxy Is Superior to Other Finishes
Traditional wood finishes like polyurethane, lacquer, or varnish provide a decent protective coat but fall short in durability and visual clarity. Here's how epoxy stands out:
-
Impact and Scratch Resistance: Epoxy forms a thick, solid barrier. This makes it harder for residues or bacteria to build up and makes it easier to wipe messes away from its food-safe surface.
-
Crystal Clarity: It magnifies the wood grain and neatly showcases any embedded objects.
-
Moisture & UV Resistance: Especially when using premium epoxies like UltraClear, which provide a waterproof seal that prevents liquids from permeating.
-
Self-Leveling Finish: No brush strokes or uneven sheen. Simply measure, mix, and pour to achieve a smooth, flat epoxy surface.
No other finish seals and enhances like epoxy does.

Beware of Budget Epoxies
Low-cost, imported epoxies often fail to deliver quality results. Common problems include:
-
Yellowing from poor UV protection
-
Bubbles that don’t release properly
-
Soft finishes that don’t cure correctly
-
Cloudy appearance due to inferior formulations
These issues not only ruin aesthetics but also compromise longevity. Learn more about this problem here.

UltraClear Epoxy: A Premium Resin for Premium Results
UltraClear Bar & Table Top Epoxy and UltraClear Deep Pour Epoxy are premium products designed for professional-grade results:
-
Crystal-clear finish with high UV resistance
-
Easy mixing and minimal bubbles
-
100% made in the USA
-
Cures hard and smooth with a glossy appearance
Whether you're a beginner or expert, UltraClear delivers consistent, long-lasting beauty with minimal maintenance needs or upkeep.

Tips on Maintaining Your Finished Epoxy Table Top
Once your table top has cured completely, maintenance is simple:
-
Clean regularly with soap and water or non-abrasive surface cleaners.
-
Avoid sharp tools or intense direct heat sources.
-
Use coasters and mats for heavy items to reduce the risk of dents or discoloration.

FAQs: Building an Epoxy Table Top
Question #1: Can I use epoxy on softwoods like pine?
Yes, but seal them well before the main pour to prevent air bubbles.
Learn about quick-and-easy epoxy seal coats here!
Question #2: What’s the ideal temperature for pouring epoxy?
Between 70°F and 80°F—ideally 75°F. Avoid humidity and drafts for best curing.
New to epoxy? Get expert tips on pouring in this guide.
Question #3: How thick can I pour epoxy at once?
Use UltraClear Bar & Table Top Epoxy for layers up to 1/8"; this can be poured in multiple layers to achieve greater thickness with the same durability.
For deep pours, however, you can use UltraClear Deep Pour Epoxy, which can be poured in layers up to 2 inches thick without issue.
Learn more about layer thickness in our guide to the topic.
Question #4: Can I sand epoxy if I make a mistake?
Yes. Let it cure fully, then sand with fine grit and pour a new layer if needed.
Not sure how to handle an issue? See our epoxy troubleshooting guide.
Question #5: How long will an epoxy table top last?
With proper care and UltraClear Bar & Table Top Epoxy, a minimum of 7 years is expected, though it can last well over a decade.
Moreover, epoxy is easy to reapply when needed.

Have Questions? Want Advice? We're Here to Help!
If you have any questions about crafting an epoxy table top, or if you'd like assistance in planning an epoxy project, please reach out to us at UltraClear Epoxy—our epoxy experts are ready to assist!
You can contact us via phone or email here. During business hours, you can also text chat online with one of our resin specialists by clicking the Help button at the bottom of your screen.
In our online store, you'll find a variety of useful tools and supplies, ideal for resin projects, plus our award-winning UltraClear Bar & Table Top Epoxy and our UltraClear Deep Pour Epoxy.