Epoxy resin is known for its brilliant clarity, long-term durability, and incredible versatility. Whether you're crafting small art pieces or sealing a high-traffic bar top, epoxy is an outstanding medium that blends strength with beauty. While epoxy projects are often more accessible than people expect, success relies on knowing how to handle the material correctly.
In this article, we've compiled and answered many of the most common—and some uncommon—questions we receive about epoxy. From getting started to long-term maintenance, this 2025 guide is your go-to quick source for epoxy knowledge.
Q&A: Contents |
Planning and Preparation
Pouring and Application
Curing and Post-Processing
Art, Craft, and Color
Cleaning, Safety, and Maintenance
U.S.-Based Support You Can Trust |

Planning and Preparation
#1: What kind of space do I need for an epoxy project?
For best results, you need a clean, dust-free, and temperature-controlled environment. Garages, workshops, or spare rooms with proper ventilation are ideal.
Avoid areas where airborne debris is likely—like near HVAC vents, open windows, or heavy foot traffic. Make sure your workspace has enough flat surface area to keep your project level during the curing phase.
#2: How do I choose the right type of epoxy?
Selecting the right epoxy depends on your project’s purpose and scale.
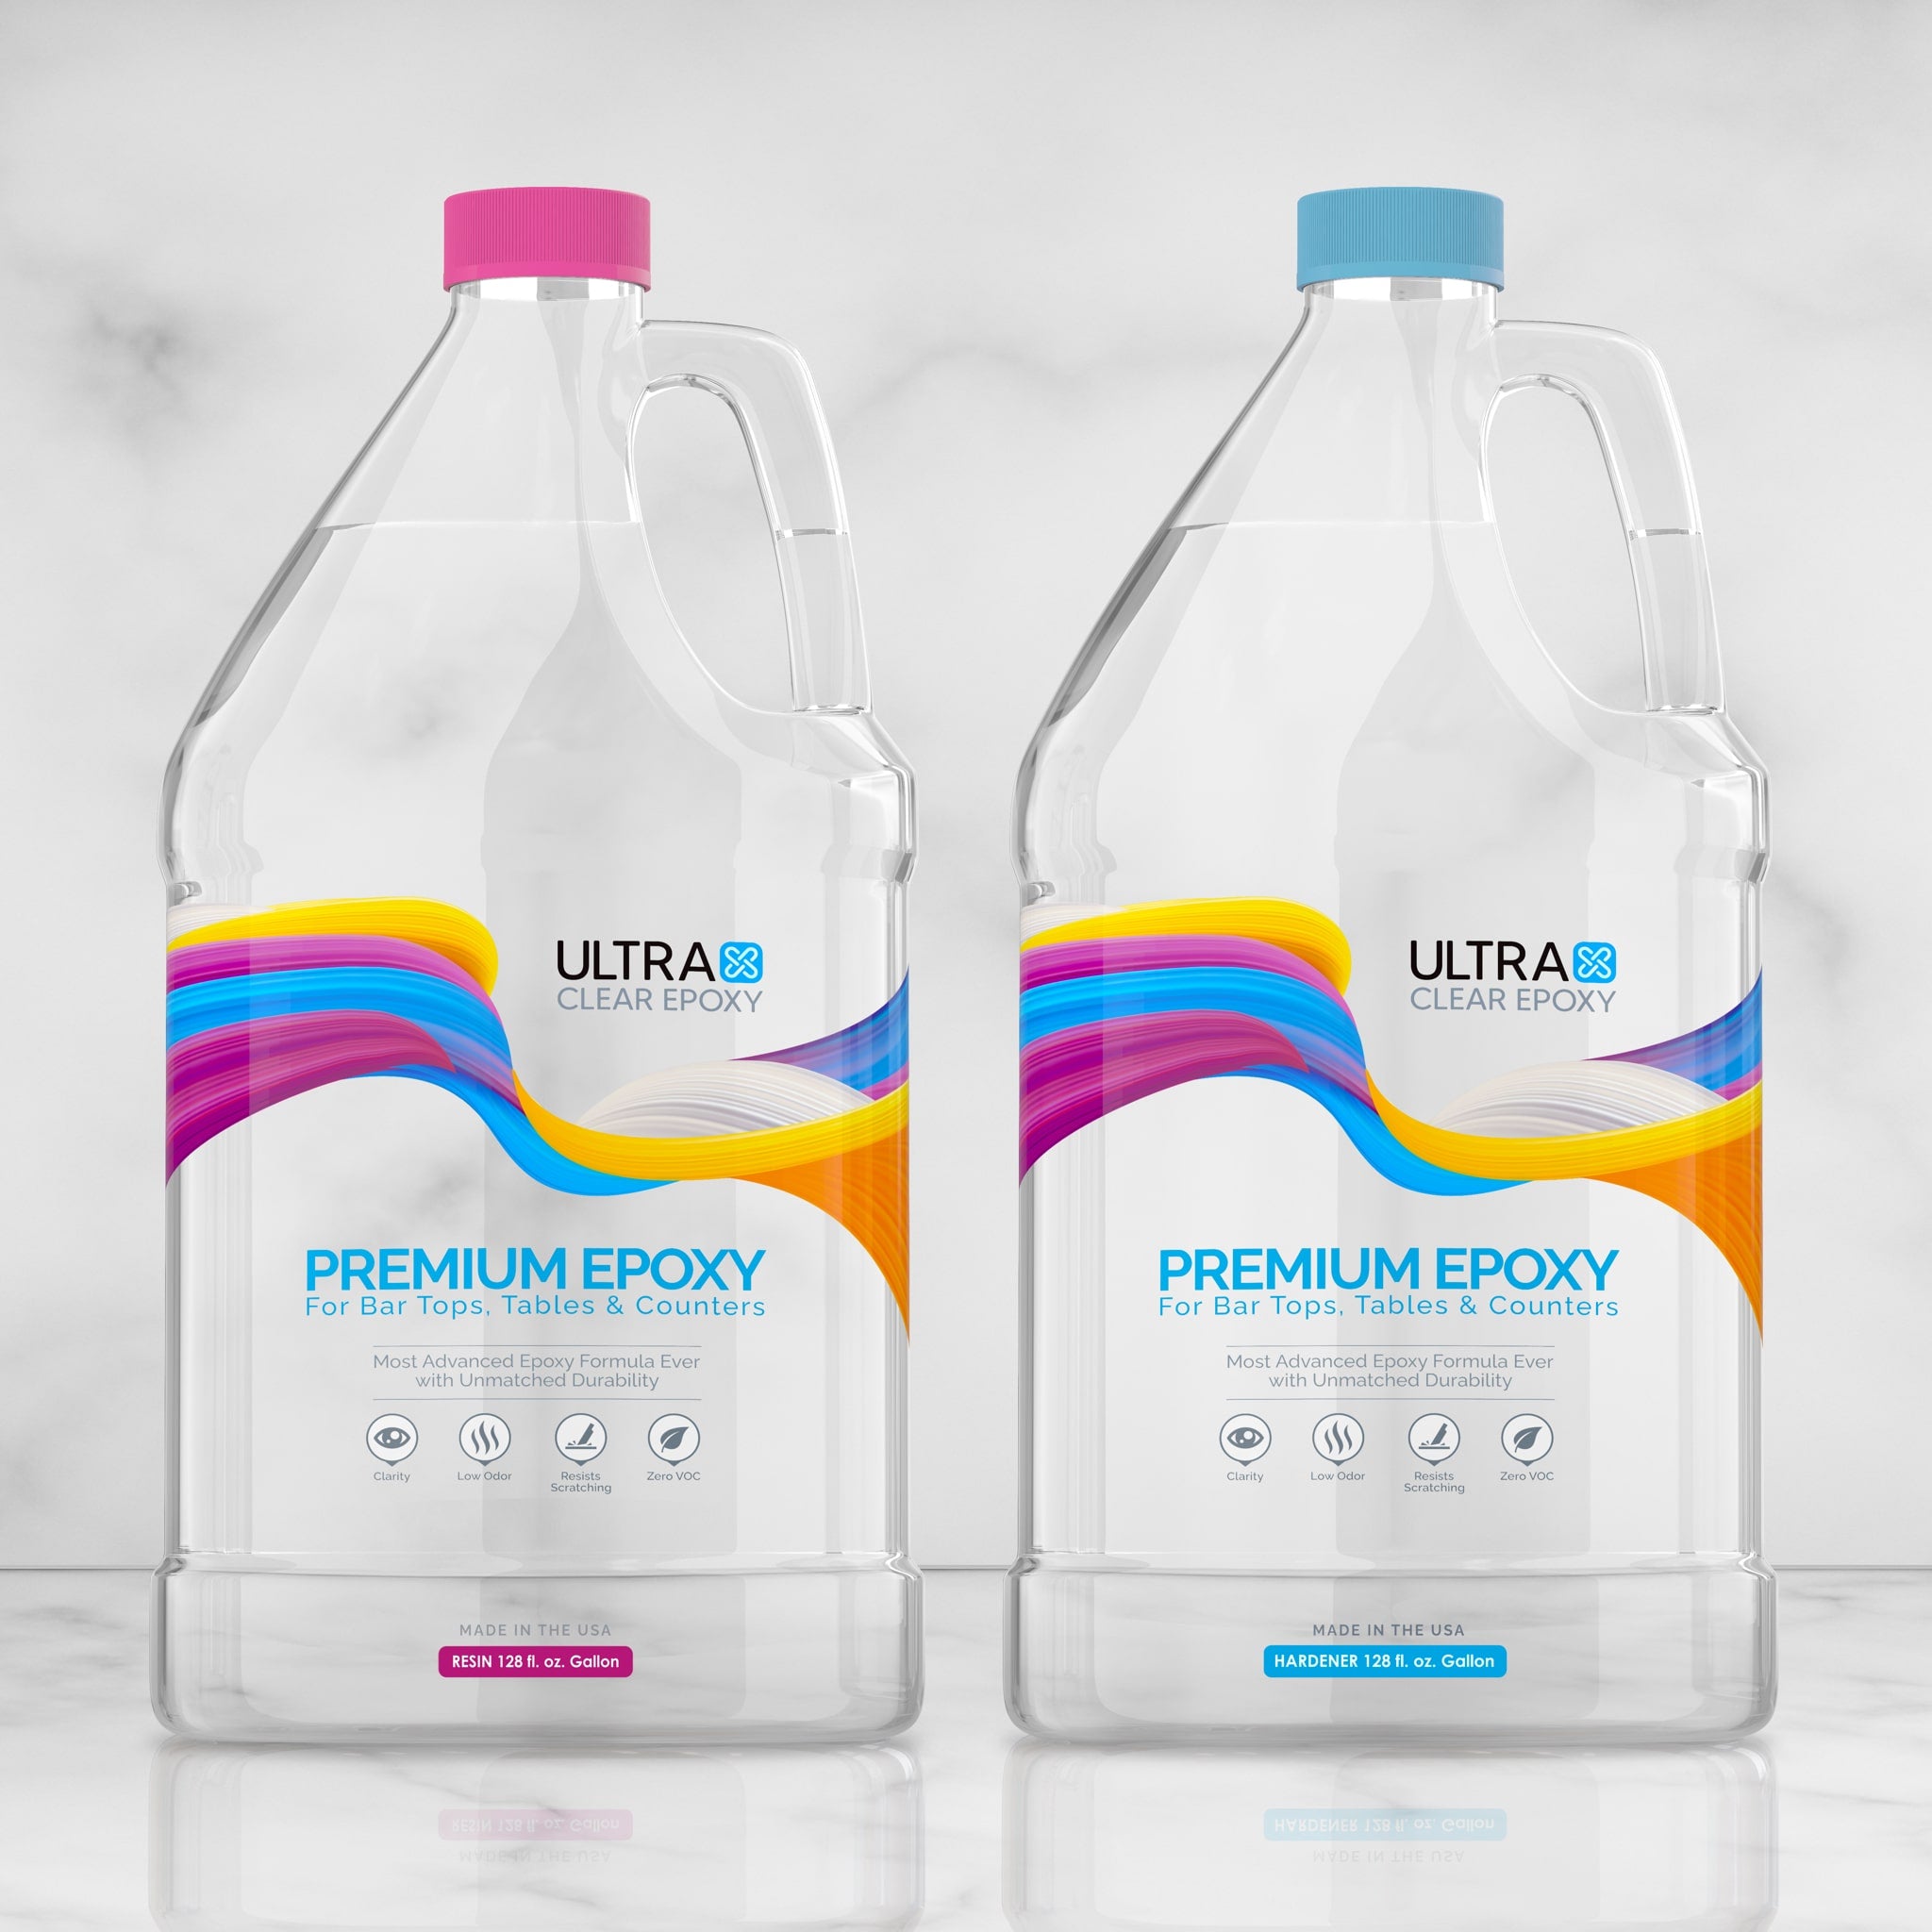
- For coating surfaces like table tops and bars, use UltraClear Bar & Table Top Epoxy.
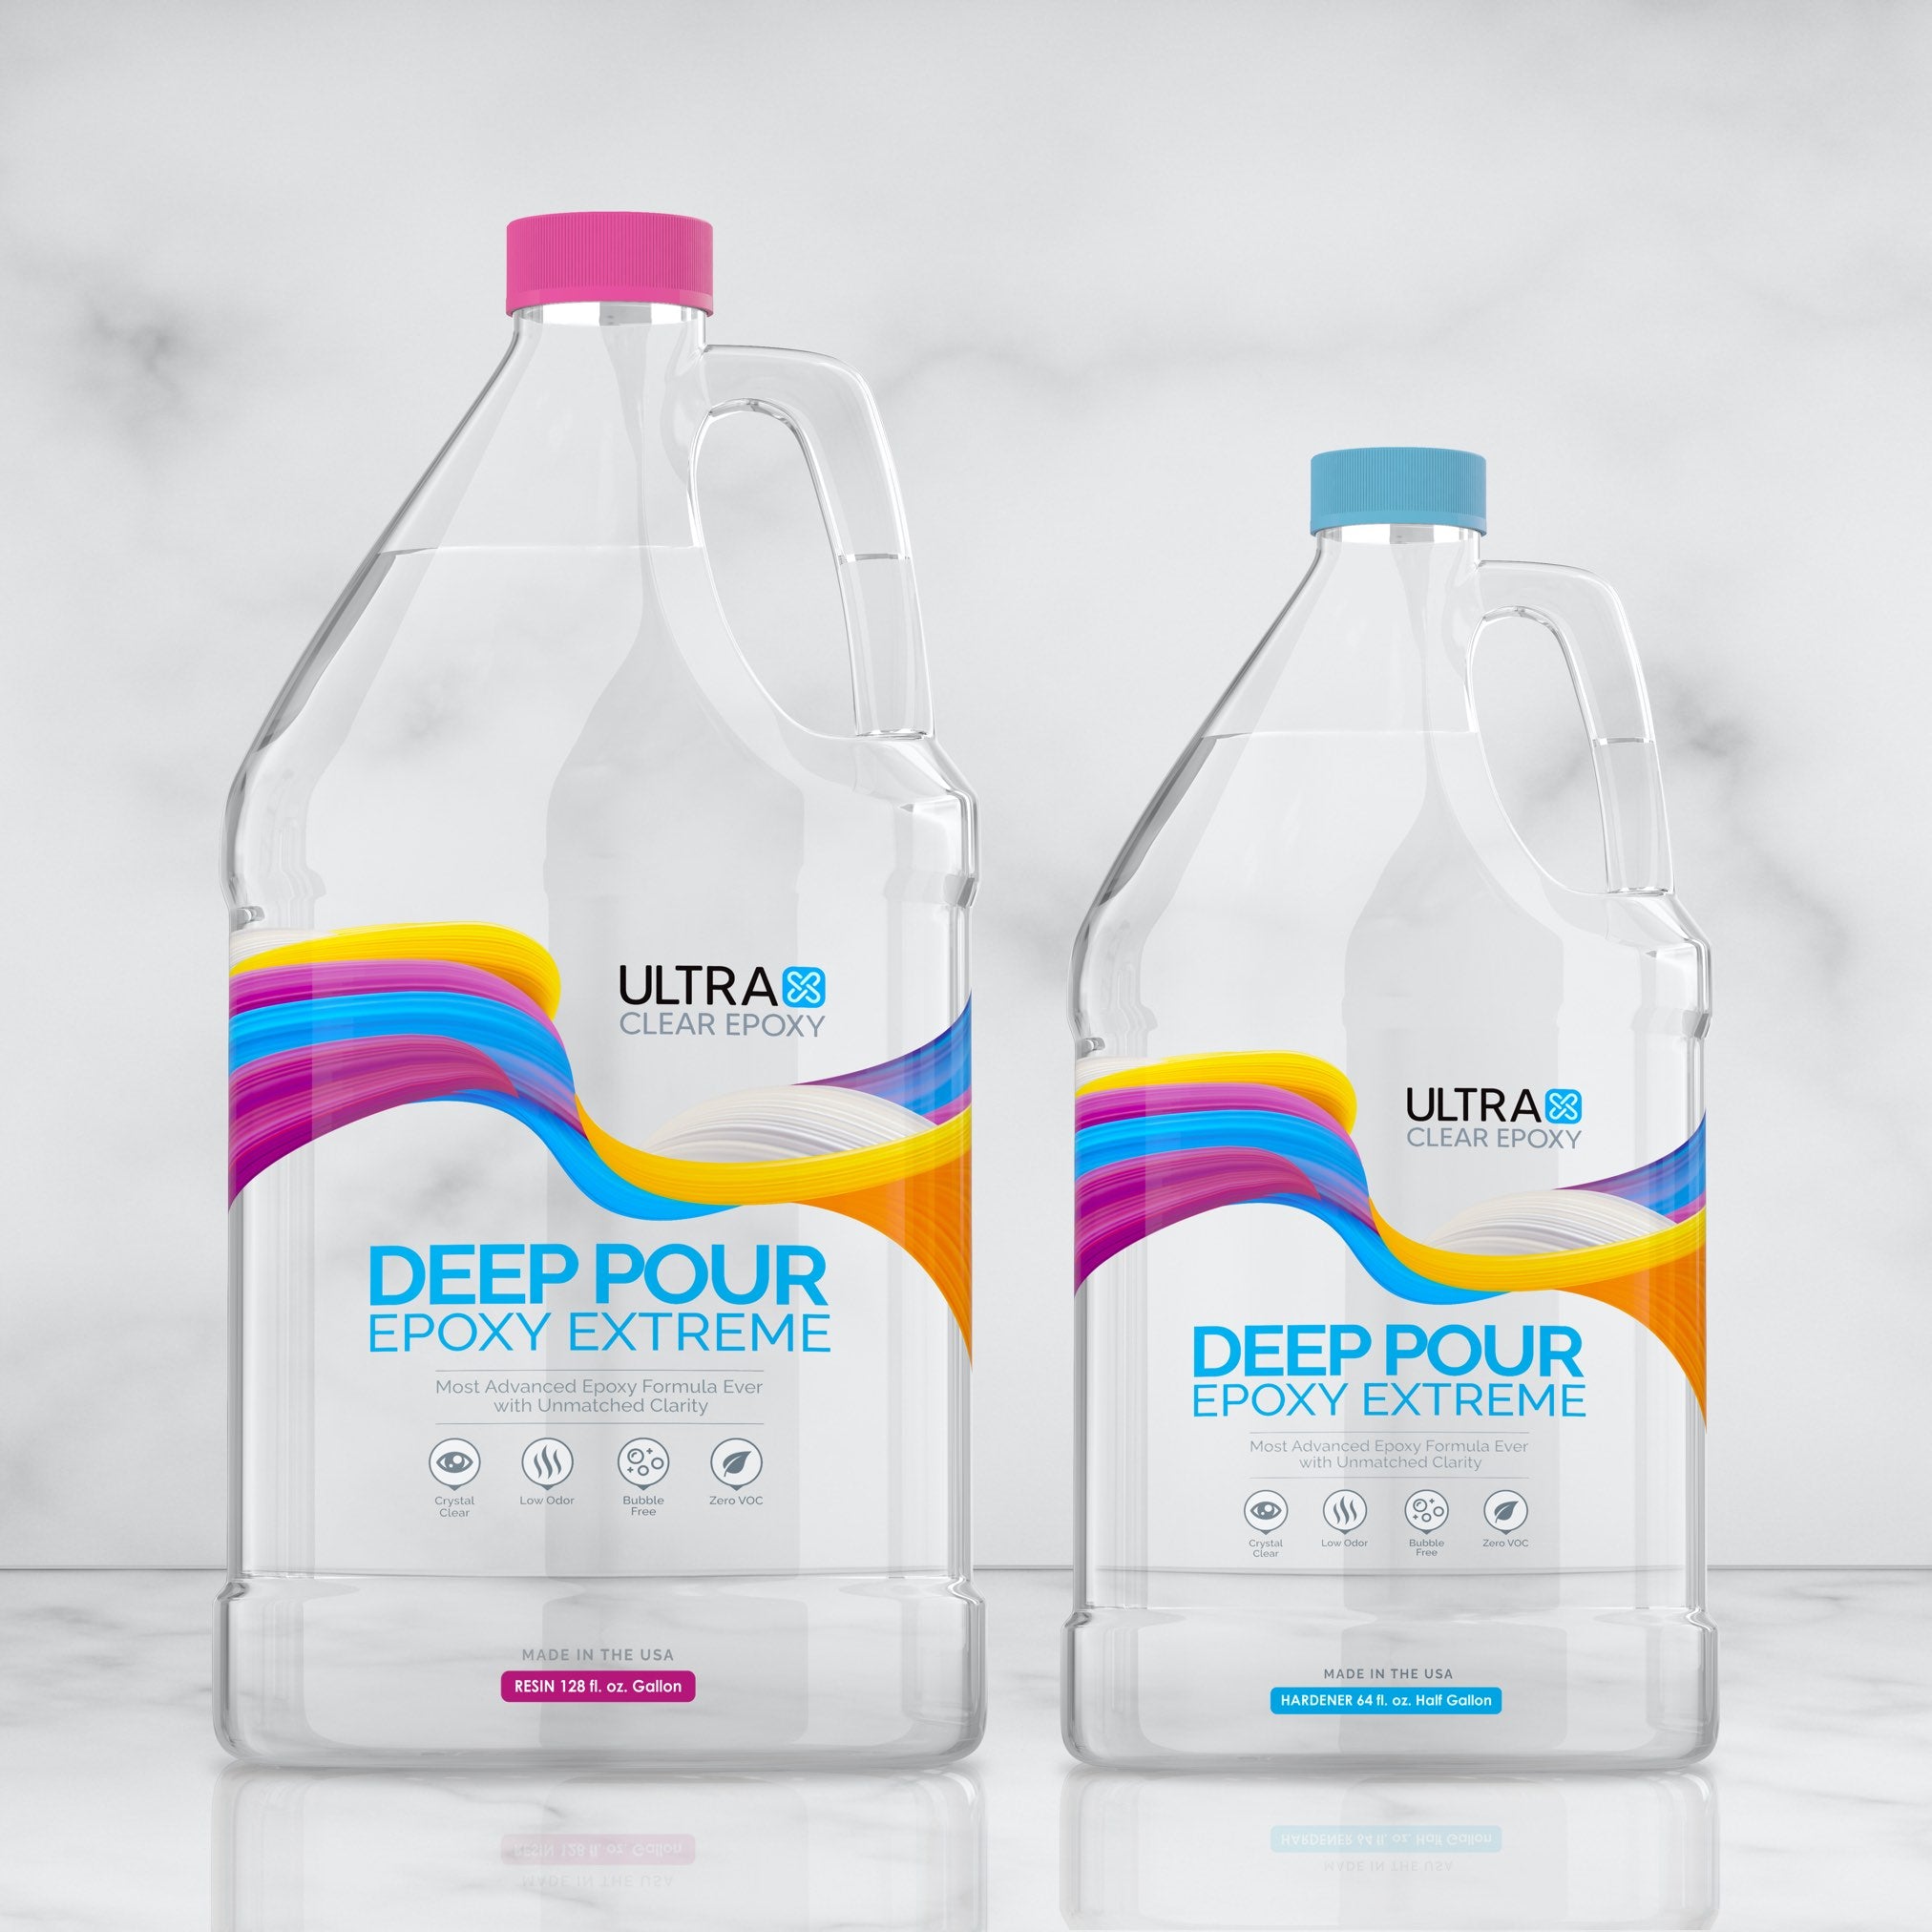
- For thick pours (like river tables or large casting), UltraClear Deep Pour Epoxy is ideal due to its slow curing formula.
- For artistic projects and crafts, UltraClear Art & Craft Epoxy is best—it has excellent bubble release and is easy to work with on a small scale.
Always check your chosen epoxy's specifications before starting your project to ensure compatibility.
#3: Can I work with epoxy indoors?
Yes, working indoors is often preferable due to better control over temperature and humidity. However, proper ventilation is critical. Use fans to circulate air and open windows if the weather permits. Always wear protective gloves and a respirator mask when working with epoxy indoors to avoid inhaling any fumes during mixing or pouring.
#4: How do I make sure the room has good airflow?
You can use a combination of intake and exhaust airflow. Set up a box fan to pull fresh air into the room and a second fan to push air out through an open window or vent.
Air purifiers can also help reduce airborne dust. Just make sure the airflow doesn’t disturb the surface of your curing epoxy, as that can introduce surface flaws.
#5: What are the ideal temperature and humidity levels for working with epoxy?
- An appropriate working temperature is between 70°F and 80°F—ideally 75°F.
- Humidity should stay below 60% to prevent surface defects like blush or cloudiness.
- Use a thermometer and hygrometer to monitor your workspace. If needed, run a space heater or dehumidifier to stabilize the environment before and during your project.
Learn more the role of humidity and temperature in the epoxy process here.
Pouring and Application
#6: Do I need a seal coat before a flood coat?
Yes, applying a seal coat is strongly recommended, especially on porous materials like wood. A seal coat is a thin layer of epoxy brushed onto the surface to prevent air from escaping during the flood coat.
Without a seal coat, air trapped within the substrate can form bubbles or craters in the finish. Let the seal coat cure for 4 to 6 hours (or until it's tacky) before applying the flood coat to ensure proper bonding.
#7: How thick can I pour epoxy?
This depends on the type of epoxy you're using.
- UltraClear Bar & Table Top Epoxy is designed for thin pours up to 1/8" thick per coat.
- UltraClear Art & Craft Epoxy also self-levels to the same depth of 1/8".
- UltraClear Deep Pour Epoxy can be poured up to 2 inches thick in a single pour under optimal conditions.
Pouring thicker than recommended can cause overheating or cracking, so always follow the manufacturer's guidelines.
#8: What’s the difference between a seal coat and a flood coat?
An epoxy seal coat is a thin, brushed-on layer that helps seal the surface and block air from escaping into the flood coat. A flood coat is a thicker, self-leveling layer that creates the final glossy surface.
Seal coats are primarily functional, while flood coats deliver the polished aesthetic epoxy is known for. Both are important for a flawless finish.
Find out how to apply both of these coating types here.
#9: What causes bubbles in epoxy, and how do I remove them?
Bubbles are often caused by mixing too vigorously, pouring over porous surfaces without a seal coat, or by air trapped in the substrate.
Removal Technique: To remove bubbles, use a heat gun or propane torch to lightly pass over the surface from a distance of several inches right after you finish pouring. The heat will release the trapped air.
Avoid overheating by not lingering for more than a second over any spot and maintaining a safe distance from the resin surface, and make sure the surface is sealed beforehand to reduce the number of bubbles the form in the first place.
Read more about preventing and removing bubbles in epoxy here.
#10: Can I pour epoxy over wood, tile, or other materials?
Yes—epoxy adheres well to a variety of surfaces including wood, tile, stone, concrete, and metal. Just make sure the surface is clean, dry, and properly prepared.
Wood should be sealed with a thin epoxy coating first. Slick surfaces like tile may require a light sanding to promote adhesion. Always test a small area first if you're unsure.

Curing and Post-Processing
#11: How long does epoxy take to cure?
Epoxy generally takes about 72 hours to fully cure under ideal conditions, but this timeline can vary depending on the type of epoxy and environmental factors.
For instance, UltraClear Bar & Table Top Epoxy cures to the touch within 12–24 hours, but it shouldn't be used or disturbed until the full cure is complete.
Factors like low temperature or high humidity can slow down curing, so it's essential to maintain recommended conditions throughout the process.
#12: Can I speed up the curing process?
While it may be tempting, speeding up epoxy curing is not advised beyond what is recommended by the manufacturer. Increasing room temperature slightly—within safe limits—can help, but using external heat sources like space heaters or heat lamps too aggressively may cause uneven curing, bubbling, or cracking.
Always consult the epoxy product instructions to determine the best approach for your particular project.
#13: What happens if epoxy gets too cold while curing?
Cold temperatures can significantly slow down the curing process and may cause the epoxy to remain soft or tacky for an extended period. In extreme cases, it may never fully cure or can develop a cloudy or uneven appearance.
To avoid this, ensure the workspace stays within the recommended temperature range (typically 70°F–80°F) and remains stable throughout the entire curing timeline.
Learn more about the effects of temperature on epoxy here.
#14: Do I need to sand between coats?
Yes, sanding between epoxy layers is essential if more than 10 hours have passed since the previous pour. Once epoxy cures, its surface becomes non-porous, and without sanding, the new layer may not adhere properly.
Lightly scuff the surface with 220–320 grit sandpaper to create a mechanical bond, then clean it thoroughly before applying the next coat.
#15: How do I get a matte finish instead of glossy?
To achieve a matte finish, you can sand the cured epoxy surface using progressively finer grits of sandpaper, ending with 1000-grit or higher for a soft satin sheen.
Alternatively, use a rubbing compound or apply a matte clear coat over the sanded epoxy. This technique is ideal for those who prefer a subdued look over the standard glossy finish, and it's commonly used in artistic or utilitarian projects.
See our sanding guide for more details.
Art, Craft, and Color
#16: What’s the best way to color epoxy?
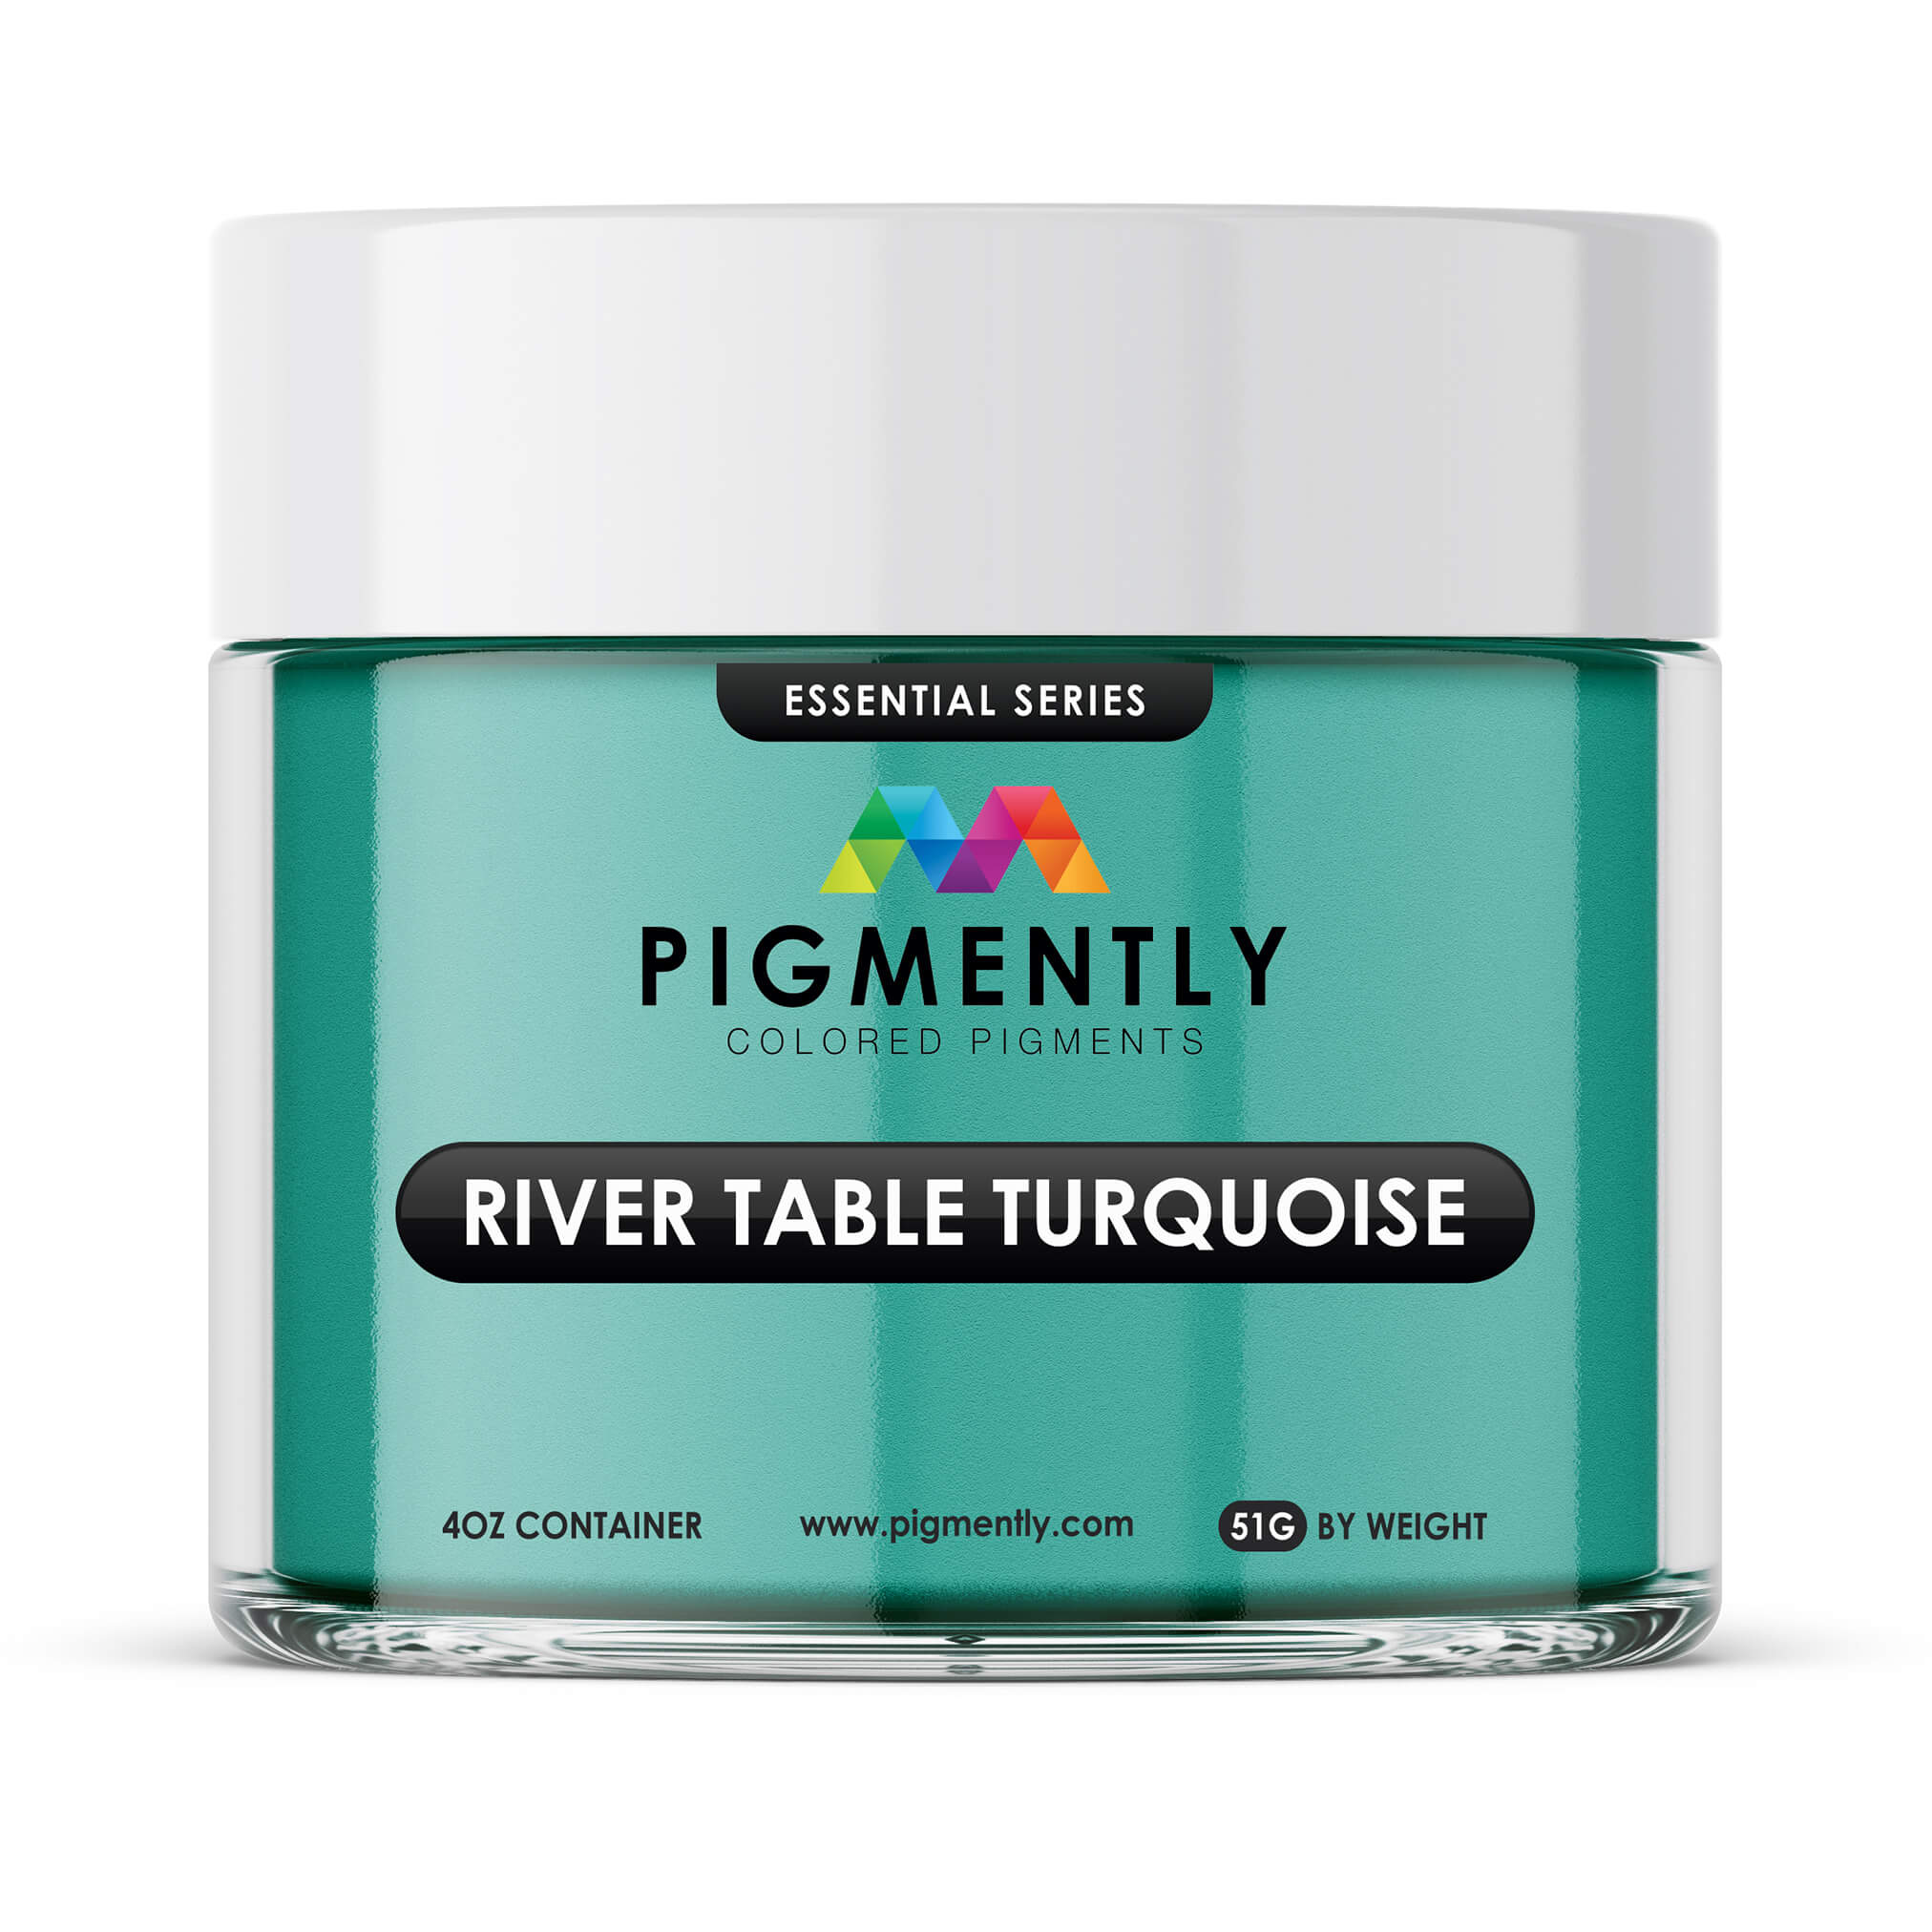
The best way to color epoxy is by using pigments that are specifically designed for resin, such as mica powder pigments and resin dyes. Others, such as alcohol inks, are compatible but require additional care during application.
Each of these options provides unique effects—powder pigments offer a pearlescent or metallic look, dyes create transparent or translucent hues, and alcohol inks are perfect for marbling or swirling effects.
Always add colorants sparingly and mix thoroughly to avoid clumping or uneven color distribution. For consistent results, perform a small test batch before committing to a full pour.
#17: Can I mix different types of pigments?
Yes, you can mix different types of pigments, but it’s important to understand how they interact. Combining mica powders with resin dyes or alcohol inks can create complex, layered visual effects.
However, because different pigment types disperse differently in epoxy, overmixing or using too many can result in murky or unpredictable results. Always start with small amounts, mix thoroughly, and test your combination in a small batch before scaling up to a full project.
#18: Can I embed objects like flowers or coins in epoxy?
Yes, embedding items like flowers, coins, shells, and other small keepsakes is a popular way to personalize epoxy projects. However, natural materials such as flowers should be thoroughly dried or preserved to prevent moisture from causing curing issues or discoloration.
Secure the objects in place with a thin seal coat before pouring your flood layer to avoid floating or trapping air bubbles. Always work slowly and patiently when embedding, and use tweezers or other tools for precise placement.
See our guide to embedding techniques for more ideas and advice.
#19: Will alcohol inks work with UltraClear Epoxy?
Alcohol inks are compatible with all UltraClear resins and work best with UltraClear Art & Craft Epoxy. They can be used to create stunning visual effects like marbling and fluid patterns.
Because they are fast-moving and vibrant, alcohol inks are excellent for artistic pours and coaster projects. Just keep in mind that a little goes a long way, and excess ink can interfere with curing if not balanced correctly.
Let the design settle before covering with a clear flood coat, and avoid mixing alcohol ink with the epoxy itself unless you're aiming for a cloudy or diffused look.
#20: Can I use epoxy in silicone molds?
Yes, silicone molds are ideal for crafting with epoxy, especially for smaller items like coasters, trays, jewelry, or figurines. Their flexibility makes demolding easy, and they can typically withstand the heat generated during curing. Be sure the mold is clean and dry before use, as moisture or dust can cause surface imperfections.
For best results, use UltraClear Art & Craft Epoxy, which is formulated for small molds and detailed casting. Let the mold cure completely before demolding to ensure clean edges and a smooth surface.

Cleaning, Safety, and Maintenance
#21: Is epoxy food-safe?
UltraClear Epoxy is food-safe once fully cured, making it an excellent choice for table tops, counters, and trays that may come into occasional contact with food. However, it's important to note that this only applies after the epoxy has cured completely—typically around 72 hours under ideal conditions.
Avoid placing hot cookware or cutting directly on the surface, as that may damage the finish even though it's non-toxic when cured.
#22: How do I clean epoxy surfaces?
Cleaning an epoxy surface is simple:
- Routine: For daily cleaning, use a soft cloth or sponge with mild dish soap and warm water. Avoid abrasive cleaners, scrubbing pads, or harsh chemicals that could dull the finish.
- Stubborn Messes: For stuck-on messes, apply a bit of dish soap and let it sit for a few minutes before wiping.
- Deep Cleaning: If a deeper clean is needed, use a non-abrasive surface-safe degreaser.
Regular gentle cleaning helps preserve the clarity and sheen of the epoxy finish. Learn more here.
#23: What happens if epoxy gets scratched?
While epoxy is highly scratch-resistant, it is not entirely scratch-proof. Light surface scratches can often be buffed out with a polishing compound or automotive-grade scratch remover.
For deeper scratches, sanding followed by polishing or applying a fresh topcoat may be necessary. Prevent future scratches by using soft coasters, trivets, and avoiding dragging sharp or abrasive objects across the surface.
#24: Does epoxy yellow over time?
Low-quality epoxy products are prone to yellowing due to oxidation or UV exposure, especially when manufactured with inadequate stabilizers.
UltraClear Epoxy is engineered for excellent clarity retention, but proper care is still important. To preserve its color, avoid exposing the surface to direct sunlight for long durations and always store unused epoxy in tightly sealed containers away from light and heat.
#25: How should I store leftover epoxy?
Proper storage will extend the shelf life and help maintain mixing accuracy in future projects.
- Store leftover resin and hardener in their original containers with the lids tightly closed.
- Keep them in a cool, dry place away from direct sunlight and temperature extremes. Ideally, store them at room temperature, around 70°F.
- Avoid letting air or moisture enter the containers, as this can degrade the quality of the epoxy and affect future use.

U.S.-Based Support You Can Trust
Have more questions or need project guidance? UltraClear Epoxy provides knowledgeable, U.S.-based support. Whether you're a DIYer or professional, our team is ready to help troubleshoot and recommend best practices.
Contact us here for fast, friendly support from one of our resin experts.

Why Choosing Quality Epoxy Matters
Low-cost epoxy brands, especially those imported from overseas, often cut corners in formulation and safety standards. These budget-brand resin products may result in cloudy finishes, unpredictable curing, soft spots, or poor long-term durability. They may also contain questionable chemicals or insufficient instructions, leaving users at risk of poor results and health concerns.
Low-grade resins are typically produced overseas in regions with poor quality control or regulation, allowing manufacturers to ignore sensible measures for quality and safety. It’s not uncommon for air bubbles to persist, yellowing to occur rapidly, or for the epoxy to feel perpetually tacky. Worse yet, sanding or finishing them can be nearly impossible without further damaging the piece.
Learn more about making the right epoxy choice here.
UltraClear Epoxy: High-Grade Epoxy to Meet High Standards
UltraClear Epoxy products are made in the U.S.A. with rigorous quality control and safety standards. They are easier to work with, produce consistently beautiful finishes, and require less maintenance. The peace of mind and satisfaction from using UltraClear means fewer headaches and a more rewarding creative experience.
You'll find our craft resins on the following pages:
Have Questions? Want Advice? We're Here to Help!
If you have any questions about epoxy resin, or if you'd like assistance in planning an epoxy project, please reach out to us at UltraClear Epoxy—our epoxy experts are ready to assist!
You can contact us via phone or email here. During business hours, you can also text chat online with one of our resin specialists by clicking the Help button at the bottom of your screen.
In our online store, you'll find a variety of useful tools and supplies, ideal for resin projects, plus our award-winning UltraClear Bar & Table Top Epoxy and our UltraClear Deep Pour Epoxy.
UltraClear Epoxy—Trusted by over 1 Million+ Happy Customers


