Why Epoxy Is Ideal for Bar Tops
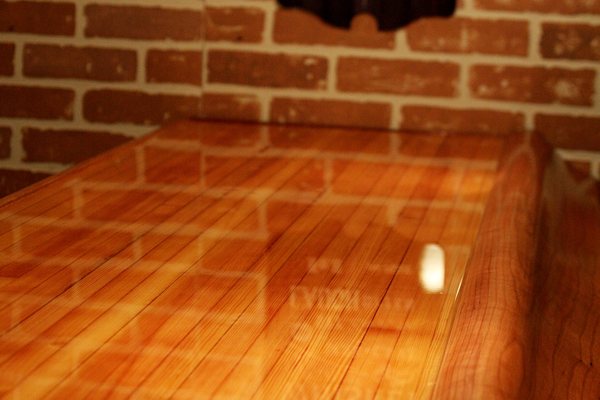
For most people interested in bar tops, durability and appearance are both equally important. And when it comes to sealants that provide that, only epoxy fully delivers on both. Its glossy, glass-like surface not only provides a professional-looking finish that highlights the natural grain of wood, embedded objects, or artistic flourishes, but it also creates a strong, seamless coating that resists moisture, stains, and scratches.
In this guide, we'll walk you through everything you need to know to craft your own epoxy bar top as a DIY creator.
In the sections below, we will:
- Compare epoxy to other popular finishes.
- Explore how to properly plan and construct your DIY project.
- Offer guidance on long-term care and maintenance.
- Address common questions.
Contents |
|
The Appeal of Epoxy for Bar Tops Planning Your Epoxy Bar Top Project Step-by-Step: How to Create an Epoxy Bar Top |
The Appeal of Epoxy for Bar Tops
Epoxy offers a polished, seamless finish that elevates any bar area—whether it’s in a home entertainment room, a basement lounge, or a commercial venue. It not only enhances aesthetic value but also provides a thick, protective coating that seals and strengthens the underlying surface.
Epoxy vs. Other Bar Top Sealants
When considering a bar top finish, many options are available. Here’s how epoxy and the four most common alternatives compare to each other:
1. Polyurethane – A popular finish due to its affordability and ease of application. However, it lacks the thickness and seamless shine of epoxy, and it may need regular reapplication in high-use environments.
2. Varnish – This traditional sealant gives wood a warm tone, but it wears faster than epoxy and requires more frequent maintenance.
3. Lacquer – Known for quick drying, lacquer is ideal for furniture but less durable against moisture and spills than epoxy.
4. Shellac – This finish creates a rich, glossy look, but it’s vulnerable to heat, alcohol, and water exposure.
5. Epoxy – A single-pour finish that produces a crystal-clear, non-porous surface with high resistance to physical damage, moisture, and heat, allowing it to outperform most alternatives, especially in high-traffic settings.
| Sealant Type | Durability | Water Resistance | Maintenance | Appearance |
|---|---|---|---|---|
| Polyurethane | Moderate | Moderate | Moderate | Semi-gloss |
| Varnish | Low | Low | High | Natural |
| Lacquer | Low | Low | High | Glossy |
| Shellac | Low | Low | High | Glossy |
| Epoxy | High | High | Low | Glass-clear |
Planning Your Epoxy Bar Top Project
Setting Up Your Workspace
- Choose a dry, clean, and temperature-controlled area with good ventilation. Garages or well-sealed workshops work well.
- The surface should be flat and dust-free, with ample space around the bar top for moving around and handling materials.
- Ensure the temperature remains between 70°F and 80°F during and after your pour to encourage proper curing.

Supplies You’ll Need
-
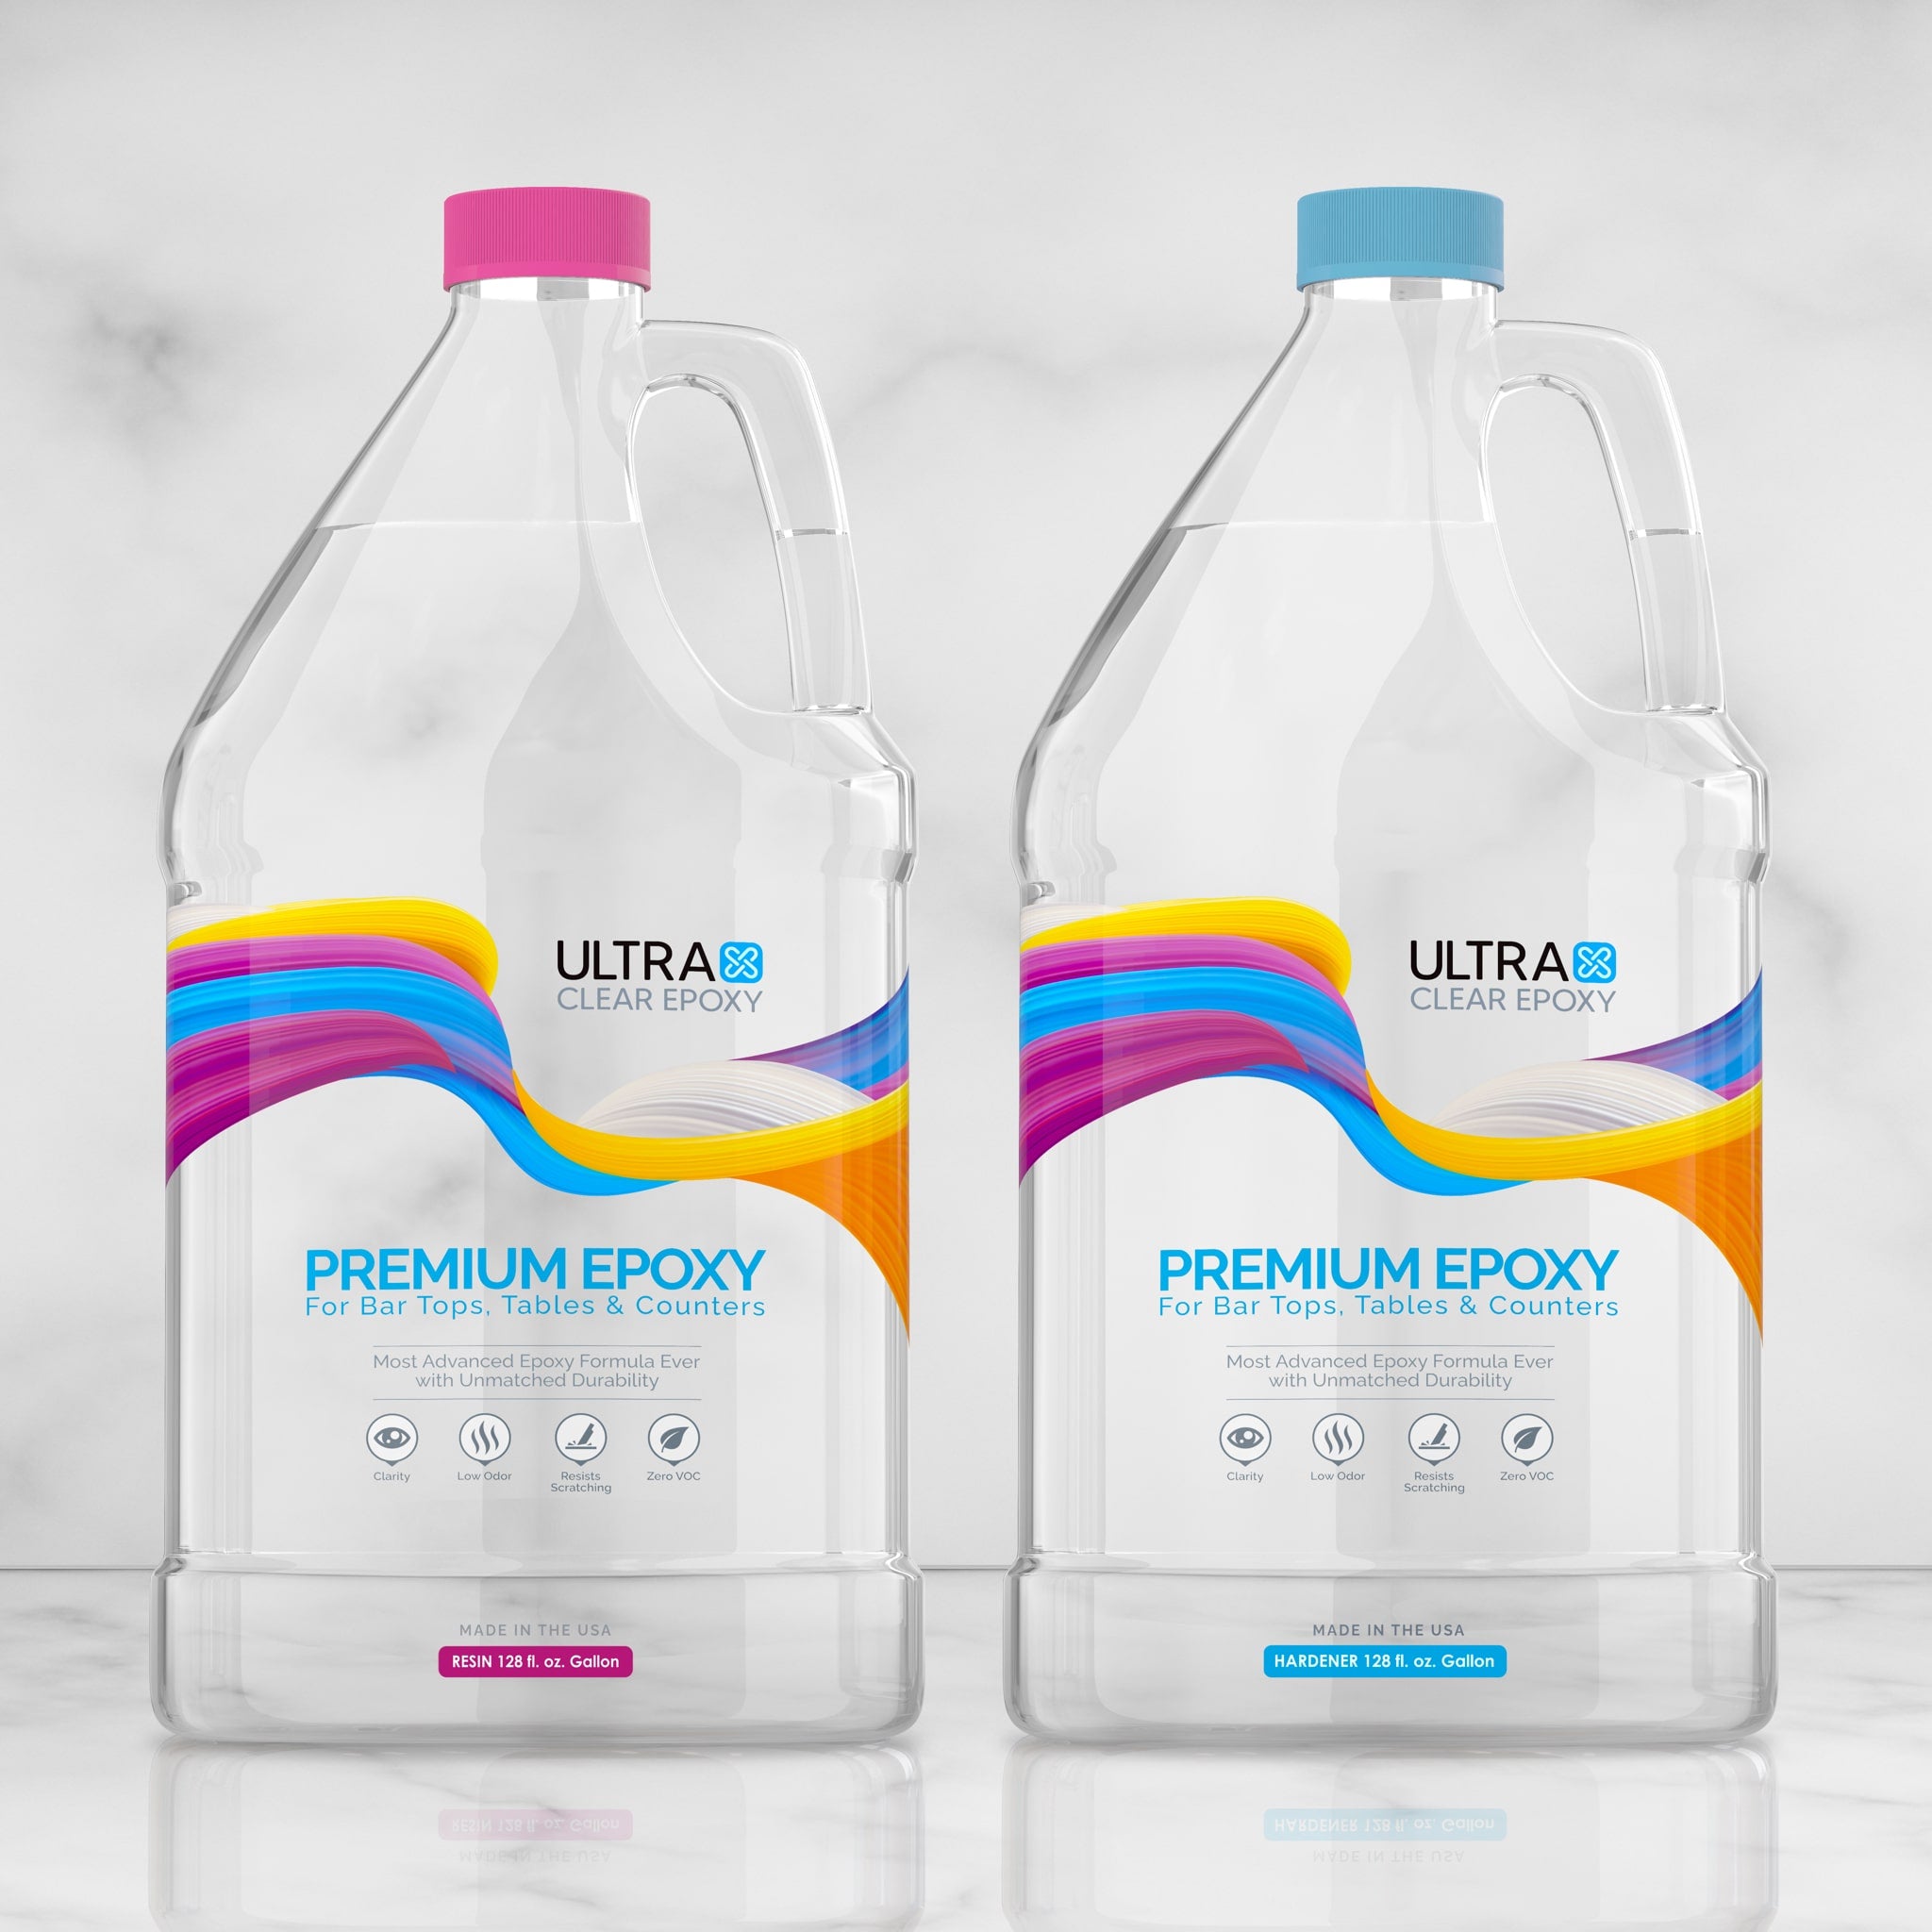
UltraClear Bar & Table Top Epoxy—This is the recommended epoxy for bar tops due to its self-leveling properties, crystal-clear finish, and industry-leading durability.
-
Mixing Containers—Used to combine epoxy resin and hardener in exact ratios. Graduated lines help ensure accurate measurement. For convenience, these can be acquired in our store:
- 1-Quart Containers—Used for preparing small flood coats and seal coats.
- 5-Quart Containers—Used for mixing large batches, often with a power drill and attached mixing bit.
-
Stir Sticks or Power Drill with Mixing Bit—For thoroughly mixing the two-part epoxy blend. A proper mix ensures even curing and a strong finish.
-
Heat Gun or Torch—Releases trapped air bubbles on the surface after pouring. This is critical for achieving a flawless finish.
-
Plastic Sheeting and Edge Tape—To protect floors and adjacent surfaces from spills or drips.
-
Gloves and Safety Glasses—Epoxy is sticky and should not come into contact with your skin or eyes.
-
Sandpaper or Power Sander – Prepares the bar top surface for epoxy adhesion and is also used for in-between coats if layering.
-
Level – Ensures the bar top is perfectly flat. Uneven surfaces can cause epoxy to pool in low areas.
Many of these items can be acquired in our store individually, or as part of our Epoxy Tool Kit bundle.
Step-by-Step: How to Create an Epoxy Bar Top
Step #1: Prepare the Surface
- Begin by cleaning your bar top thoroughly to remove any grease, dirt, or debris. If the surface is wood, sand it to a uniform smoothness using 80–120 grit sandpaper, and then remove all dust with a vacuum and tack cloth.
- If you’re applying over an existing finish, make sure it is dull and abraded enough for the epoxy to bond. This preparation stage ensures strong adhesion and a consistent final result.
Step #2: Seal the Wood (If Applicable)
- For porous or wooden surfaces, apply a seal coat of UltraClear Bar & Table Top Epoxy using a paint brush, foam brush, or roller. (Learn how here.)
- This thin initial layer fills in surface pores and prevents air from escaping into the flood coat, which can create bubbles.
- Allow the seal coat to cure partially according to product guidelines before proceeding to the main pour. Typically, the ideal for this is 4 to 6 hours.
Step 3: Build a Barrier (If Necessary)
- If your bar top has open sides or edges, you may want to construct a temporary barrier using edge tape and sheeting or attach raised edging to keep the epoxy in place. This is especially helpful if your bar has a live edge or an unusual shape.
- Make sure the barriers are leak-proof to prevent runoff.
Step #4: Mix the Epoxy Thoroughly
- Measure and mix your UltraClear Bar & Table Top Epoxy according to the instructions—typically equal parts resin and hardener by volume.
- Stir slowly for at least 3–5 minutes (2 to 3 for small batches) to avoid introducing air bubbles.
- Improper mixing can result in soft spots or incomplete curing, so this step must be done carefully and accurately.
Step #5: Pour the Flood Coat
- Once the epoxy is fully mixed, immediately pour it onto the center of the bar top and use a notched trowel or spreader to distribute it evenly.
- Work it toward the edges and allow it to self-level. The recommended depth for a single flood coat is 1/8 inch.
- If a thicker layer is needed, you can pour a second coat after the first one has partially cured.
Step #6: Remove Air Bubbles
- After pouring, use a heat gun or propane torch to eliminate surface bubbles.
- Hold the tool a few inches above the surface and move it in a sweeping motion. This is a critical step for achieving a crystal-clear finish.
- Repeat once or twice within the first 10–15 minutes as additional bubbles rise to the surface.
For more advice, see our guide to air bubbles.
Step #7: Let It Cure Undisturbed
- Allow the epoxy to cure in a clean, temperature-controlled environment with minimal dust. Avoid touching or disturbing the surface during the curing process.
- Typical cure time is about 24 hours to touch (but not use), and 3–5 days for a full cure, depending on conditions. Keep the room between 70°F and 80°F for best results.
Step 8: Optional—Apply Additional Coats
- If you want a thicker or reinforced finish, you can apply a second flood coat once the first has cured to the touch but is still within the recoat window, or after light sanding.
- Make sure to clean and sand lightly if the previous layer has fully cured before reapplying. Additional coats add depth and durability.
Step #9: Final Touches and Inspection
- Once the final coat is cured, inspect the surface for dust nibs or imperfections. These can be polished out with a fine-grit polishing compound or sanded and recoated if needed.
- If desired, you can also apply a resin-safe polish to enhance the final gloss.
Caring for Your Epoxy Bar Top
Routine Cleaning and Surface Maintenance
Keeping your epoxy bar top in excellent shape doesn’t require a complicated routine. One of the biggest advantages of epoxy is its smooth, non-porous finish, which makes cleaning quick and easy.
- For everyday maintenance: simply use a soft cloth or non-abrasive sponge along with mild soap and warm water to wipe the surface. This will remove dust, spills, and general grime without harming the epoxy.
- What to avoid: Harsh chemical cleaners, bleach, or abrasive pads. These can dull the glossy finish over time or degrade the surface clarity. It’s also a good idea to steer clear of wax-based cleaners that can create a hazy film.
- For occasional extra shine: Consider using a plastic-safe polish or a resin-specific cleaner that restores clarity without scratching.
To protect the finish during daily use, always use coasters under drinks and placemats under dishes to prevent minor surface wear. Although epoxy is durable, like glass or acrylic, it can be scratched if misused or exposed to sharp edges over time.
Long-Term Maintenance and Refreshing the Finish
Over time, even the most carefully maintained epoxy bar top may lose a bit of its original sheen or accumulate superficial scratches. Fortunately, epoxy is refreshable.
- Light surface scratches can usually be buffed out using a polishing compound designed for plastics or resin finishes.
- Deeper wear may require light sanding followed by a new flood coat of epoxy to restore its original look.
If re-coating becomes necessary:
- Thoroughly clean and sand the surface with a fine grit (such as 220), then remove all dust before applying a fresh flood coat using UltraClear Bar & Table Top Epoxy.
- This not only revives the appearance but also reinforces durability for years to come.
With proper care and occasional maintenance, an epoxy bar top can maintain its stunning, glass-like finish and performance for well over a decade—even in high-use environments like home bars or commercial spaces.

The Glaring Risks of Using Budget Epoxies
Not all epoxies are created equal. Many low-cost epoxy products—especially those imported from overseas—lack adequate quality control. These products may cure unevenly, yellow prematurely, or emit strong unsafe fumes. They may also remain tacky long after application, which can ruin your project and require expensive fixing.
Budget-brand epoxy often contains chemical fillers, inconsistent resin formulas, or inferior curing agents. This can result in bubbles, cloudiness, or weak surface integrity. Even for small projects, this risk can lead to wasted time and materials.
Another issue is safety. Low-grade epoxies may include unregulated compounds that can cause respiratory or skin irritation. Without proper transparency about ingredients, there’s no reliable way to ensure these products are safe for home use.
To learn more about these issues and the importance of choosing right, click here.
The Outstanding Benefits of Using UltraClear Epoxy
UltraClear Epoxy is proudly made in the U.S.A. with premium-grade materials and strict production oversight. It’s designed specifically for surfaces like bar tops that require a smooth, ultra-clear, and tough finish. With UltraClear Epoxy, you get:
-
A stronger bond with top-tier durability.
-
A crystal-clear finish without cloudiness or yellowing.
-
Low maintenance and easy cleaning
-
Safe, consistent, professional-grade results
You can find our premium craft resins on the following pages:
- UltraClear Bar & Table Top Epoxy—Our original finishing epoxy. This self-leveling resin is designed for thin protective finishes over bar tops, countertops, table tops, and more. It features top-tier protection with glass-like clarity.
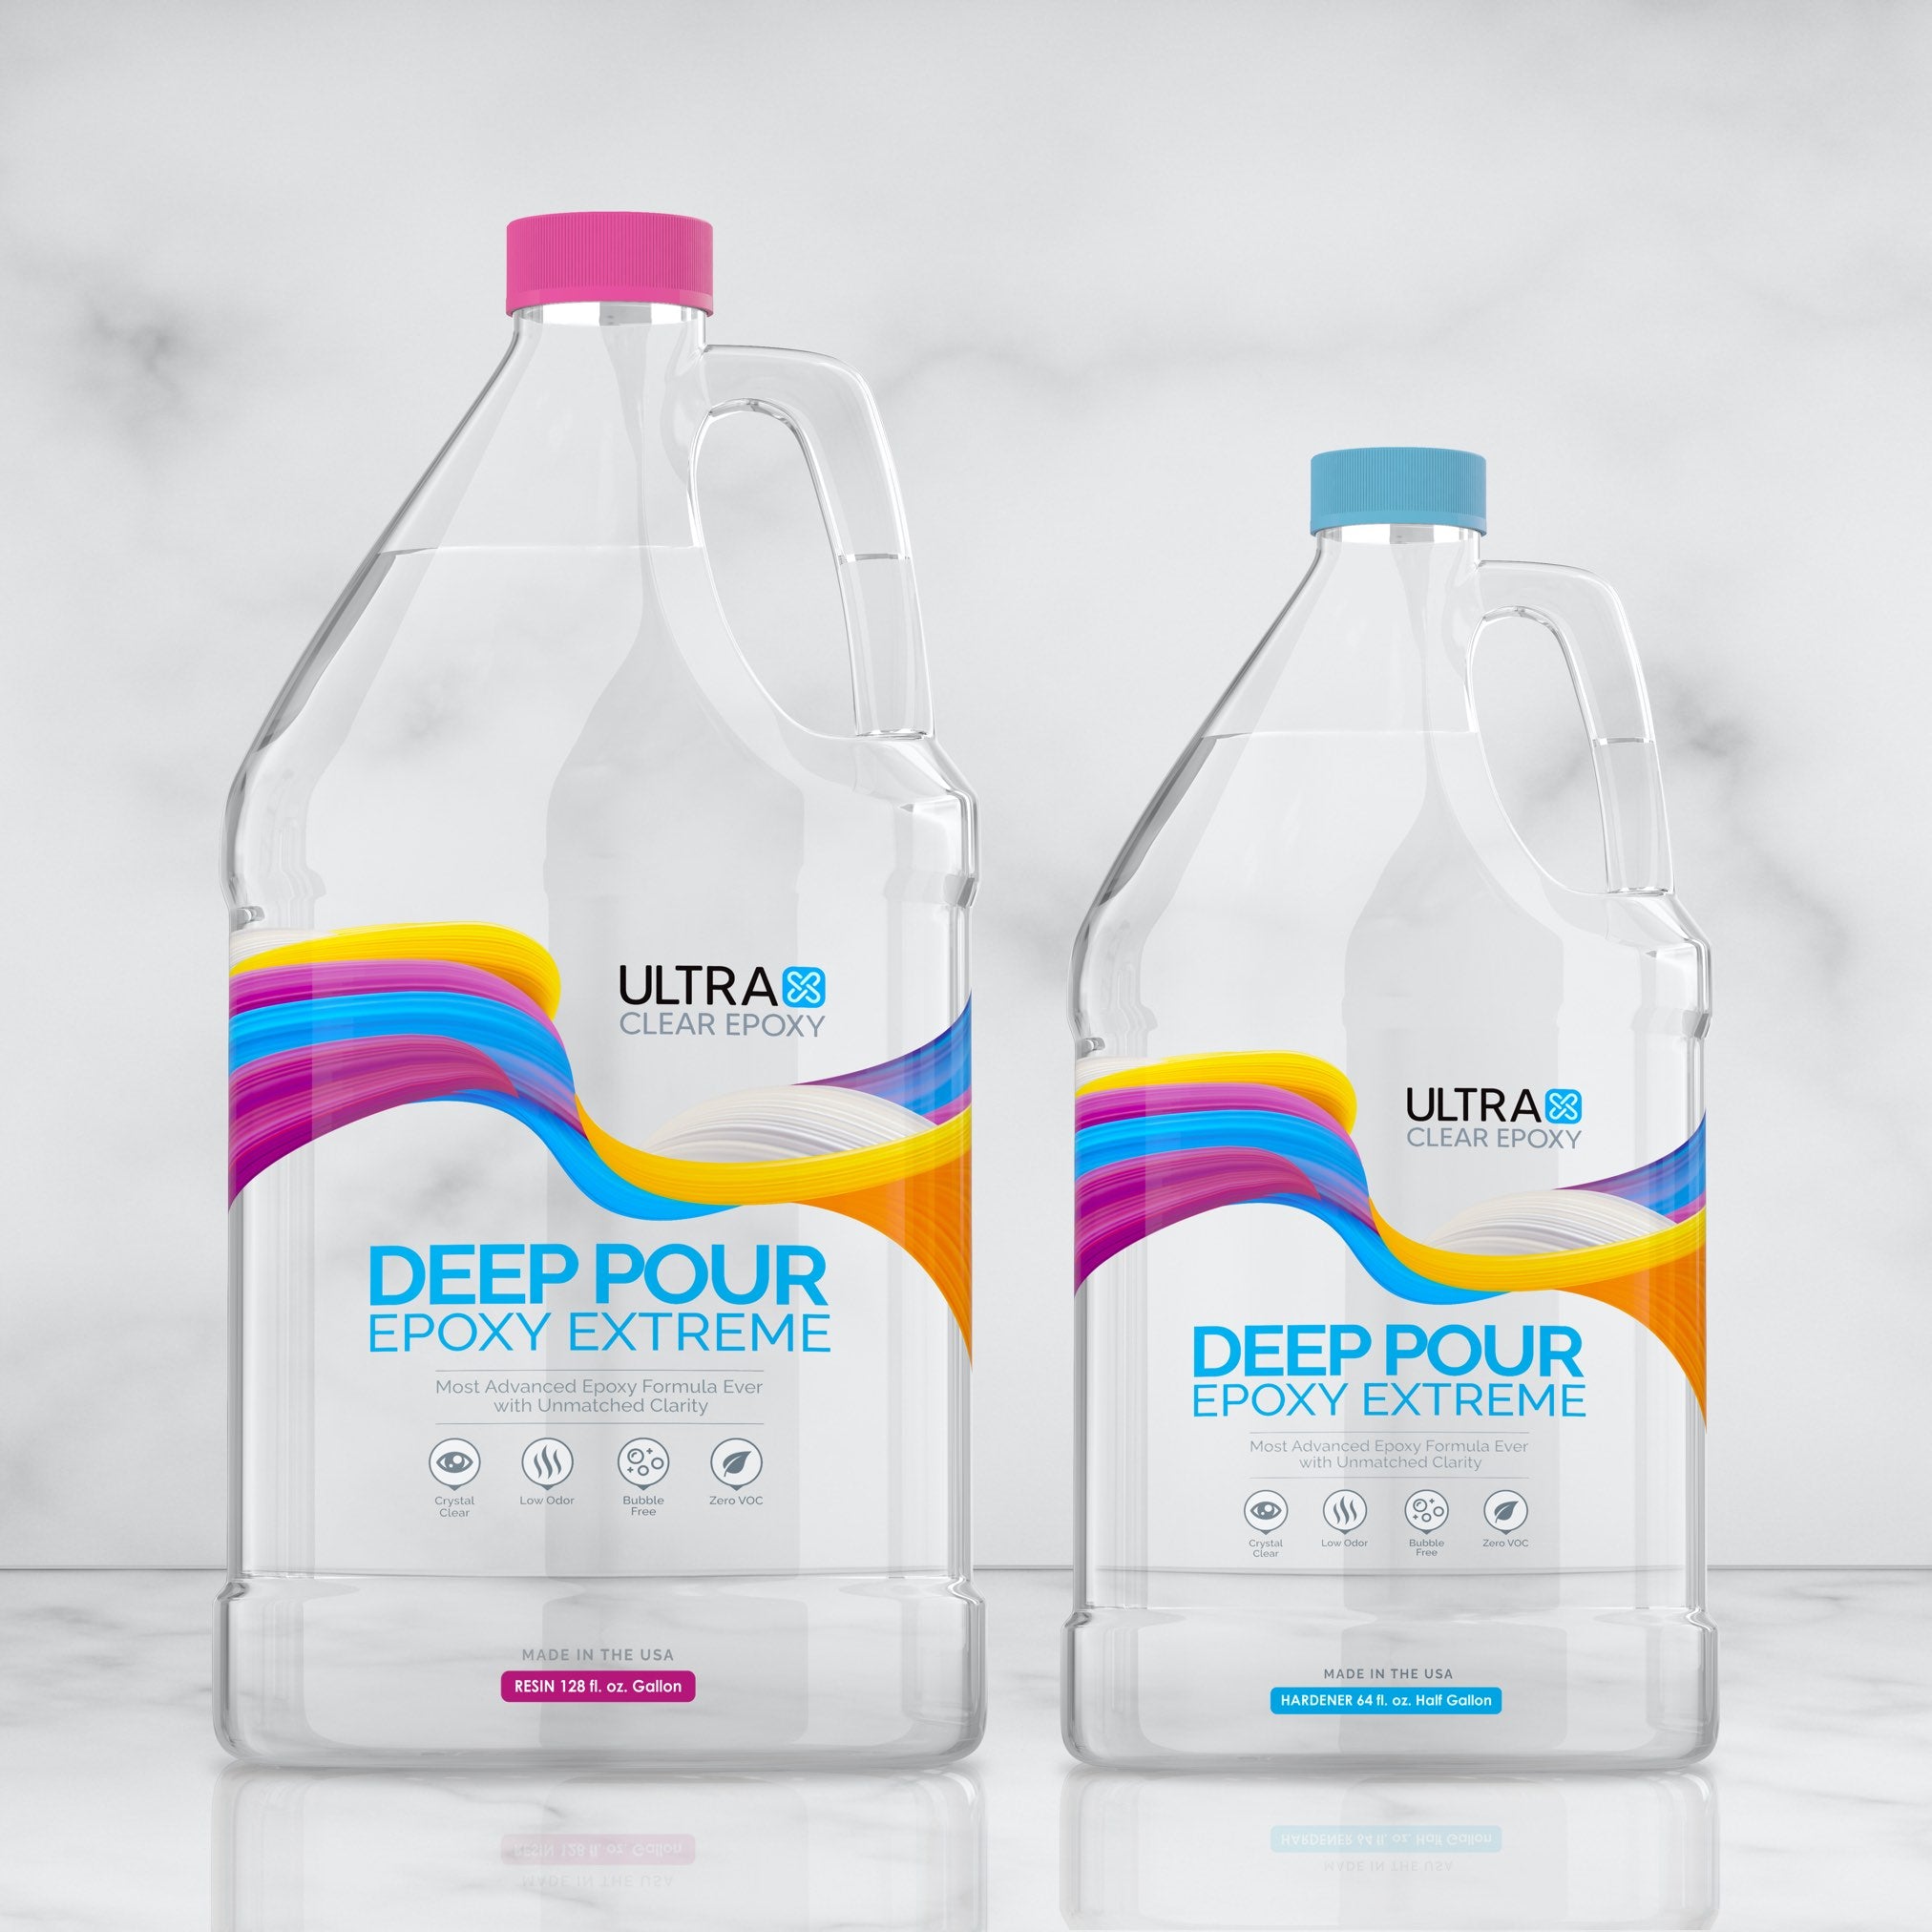
- UltraClear Deep Pour Epoxy—Our deep casting resin designed for extra-thick epoxy layers. This is the ideal for situations that demand an epoxy coating with high depth. It can be poured in a layer of up to 2 inches, with subsequent layers allowing for even greater depth.
- UltraClear Art & Craft Epoxy—This art epoxy is the newest addition to the UltraClear Epoxy lineup. It's perfect for resin art projects as well as small table tops and similar surfaces.
FAQs: Epoxy Bar Tops
Can I apply epoxy over an existing bar top surface?
Yes, you can apply epoxy over an existing surface as long as it's properly prepared. This means cleaning it thoroughly, sanding it to create a surface the epoxy can grip, and removing all dust or debris. Epoxy adheres best to dull, clean surfaces, so skipping surface prep could lead to adhesion issues later on. If the existing top is coated in an oil-based or glossy finish, it must be thoroughly abraded or even removed to ensure bonding.
How thick should the epoxy layer be?
For a bar top, a typical flood coat is about 1/8 inch thick. This gives enough thickness for a durable, glass-like finish without risking over-pouring. This is the thickness that UltraClear Bar & Table Top Epoxy is formulated to reach, and it will self-level to that depth when poured onto a flat, level surface.
If you want additional depth, you can add more layers after each one cures. It’s important to pour in stages rather than trying to achieve excessive depth in one go, as that can generate too much heat and cause issues like bubbling or cracking.
How long does it take for epoxy to fully cure?
While UltraClear Bar & Table Top Epoxy is typically dry to the touch within 24 hours but not yet usable. A full cure usually takes about 72 hours (3 full days).
Factors like temperature and humidity can slightly alter this timeline. It's best to avoid heavy use or placing objects on the bar top until the full cure is complete to prevent impressions or damage.
Can I use epoxy outdoors on a patio bar top?
Epoxy is best used indoors or in covered outdoor settings. Prolonged exposure to the elements, especially direct sunlight and fluctuating temperatures, can degrade even high-quality epoxy over time.
If you do use it outdoors, a shaded or covered location is essential, and you may want to apply a protective urethane topcoat to shield the surface.
Will epoxy crack over time?
When properly applied and cured, high-quality epoxy like UltraClear is extremely durable and flexible enough to resist cracking under normal use. Cracking usually results from improper mixing, extreme temperature swings, or using a low-quality resin that becomes brittle.
Ensuring a stable environment during curing and using premium products greatly reduces this risk.
Can I customize the epoxy with colors or effects?
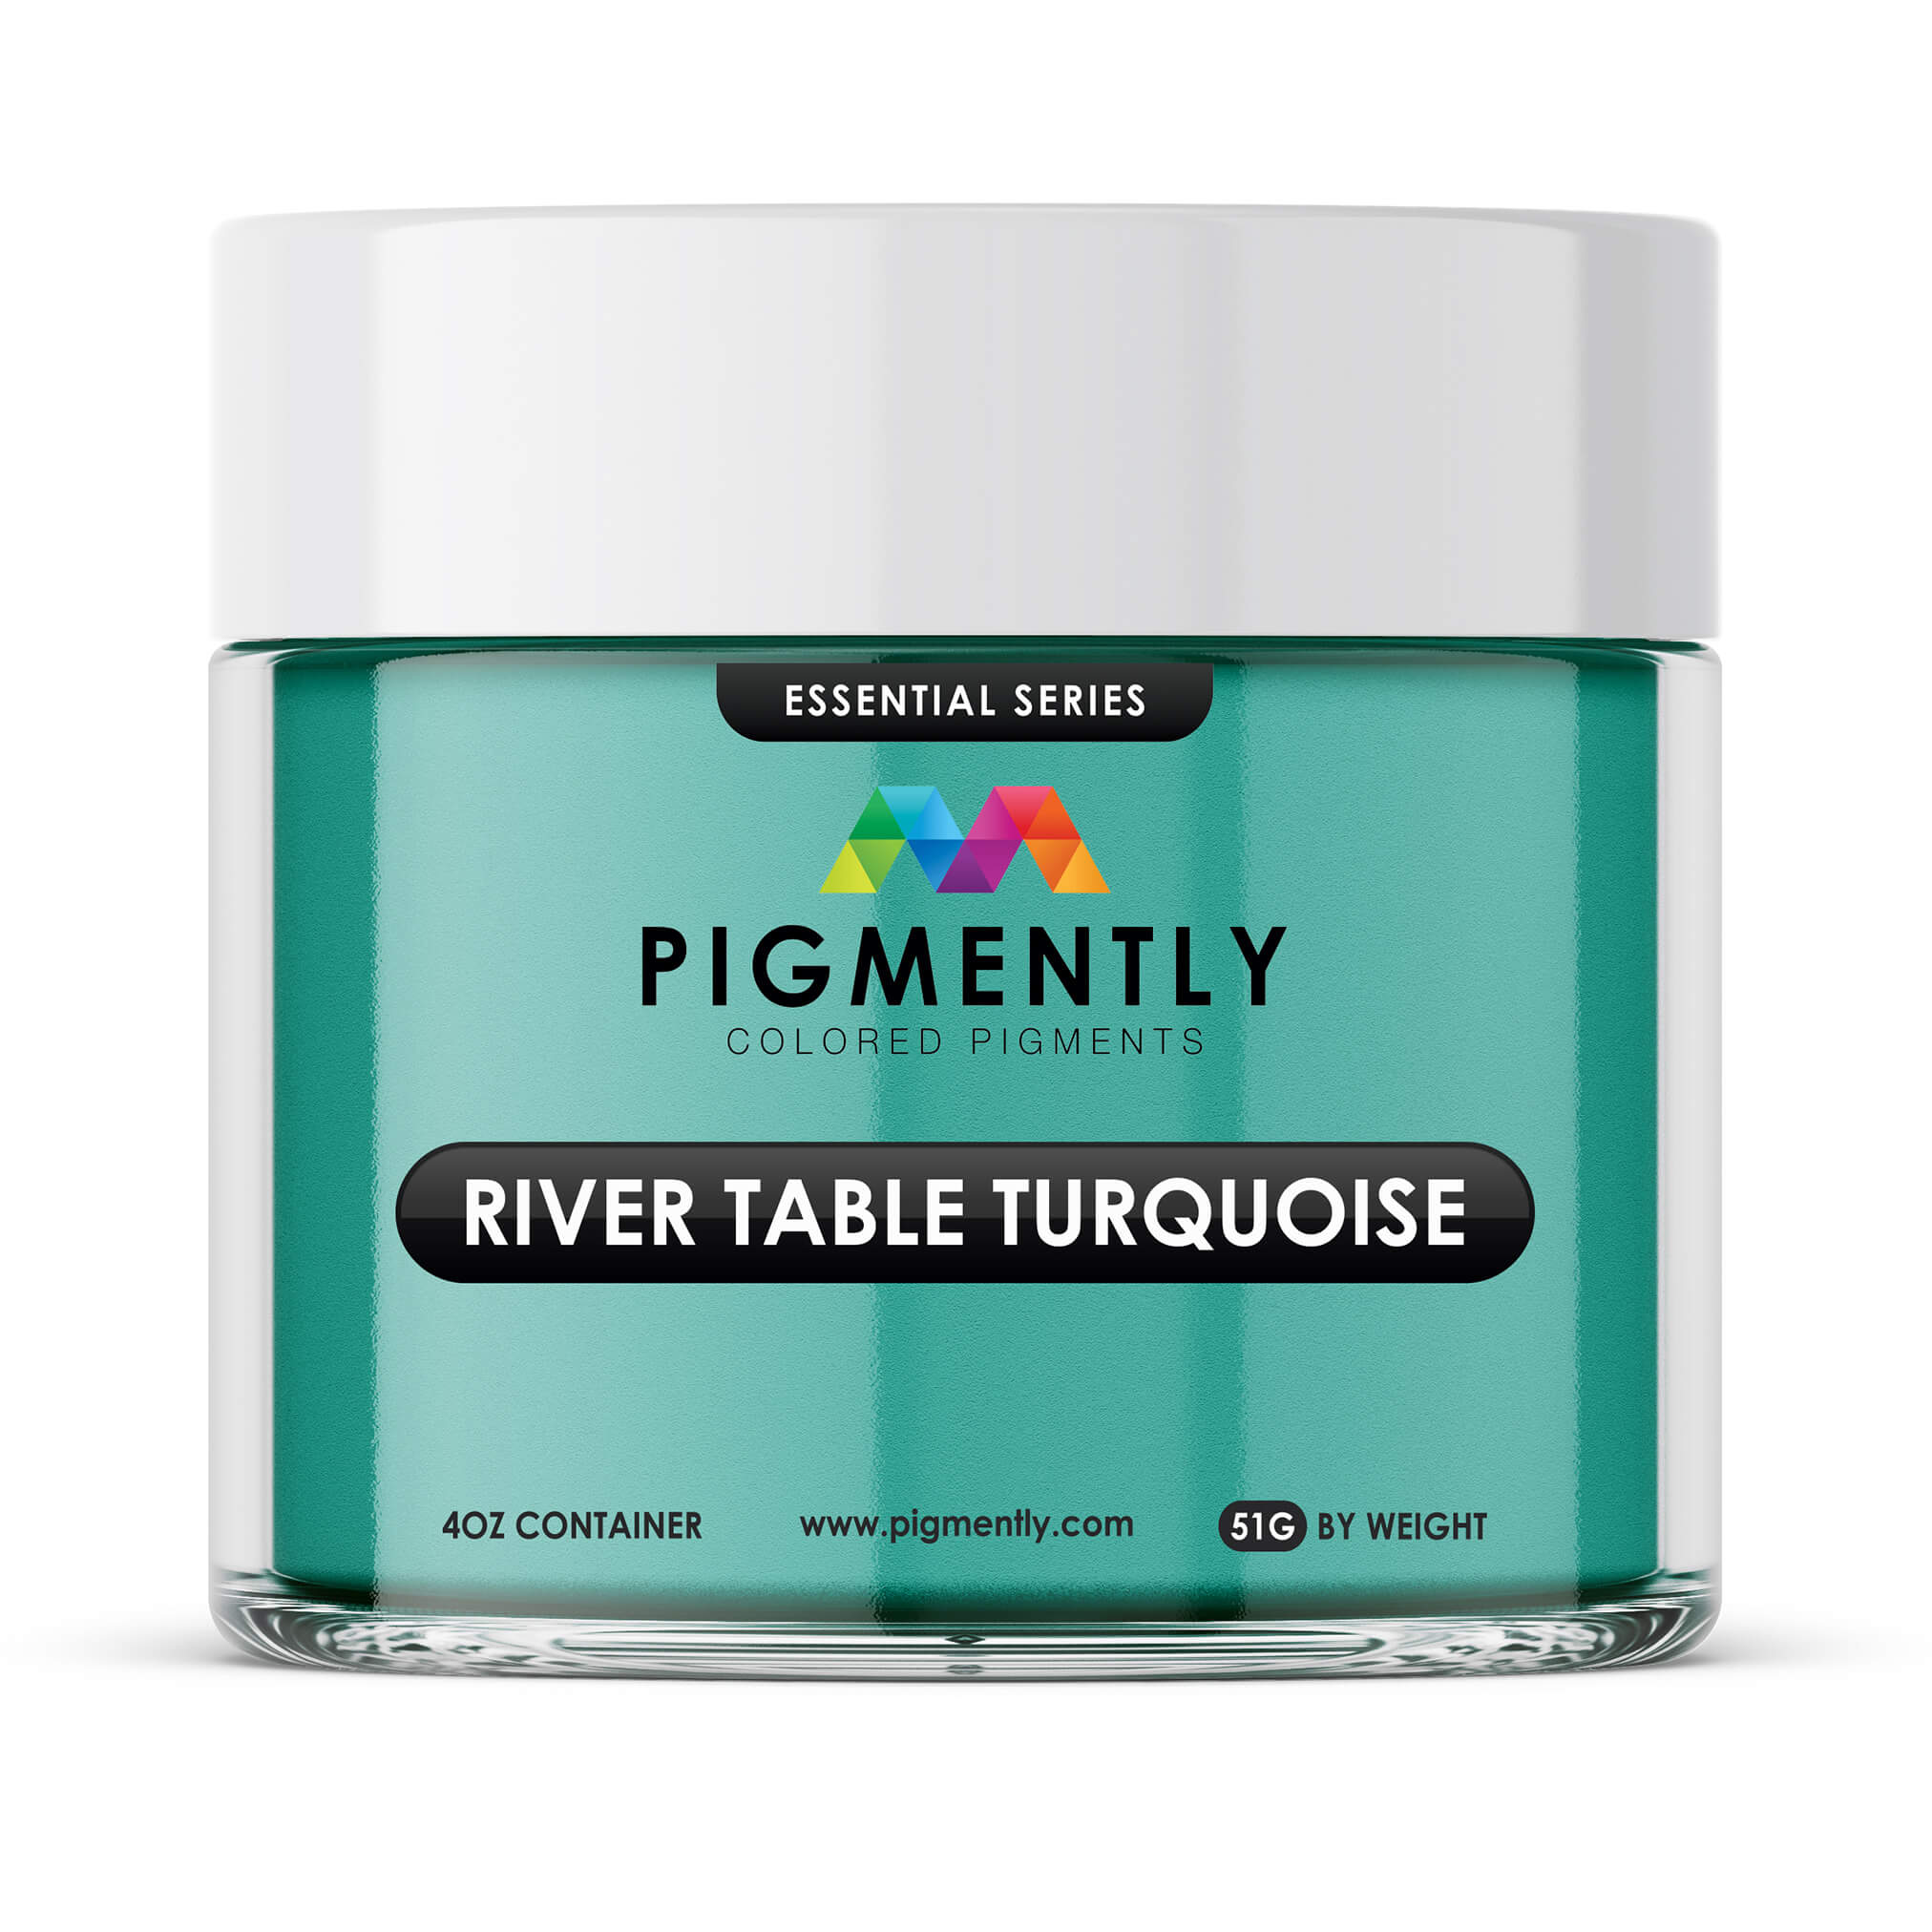
Absolutely. During mixing, epoxy can be tinted with resin dyes or powder pigments (e.g., mica powders) to create marbled effects, metallic swirls, or solid colors. It's a major reason epoxy bar tops are so popular in custom designs.
For best results, use colorants designed specifically for resin—such as those from Pigmently—to maintain clarity and consistency.
For techniques and additional guidance, see our Coloring Epoxy guide.
How do I clean and maintain my epoxy bar top?
Epoxy is low maintenance and easy to clean. Use a soft cloth with mild soap and water for daily cleaning. Avoid harsh chemicals or abrasive pads, which can dull the surface over time.
For long-term care, occasional polishing with a plastic-safe polish can help keep the surface looking glossy and new.
What should I avoid placing on an epoxy surface?
Avoid placing hot pots, pans, or heat-generating appliances directly on the epoxy surface. Although UltraClear Bar & Table Top Epoxy handles heat up to 135°F, hotter items can cause softening or leave marks.
Always use coasters, trivets, or mats for added protection. Also, avoid cutting directly on the surface, as it can scratch just like glass or acrylic finishes.
Have Questions? Want Advice? We're Here to Help!
If you have any questions about DIY epoxy bar tops, or if you'd like assistance in planning an epoxy project, please reach out to us at UltraClear Epoxy—our epoxy experts are ready to assist!
You can contact us via phone or email here. During business hours, you can also text chat online with one of our resin specialists by clicking the Help button at the bottom of your screen.
In our online store, you'll find a variety of useful tools and supplies, ideal for resin projects, plus our award-winning UltraClear Bar & Table Top Epoxy and our UltraClear Deep Pour Epoxy.
UltraClear Epoxy—Trusted by over 1 Million+ Happy Customers


