Epoxy resin has quickly gained popularity among DIYers, hobbyists, and furniture makers for its versatility, clarity, and long-lasting durability. Whether you're crafting colorful coasters, preserving flowers in a mold, or building a custom river table, epoxy can transform simple materials into professional-quality works. Even better—getting started with epoxy is much easier than it first appears.
In this guide, we'll walk beginners through the essential knowledge of crafting with epoxy resin. You'll learn the differences between epoxy types, how epoxy compares to other finishes, a breakdown of the crafting process, and detailed examples of project types you can try—categorized by skill level.
Epoxy as a Finish: Gloss, Durability, and Versatility
Epoxy isn’t just for arts and crafts—it’s also a premium finishing option used in furniture, bar tops, kitchen counters, and art pieces. While its most appealing quality might just be the high-gloss, glass-like surface it creates, it's also outstandingly durable. When properly cured, epoxy forms a waterproof seal that resists moisture, scratching, and heavy impacts, making it ideal for high-use surfaces.
Compared to other finishes like polyurethane or lacquer, good epoxy offers a deeper shine and a more robust, self-leveling coating. It also better seals porous surfaces like wood, protecting them from liquids, food stains, and wear. Plus, its transparency enhances the natural features of live-edge slabs or embedded objects.
However, epoxy isn't always the right choice for every surface. It's thick, more permanent than traditional finishes, and, when outdoors, can yellow over time without UV-stabilizers.
For those seeking a strong, long-lasting seal that enhances color and texture, epoxy is a great choice—especially UltraClear Bar & Table Top Epoxy.
Finish Comparison Chart:
| Finish Type | Gloss Level | Durability | Water Resistance | Ease of Use |
|---|---|---|---|---|
| Polyurethane | Medium-High | Good | Good | Easy |
| Lacquer | Medium | Fair | Poor | Moderate |
| Shellac | Low | Poor | Poor | Easy |
| Varnish | Medium | Good | Good | Moderate |
| Epoxy (UltraClear) | Very High | Excellent | Excellent | Moderate |
Understanding the Types of Epoxy Resin
Not all epoxy is the same. Different types are formulated for different applications, based on curing depth, viscosity, working time, and finish quality. Here's a breakdown of the three main UltraClear Epoxy products:
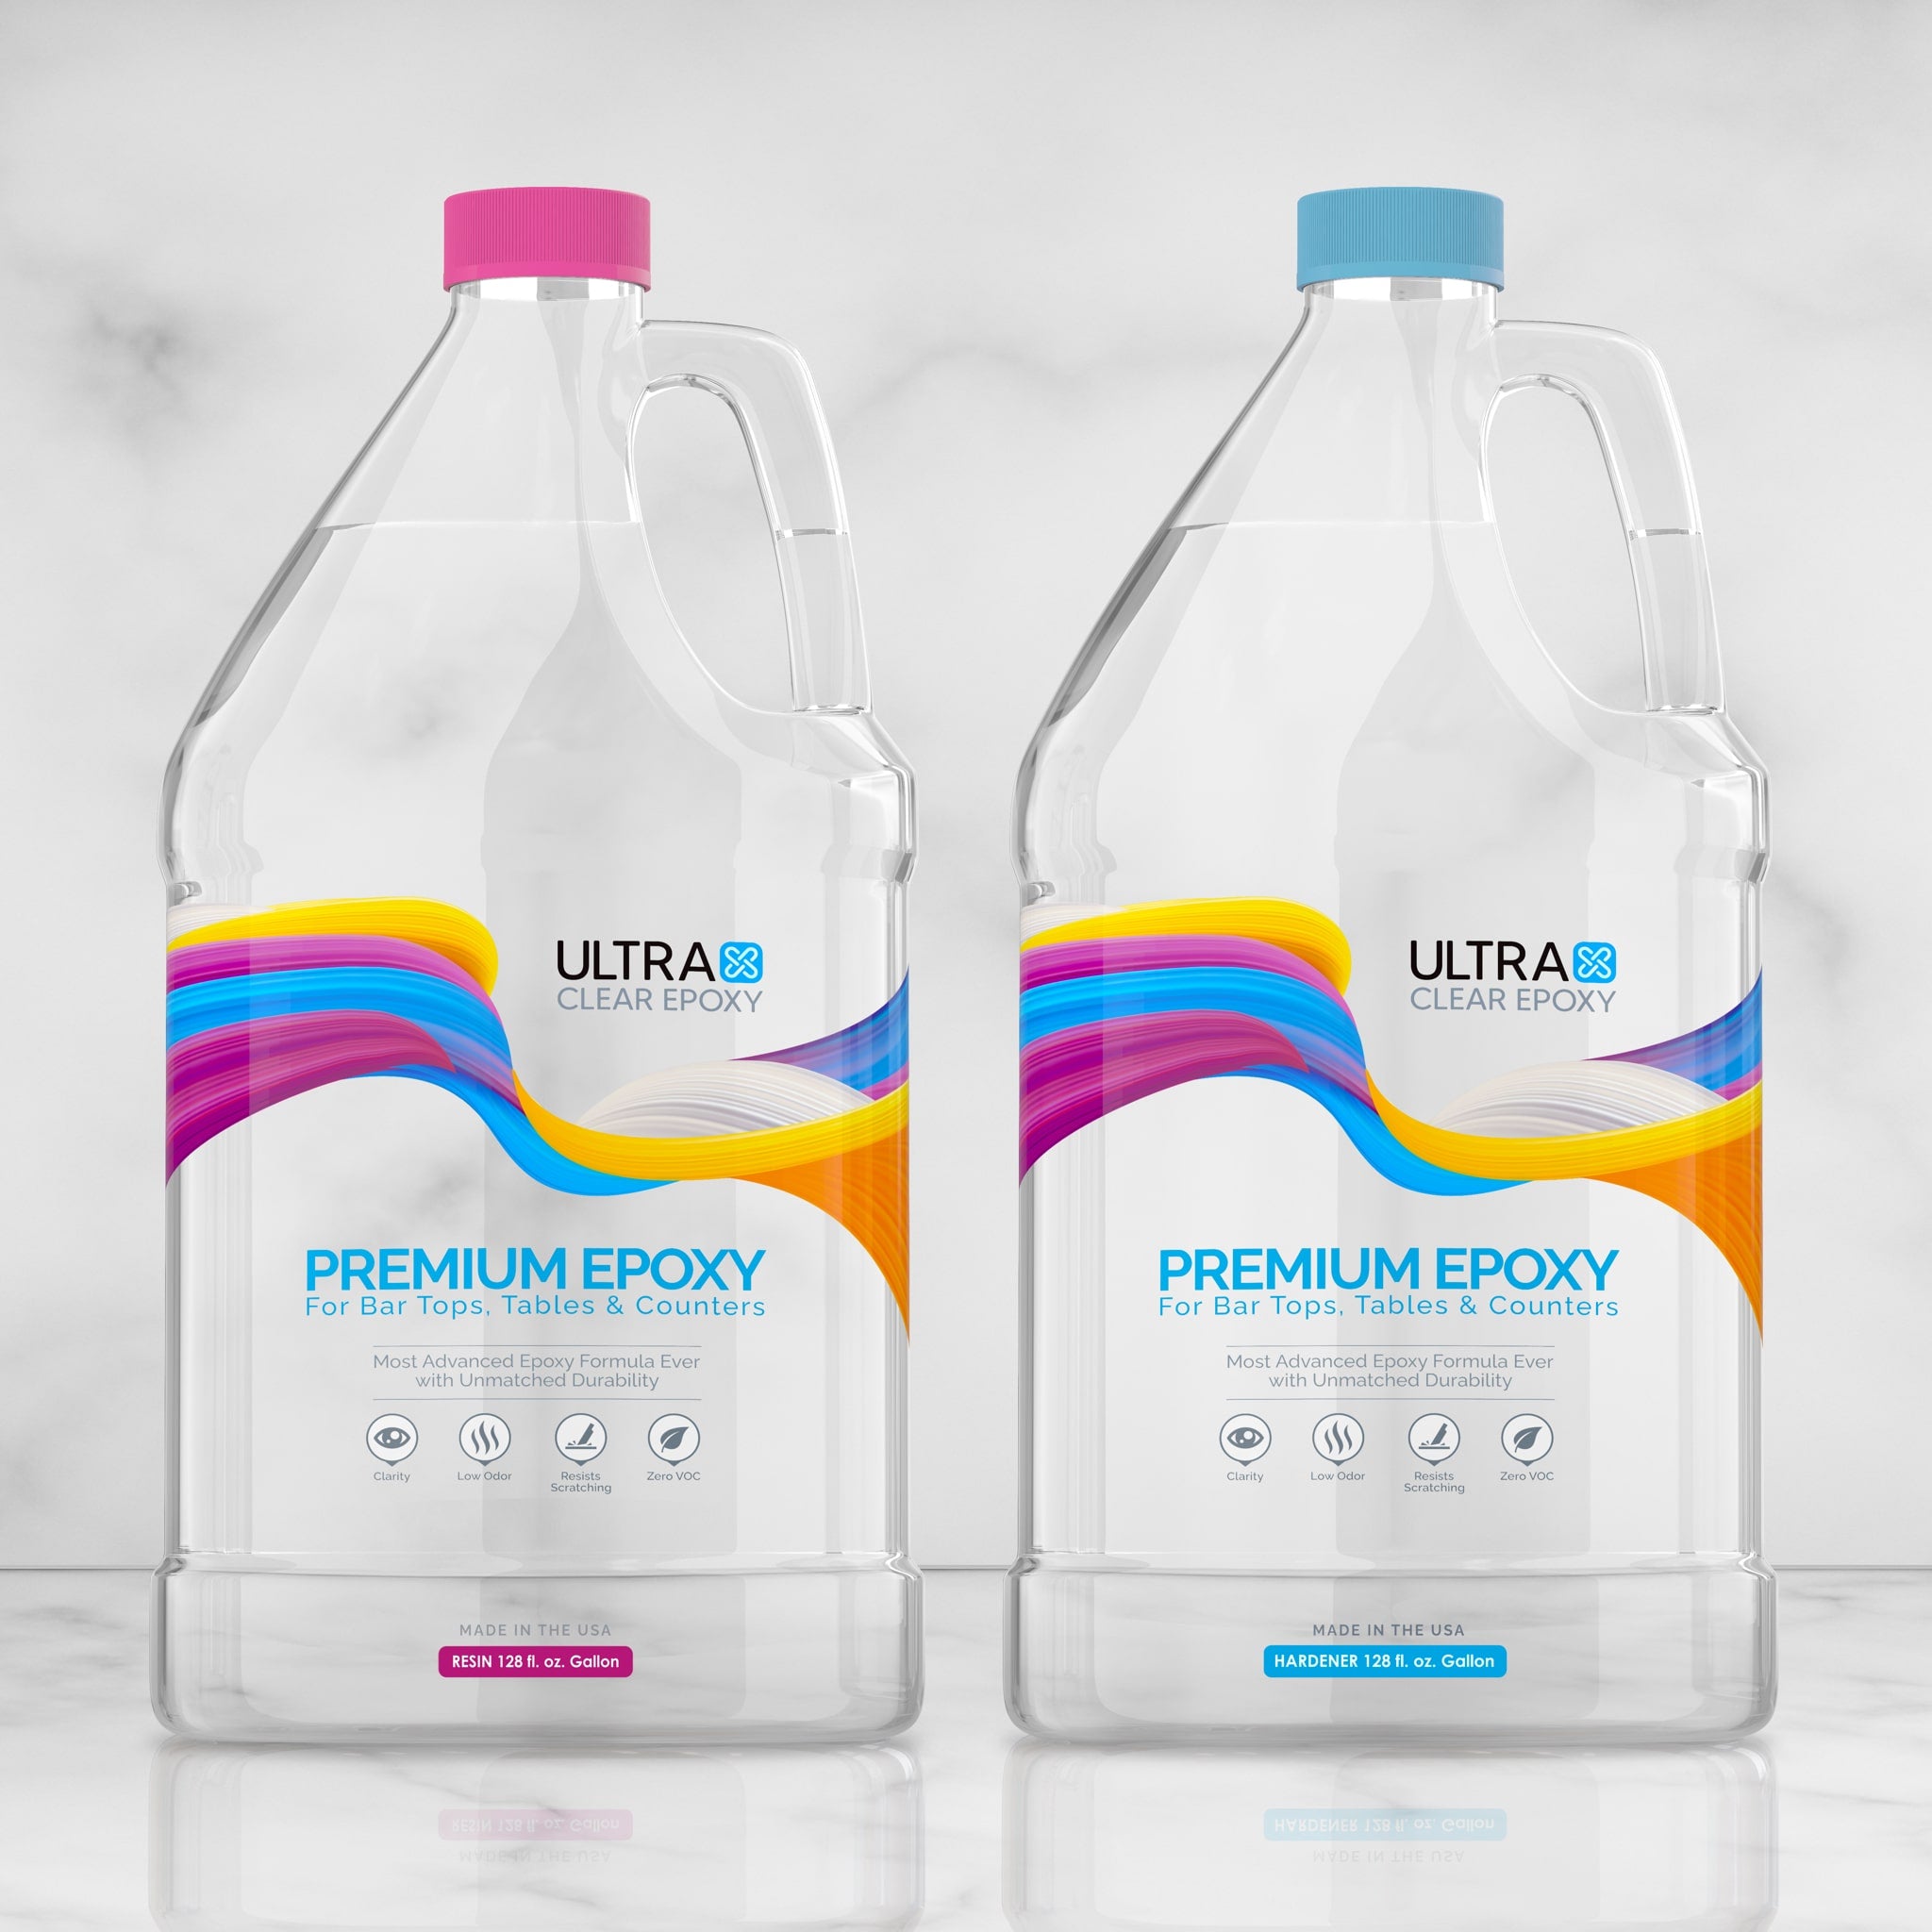
UltraClear Bar & Table Top Epoxy
Table top epoxies are often considered the default epoxy type by DIY creators, and at UltraClear, this is our strongest, most commonly chosen epoxy resin.
This epoxy is designed for thin, self-leveling coatings that cure to top-tier, unmatched durability with a crystal-clear appearance. It's the perfect choice for surface-level applications like sealing wood, art surfaces, tables, and counter tops.
The self-leveling nature and high viscosity of UltraClear Bar & Table Top Epoxy mean that it isn't suited for thick pours—with individual layers limited to a depth of 1/8 inch. However, finishes of greater thickness can still be achieved through multiple successive applications. Learn about layering techniques here!
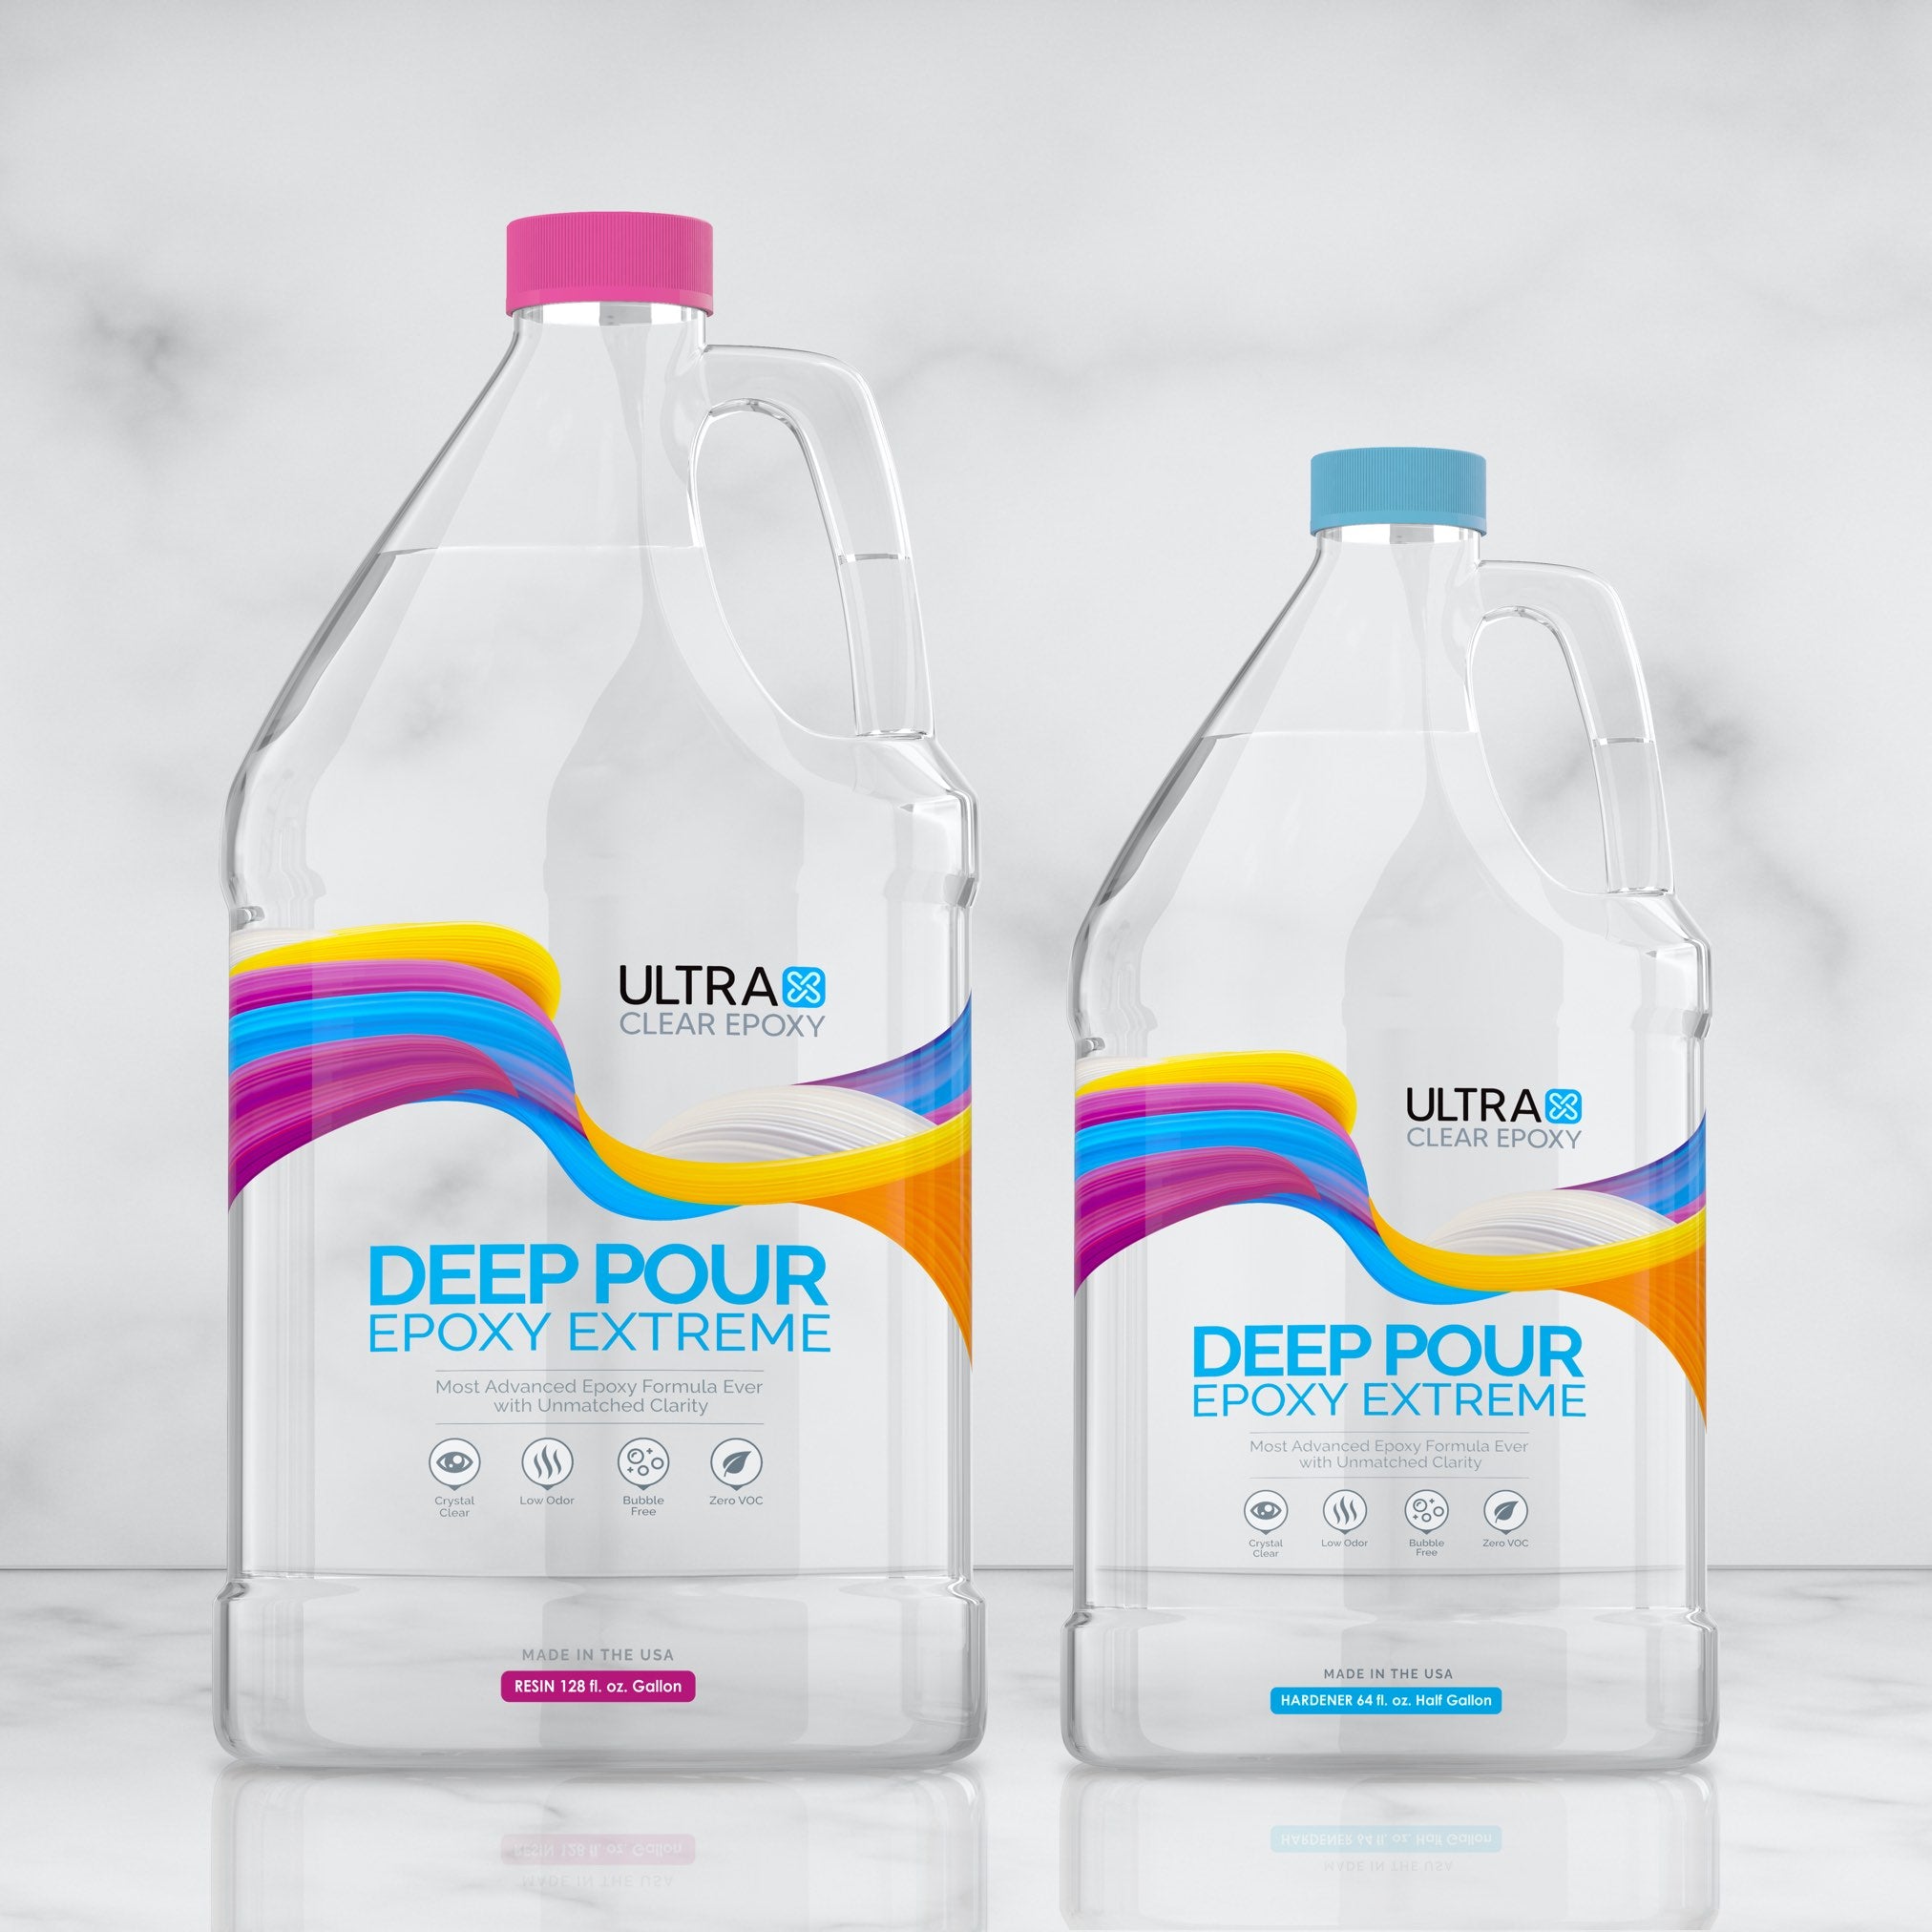
UltraClear Deep Pour Epoxy
Deep pour epoxies are low-viscosity resins designed for thick pours. They're ideal for river tables, casting molds, and larger decorative pieces that require a lot of depth.
Compared to table top epoxy, deep pour epoxy tends to have a longer "working time" cures slower to avoid overheating and cracking in thick layers. The lower viscosity allows air bubbles to rise to the surface of the coating, releasing into the atmosphere before the epoxy hardens.
The higher supported depth of deep pour epoxies comes at the cost of a slightly lower durability compared to other craft resins. As such, many users opt to apply a topcoating of Bar & Table Top Epoxy to their deep pour projects for maximal resilience.
UltraClear Deep Pour Epoxy can be poured in layers of up to 2 inches each, and it can be layered for a safe finish thickness of up to 6 inches—potentially higher by users with the right understanding and experience.
Learn more about deep pour epoxy in our primer here.
UltraClear Art & Craft Epoxy
Featuring a mixture of traits from table top epoxy and deep pour epoxy, UltraClear Art & Craft Epoxy is a specialized variant designed for smaller and more intricate projects. It's most often use in the creation of resin art.
Featuring a slightly less viscous consistency than table top epoxy, Art & Craft Epoxy is arguably the most versatile resin option—essentially being an epoxy jack-of-all-trades. It's perfect for filling smaller molds or creating coasters, jewelry, and artistic applications.
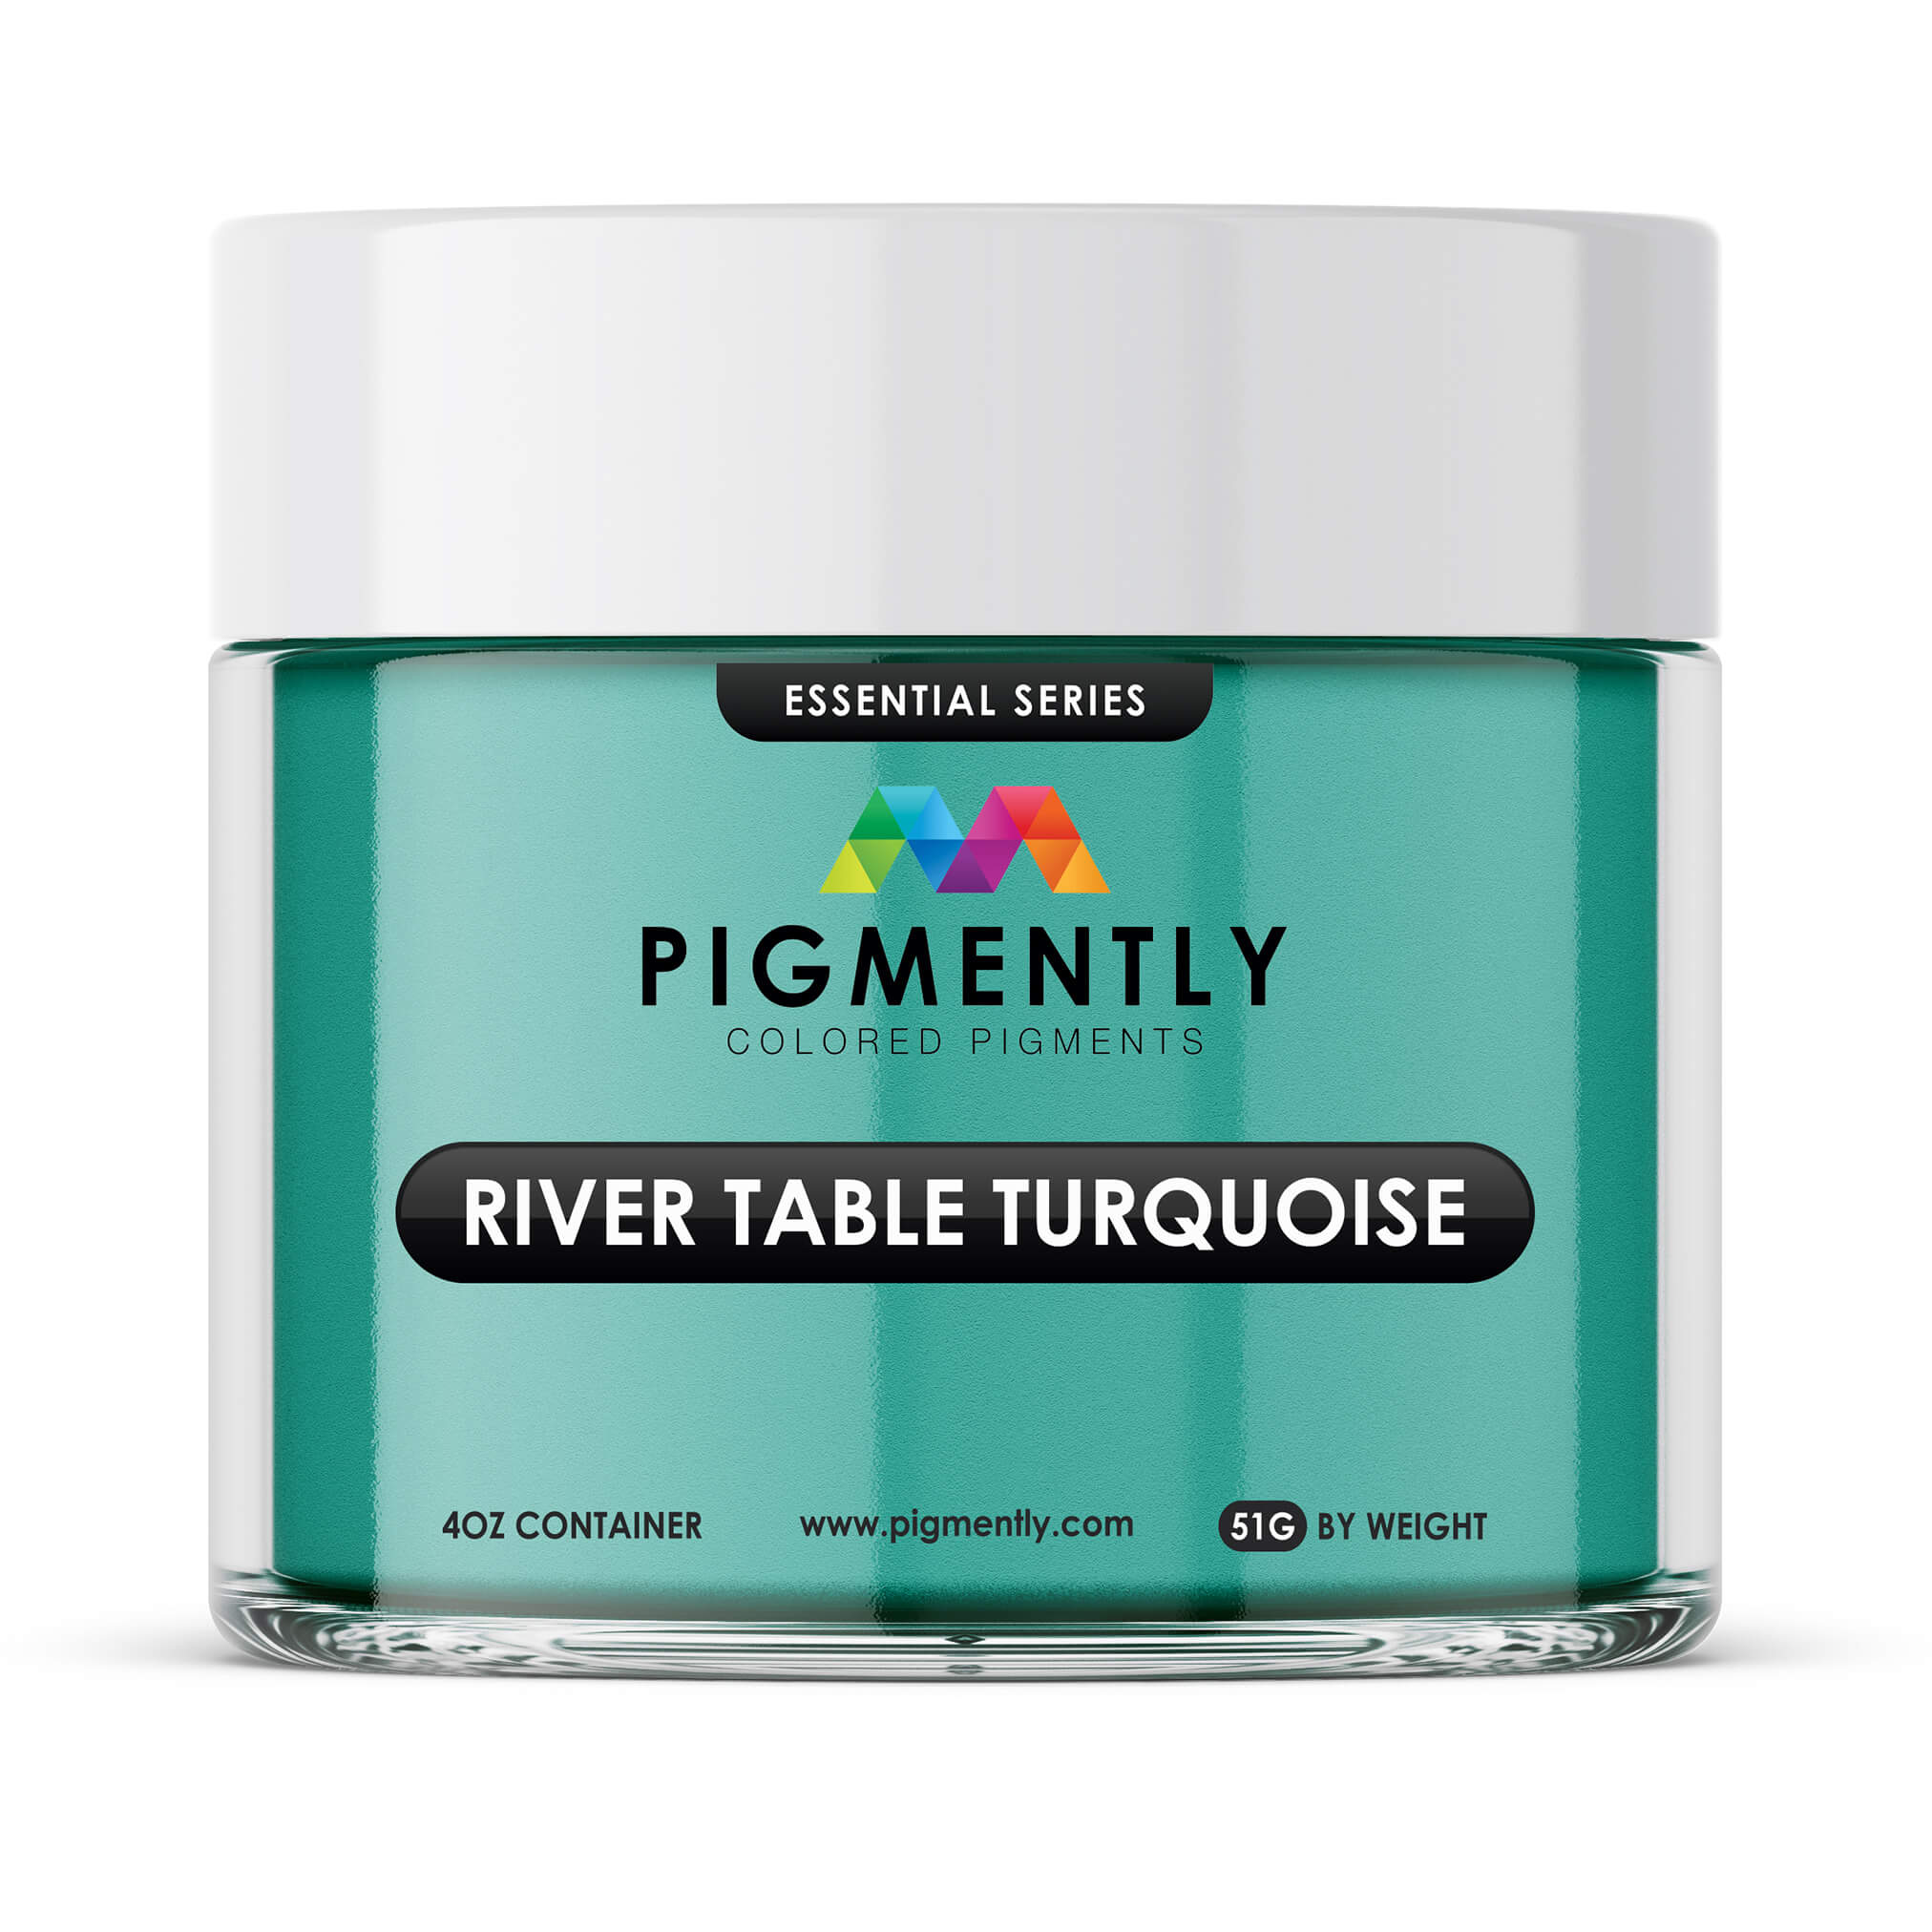
Furthermore, while all UltraClear Epoxy products mix well with epoxy colorants, UltraClear Art & Craft Epoxy is particularly formulated to support a wide variety of colorants for extra customization. It mixes easily with pigments and dries quickly.
Unfamiliar with epoxy colorants? See our all-in-one guide here to learn more.
Epoxy Comparison Chart:
| Product | Pour Depth | Use Case | Best Feature |
|---|---|---|---|
| Bar & Table Top Epoxy | 1/8"–1/4" | Furniture & counters | High-gloss, durable coat |
| Deep Pour Epoxy | Up to 2" | River tables & large pours | Bubble-free thick layers |
| Art & Craft Epoxy | ≤1/4" in molds | Crafts, jewelry, coasters | Easy to pigment, minimal bubbles |
The Epoxy Process: Step by Step
A typical epoxy project is performed in phases. While each step must be performed carefully, without much room for leeway, most users find the step-by-step process to be relatively straightforward and easy to follow.
Below is a basic outline of the epoxy process.
#1: Planning & Gathering Supplies (Preparation Phase)
-
Determine what your project will be and measure the area.
-
Select the type of epoxy that best suits your project. (See above or contact us for guidance).
-
Gather all essential tools: gloves, mixing containers, stir sticks, molds or wood or some other viable substrate, a level, and a heat gun. Our Epoxy Tool Kit provides most of these items in one convenient bundle.
-
Prepare your workspace: cover surfaces with plastic, use painter’s tape, ensure ventilation.
- For more information on the tools and supplies used in epoxy projects, see our beginner's guide to the topic. You can also reach out to one of our UltraClear resin experts through our Contact Us page.
#2: Surface Preparation (Optional/Recommended)
-
Clean and dry all substrate materials.
-
Lightly sand any wooden surfaces to prepare them for an epoxy coating.
-
Apply a seal coat using UltraClear Bar & Table Top Epoxy to prevent air bubbles.
#3: Mixing & Coloring (Active Phase)
-
Mix resin and hardener exactly as instructed. See our mixing guide for techniques and tips.
-
Add colorants (mica, dyes, alcohol inks) during this stage.
-
Stir slowly to reduce air bubbles.
#4: Pouring (Creative Phase)
-
Pour the blended resin evenly and slowly into your molds or over substrate surfaces.
-
Use a heat gun to pop bubbles.
-
Repeat in layers if needed.
#5: Curing & Finishing (Final Phase)
-
Allow the epoxy to cure in a dust-free, stable-temperature room.
-
Sand and polish if desired. For deeper gloss, apply additional polishing compound.
Epoxy Glossary: Terms Beginners Should Know
Amine Blush
A waxy residue that can appear on the surface of curing epoxy in high humidity. It must be washed off before sanding or applying another layer.
Blushing
Cloudiness or streaking on the surface, often caused by moisture or improper mixing. It can usually be fixed by sanding and reapplying a top coat.
Cure Time
The total time required for epoxy to harden into its final, usable state. This varies by product and environment.
UltraClear Deep Pour Epoxy, for example, allows for light use after 72 hours but requires 7 to 14 days for full curing, while Bar & Table Top Epoxy typically cures to a fully usable state after 72 hours, with additional hardening over the following two weeks.
Always carefully read the instructions of your chosen epoxy for accurate curing info.
Deep Pour
A thick-pour application that allows epoxy to be poured in layers up to 2 inches deep. Specialized formulas like UltraClear Deep Pour Epoxy are required for this method.
Exothermic Reaction
The chemical process during which epoxy releases heat as it cures. Too much epoxy in a single pour can result in overheating, leading to cracks or yellowing.
Heat Gun/Torching
A technique used to remove bubbles from freshly poured epoxy. A heat gun or propane torch is passed quickly over the surface to pop bubbles before they harden.
Layering
Pouring epoxy in multiple stages to achieve depth or to prevent overheating during thick pours. Typically requires light sanding or cleaning between pours.
Mix Ratio
The proportion of resin to hardener required for proper curing. For UltraClear products, the mix ratio is:
- 1:1 for UltraClear Bar & Table Top Epoxy
- 1:1 for UltraClear Art & Craft Epoxy
- 2:1 for UltraClear Deep Pour Epoxy
Deviating from an epoxy's intended mixing ratio causes improper curing.
Outgassing
Air escaping from porous materials (like wood) into the epoxy, forming bubbles.
Apply an epoxy seal coat to wood or other porous materials prior to flood coats and deep pours to manage this effect.
Self-Leveling
A feature of epoxy that causes it to naturally spread out and form a flat, even surface once poured. This property helps achieve that glossy, glass-like finish.
Note that low-viscosity epoxies such as UltraClear Deep Pour Epoxy are too fluid to self-level.
Tack-Free Time
The period after which the epoxy surface is no longer sticky to the touch. This is not the same as full cure and is instead an interim period during which the epoxy is safe to touch but not ready for full use.
Working Time (Pot Life)
The window during which mixed epoxy remains fluid and usable before it begins to thicken. Epoxy should be applied during this time to avoid faulty curing or imperfections.
Working time usually ranges from 20 to 45 minutes depending on the product and ambient temperature.
The Use of Epoxy for Furniture, Art & More
Epoxy resin is flexible enough to enhance nearly any DIY project. In furniture making, epoxy provides a sealed, glossy finish that highlights wood grain and provides heavy protection from wear. For art projects, epoxy is valued for encapsulation, depth, and color blending.
Incorporating UltraClear Epoxy into your creative toolkit opens up a broad range of possibilities—whether you're crafting marbled coasters, embedded flower jewelry, or rustic wall art. It's a medium that rewards precision, experimentation, and imagination.
Project Ideas by Skill Level
Here we've listed a variety of potential epoxy projects, categorized by the skill level we recommend before attempting them and paired with our suggested epoxy. Note that any of these projects can be performed even as a beginner with enough preparation and careful adherence to instruction.
Don't be afraid to contact one of our resin experts for advice on any project!

Beginner Projects
Coasters (UltraClear Art & Craft Epoxy): Resin coasters employ simple molds and cure relatively quickly, making them ideal for learning mixing and pouring.
Keychains or Small Jewelry (UltraClear Art & Craft Epoxy): Keychains and jewelry can be made in batches and are a good choice for experimenting with colors, inlays, and molds.
Sealing Painted Wood Signs (Bar & Table Top Epoxy): Cheap wooden signs are easy to acquire and paint, making them perfect for learning seal coat brush-on application and surface prep.
Intermediate Projects
Serving Trays (Bar & Table Top Epoxy): The larger surface area and consistent edges are good for learning leveling and bubble control.
Wall Art Panels (Deep Pour or Art & Craft Epoxy): Resin wall art can involve layering and color blending, and requires good temperature control.
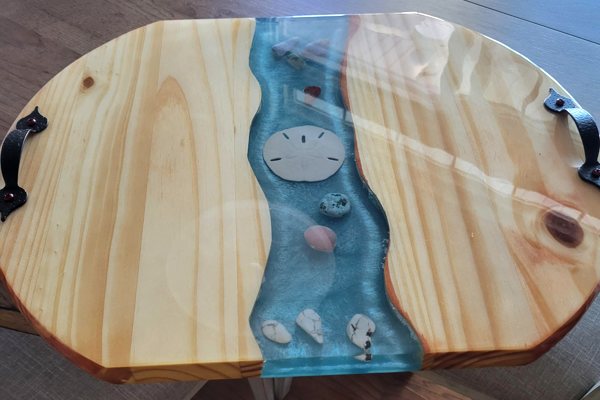
Resin River Charcuterie Boards (Deep Pour Epoxy): Similar to serving trays, this project type requires wood prep but also explores deeper pours and proper mold setup.
Advanced Projects
Live-Edge River Tables (Deep Pour Epoxy, often with a Table Top Epoxy topcoat): High material cost, precision work, large volume mixing, long cure time.
Encapsulation Projects (Deep Pour Epoxy): Involves embedding objects, mold design, and multiple pour stages.
Layered Art Pieces with Resin (Art & Craft Epoxy): Demands planning, color timing, and complex detail control.

The Problems with Using "Budget-Brand" Epoxy
Throughout the epoxy industry, numerous epoxy resins have shown up on the market that are low cost and low grade. Often referred to as budget-brand epoxy, these products are typically sold in online marketplaces at a seemingly too-good-to-be-true price, and as one might suspect, such low prices come at a substantial compromise in the epoxy's quality and safety.
Choosing budget-brand epoxy can be tempting, but the results are often disappointing. Cheaper epoxies are typically produced overseas in regions that require limited quality control. These products may contain impurities, uneven resin-to-hardener ratios, or improperly tested ingredients.
Such flaws can lead to soft finishes, yellowing over time, or even total curing failure. Additionally, the safety standards may be subpar, putting users at risk from off-gassing or skin irritation during use.
Learn more about why your epoxy choice matters here.
UltraClear Epoxy: Premium U.S.-made resins for top-tier results
UltraClear Epoxy, by contrast, is made within the USA under rigorous standards. With any of our epoxy products, you're guaranteed a high-grade resin with crystal clarity, long-term durability, and superior user safety. This makes it not only an investment in long-lasting quality but also in peace of mind.
You can find out beginner-friendly craft resins on the following pages:

FAQs: Getting Started with Epoxy
Question #1: Do I need special equipment to start epoxy projects?
No, most beginners can start with basic tools like mixing cups, stir sticks, nitrile gloves, and a level surface. Optional tools like colorants or molds can be added as you grow.
Question #2: Can I use epoxy on any surface?
Epoxy adheres best to non-porous or sealed surfaces like wood, metal, and some plastics. For porous materials, a seal coat is recommended to prevent bubbles.
Question #3: How do I choose the right epoxy type?
Choose UltraClear Bar & Table Top Epoxy for surface coats (e.g., a table top), Deep Pour Epoxy for thick casts (e.g., large resin art or a river table), and Art & Craft Epoxy for small projects involving molds and detailed work.
Question #4: How long does epoxy take to cure?
It depends on the epoxy product you're using, but typically a safe amount of time is 72 hours minimum of curing in a well-maintained climate.
Question #5: Is epoxy food-safe?
Once fully cured, UltraClear Epoxy is food-safe. Always allow full cure time before using with food.
Question #6: Can I fix mistakes in my epoxy project?
Yes—bubbles can be removed with heat. Scratches or surface imperfections can often be sanded and re-coated.
See our guide to fixing problems for ways to handle many different issues.
Question #7: Can I mix different types of colorants?
You can blend mica, dyes, and alcohol inks creatively, but test first—some combinations may produce unexpected results.
See our colorants guide for advice on what to use and how to use it.
Question #8: What’s the best environment for working with epoxy?
Work in a clean, dust-free area with temps between 70–75°F. Good ventilation is essential for safety and curing performance.
Have Questions? Want Advice? We're Here to Help!
If you have any questions about using epoxy as a beginner, or if you'd like assistance in planning an epoxy project, please reach out to us at UltraClear Epoxy—our epoxy experts are ready to assist!
You can contact us via phone or email here. During business hours, you can also text chat online with one of our resin specialists by clicking the Help button at the bottom of your screen.
In our online store, you'll find a variety of useful tools and supplies, ideal for resin projects, plus our award-winning UltraClear Bar & Table Top Epoxy and our UltraClear Deep Pour Epoxy.
UltraClear Epoxy—Trusted by over 1 Million+ Happy Customers


