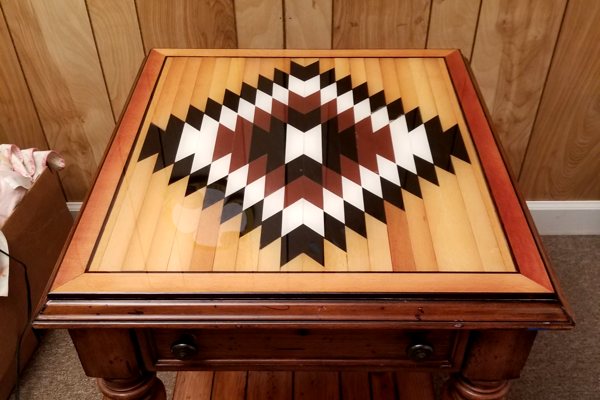
Old furniture doesn’t have to stay outdated or worn out. With a little creativity and some epoxy resin, you can renew your tired furniture pieces, transforming them into stunning, modern works of art. Because of its high versatility, durability, and glossy finish, epoxy is a fantastic medium for furniture makeovers, whether you’re updating a coffee table, dresser, dining set, or something else entirely.
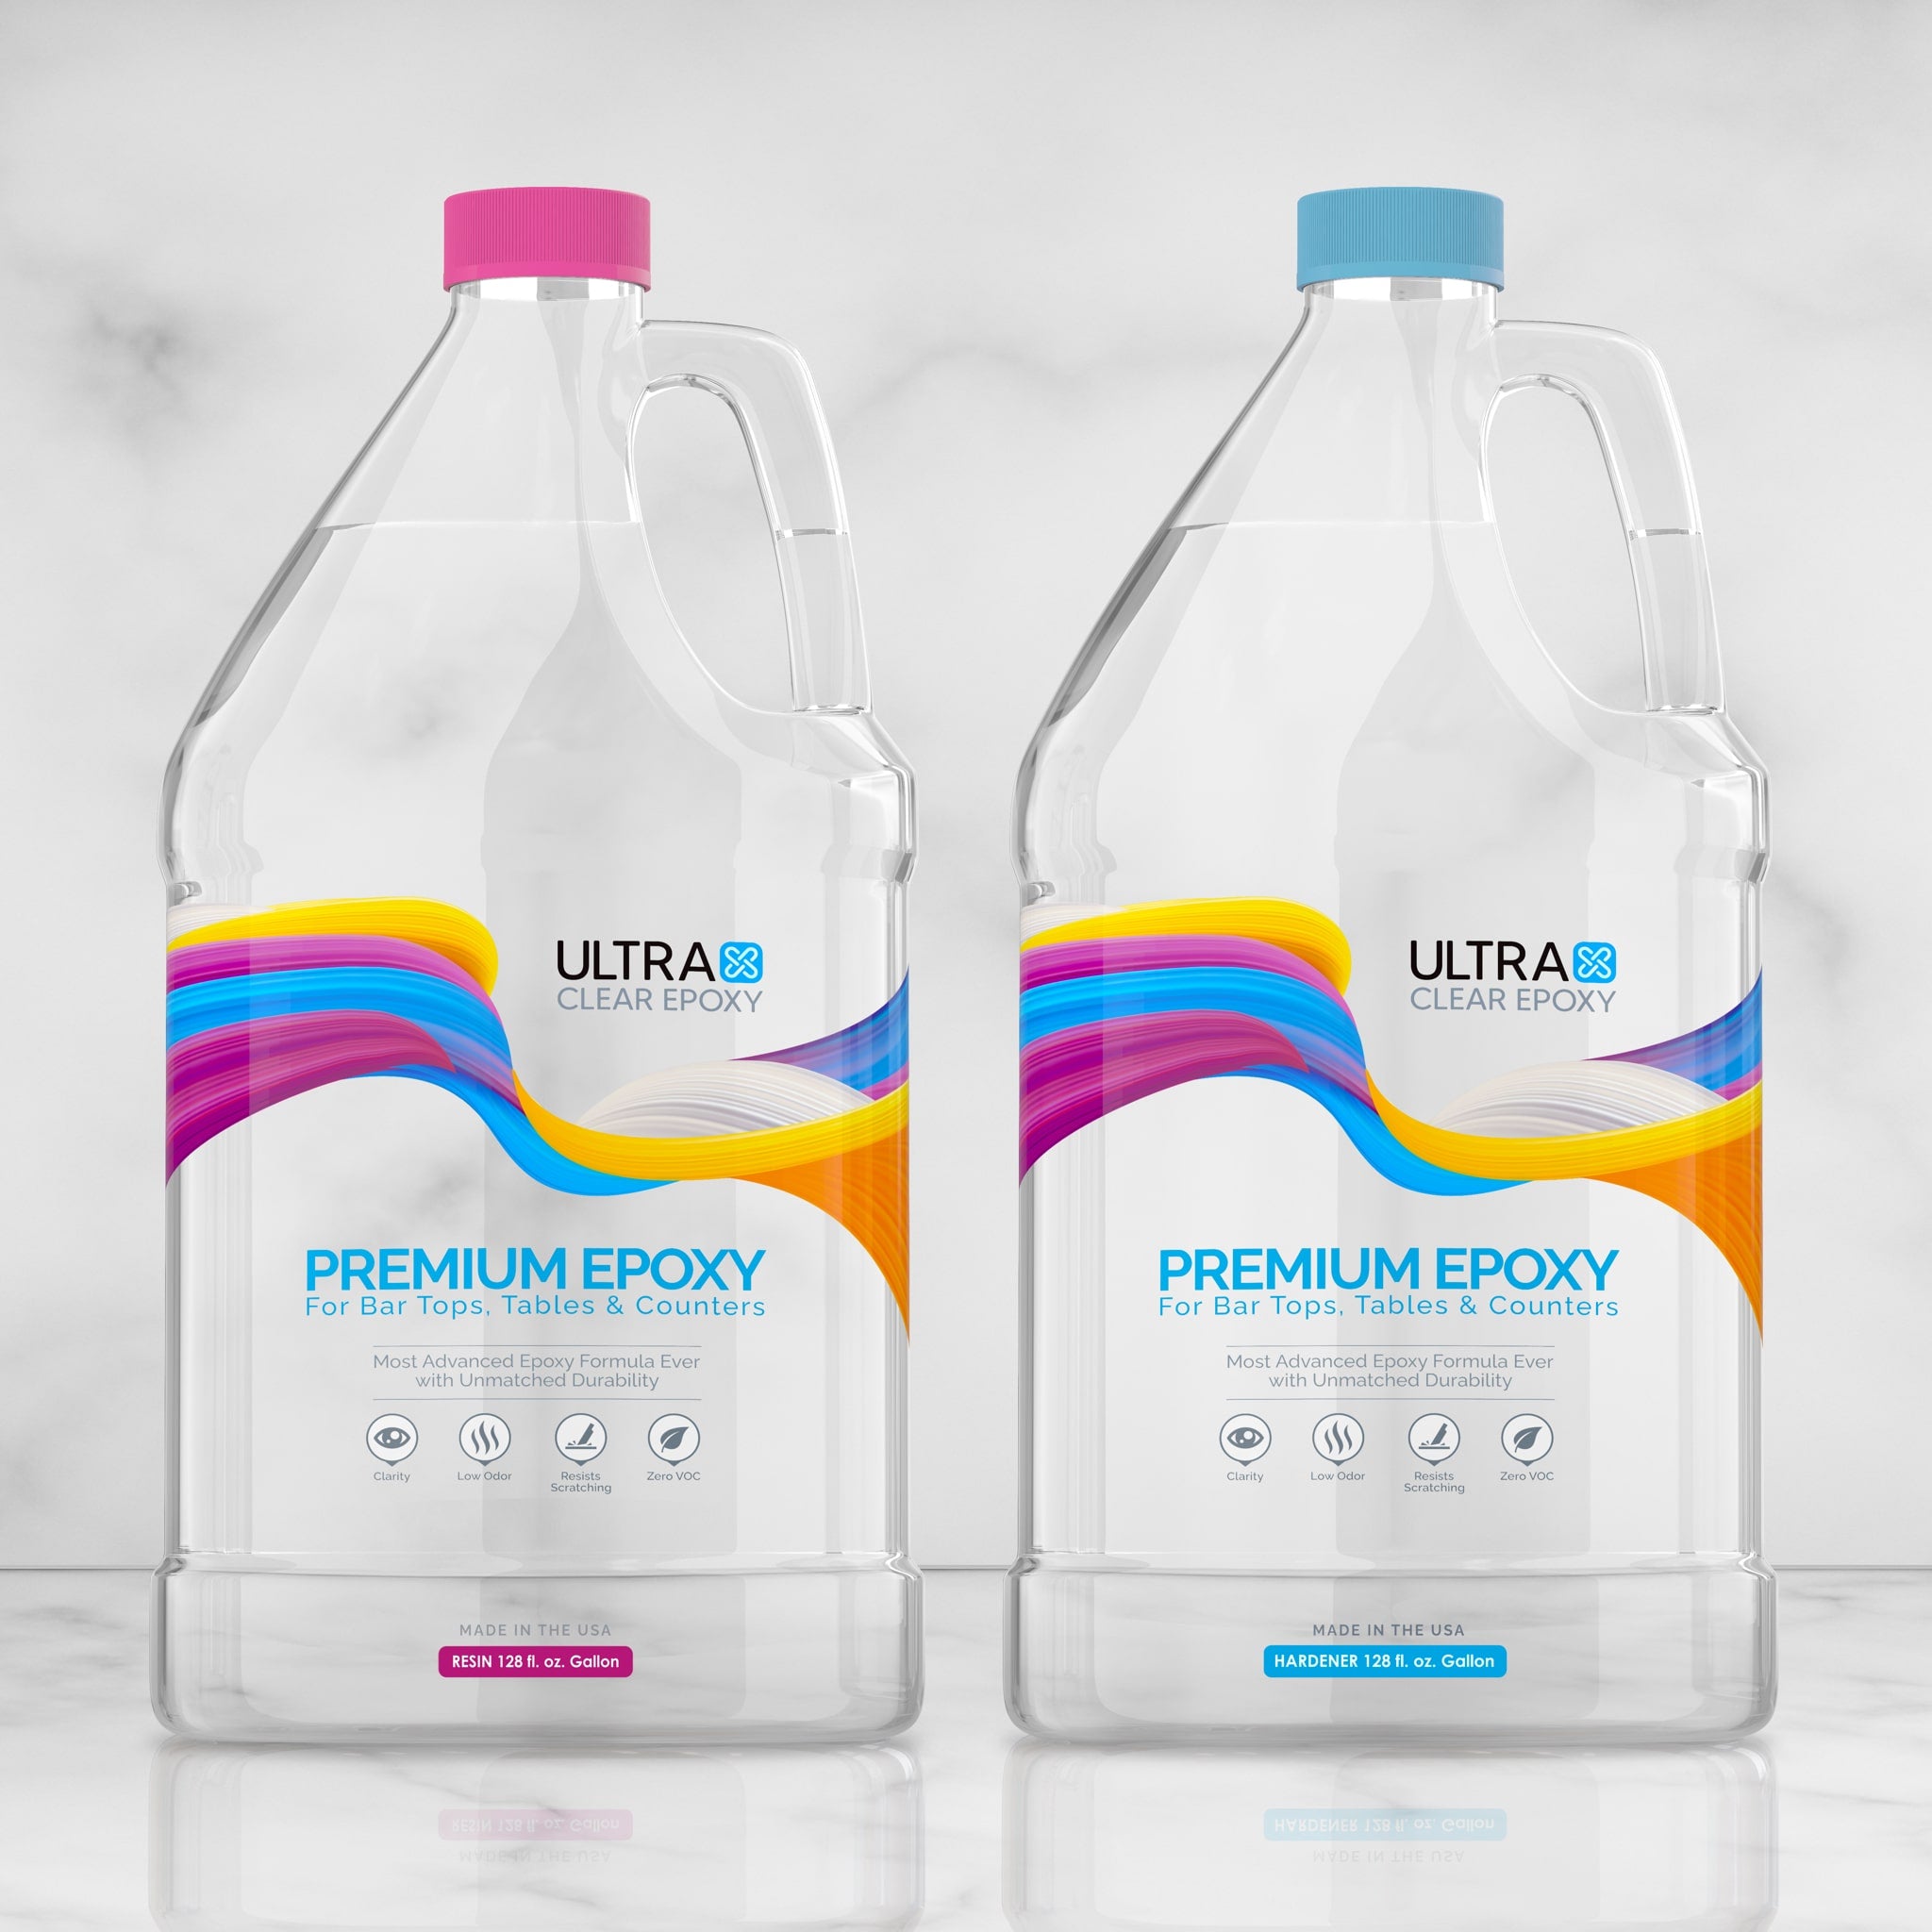
Below, we'll take a look at how you can use epoxy resin—like UltraClear Bar & Table Top Epoxy and UltraClear Deep Pour Epoxy—to revamp old furniture.
Why Use Epoxy for Furniture Makeovers?
Epoxy resin is an ideal material for furniture makeovers for several reasons:
- Durability: Epoxy creates a tough, waterproof surface that resists scratches and stains.
- Aesthetic Appeal: The high-gloss finish adds a modern and luxurious look to any piece.
- Customizability: You can embed pigments, glitter, natural elements, or even photos to create unique designs.
- Versatility: Epoxy works on various surfaces, including wood, metal, and concrete.
The 12 Steps to Revamping Older Furniture with Epoxy
#1. Choose the Right Furniture Piece
Select a sturdy piece of furniture that has good structural integrity. While epoxy can beautify a surface, it's not meant to fix broken or unstable furniture. Common choices include coffee tables, side tables, countertops, and dressers.
#2. Prepare Your Workspace
Epoxy work requires a clean, well-ventilated area. Protect your workspace with plastic sheeting or drop cloths to catch any spills. Ensure the furniture is on a level surface to prevent uneven resin curing.
#3. Sand and Clean the Surface
For a smooth finish, sand the surface of your furniture to remove any old paint, varnish, or imperfections. Start with coarse-grit sandpaper and finish with a finer grit. Clean the surface thoroughly with a damp cloth to remove dust and debris.
#4. Seal the Surface (If Needed)
If the furniture has porous surfaces like wood, apply a sealing coat to prevent the resin from soaking in and causing bubbles. A thin layer of UltraClear Bar & Table Top Epoxy can act as a great sealant. Allow it to cure fully before proceeding.
#5. Plan Your Design
Decide on the look you want to achieve. Popular options include:
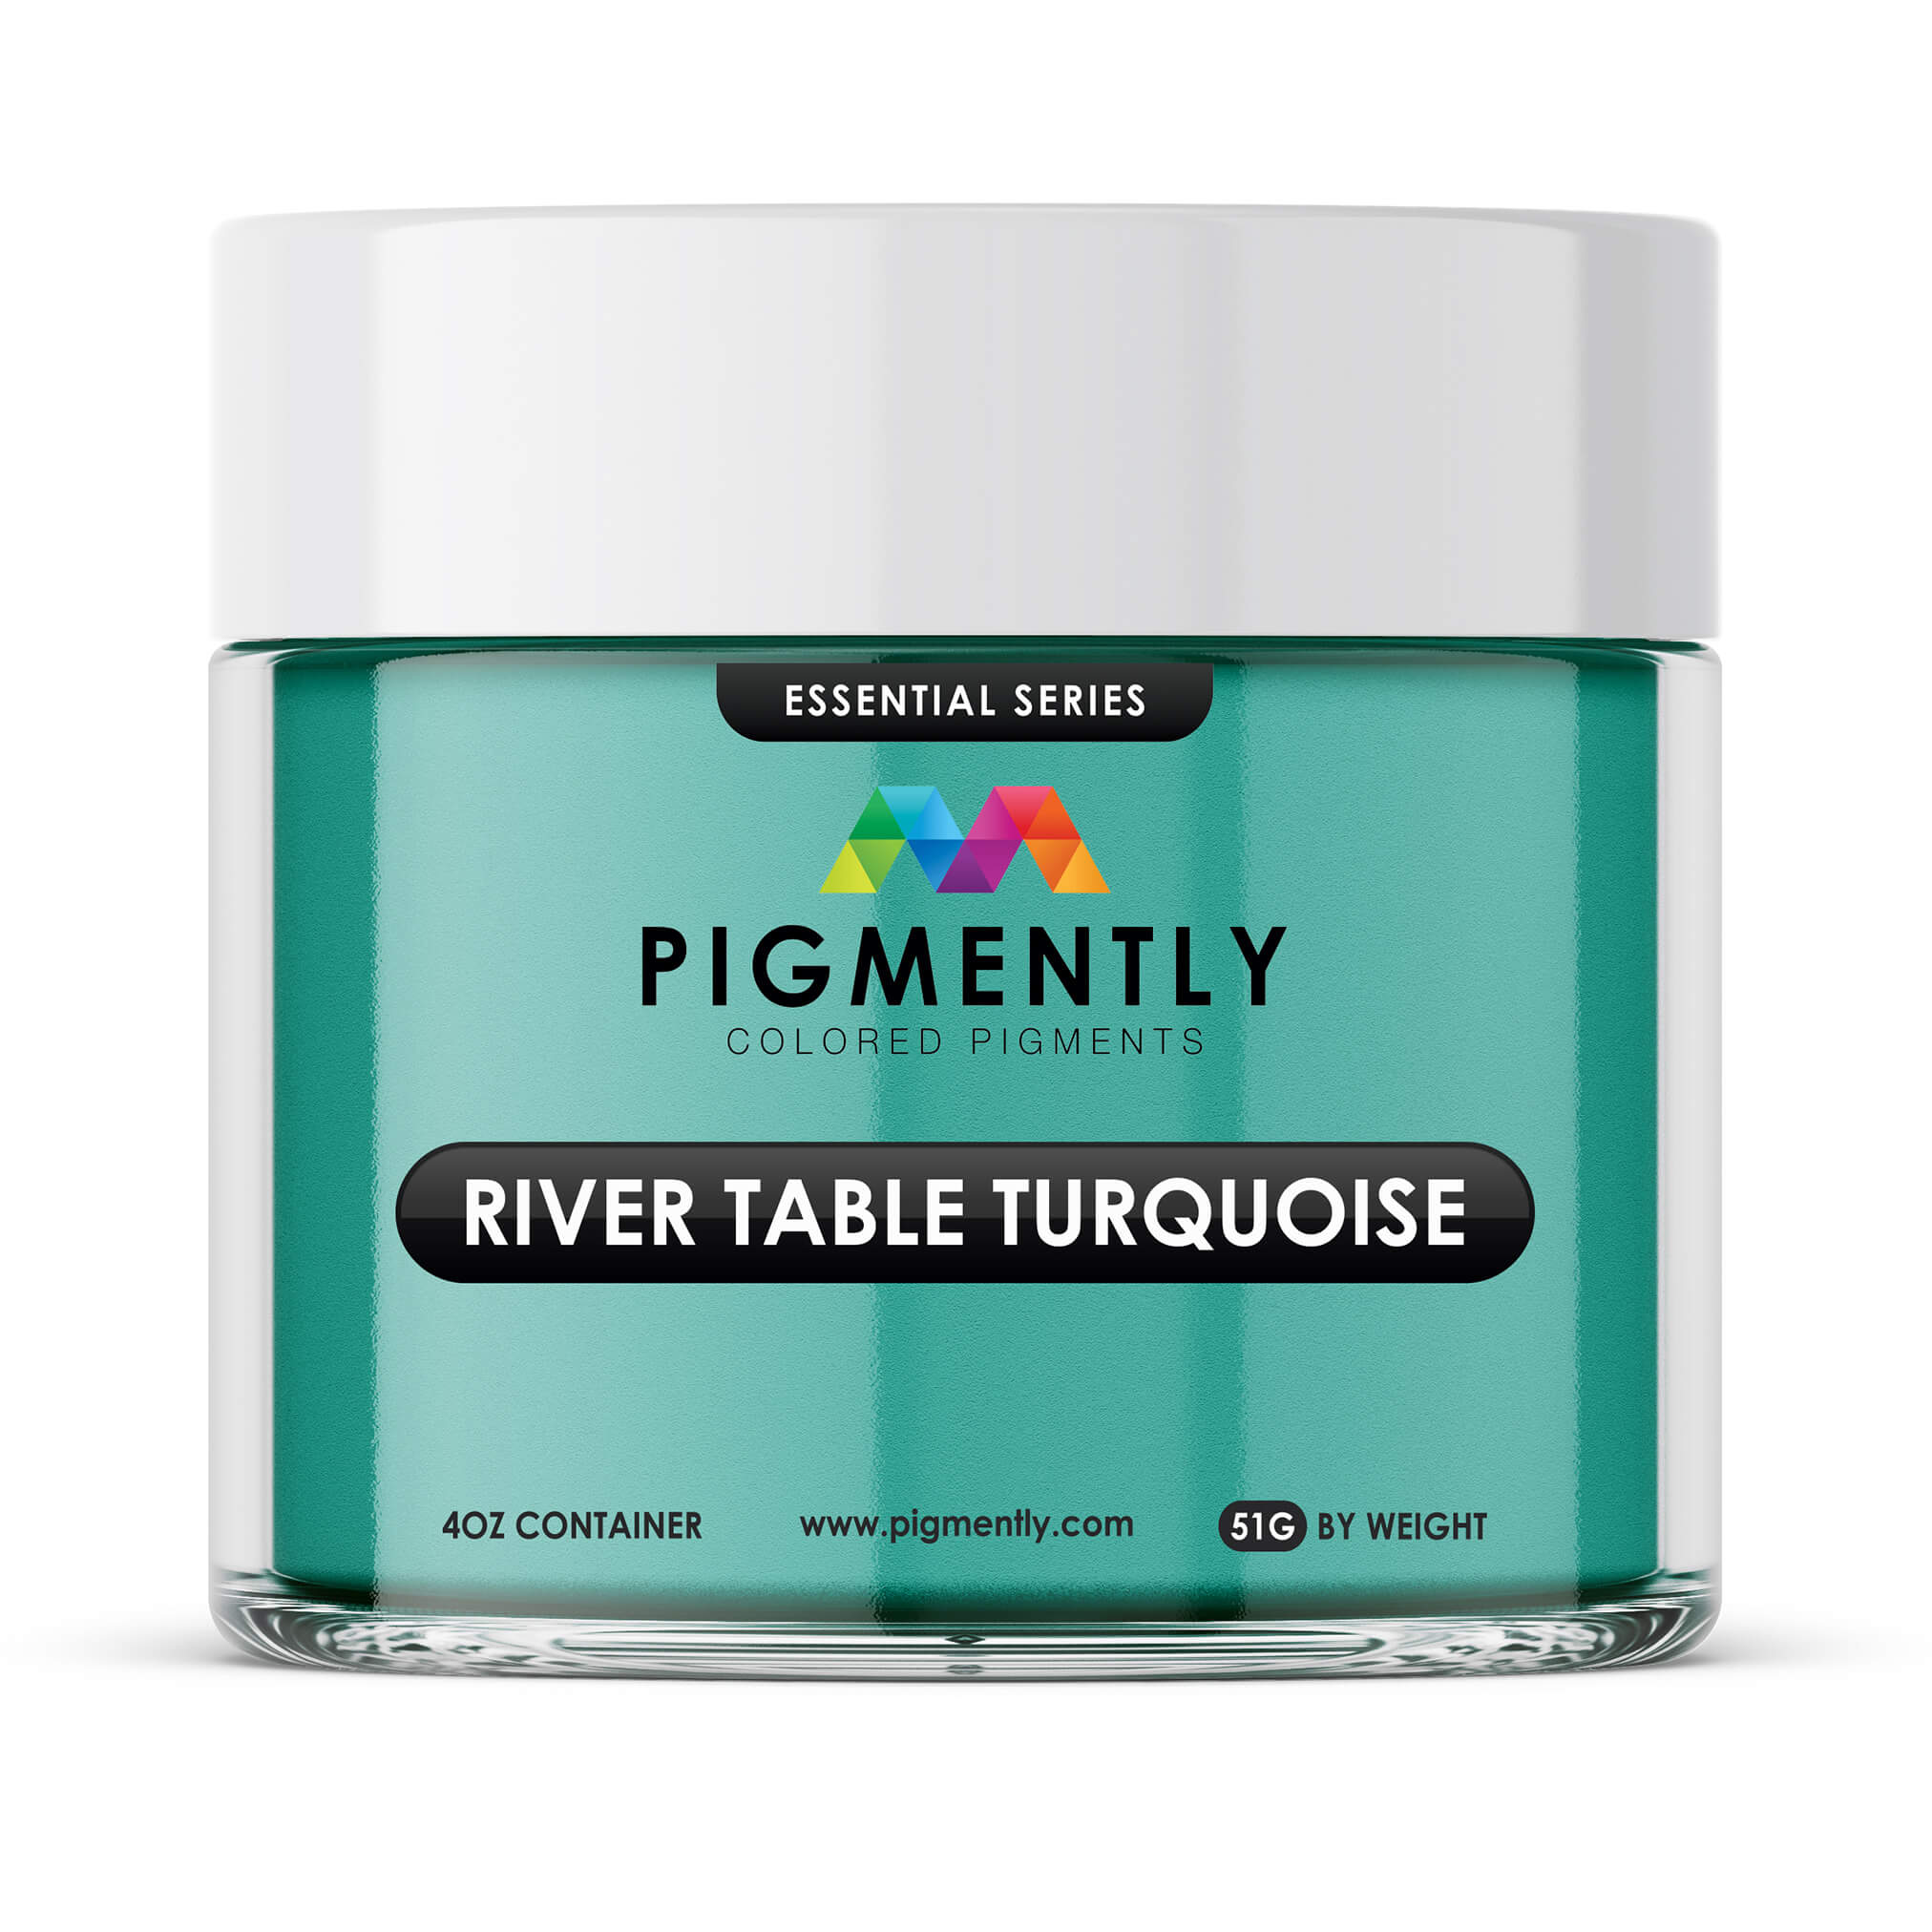
- Marble Effect: Use white and gray pigments to mimic the appearance of marble.
- Metallic Accents: Add gold or silver pigments for a luxurious look.
- Geode-Inspired Designs: Incorporate glitter, mica powders, and crushed glass for a sparkling effect.
- Natural Elements: Embed leaves, flowers, or even wood slices for an organic aesthetic.
#6. Mix the Epoxy Resin
Follow the manufacturer’s instructions for mixing your resin and hardener. For surface applications, UltraClear Bar & Table Top Epoxy is the best choice due to its self-leveling properties and glossy finish. Measure carefully to ensure proper curing and mix slowly to minimize bubbles.
#7. Pour and Spread the Resin
Pour the epoxy onto the furniture surface, starting at the center and working outward. Use a plastic spreader or a gloved hand to spread it evenly across the surface. The self-leveling nature of UltraClear Bar & Table Top Epoxy will help create a smooth finish.
#8. Add Design Details
While the epoxy is still wet, add your design elements:
- Use pigments and a heat gun to create swirling marble effects.
- Sprinkle glitter or crushed glass for sparkle.
- Embed decorative items like stones, shells, or photos for a personal touch.
#9. Eliminate Bubbles
Use a heat gun or torch to remove air bubbles from the epoxy. Move the heat source gently over the surface without staying in one spot for too long to avoid scorching.
#10. Allow the Epoxy to Cure
Let the epoxy cure according to the manufacturer’s instructions, typically 24-72 hours. Protect the piece from dust and debris during this time by covering it with a clean box or plastic tent.
#11. Apply Additional Layers (Optional)
If you’d like to add more depth or embed additional elements, you can pour another layer of UltraClear Bar & Table Top Epoxy. Ensure the previous layer is fully cured before adding more resin.
Check out our guide to pouring multiple epoxy layers for more information.
#12. Finishing Touches
Once the epoxy has cured, inspect the piece for any uneven edges. Sand and polish these areas if needed. Consider adding felt pads to the bottom of furniture legs to protect your floors.
Tips for Success
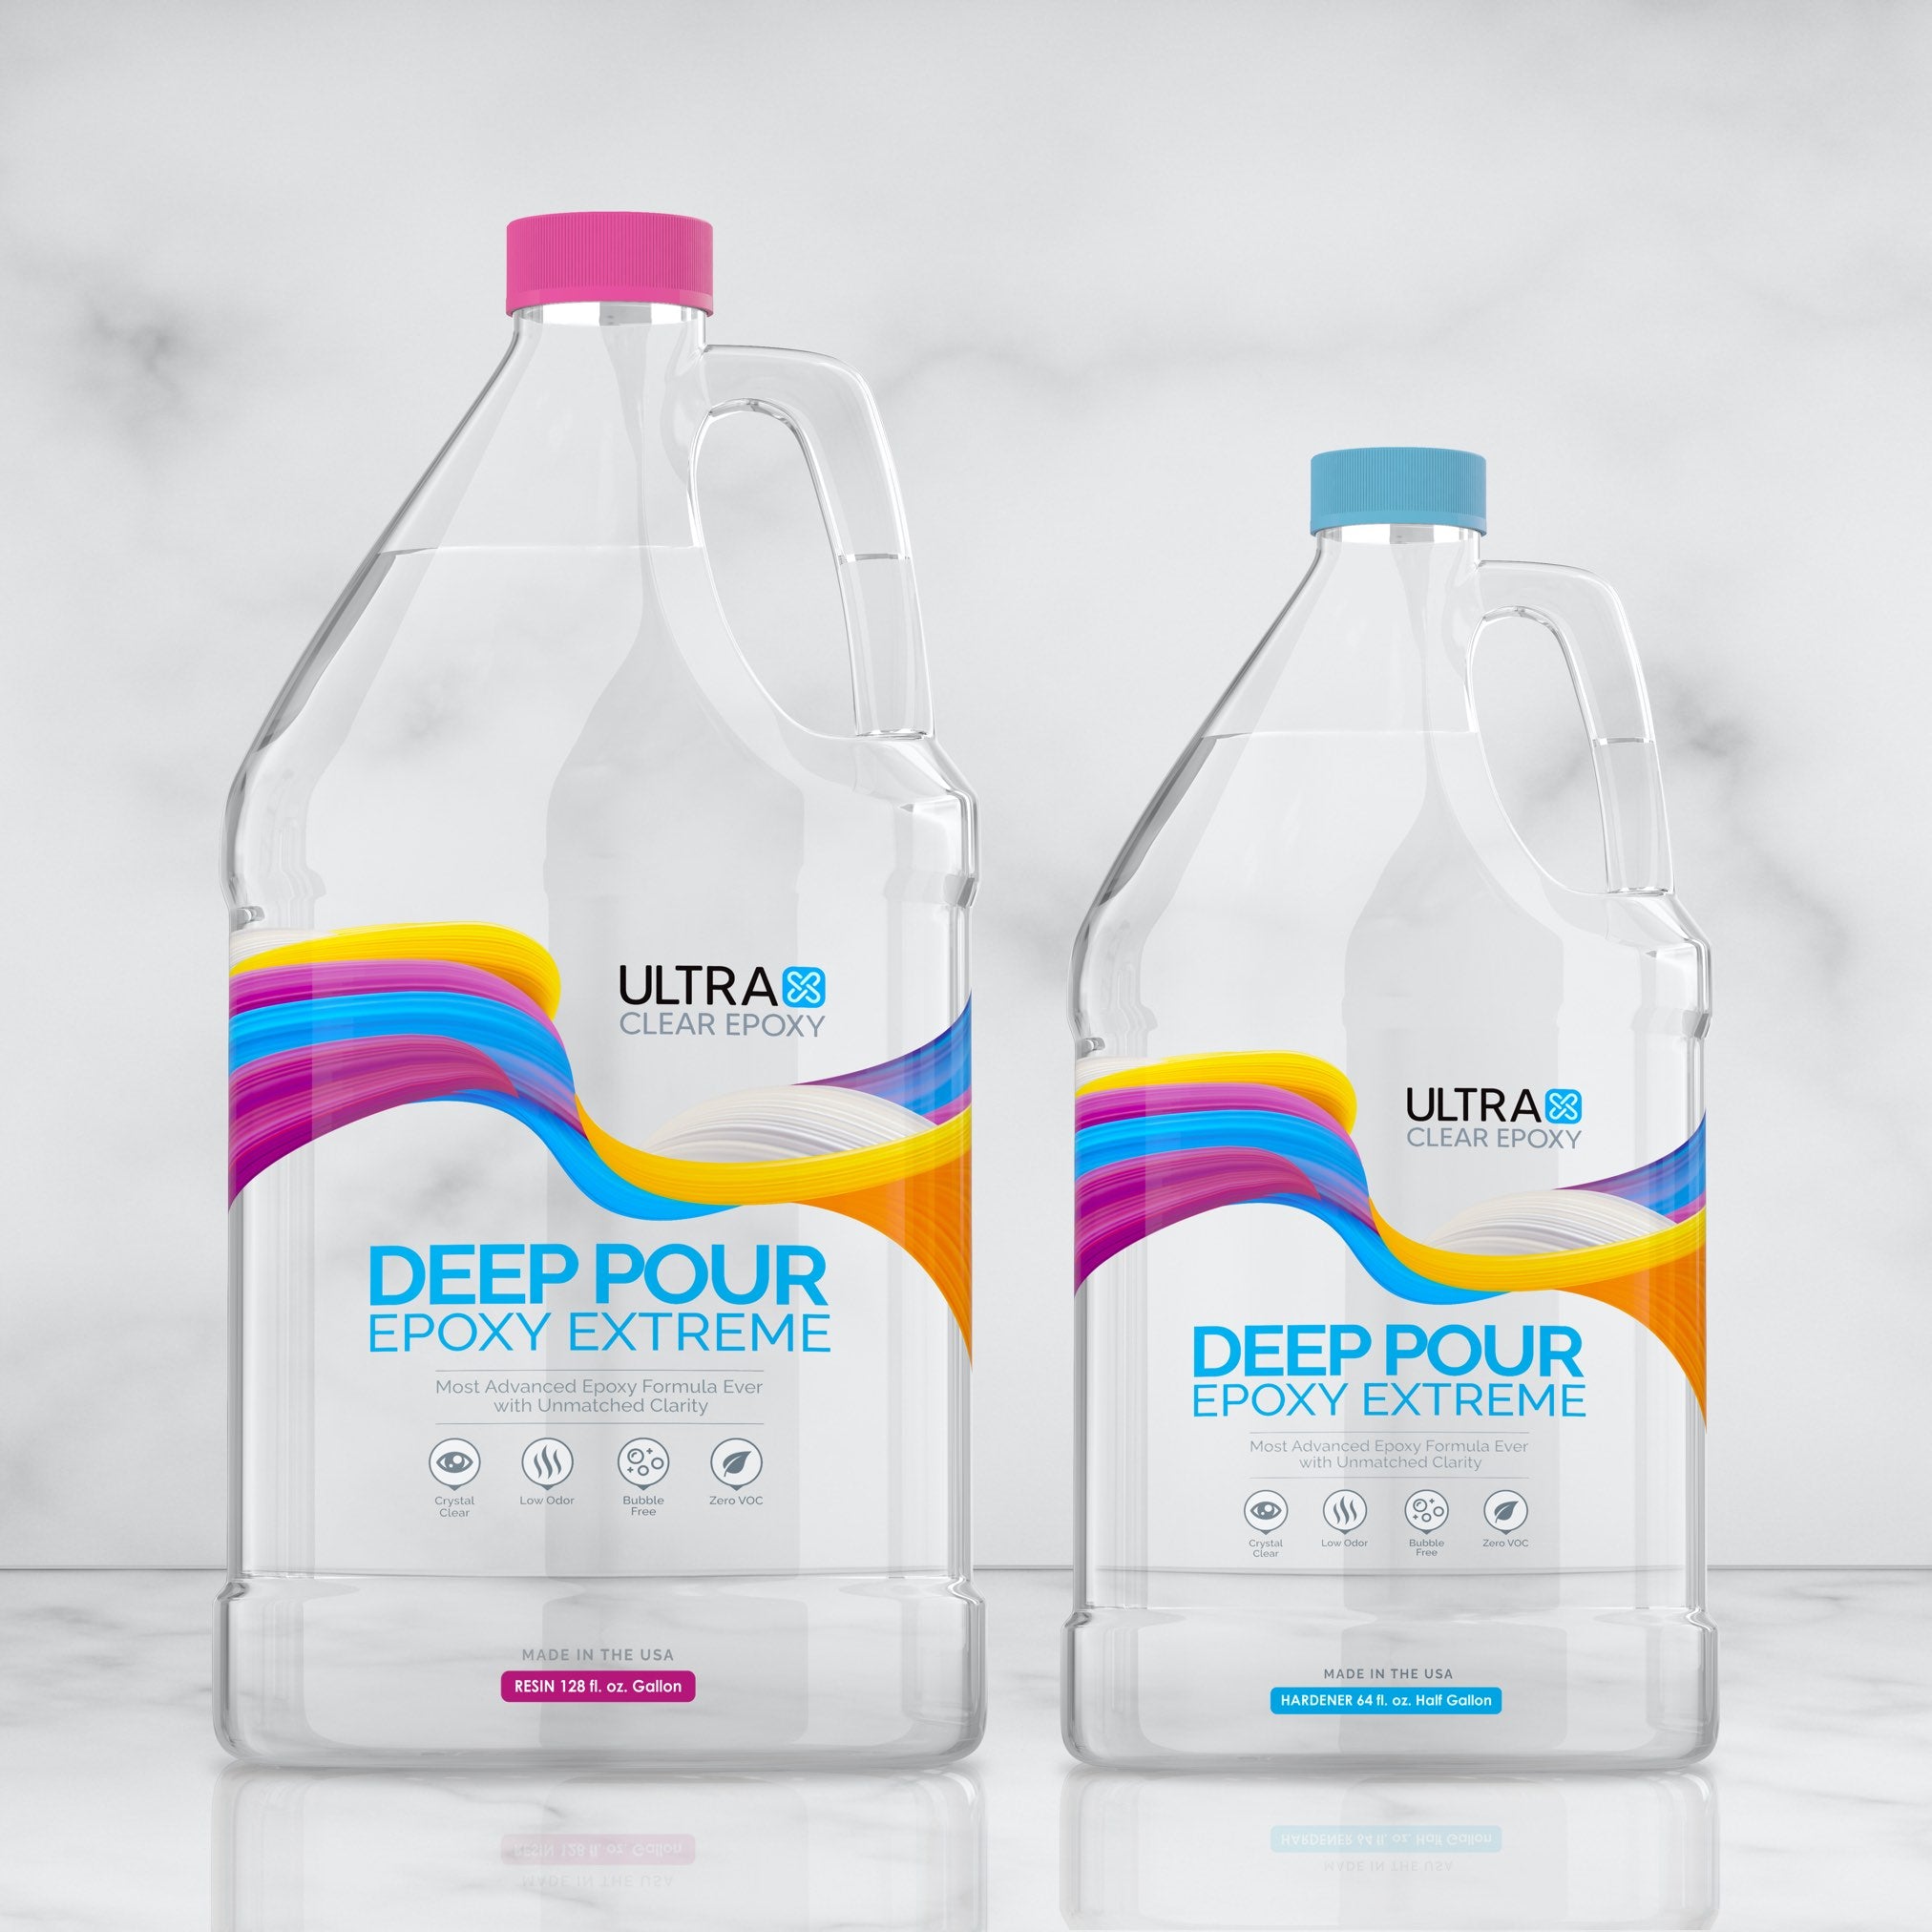
- Use UltraClear Deep Pour Epoxy—For embedding larger items or creating thicker designs, such as river-style tables.
- Test Your Design—On a small piece of wood or scrap material before applying it to the furniture.
- Work in Layers—If you want to achieve a multi-dimensional look.
- Be Patient—Allow each layer to cure fully for the best results.
Revamp, Reimagine, and Renew
Transforming old furniture with epoxy resin is a rewarding process that combines artistry with functionality. Whether you’re giving a vintage table a modern twist or creating a statement piece, epoxy resin’s versatility and beauty make it the perfect medium. With UltraClear Bar & Table Top Epoxy or UltraClear Deep Pour Epoxy, your revamped furniture will not only look stunning but also stand the test of time.
Have questions? Want advice? Contact us!
If you have any questions about epoxy resin, or if you'd like assistance in planning an epoxy project, please reach out to us at UltraClear Epoxy—our epoxy experts are ready to assist!
You can contact us via phone or email here. During business hours, you can also text chat online with one of our resin specialists by clicking the Help button at the bottom of your screen.
In our online store, you'll find a variety of useful tools and supplies, ideal for resin projects, plus our award-winning UltraClear Bar & Table Top Epoxy and our UltraClear Deep Pour Epoxy.


