Epoxy resin projects are increasingly popular among DIYers, artists, and professionals due to the stunning results they produce—glossy finishes, vibrant color options, and excellent durability. Despite this, many beginners are intimidated by the array of tools and materials they believe are required.
Fortunately, epoxy work is more approachable than it might appear. With a clear understanding of the supplies involved and how to use them, you can achieve professional-quality results even on your first try.
In this guide, we'll provide an in-depth look at the tools and supplies used in epoxy projects—covering essential gear, optional aesthetics tools, niche-use items, and workspace setup tools—to help you start strong and stay safe.
Contents(Click any section to jump straight to it.) |
|
Section #1: Categories of Epoxy Supplies & Tools Section #2: Epoxy Tools & Supplies Explained
Section #3: The Real Cost of Cheap Epoxy Section #4: FAQs: Tools & Supplies for Epoxy Projects |
Categories of Epoxy Supplies & Tools
Epoxy projects involve a variety of tools that fall into several categories:
-
Essential Items: Must-haves for any epoxy project, regardless of complexity.
-
Aesthetic/Optional Tools: Enhance your project's appearance but are not strictly necessary.
-
Niche or Specialized Supplies: Used only for certain types of projects or effects.
-
Workspace Preparation & Maintenance Items: Ensure a clean, safe, and consistent environment for working with epoxy.
Each category plays a unique role in helping you achieve a successful and enjoyable epoxy experience.
Epoxy Tools & Supplies Explained
In this section, we'll go over the purpose of a wide array of tools and supplies used in epoxy projects. Each has been categorized according to the types of situations where they might be needed.
Essential Items

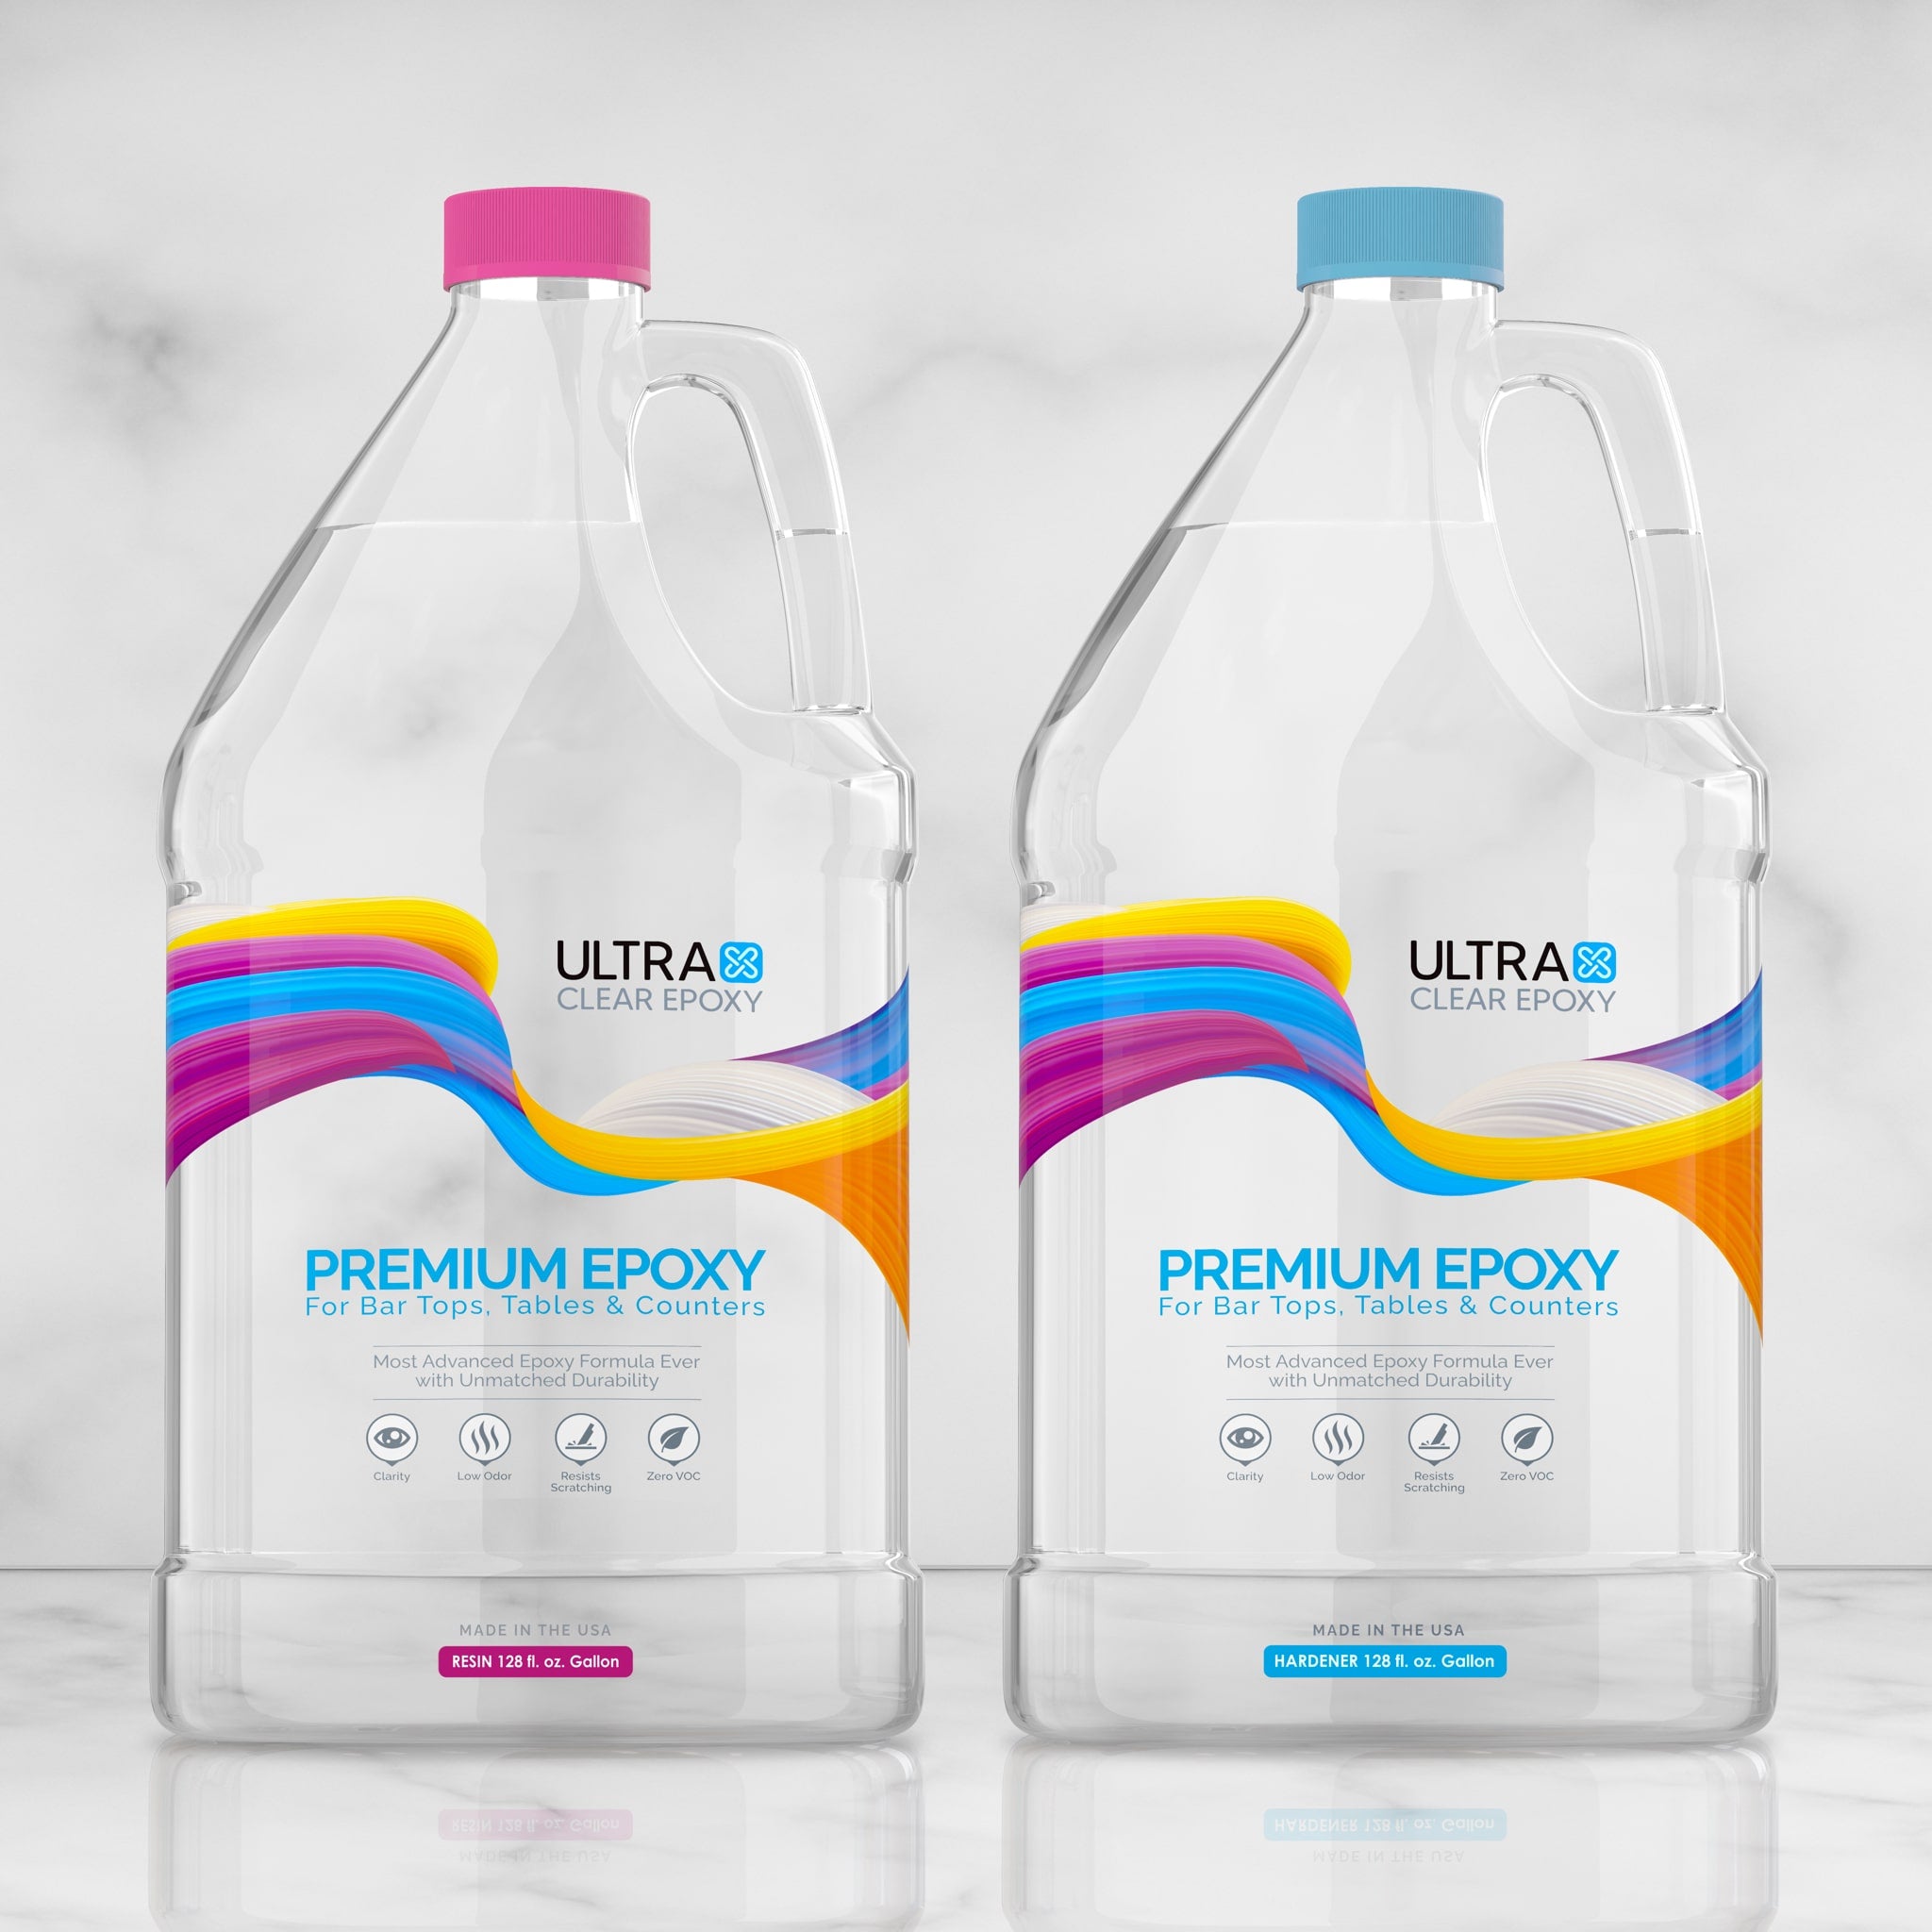
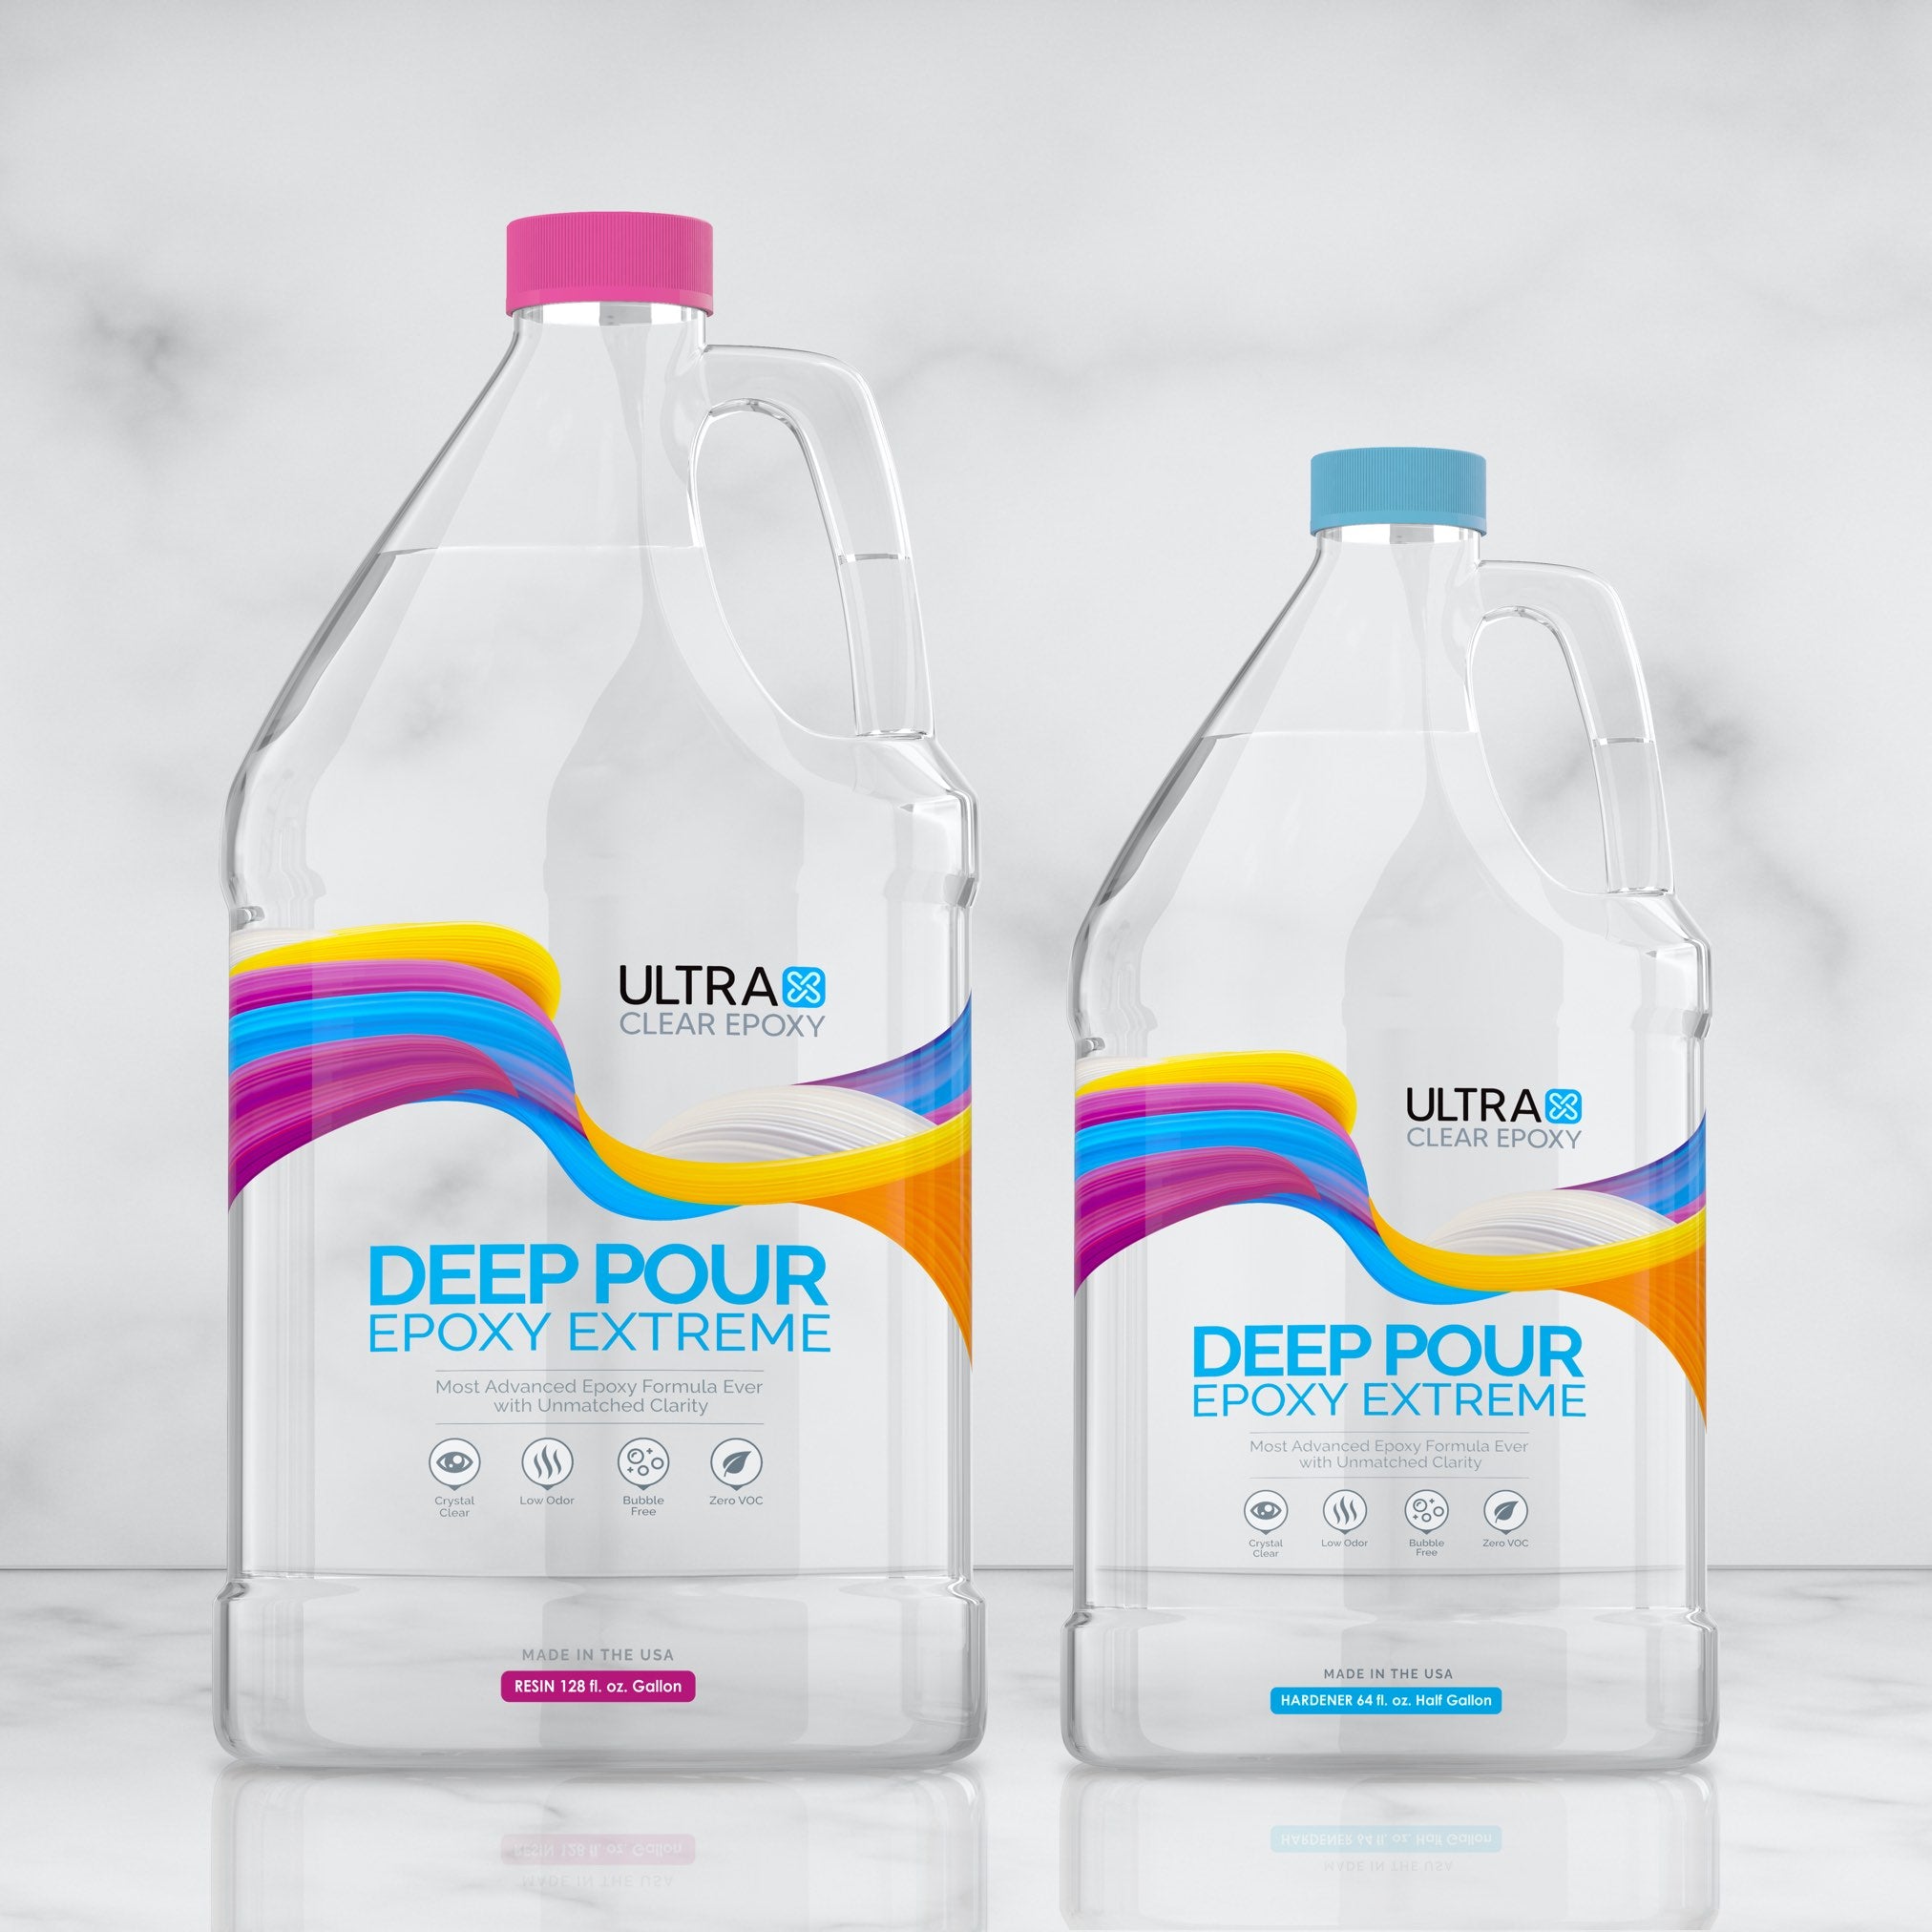
UltraClear Epoxy (Bar & Table Top, Deep Pour, or Art & Craft)
When To Use It: The core component. measure, mix, and pour—then let it cure
The central material in any epoxy project, UltraClear Epoxy offers tailored formulas for specific applications: Deep Pour for thick layers, Bar & Table Top for glossy finishes, and Art & Craft for intricate or small-scale pieces.
Each variant is designed for maximum clarity, durability, and ease of use. For optimal curing, always take the time to accurately measure and mix according to the provided ratios.
Mixing Buckets
When To Use It: When you're ready to measure, mix, and pour your epoxy
These are graduated containers used to measure both resin and hardener. Made from plastic or silicone, they help you maintain precise ratios, which is vital to prevent issues like soft spots or poor curing.
In our online store, you'll find 2 sizes of graduated mixing containers:
- 1-Quart Mixing Containers—These are good for preparing small flood coat batches and seal coats.
- 5-Quart Mixing Containers—Use these for large resin flood coat batches.
Stir Sticks or Drill Mixer
When To Use It: Mixing
Used to blend resin and hardener thoroughly, stir sticks are suitable for small batches, while a drill mixer speeds up mixing for larger projects. In both cases, ensure you scrape the sides and bottom of the container to prevent unmixed resin.
In our store, we offer high-quality poly-pro stir sticks as well as suitable mixing bits for power drills.

Heat Gun or Torch
When To Use It: After pouring
Air bubbles are a common issue with epoxy pours. A heat gun or torch removes these by gently warming the surface, causing bubbles to rise and pop. Use quick, sweeping motions to avoid scorching the resin.
Don't have a heat gun? You can get one from our store here.
Nitrile Gloves and Safety Glasses
When To Use It: Throughout your project
Nitrile gloves protect your skin from contact with resin, which can cause irritation. Safety glasses prevent splashes from reaching your eyes during mixing or pouring. Always use PPE when handling epoxy.
Our Epoxy Tool Kit includes two pairs of nitrile gloves.
Sandpaper (Various Grits)
When To Use It: During surface prep and finishing
Sandpaper is used to smooth the surface of your substrate before pouring and to refine the epoxy after it cures. Start with low grits for aggressive material removal and progress to higher grits (up to 1000+) for polishing.
For a detailed sanding guide, look here.
Leveling Surface or Adjustable Saw Horses
When To Use It: At setup and throughout
A level workspace is essential to ensure even curing and prevent pooling. Adjustable saw horses allow you to set a stable foundation, while a bubble level helps confirm surface flatness.
Seal Coat Epoxy (UltraClear Bar & Table Top Epoxy) and Brush
When To Use It: Before pouring
An epoxy seal coat is an important part of getting a flawless epoxy finish. It consists of a thin layer of epoxy brushed or rolled onto porous surfaces, such as raw wood, to prevent air from escaping and causing bubbles in the final pour. It's particularly helpful for deep pour applications.
You'll find a high-quality two-inch brush or three-inch brush in our store.
Aesthetic & Optional Supplies
Epoxy Pigments (Mica Powder)
When To Use It: During the mixing phase
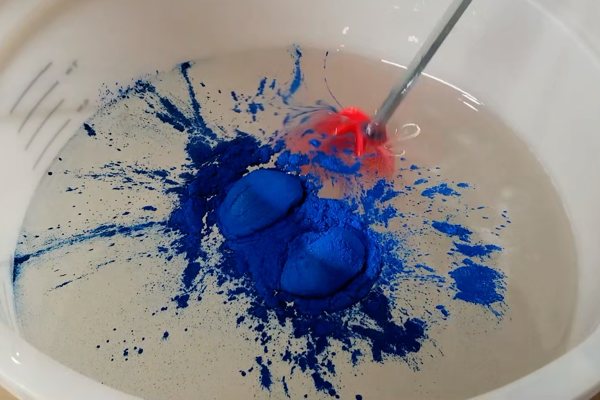
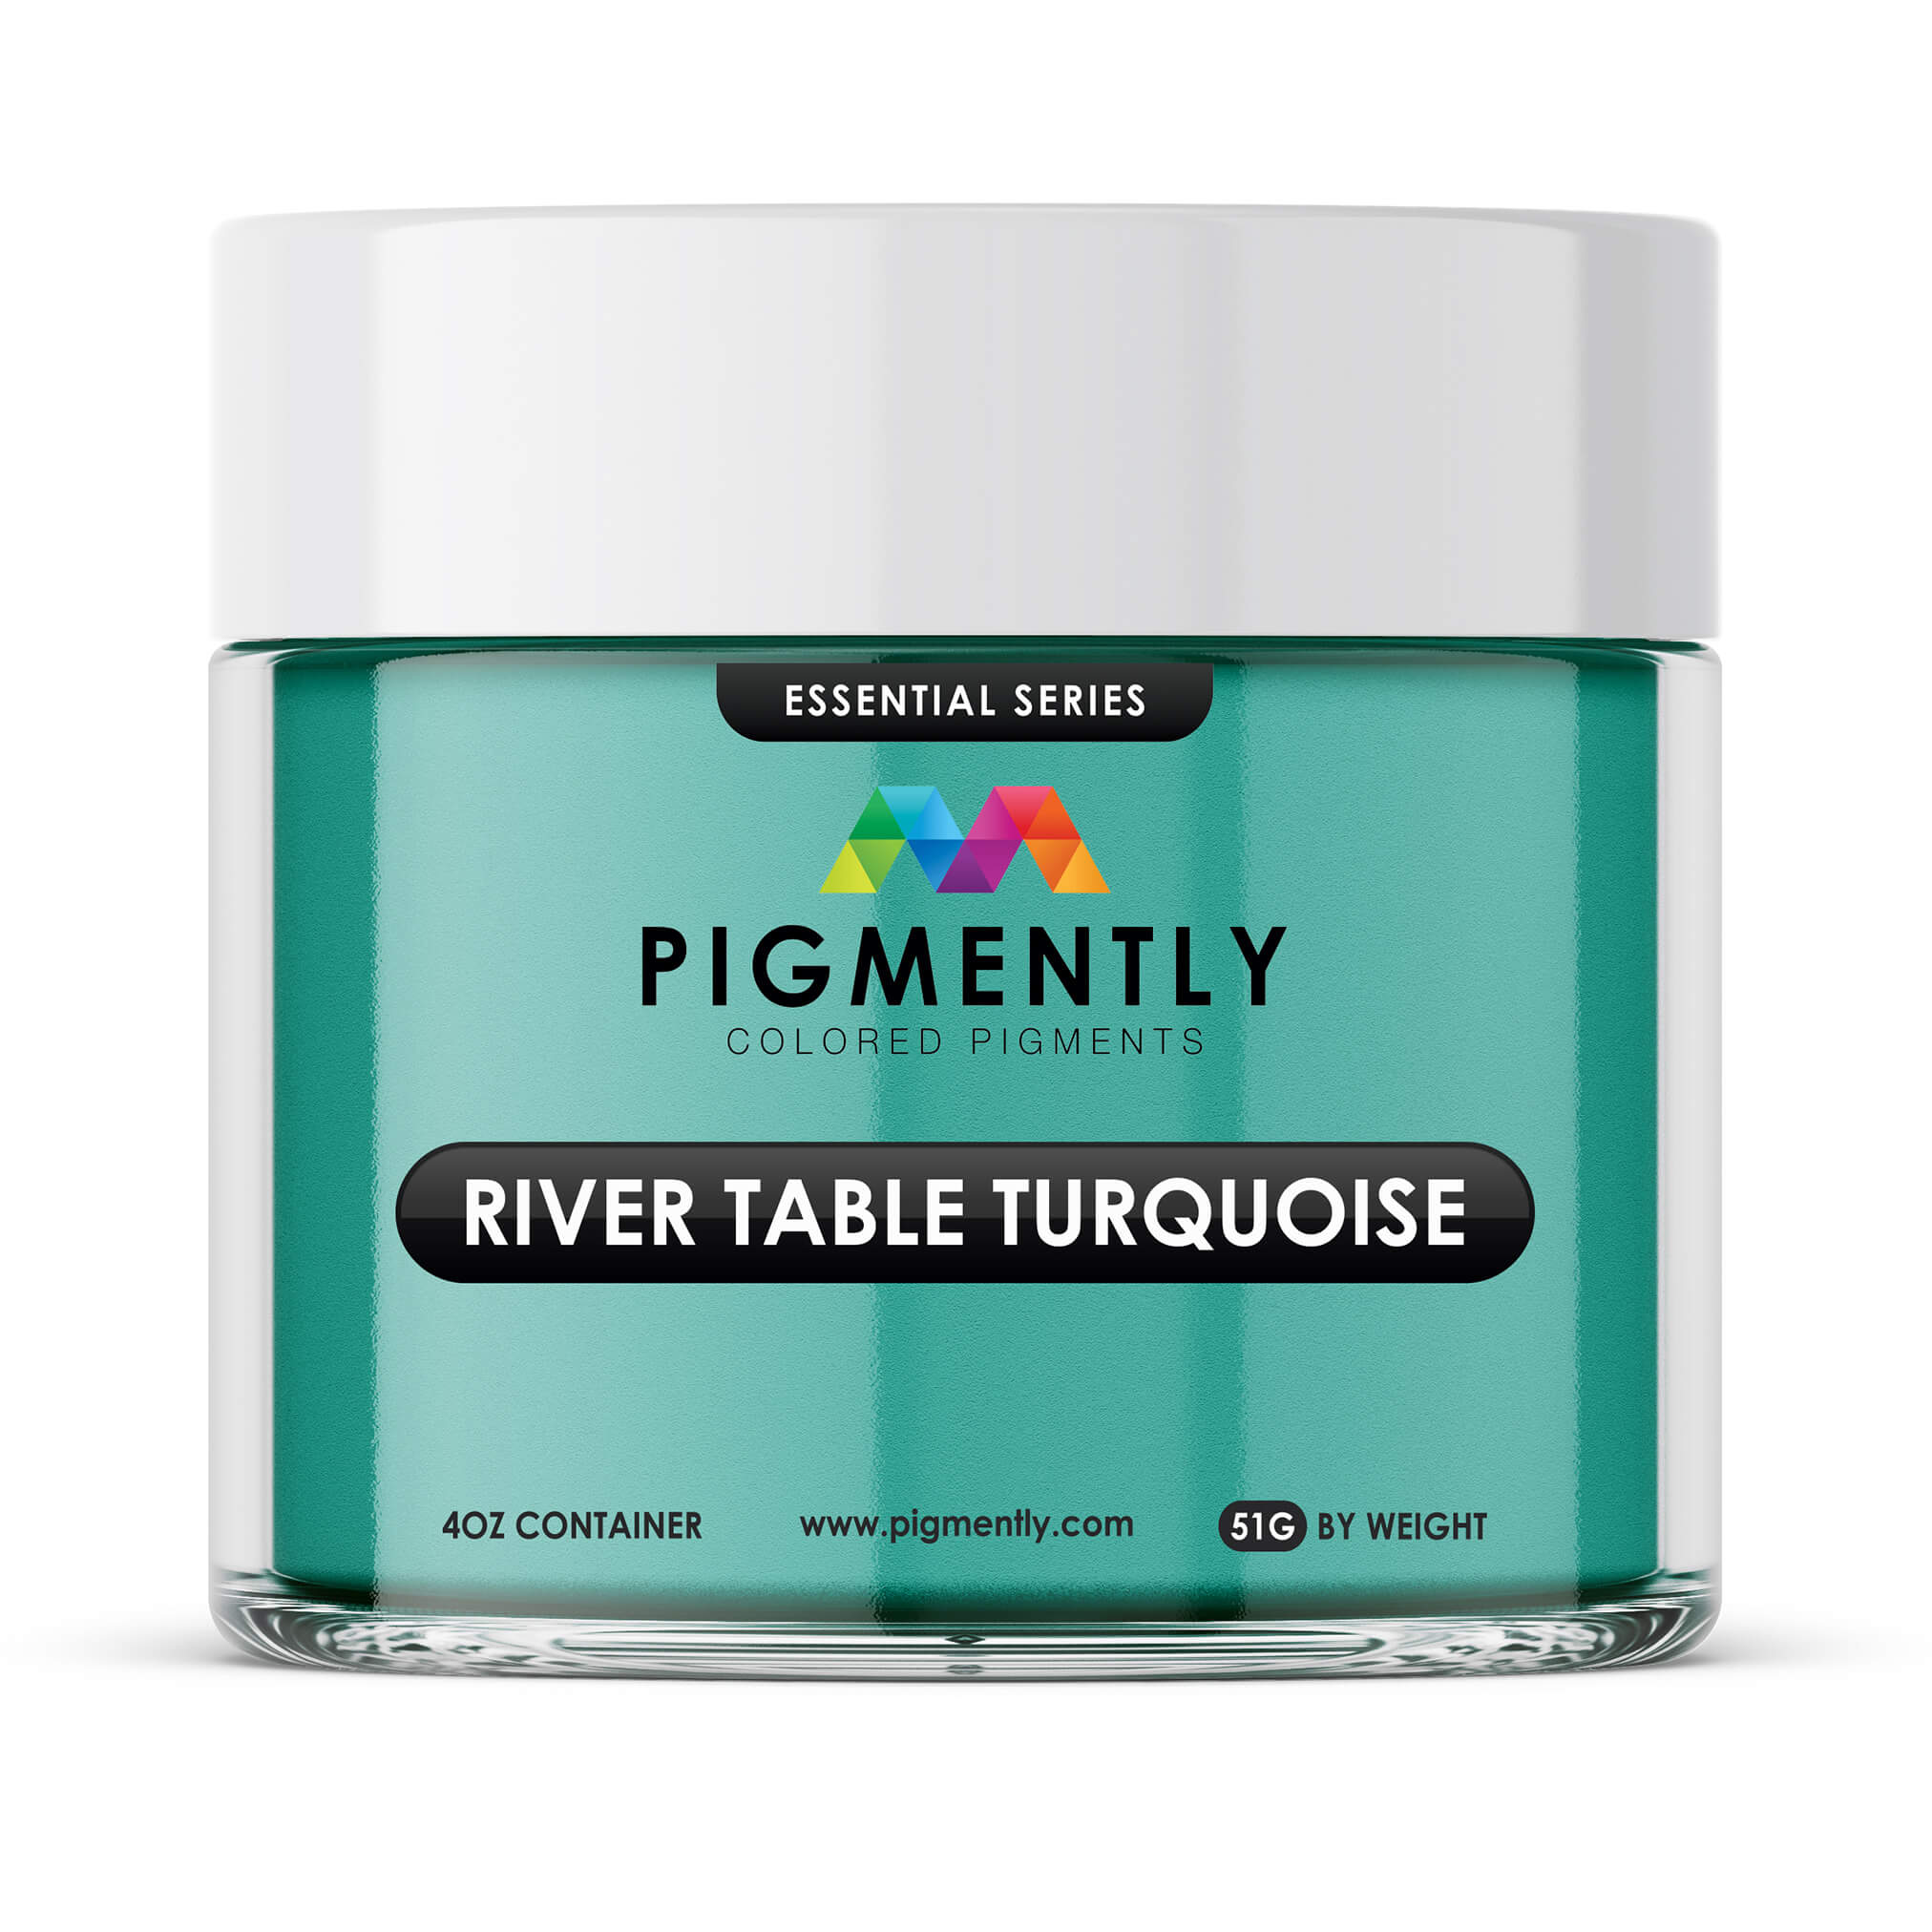
Mica powders are fine, reflective pigments used to add shimmer, depth, and opaque color to epoxy. Available in a wide range of hues, they are ideal for river tables, artwork, and decorative pours.
Stir thoroughly into your mixed epoxy to prevent clumping and ensure even dispersion. A small amount can create a subtle sparkle, while larger quantities intensify color and opacity.
In our store, we offer the premium Pigmently Collection of epoxy powder pigments.
Resin Dyes (Liquid Colorants)
When To Use It: During the mixing phase
Liquid resin dyes are used to create translucent tints in epoxy projects. A few drops alone can produce a stained-glass look, while heavier doses lead to a more solid hue. They are perfect for layered effects and blending. Resin dyes are also useful for adding base tones beneath inlays or for coloring only portions of a pour.
In our store, we carry the Pigmently Collection of premium resin dyes.
Alcohol Inks
When To Use It: While decorating or pouring
These highly saturated inks are applied to the surface of freshly poured epoxy to create dynamic, swirling effects. Artists often manipulate them with heat or air to produce marbling or galaxy-like patterns. Alcohol inks blend rapidly and can bleed, so control and timing are key for best results.
A great way to try these out is by crafting epoxy resin coasters.
Acrylic Paint
When To Use It: During mixing (with caution)
Some artists mix a small amount of water-based acrylic paint into epoxy for coloring. However, it’s important to test compatibility first, as the moisture content may interfere with curing or introduce cloudiness.
When used properly, acrylic paint provides an alternative way to tint epoxy, especially in art and craft applications, but application require extra care so as to not disrupt the epoxy curing process.
Decorative Inlays (Stones, Shells, Wood, Etc.)
When To Use It: Before readying your first epoxy batch
Inlays add dimension and texture to epoxy work. Common materials include river stones, sea shells, coins, and carved wood pieces. These should be placed carefully and secured with a small amount of epoxy or adhesive to prevent floating or shifting during the pour.
To prepare paper items such as photos, tickets, etc., first apply a coat of Mod Podge to them. This will seal them from moisture absorption so that the epoxy doesn't distort their appearance during curing.
Metallic Foil or Leaf
When To Use It: While pouring or during curing
Metal leaf sheets and metallic foils are used to introduce reflective, luxurious highlights into your epoxy. You can layer them into the resin or lay them close to the surface. Crinkled foil creates fractured, luminous patterns, while flat leaf gives a smoother shine.
Niche or Specialized Supplies

Polishing Compound & Buffing Pads
When To Use It: After the epoxy has cured
After sanding to a high grit, polishing compounds remove micro-scratches and boost glossiness. Apply the compound to a buffing pad and polish in small circular motions. Essential for show-quality finishes, especially for table tops or artwork.
See our guide to polishing epoxy for more details.
Mold Materials (Melamine, HDPE Boards, Silicone Caulk)
When To Use It: When building a mold
Melamine-coated boards or HDPE sheets are ideal for building reusable, non-stick molds. Silicone caulk is used to seal corners and edges, preventing epoxy from leaking out during deep pours. These materials are essential for casting slabs, river tables, and coasters.

Router Sled or Planer
When To Use It: During the prep phase for wooden substrates
Used for flattening live-edge slabs or uneven wood pieces before epoxy application. A router sled allows manual leveling of large surfaces, while a planer is faster but may require multiple passes. Flat surfaces prevent epoxy from pooling unevenly.
Plastic Wedges or Rubber Mallets
When To Use It: When it's time to demold
After the epoxy cures, these tools help safely remove the hardened piece from its mold. Rubber mallets allow gentle tapping, while plastic wedges can be inserted at the mold’s edges to release the item without marring its finish.
Workspace Preparation & Maintenance Items

Plastic Sheeting or Drop Cloths
When To Use It: As part of setup prior to beginning your epoxy project
These items are used to protect floors, tables, and walls from epoxy drips and overspray. Tape it down for full coverage. Plastic sheeting is especially useful in shared or indoor spaces where spills could cause damage.
Painter’s Tape or Edge Tape
When To Use It: Prior to preparing your first batch
Use this to mask off areas you want to protect or to control epoxy flow. Place it under molds to catch leaks or around the edges of your wood to create crisp boundaries. Then, remove shortly after the epoxy begins to gel for clean results.
We offer Tyvek Edge Tape in our store.
Ventilation System or Box Fans
When To Use It: Throughout the entire project as needed
Ensures proper airflow in your workspace, which helps with curing and minimizes exposure to fumes. Ideal setups can include window-mounted fans, filtered air movers, or exhaust fans to pull fumes away from your face.
Always use a vetted, high-quality epoxy like UltraClear Bar & Table Top Epoxy to avoid the risk of noxious fumes.

Space Heater or Climate Control System
When To Use It: During curing to maintain conditions
These are used to maintain the optimal temperature range (70–75°F) for curing epoxy. Colder environments slow the chemical reaction, while overly hot environments may cause premature curing or bubbles. Use heaters with thermostats for best control.
Shop Vacuum or Dust Extractor
When To Use It: During surface prep for a clean substrate
These remove dust, wood shavings, and debris from your project surface before pouring epoxy. Any leftover dust can cause blemishes or adhesion issues. A vacuum with a HEPA filter is ideal for keeping your space clean and dust-free.
Lighting (Task Lamps or Overhead Fixtures)
When To Use It: Throughout—especially useful during pouring and inspection
Strong lighting allows you to see bubbles, color inconsistencies, and surface defects. Use a bright, adjustable task lamp or overhead LED panels for full visibility.

Digital Thermometer and Hygrometer
When To Use It: Throughout to monitor workspace climate
Used to track ambient temperature and humidity—both of which can affect epoxy curing. Epoxy reacts best in dry, temperate environments. Sudden shifts can lead to soft finishes, surface imperfections, or extended curing times.

The Real Cost of Cheap Epoxy
While it may be tempting to opt for budget-brand epoxy, this decision can seriously affect the quality and longevity of your project. Cheaper epoxies, often imported with minimal regulation, are more likely to have issues like yellowing, poor curing, soft finishes, and visible cloudiness. These shortcomings not only spoil the appearance of your project but also increase the likelihood of damage.
The lack of quality control in overseas-manufactured epoxies also means you could be exposing yourself to harmful additives or fumes that exceed safe VOC limits. Many of these products don’t meet U.S. health and safety standards, making them risky to use in home environments.
UltraClear Epoxy: Premium Resin for Safe, Long-Lasting Results
In contrast to budget brands, UltraClear Epoxy products are made in the USA under strict quality control. Each carefully constructed formula results in professional-grade clarity, stronger finishes, and resistance to wear and yellowing. Moreover, our resins are DIY-friendly, even for complete beginners.
Whether you're applying UltraClear Bar & Table Top Epoxy for a furniture piece, using UltraClear Art & Craft Epoxy for a decorative project, or going the extra mile with UltraClear Deep Pour Epoxy for your river table, you're investing in a safer, more reliable product that reduces maintenance and delivers results you can trust.
FAQs: Tools & Supplies for Epoxy Projects
Question #1: Do I really need a heat gun or torch?
Yes—these tools help release trapped air bubbles after pouring, ensuring a clear surface. Without one, air pockets can ruin the finish.
Question #2: Can I use kitchen utensils for mixing epoxy?
We don't recommend use kitchen utensils for mixing. Kitchen tools may be contaminated or degrade from repeated epoxy exposure. It's better to use dedicated resin-safe tools such as Poly Pro Stir Sticks.
Question #3: What’s the best way to measure epoxy components accurately?
Use graduated mixing cups with volume markings. For best results, always follow the 1:1 or 2:1 ratio as specified by the product. Don't measure by weight, as it may not be consistent
For high-quality mixing cups, check out our store:
- 1-Quart Mixing Containers—For small flood coat and seal coat batches
- 5-Quart Mixing Containers—For large flood coat batches
Question #4: How do I keep dust off the curing epoxy?
Set up a dust tent or use plastic sheeting over the project while it cures. Ensure the environment is still and free from fans or open windows.
Question #5: Is a respirator really necessary?
For enclosed or unventilated spaces, absolutely. Some epoxy additives—often found in low-quality resins—release VOCs, which are harmful when inhaled.
You can mitigate this concern by using high-grade epoxy made in the U.S.A., such as UltraClear Bar & Table Top Epoxy.
Question #6: What can I use to level an uneven work surface?
Adjustable sawhorses or shims beneath your table or mold can help level the project before pouring.
Question #7: How do I clean up epoxy spills safely?
While uncured, epoxy can be cleaned with isopropyl alcohol or acetone. Cured spills require additional scraping or sanding.
Question #8: Should I polish my epoxy project after it cures?
Polishing improves the gloss and professional appearance of flat surfaces. Use a buffer tool and a non-abrasive compound.
Have Questions? Want Advice? We're Here to Help!
If you have any questions about the tools and supplies used in various epoxy projects, or if you'd like assistance in planning an epoxy project of your own, please reach out to us at UltraClear Epoxy—our epoxy experts are ready to assist!
You can contact us via phone or email here. During business hours, you can also text chat online with one of our resin specialists by clicking the Help button at the bottom of your screen.
In our online store, you'll find a variety of useful tools and supplies, ideal for resin projects, plus our award-winning UltraClear Bar & Table Top Epoxy and our UltraClear Deep Pour Epoxy.
UltraClear Epoxy—Trusted by over 1 Million+ Happy Customers


