Customizing Epoxy with Embedded Objects
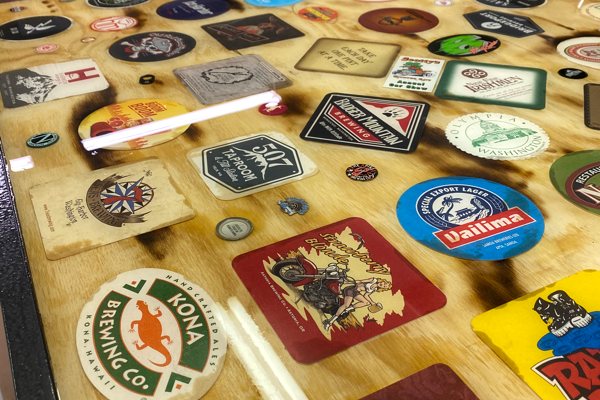
Epoxy resin is best known for its durability, clarity, and sleek finish. However, while it's often used on its own for table tops, art pieces, and coatings, combining it with embedded objects can unlock entirely new aesthetic possibilities.
Embedding materials like flowers, stones, photos, and keepsakes allows creators to tell a story, preserve memories, or add dynamic texture to their work.
This guide provides detailed techniques for embedding objects in epoxy, offers tips on preparation and execution, and includes advice on what to avoid to ensure a smooth, clear result.
Beginner-Friendly Techniques and Their Skill Levels
Epoxy can be incredibly approachable, especially when you match your method to your experience level. Here are the embedding techniques we'll cover in this guide:
-
Flat Object Embedding—Great for beginners
-
3D Object Encasing—Intermediate
-
Botanical Preservation (e.g., Flowers)—Intermediate
-
Layered Embedding—Advanced
-
Resin Inclusions for Art Projects—Beginner to intermediate
Each section includes step-by-step instructions to make the process as clear and accessible as possible. In most cases, the epoxies mentioned are those typically used and can usually be substituted by either of our other craft epoxies.
Technique #1: Flat Object Embedding (Beginner)
Flat object embedding is one of the most beginner-friendly techniques in epoxy casting, ideal for those just starting out with resin projects. It involves placing flat items—such as photographs, paper cutouts, dried leaves, or fabric swatches—into a shallow layer of epoxy.
This technique is widely used in projects like coasters, serving trays, wall art, and keepsake tiles. Because the items lie flat, they are less likely to trap air bubbles or shift during curing, making them easy to work with.
However, some materials—especially paper—may require sealing beforehand to prevent discoloration or moisture damage once embedded.
Common Items: Postcards, pressed flowers, photographs, business cards, or decorative paper.
Step-by-Step Instructions:
-
Prepare the surface where the epoxy will be poured. Make sure it's clean and level.
-
Seal porous items like paper or dried leaves with a thin layer of glue or sealant to prevent resin absorption and discoloration.
-
Adhere them to your substrate surface using a simple glue (e.g., basic Elmer's glue). Alternatively, mix and pour a base layer of UltraClear Bar & Table Top Epoxy.
-
Place the object(s) gently on the semi-wet surface, pressing lightly to remove air bubbles underneath.
-
Once the base layer has cured, pour a final topcoat to encase the item fully.
-
Use a heat gun to pop bubbles and let the epoxy cure per product instructions.
Technique #2: 3D Object Encasing (Intermediate)
Encasing three-dimensional objects in epoxy resin introduces a new level of depth and realism to your creations, but it also comes with more complexity than flat embedding.
Common items used include shells, stones, figurines, toys, coins, and other small memorabilia. These objects can be arranged in molds or frames and fully surrounded by resin to create sculptural pieces, decorative blocks, or functional artwork like tabletops.
Because of their size and shape, 3D items must be carefully secured and sometimes layered in stages to avoid floating or trapping bubbles. Proper spacing and resin selection are critical for a smooth, glass-like finish.
Common Items: Shells, stones, jewelry, small toys, hardware parts.
Step-by-Step Instructions:
-
Choose a silicone mold appropriate for your object's size. For a table top, you'll likely want to construct your own mold to suit the shape of the table top.
-
Clean and dry the object(s) thoroughly. Avoid placing anything with moisture into the resin.
-
Glue the object(s) to your substrate. Alternatively, you can pour a small amount of UltraClear Deep Pour Epoxy into the bottom of the mold.
-
Let it partially cure, then place the object. Learn more about apply multiple epoxy layers here.
-
Pour the next resin layer to submerge the object fully.
-
Use a heat gun to remove bubbles between layers.
-
Allow full curing before removing from the mold.
Technique #3: Botanical Preservation (Intermediate)
Botanical preservation is a popular epoxy technique for capturing the natural beauty of flowers, leaves, and other plant material in a lasting, glass-clear medium. While stunning in finished form, this technique requires intermediate skill because of the preparation involved.
Organic materials must be properly dried and, in some cases, sealed to avoid moisture-related issues like clouding, mold, or resin curing problems. Successfully embedding botanical elements can yield gorgeous results—perfect for floral coasters, wedding keepsakes, jewelry, or framed art—while preserving delicate textures and colors that would otherwise fade over time.
Common Items: Dried roses, ferns, lavender, daisies.
Step-by-Step Instructions:
-
Start by drying flowers completely using silica gel or pressing.
-
Choose your mold and fill it partially with a layer of UltraClear Art & Craft Epoxy, up to the point where you'll want your flowers situated in the final result.
-
Let it gel slightly—about 6 hours, no more than 10 hours total—then gently place the dried flowers.
-
Slowly add another layer to cover the flowers completely.
-
Use a toothpick to adjust placement if needed before curing.
Technique #4: Layered Embedding (Advanced)
Layered embedding is an advanced epoxy technique that allows artists and crafters to create complex, dimensional compositions by pouring resin in multiple stages. Each layer cures partially or fully before the next is poured, giving creators the ability to "suspend" objects at specific depths within the resin. This approach is ideal for creating artistic scenes, such as underwater dioramas, celestial arrangements, or abstract floating designs.
Because it requires precise timing, temperature control, and familiarity with resin behavior, this method is best suited to those with prior experience in epoxy casting or those ready to take on a more involved challenge.
Common Items: Glitter, letters, images, memorabilia.
Step-by-Step Instructions:
-
Pour a thin layer of UltraClear Deep Pour Epoxy and let it cure partially. (Other resin types work, too, but this is the easiest to use provided you can contain the epoxy in its liquid state while it cures.
-
Add objects, then allow a partial cure of 4 to 6 hours before pouring the next layer.
-
Repeat the process, allowing each layer to gel or partially cure to avoid floating.
-
Adjust opacity with tints for dimension.
-
Complete with a clear topcoat. For maximal durability, use UltraClear Bar & Table Top Epoxy.
Technique #5: Resin Inclusions for Art Projects (Beginner to Intermediate)
Resin inclusions—adding pigments, glitters, stones, or metallic flakes into the resin itself—are a creative way to enhance the aesthetic appeal of epoxy artwork.
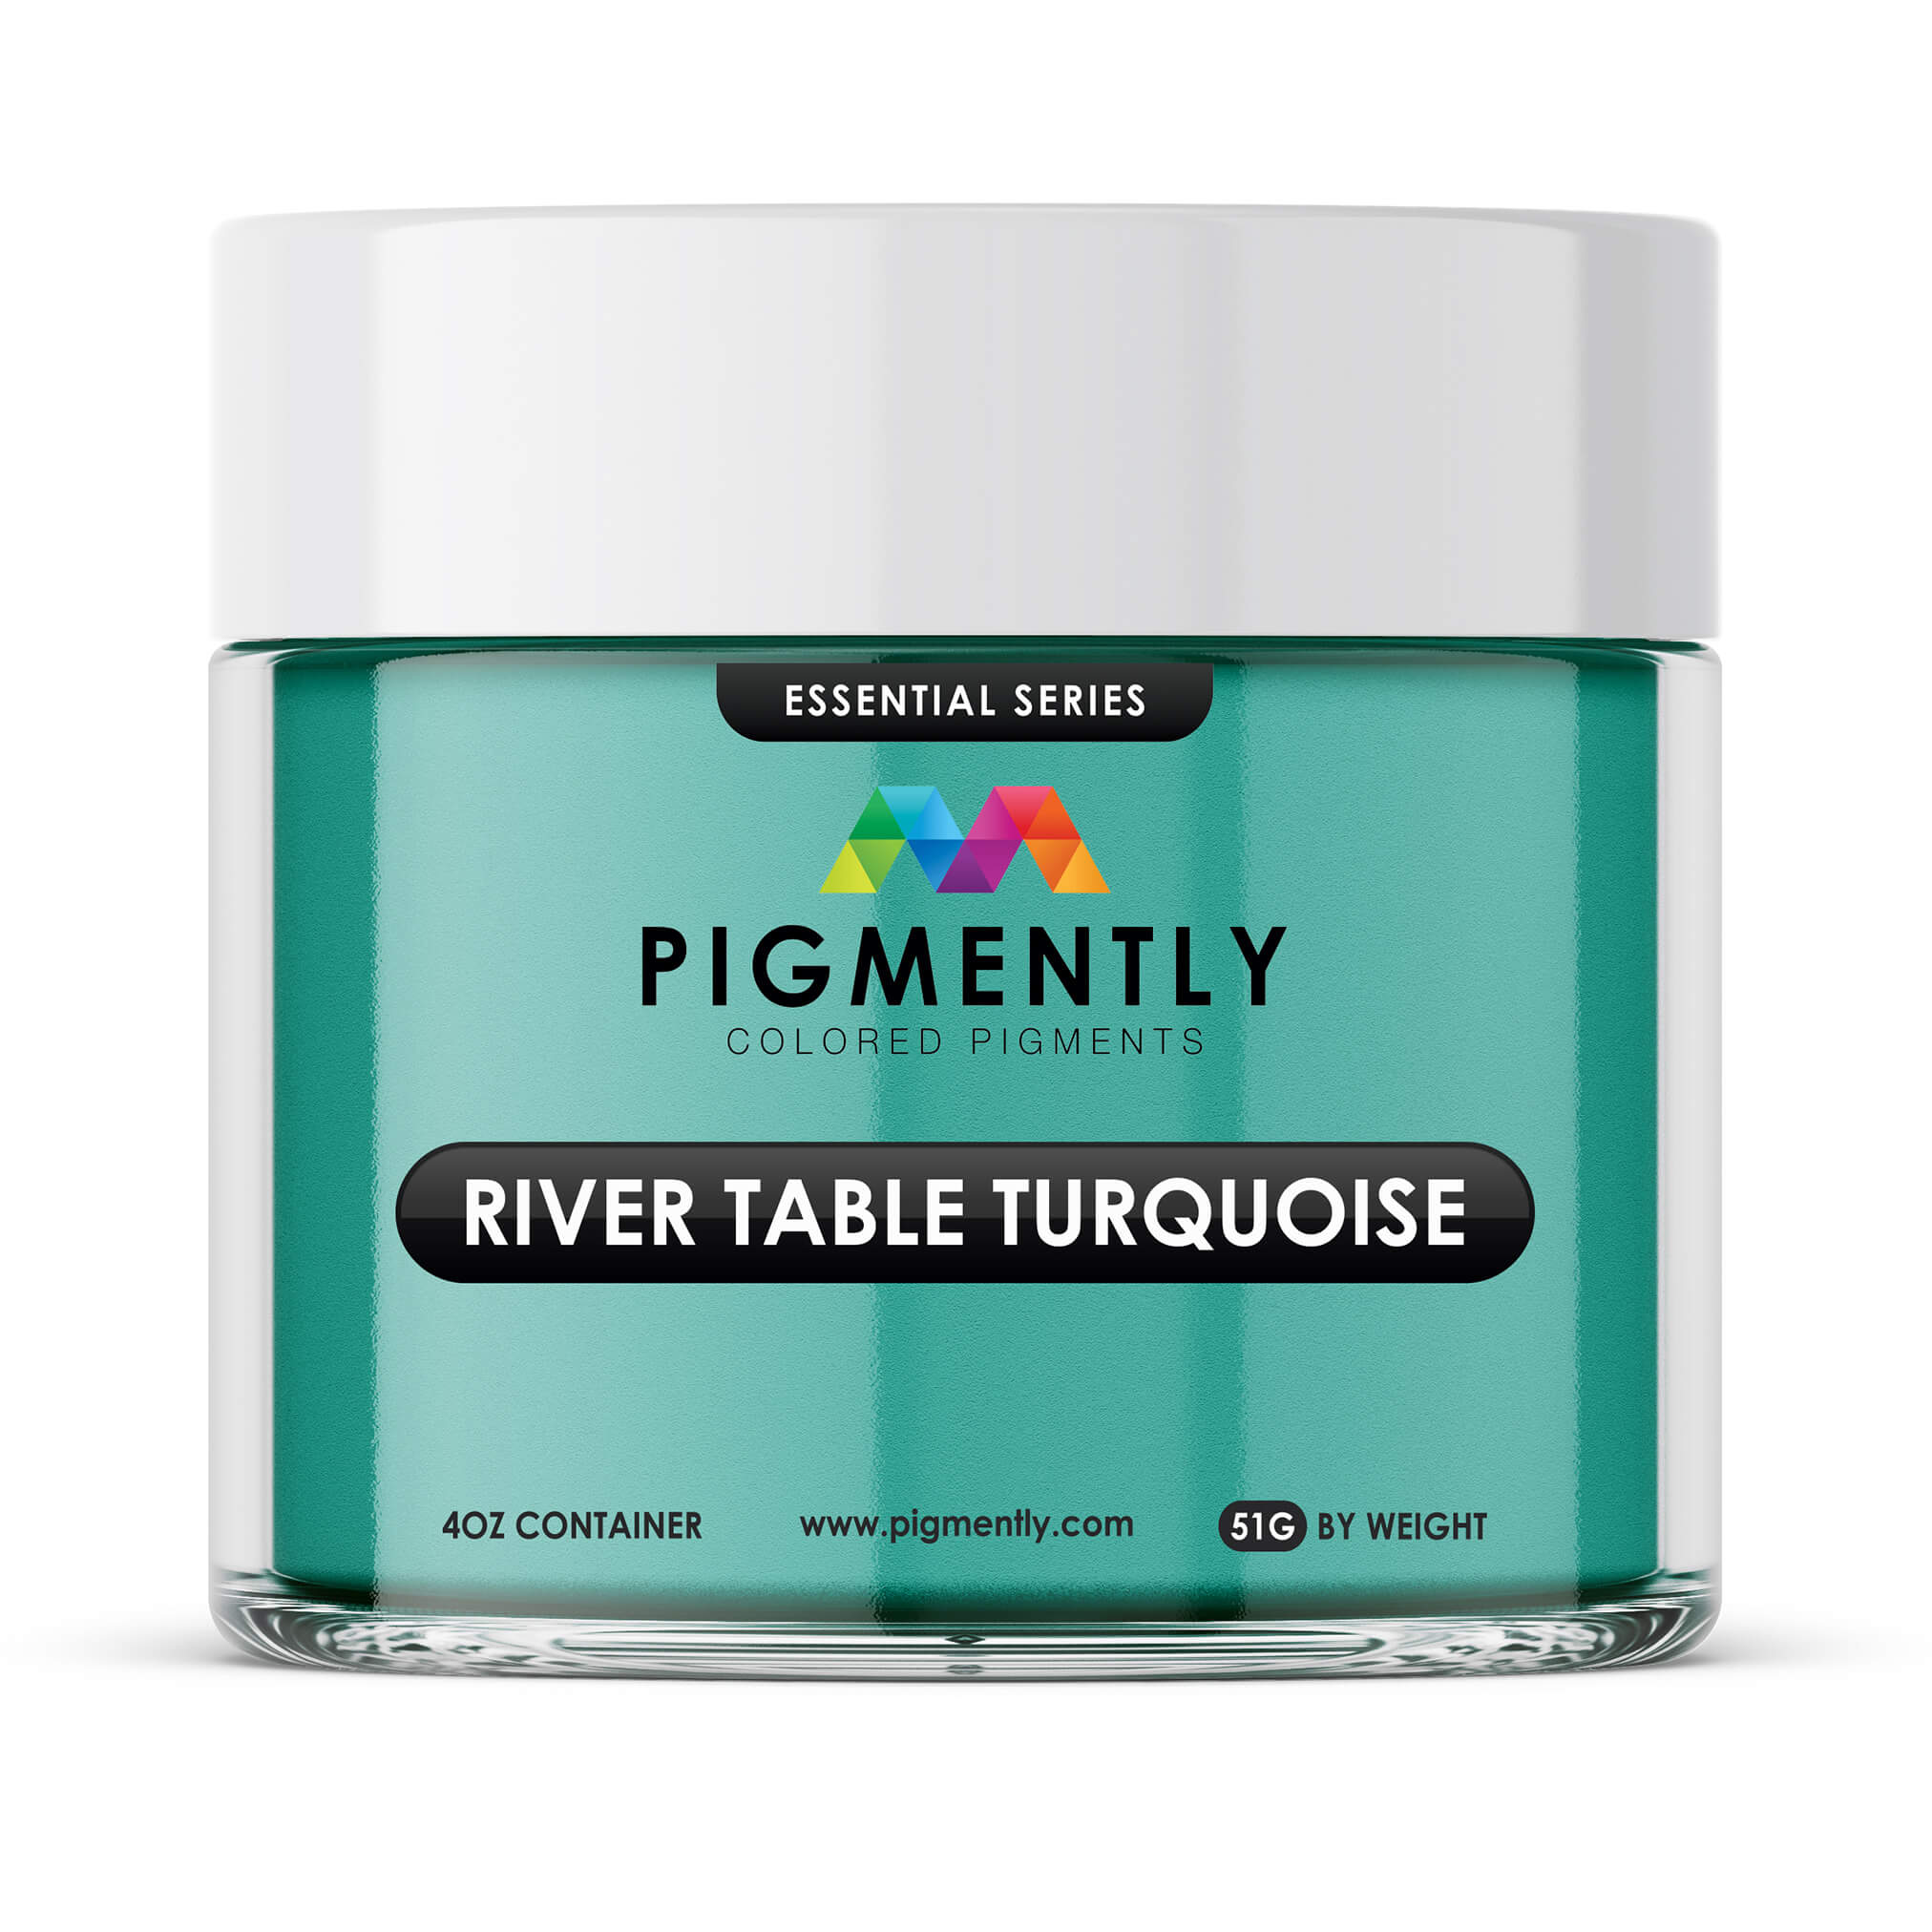
This technique blends well with traditional art styles and is commonly used in abstract pieces, coasters, decorative panels, or jewelry. It ranges in complexity from simple color swirls to more intentional, layered effects using contrasting textures and opacity levels. (Learn more about epoxy colorants here.)
Since inclusions are mixed directly into the epoxy or gently stirred during the pour, this method offers a forgiving learning curve while still providing dynamic, professional-looking results.
Common Items: Pigment flakes, crystals, sea glass, beads.
Step-by-Step Instructions:
-
Prepare a dam or mold suitable for your artwork.
-
Pour a layer of UltraClear Bar & Table Top Epoxy or UltraClear Art & Craft Epoxy.
-
Sprinkle your inclusions over the wet surface.
-
Arrange as desired using tweezers or toothpicks.
-
Add a second coat to encapsulate items if needed. Learn how to apply multiple epoxy layers here.
Tips for Preparing Items for Embedding
Some mistakes are more common than others. These tips can help you avoid making mistakes that some users make when attempting to embed objects into their epoxy.
Tip #1: Dry objects thoroughly before embedding.
Moisture is one of the most common causes of epoxy curing issues when embedding objects. Organic materials like flowers, leaves, or even wood can trap moisture inside their fibers. When sealed into resin, this moisture can cause bubbling, hazing, or even rot over time.
Use a drying method appropriate to the item—pressing and air drying for flowers, desiccant packs for delicate materials, or a low-temp oven for sturdier items. Avoid embedding anything fresh or recently harvested without proper preparation.
Tip #2: Seal porous or absorbent items first.
Porous materials like paper, fabric, and dried leaves can absorb resin and darken, discolor, or develop “wet spots.” To preserve their original appearance, apply a thin layer of clear-drying sealant like Mod Podge, spray acrylic, or a resin-compatible glue. Let the sealant dry completely before embedding.
This also prevents bubbles from escaping into the epoxy during curing and helps keep fragile items intact within the resin.
Tip #3: Use adhesive to keep items in place.
Especially in layered or vertical molds, objects may shift or float as the resin is poured. Lightly tacking down items to the substrate using a small amount of clear glue can help them stay positioned during the pour.
Avoid using adhesives that may cloud or react with epoxy—always test on scrap first. For heavier objects, try anchoring with a toothpick or fishing line if placement is critical to the design.
Tip #4: Test materials for compatibility.
Some plastics, inks, and finishes don’t react well to epoxy resin. Though rare, in the worst cases, they may melt, smear, or release gases when submerged.
If you'd like to embed something unconventional and are uncertain how a material will behave in resin, test a sample piece first by embedding it in a small batch. This precaution can save you time, epoxy, and disappointment in the final result.

The Risks of Low-Cost Epoxy Products
Within the last several years, many budget epoxy brands have appeared. These brands often have no history of credibility but advertise substandard products at surprisingly low prices, which they use to draw in unsuspecting users.
Hidden Costs
Yet though the budget-brand epoxy sold by these dealers might look attractive at checkout, it often comes with hidden drawbacks that can compromise your project and safety. Inconsistent formulations in cheaper products—which are most often manufactured then exported overseas—can lead to unpredictable curing behavior. Resin may stay tacky, fail to bond properly, or even cure with yellow or hazy finishes.
Quality Control Problems
These problems stem from a lack of quality control. Imported epoxy products rarely adhere to the strict manufacturing standards of the USA, resulting in increased likelihood of contamination, separation, and poor clarity, all of which can ruin an epoxy project, especially one involving object embedding.
Dangerous Risks to Health
Even worse is the potential effects of these epoxies on your health and safety. Cheaper epoxy may release more volatile organic compounds (VOCs), leading to stronger odors and greater risk of respiratory irritation or allergic reactions. These formulations may not meet domestic safety guidelines, which puts both users and indoor environments at risk.
Click here for deeper analysis of these issues and the importance of choosing quality.
UltraClear Epoxy: Strong, Clear, and Safe Resin Products
In contrast to budget-brand epoxies, UltraClear Epoxy products offer superior clarity, safer handling, and consistent performance. Proudly made in the U.S.A., these formulas deliver:
-
A strong, clear, and durable finish—providing dependable results you can rely on.
-
Low maintenance and heavy scratch resistance—demanding minimal upkeep even under heavy use.
-
A safe and predictable cure for peace of mind—allowing you to proceed stress-free without concerns over safety flaws or health risks.
Choosing the Right Epoxy for Your Project
Choosing a premium epoxy means fewer problems and professional results every time.
Here are the types of resin we recommend for different situations:
-
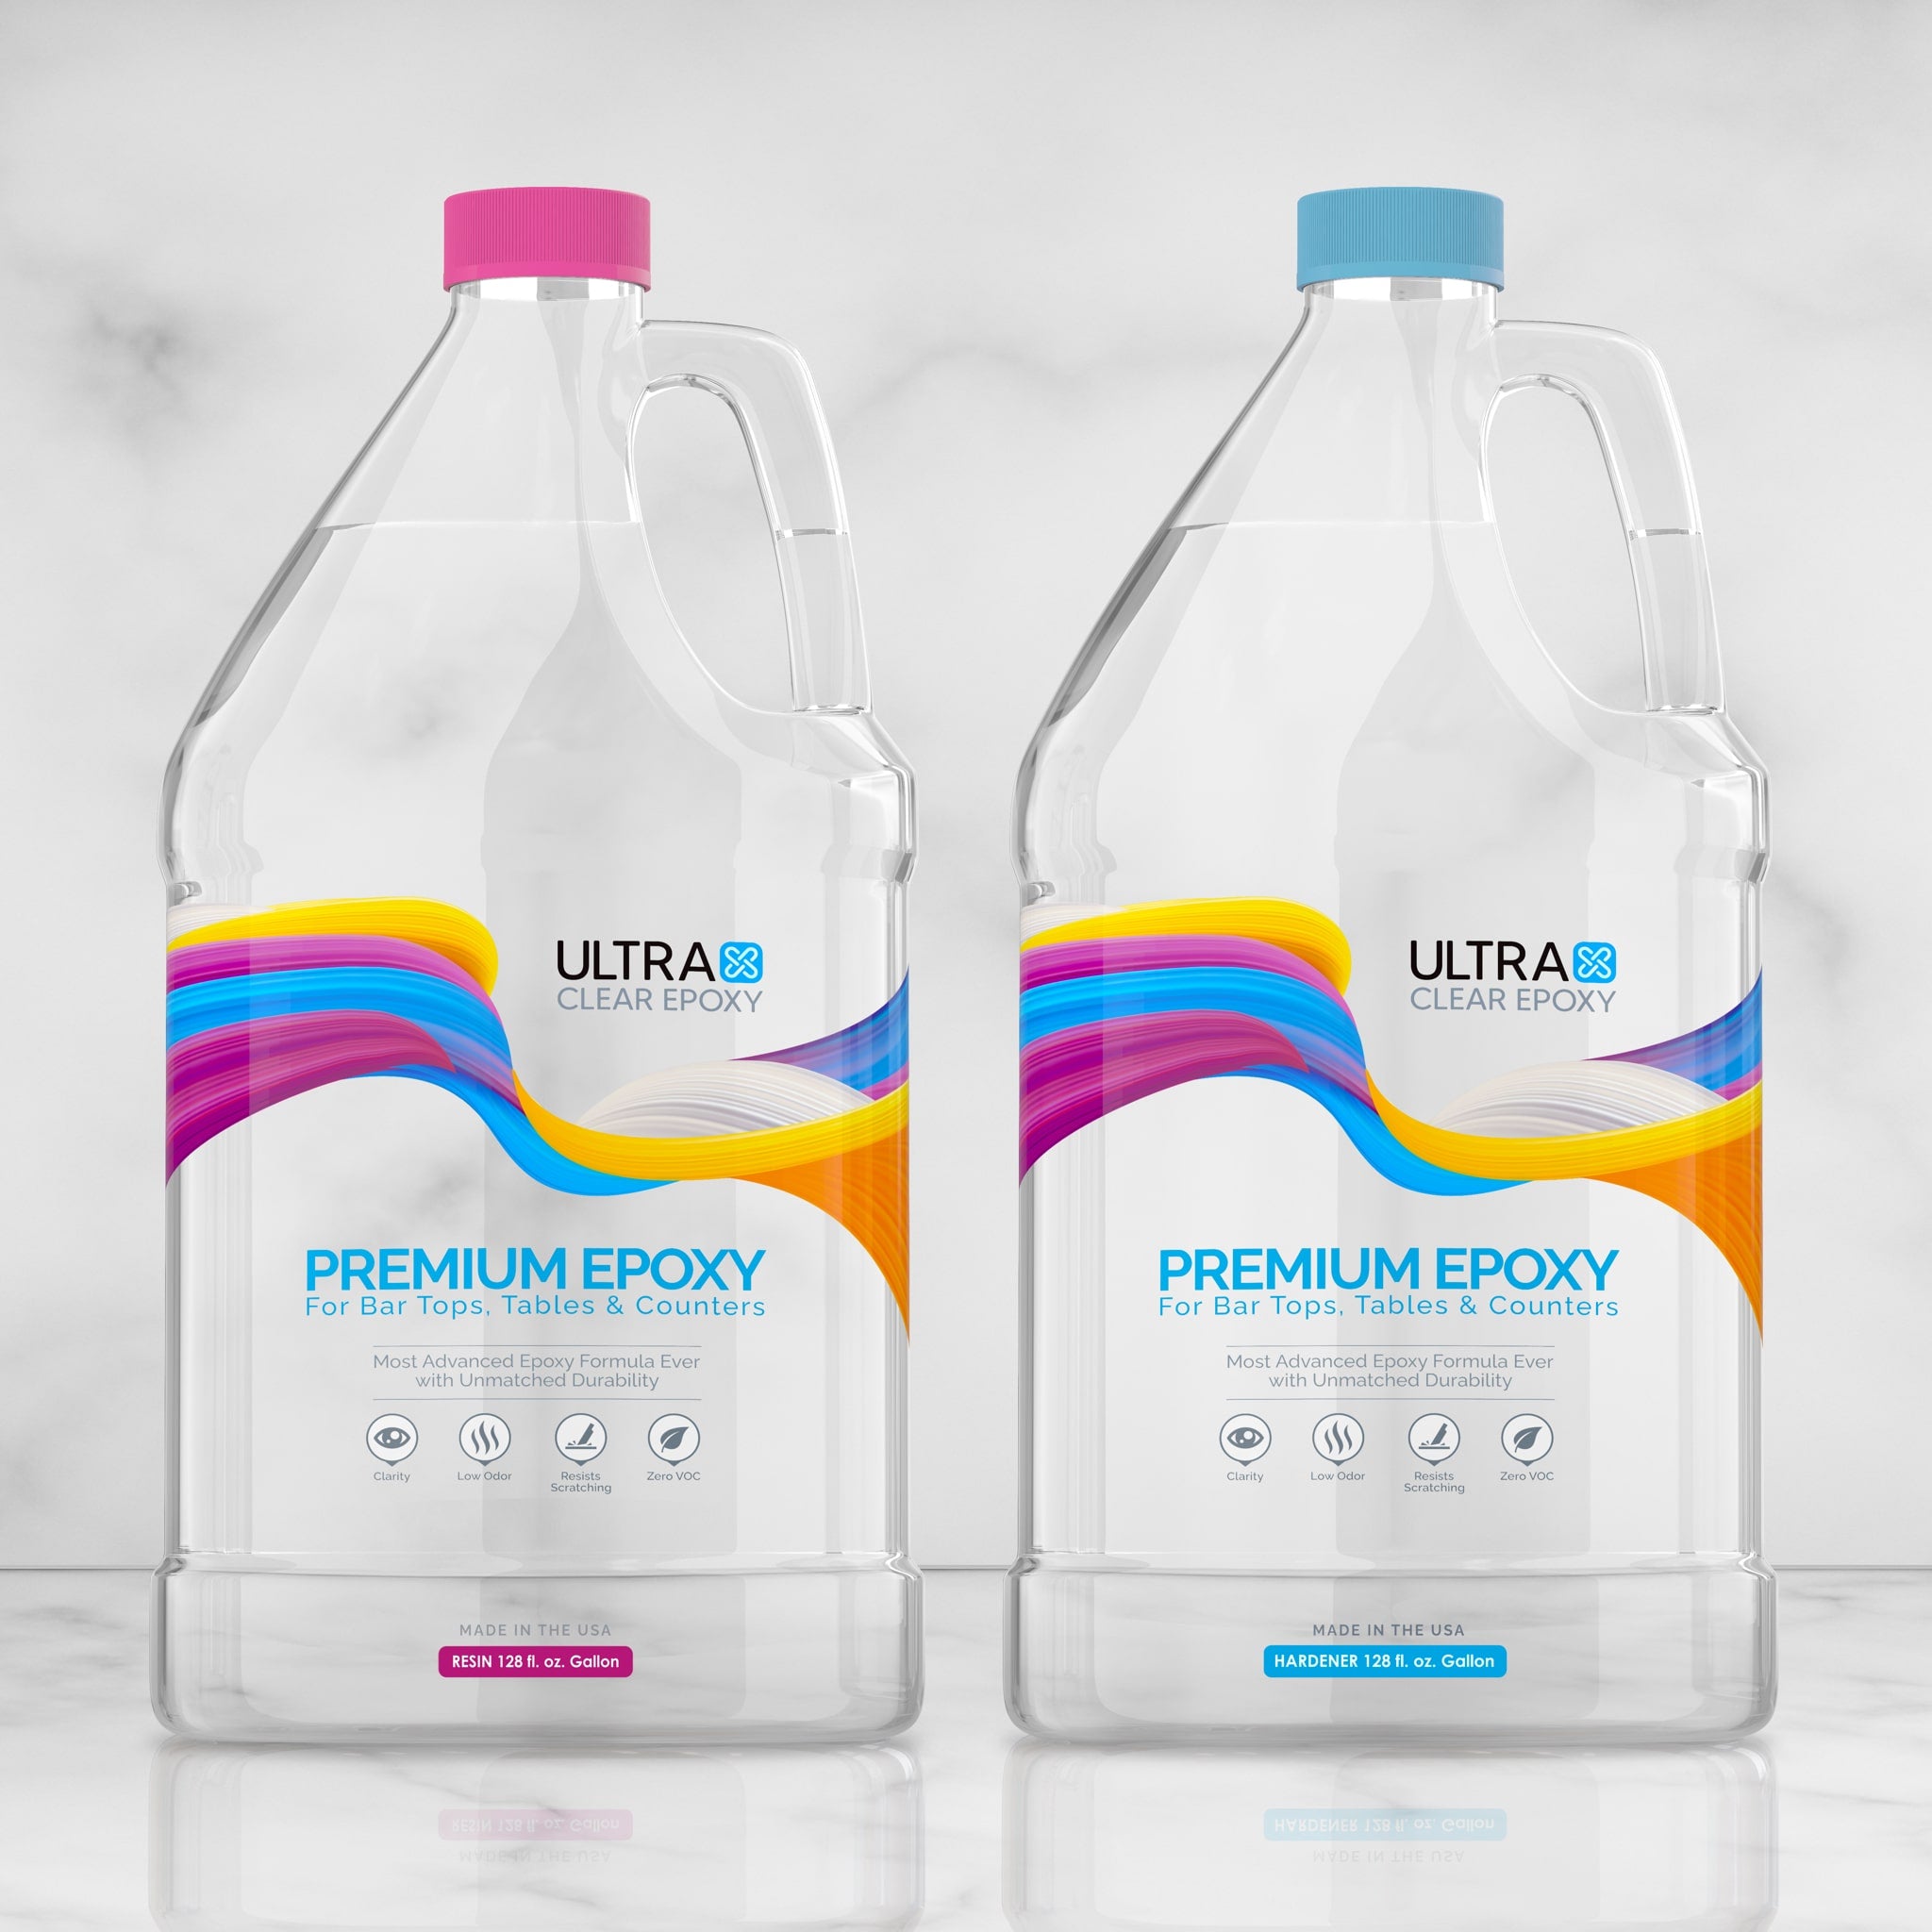
UltraClear Bar & Table Top Epoxy: Best for thin pours on flat surfaces and functional items.
-
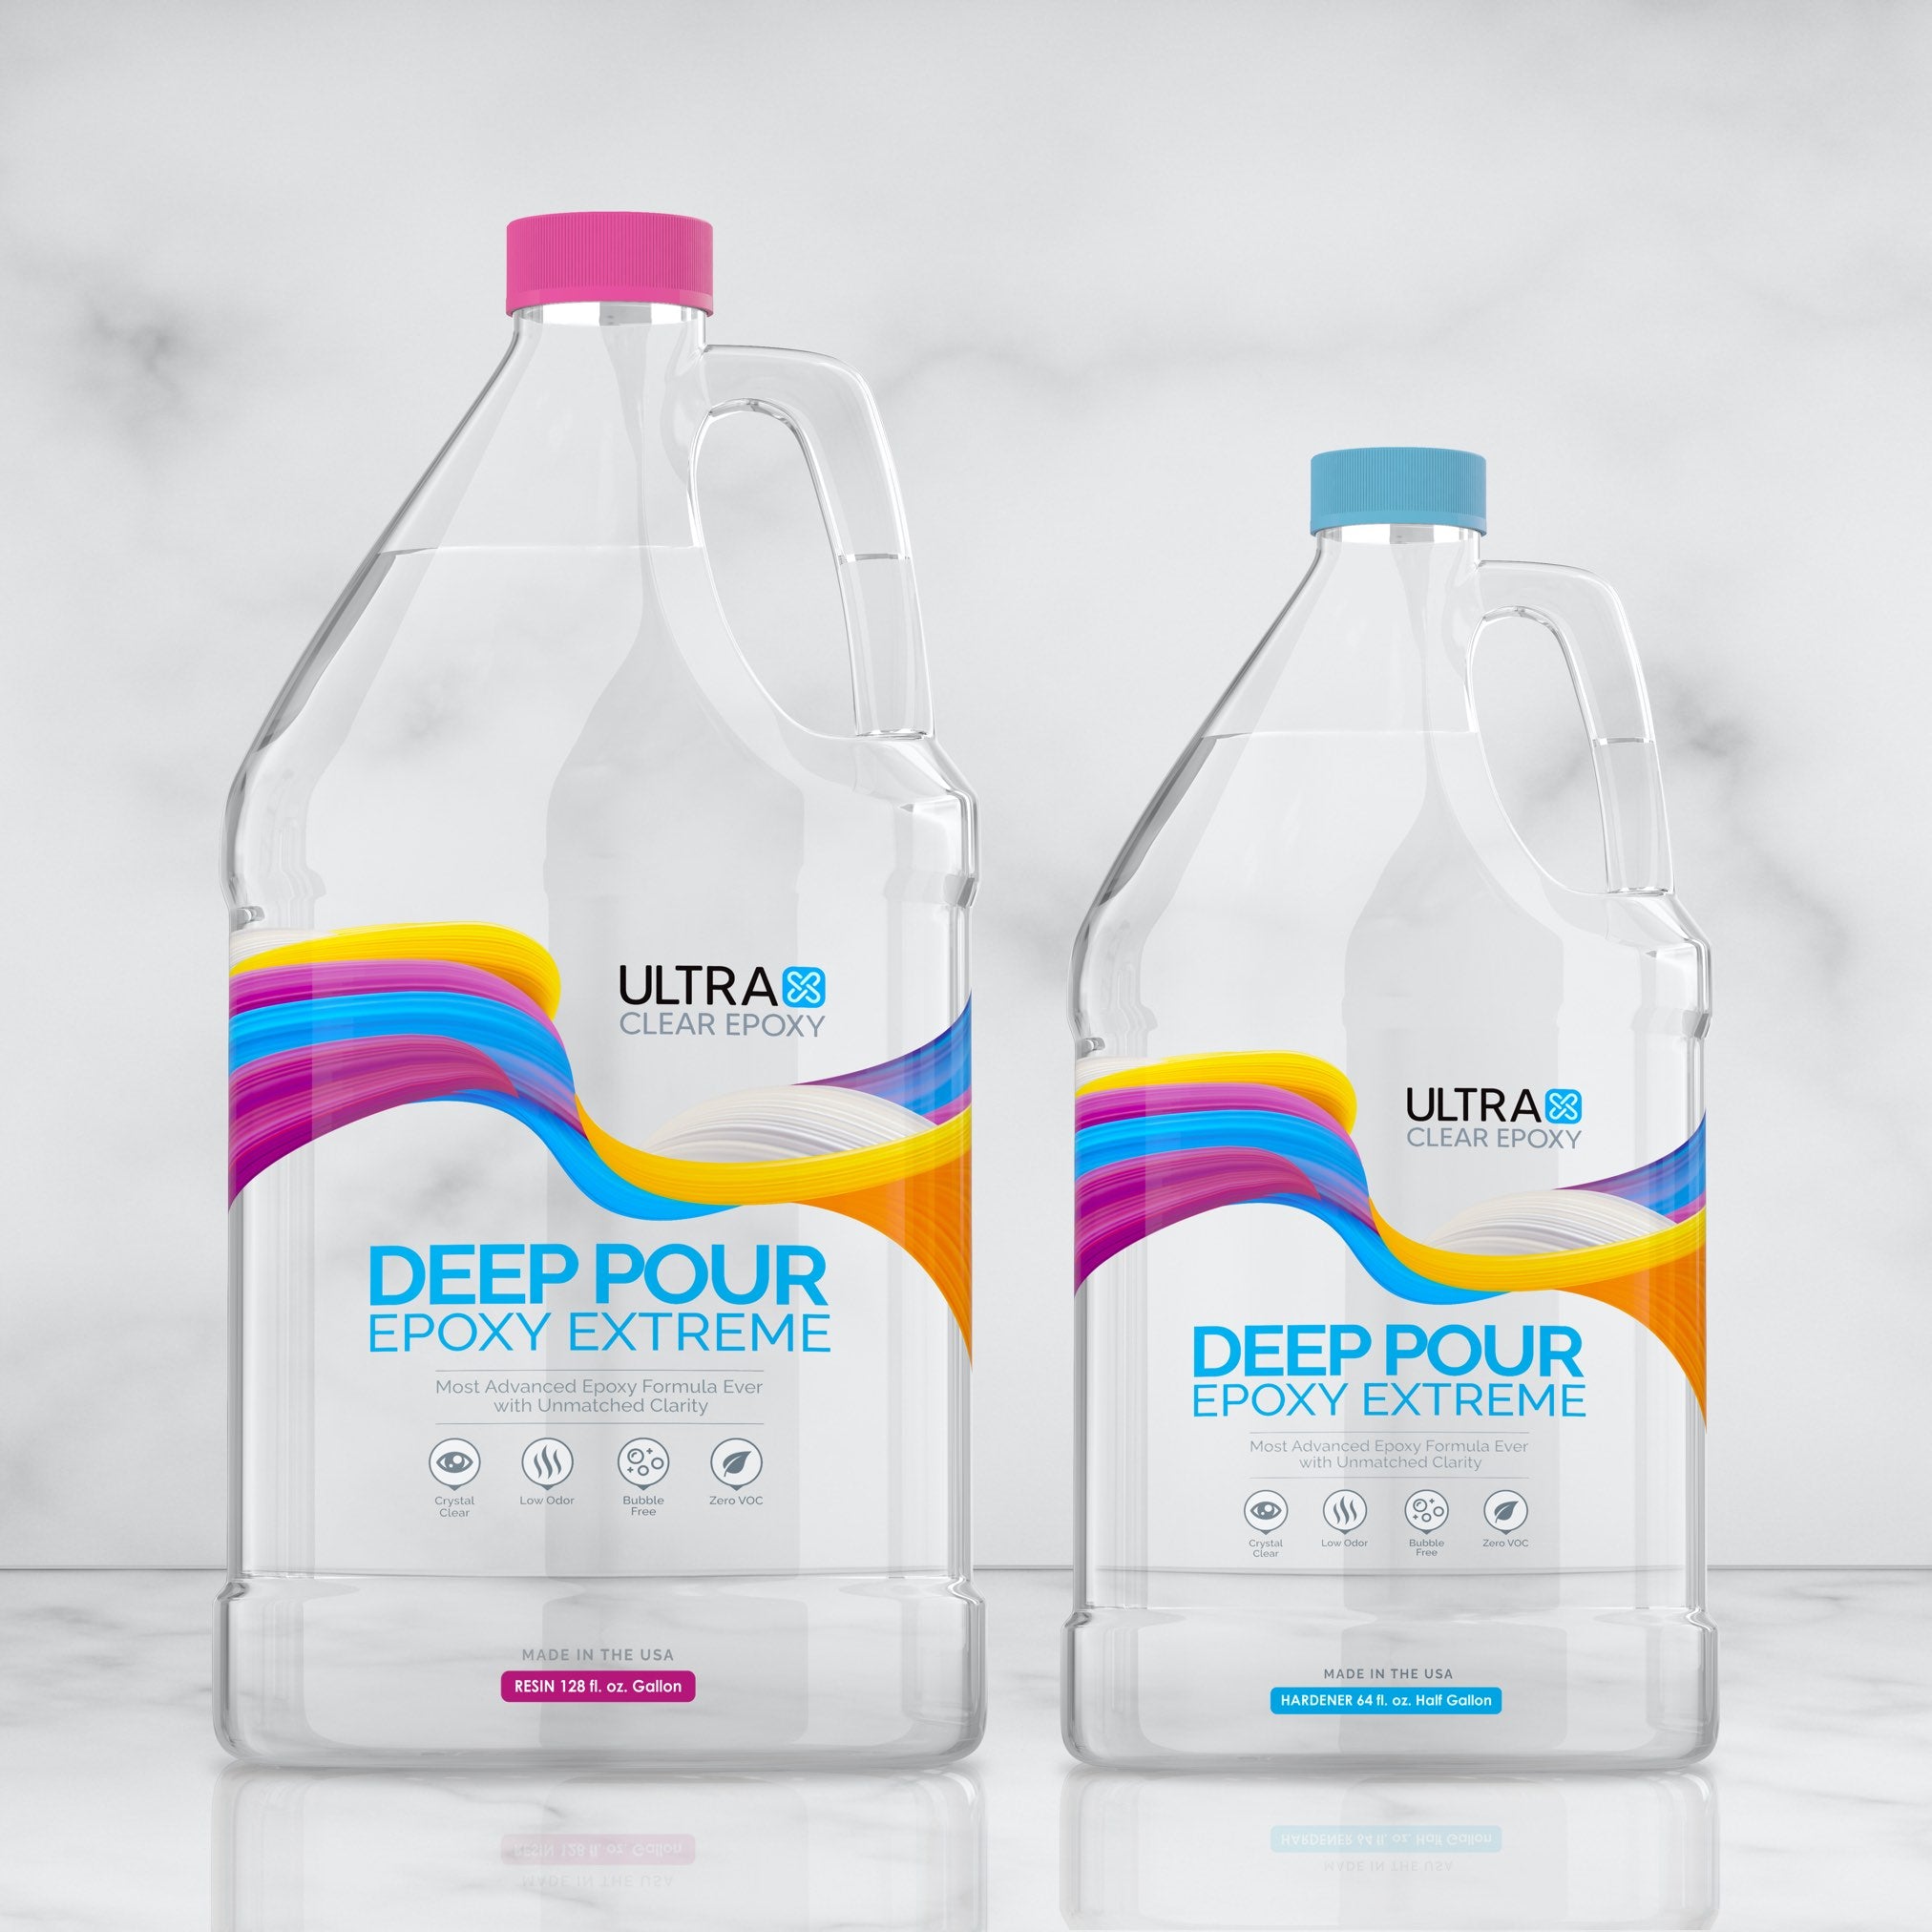
UltraClear Deep Pour Epoxy: Ideal for casting thicker layers or multiple layers.
-
UltraClear Art & Craft Epoxy: Formulated for small molds, fine details, and minimal bubbles.
Every epoxy is different, sometimes in subtle ways, and using the right epoxy ensures proper curing and clarity. Always follow manufacturer instructions for best results.
FAQs: Embedding Objects in Epoxy
Question #1: Can I embed photos directly into epoxy?
Yes, but seal them first with clear glue like Mod Podge or a laminating sheet to prevent the ink from bleeding or the paper from absorbing resin.
Question #2: What happens if I use fresh flowers?
Fresh flowers will trap moisture, leading to browning, mold, and air bubbles. Always dry them thoroughly first.
Question #3: How can I prevent bubbles around embedded objects?
Pour slowly, use a heat gun immediately after to remove bubbles, and consider warming the epoxy slightly. Also, avoid adding cold objects into warm resin.
Question #4: Is it safe to embed food items?
No. Even when sealed, food can degrade or rot inside resin. Use replicas or non-organic alternatives. Fully desiccated food items can sometimes work, but there's still a risk.
Question #5: Can I use epoxy in silicone molds?
Yes—silicone molds are ideal because cured epoxy doesn't stick to silicone. Just ensure the mold is clean and dry.
Question #6: How do I keep objects from floating?
Let your first pour partially cure so it gels. Then place objects and pour another layer over them.
Question #7: Will epoxy change the color of my objects?
It can, especially if items are unsealed. Always test first and use a sealant on anything porous or delicate (e.g., Mod Podge for paper items to prevent the "wet" look that occurs with resin absorption).
Question #8: How do I clean embedded epoxy pieces?
Use a soft cloth and mild soap. Avoid abrasives or solvents that can scratch or cloud the epoxy.
See our cleaning guide here for different techniques and cleaner suggestions.
Have Questions? Want Advice? We're Here to Help!
If you have any questions about embedding objects within epoxy resin, or if you'd like assistance in planning an epoxy project, please reach out to us at UltraClear Epoxy—our epoxy experts are ready to assist!
You can contact us via phone or email here. During business hours, you can also text chat online with one of our resin specialists by clicking the Help button at the bottom of your screen.
In our online store, you'll find a variety of useful tools and supplies, ideal for resin projects, plus our award-winning UltraClear Bar & Table Top Epoxy and our UltraClear Deep Pour Epoxy.
UltraClear Epoxy—Trusted by over 1 Million+ Happy Customers


