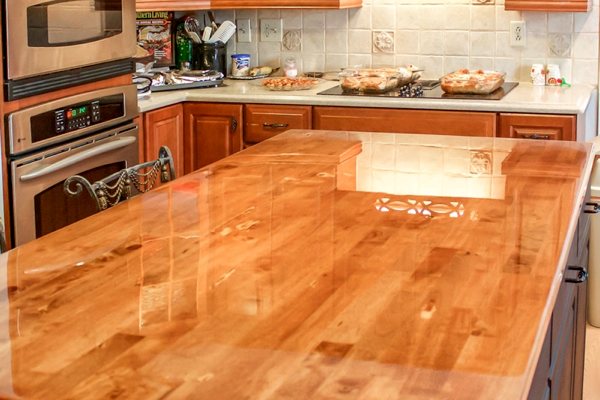
Epoxy resin is a durable, high-gloss coating formed by mixing two parts — resin and hardener — which chemically bond into a plastic-like surface. Over many years, it has become increasingly favored for kitchen countertops due to its seamless finish, water resistance, and ability to rejuvenate worn or damaged surfaces.
In this article, we'll provide a full guide to epoxy countertops, with in-depth explanation of what they are, how they compare to other options, and how to DIY craft one with a straightforward step-by-step guide.
You'll find advice on supplies to use, tips on how to maintain it, and our recommendation for epoxy that will last for many years with minimal upkeep.
Contents |
|
Click any title to jump to the corresponding section. The Benefits of Epoxy Countertops Epoxy vs. Other Countertop Materials Supplies: What's Needed for a DIY Epoxy Countertop? Step-by-Step Guide to Epoxy Countertops The Big Issues with Budget Epoxies |
The Benefits of Epoxy Countertops
Durability
Epoxy countertops are highly resistant to impact damage, making them an excellent choice for busy kitchens where frequent use and dropped items are common. Unlike laminate or tile, epoxy won’t easily chip or crack under pressure.
Seamless look
The self-leveling nature of epoxy ensures a smooth, uninterrupted surface without visible seams or grout lines. This not only looks sleek and modern but also contributes to better hygiene, as there are fewer places for food particles or bacteria to accumulate.
Stain and moisture protection
Epoxy forms a non-porous barrier that resists common kitchen spills such as coffee, wine, juice, and cooking oils. Because liquids cannot penetrate the surface, cleanup is quick and simple, and there's no risk of long-term staining.
Low maintenance
Epoxy countertops require minimal upkeep to remain in great condition. A simple wipe-down with soap and water keeps the surface shiny and clean, without the need for regular resealing or specialty cleaners.
Customization
Epoxy offers complete creative control over your countertop’s appearance. You can mimic natural stone, create abstract designs, or incorporate pigments, all tailored to your kitchen’s aesthetic.
Cost‑effective makeovers
For those looking to update their kitchen without replacing countertops entirely, epoxy is a great option. It can be applied over existing surfaces to breathe new life into worn countertops at a fraction of the cost of a full remodel.
Epoxy vs. Other Countertop Materials
When choosing a kitchen countertop, homeowners often compare epoxy to materials like laminate, granite, or marble. Each has its strengths, but epoxy offers a rare blend of custom design freedom, durability, and ease of maintenance.
It's also one of the few materials that can be applied as a coating over existing countertops, transforming surfaces at a lower cost while delivering a high-end look.
| Material | Cost | Durability | Maintenance | Aesthetic Flexibility |
|---|---|---|---|---|
| Laminate | Very low | Moderate | Easy, but prone to scratches | Limited patterns |
| Solid Surface (e.g., Corian) | Moderate | Moderate | Needs polishing occasionally | Good |
| Granite/Quartz | High | Excellent | Requires sealing | Natural stone look |
| Marble | Very high | Fair | Requires frequent sealing | Elegant, but limited |
| Concrete | Moderate | High | Requires sealing and occasional waxing | Industrial, customizable |
| Epoxy | Moderate | Very high | Simple cleaning | Fully customizable |
Summary of Countertop Materials
-
Laminate is affordable but scratches easily and lacks heat resistance.
-
Solid surfaces are better but still susceptible to staining and need occasional refinishing.
-
Natural stone offers prestige and durability but requires periodic sealing and has limited visual styles.
-
Marble delivers a classic, elegant aesthetic but stains and scratches easily; it also requires diligent sealing and upkeep.
- Concrete has a strong, industrial vibe and high durability but needs regular sealing and occasional waxing to prevent stains and cracks.
-
Epoxy combines durability, customizability, and cleanability—ideal for kitchens.
Supplies: What's Needed for a DIY Epoxy Countertop?
Essential Supplies:
-
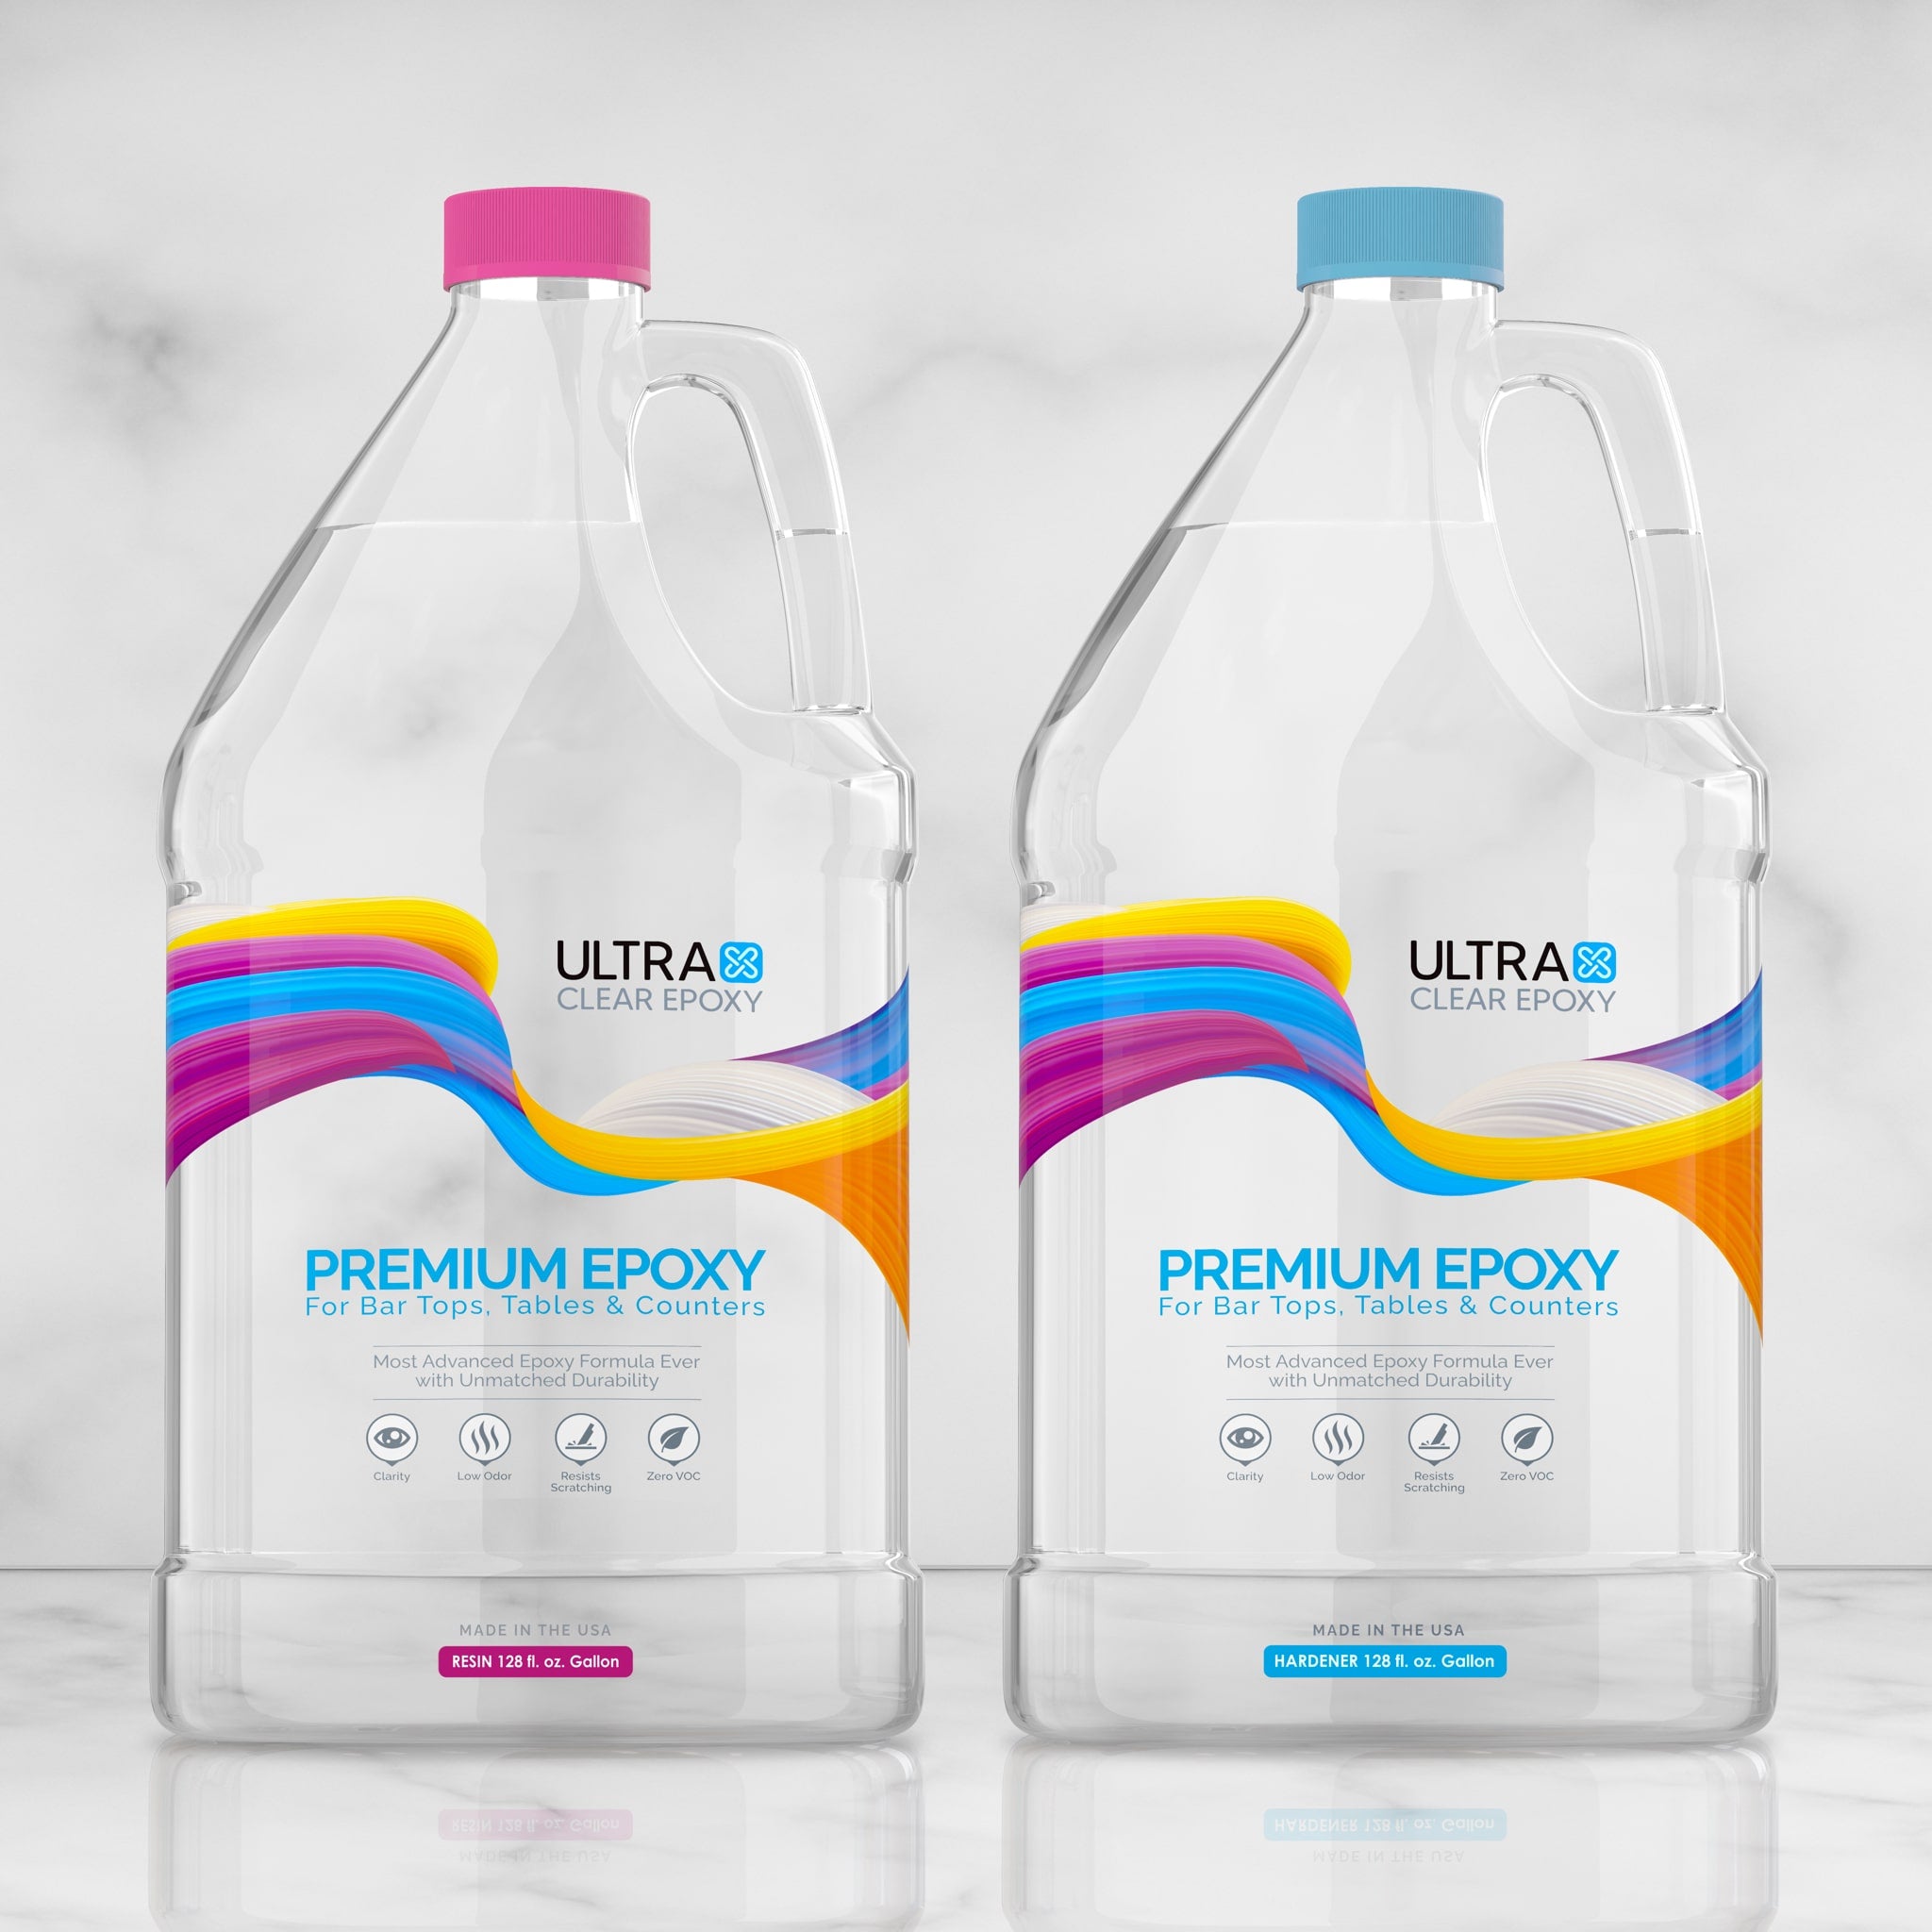
UltraClear Bar & Table Top Epoxy—This is the main component of the countertop coating. It creates a clear, glossy, durable finish that can withstand the demands of a kitchen environment.
-
Mixing containers & stirring sticks—Accurate measuring and thorough mixing are critical to ensure the epoxy cures properly. These tools help maintain the correct resin-to-hardener ratio and prevent unmixed portions that can result in soft spots.
- Find them in our store:
-
Gloves & safety gear—Skin contact should be avoided while working with epoxy. Some epoxies also release VOCs prior to curing that can be a health concern. Using nitrile gloves, a respirator mask, and safety glasses helps protect your health throughout the application process.
-
Sandpaper (grit 120–320)—Proper surface preparation is essential for epoxy adhesion. Sandpaper is used to roughen the surface and to smooth out any imperfections between layers or after curing.
-
High-density foam roller or squeegee—These application tools ensure an even spread of epoxy over your countertop. They also help eliminate air pockets and distribute the resin smoothly for a consistent finish. It's also possible to do without them by pouring deliberately across your surfaces. The epoxy's self-leveling ability will do most of the work.
Optional Supplies:
-
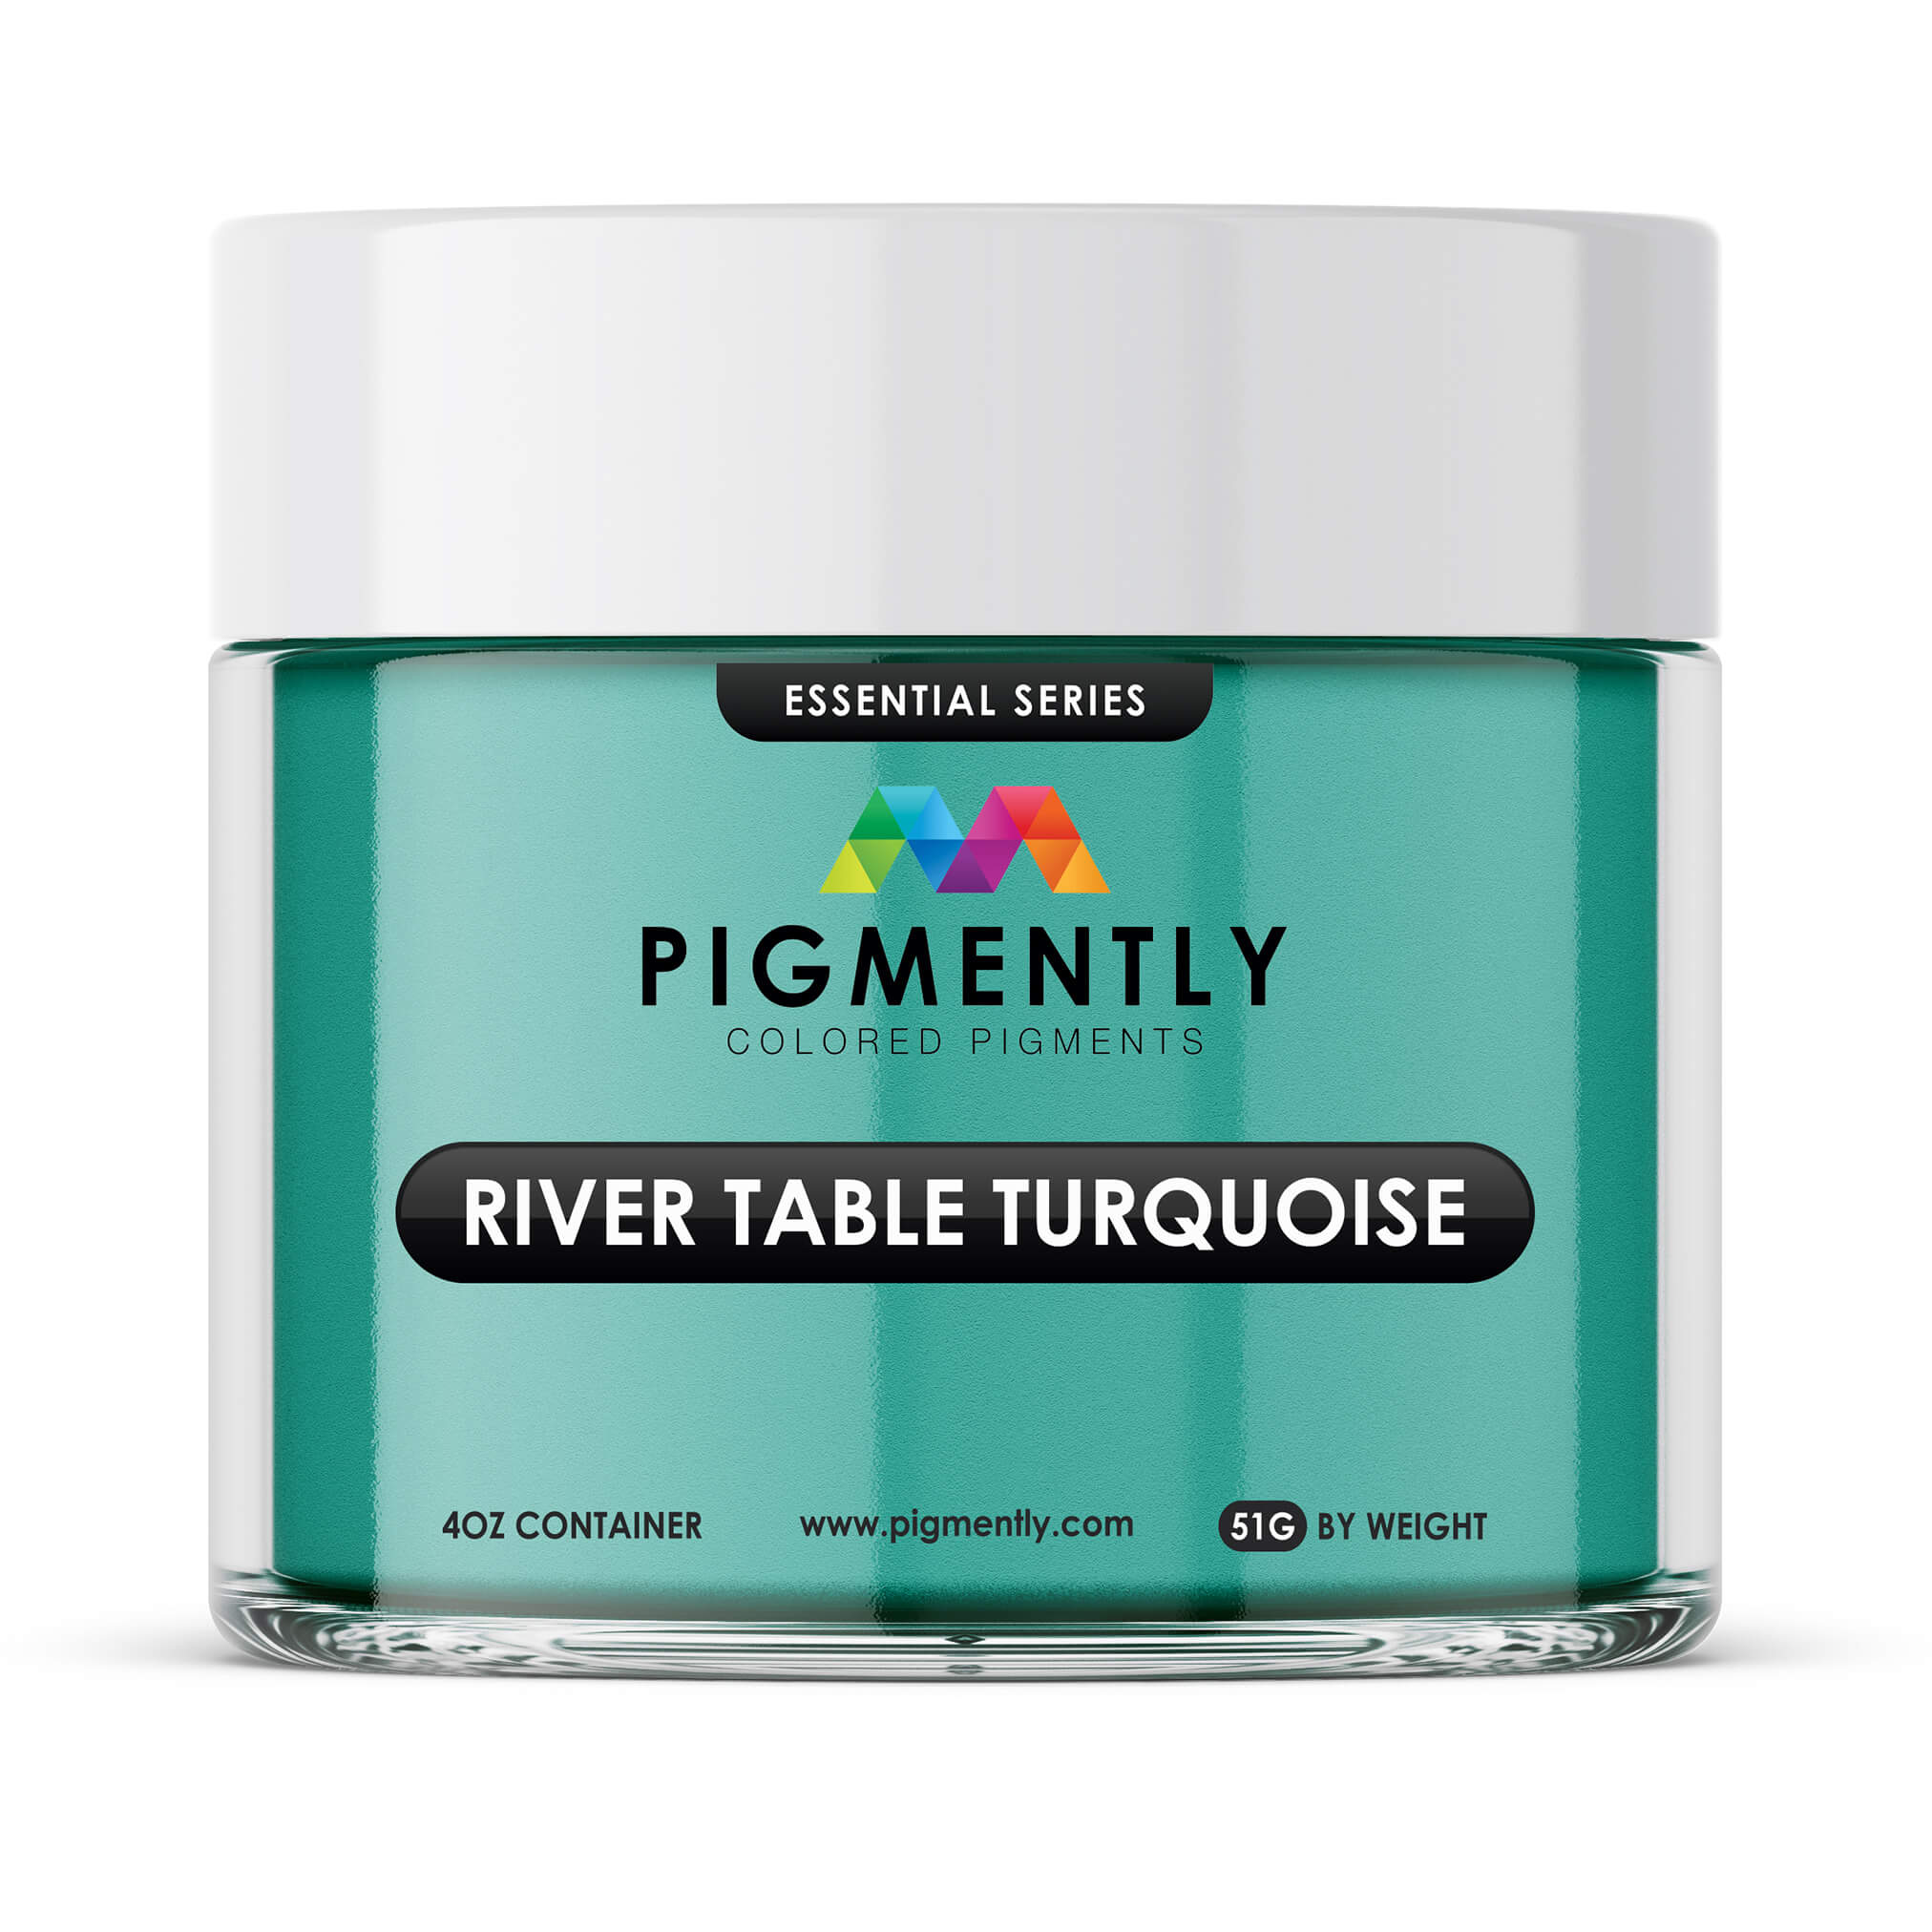
Color pigments or resin dyes—These additives allow for decorative and custom designs within the epoxy. They're useful for mimicking natural stone or creating artistic visual effects. You can choose from a wide array of high-grade colorants in our store:
- Find it in our store:
-
Heat gun or propane torch—Air bubbles often become trapped in the epoxy during mixing and pouring. A heat source helps remove them by gently warming the surface and releasing trapped gases. The heat gun in our store is excellent for this:
- Find it in our store: Epoxy heat gun
-
Mold tape & edge formers—These are especially useful when working with exposed or beveled edges. They help contain the epoxy and shape it into clean lines, preventing run-off and drips.
- Find it in our store: Epoxy edge tape
-
Drop cloths or plastic sheeting—Epoxy can drip and spread easily, so protecting nearby surfaces like floors, cabinetry, or furniture is important. These coverings make post-project cleanup faster and easier.
Preparing Your Workspace
Creating the right workspace before beginning your epoxy countertop project is key to a successful, smooth application. Here’s what you’ll need to do:
Perform your project in a controlled environment.
Choose a well-ventilated area where you’ll be able to control the temperature and humidity. Epoxy cures best in a climate-controlled environment, ideally between 70°F and 75°F, with humidity kept below 60%. If you're working indoors, ensure there’s sufficient airflow, either through open windows or with a ventilation fan.
Keep your workspace clean and organized.
Clear your work area of unnecessary clutter to avoid accidents or contamination. All tools and materials you'll be using should be laid out ahead of time and organized in a way that allows for quick access during the project.
Shield non-work surfaces.
Cover surrounding surfaces with drop cloths or plastic sheeting to prevent epoxy drips or splashes from damaging floors, appliances, or cabinetry. Tape off walls, sinks, or other surfaces near the countertop to maintain clean edges and make post-project cleanup much easier.
Ensure your substrate surface is level.
Level your countertop surface before pouring epoxy. Uneven surfaces can cause epoxy to pool in one area or run off the edges. Use a level to confirm that the base is flat, and if needed, use shims to correct any imbalance.
Dedicate a spot for mixing (and tinting if desired) your epoxy.
Prepare a staging area for mixing and tinting your epoxy. Since epoxy has a limited working time once mixed, you want to be as efficient as possible. Having a dedicated spot to measure, mix, and color your resin reduces the risk of spills and allows for a smoother workflow.
Wear protective gear while working with epoxy.
Finally, protect yourself. Wear old clothing, gloves, and eye protection, and ensure pets and children are kept away from the workspace during the entire application and curing process.
Here are a few other tips:
-
Ideal environment: Well-ventilated room kept between 70–75°F with stable humidity for consistent curing.
-
Clean area: Dust-free surfaces reduce imperfections. Consider taping plastic sheeting to walls and floors.
-
Adequate lighting: Ensures you can see resin flow and bubbles clearly.
-
Alternative spaces: Use garage with fans; seal seams with tape or cover floors if indoors. Avoid dusty or humid basements.
Step-by-Step Guide to Epoxy Countertops
Step #1: Surface preparation
- Begin by thoroughly cleaning the existing countertop surface. Remove all grease, dust, and debris using a degreasing cleaner.
- Once the surface is dry, sand it lightly with 120–220 grit sandpaper to create a slightly rough texture that helps the epoxy bond more effectively.
- Wipe down the surface with a tack cloth to eliminate dust.
Step #2: Set up barriers and tape
- Apply painter’s tape or mold tape around the edges of your countertop to control the flow of epoxy and prevent drips.
- If your surface includes exposed edges, attach edge formers or similar barriers. These will help contain the resin and form clean, finished lines.
Step #3: Mix the epoxy
- Measure your resin and hardener according to the manufacturer’s instructions, as accuracy is essential for curing. UltraClear Bar & Table Top Epoxy uses a 1:1 ratio.
- Stir slowly and thoroughly for 3 to 5 minutes. Ensure all components are fully blended to prevent curing issues.
Step #4: Add color (if desired)
If you’re adding pigments or dyes, mix them into the blended epoxy after it has been thoroughly stirred. Stir gently to distribute the color evenly without introducing excess air bubbles.
Step #5: Pour the epoxy
Slowly pour the epoxy over the countertop in a controlled manner, starting from one side and moving systematically across the surface. Use a high-density foam roller or a squeegee to spread the epoxy evenly and guide it toward the edges.
Step #6: Remove air bubbles
Immediately after pouring, use a heat gun or propane torch held a few inches above the surface to eliminate trapped air bubbles. Sweep the heat source over the epoxy in a slow, deliberate motion, avoiding prolonged exposure to any single area.
Step #7: Allow to cure
Let the epoxy cure undisturbed in a dust-free environment. Curing typically takes 72 hours for proper use, depending on the specific product and room conditions. Avoid touching or covering the surface while it cures to prevent imperfections.
Step #8: Optional second coat
If needed, lightly sand the cured epoxy with 320-grit sandpaper and clean it with a damp cloth. Then, repeat the mixing and pouring steps for a second coat to increase depth or correct any surface inconsistencies.
Step #9: Final inspection and cleanup
After the epoxy has fully cured, remove all barriers and tape carefully. Inspect the surface for any imperfections and polish or sand lightly if necessary. Finally, clean the work area.

The Big Issues with Budget Epoxies
These days when choosing an epoxy, creators are given a wide array of options. Some of these are from credible brands with a reputation for quality and consistency, but many are not, with the focus instead being on offering them as cheaply as possible—these are referred to as budget brands.
While the upfront savings of a budget-brand epoxy may seem enticing, using these products often incurs hidden costs. Lower-cost epoxies typically suffer from poor quality control during manufacturing and are often imported from overseas, where product safety regulations are lax. This leads to inconsistencies in the resin-to-hardener balance, contamination, or improper curing. These issues can cause surfaces to remain tacky, develop uneven finishes, or discolor over time.
Budget epoxies may also use substandard ingredients that pose potential health risks or lack the certifications required for safe use in kitchens. Without clear labeling or transparent safety data, it's difficult to verify whether they meet domestic safety and environmental standards. This lack of assurance makes them a risky choice, especially when the surface will come into contact with food, utensils, or skin.
Additionally, many users find that low-cost epoxies degrade more quickly under normal kitchen conditions. They may yellow, crack, or peel after minimal use, requiring repairs or a complete refinishing. Over time, the cost of rework or replacing a failed epoxy coating can easily surpass the price of using a high-quality epoxy from the start.
Learn more about the importance of your epoxy choice here.
Why You Should Choose UltraClear Epoxy
UltraClear Epoxy is engineered to deliver a premium result every time — clear, durable, safe, and built to last. Fully made in the U.S.A. under strict quality control, it provides peace of mind and professional-level performance.
Furthermore, every user of UltraClear Epoxy is provided with our comprehensive customer support. Our resin experts can assist with project planning, answer questions you may have, and help you troubleshoot issues during your project.
-
UltraClear Bar & Table Top Epoxy: Best for standard kitchen countertops. Produces a smooth, crystal-clear finish that’s strong, glossy, and food-safe.
-
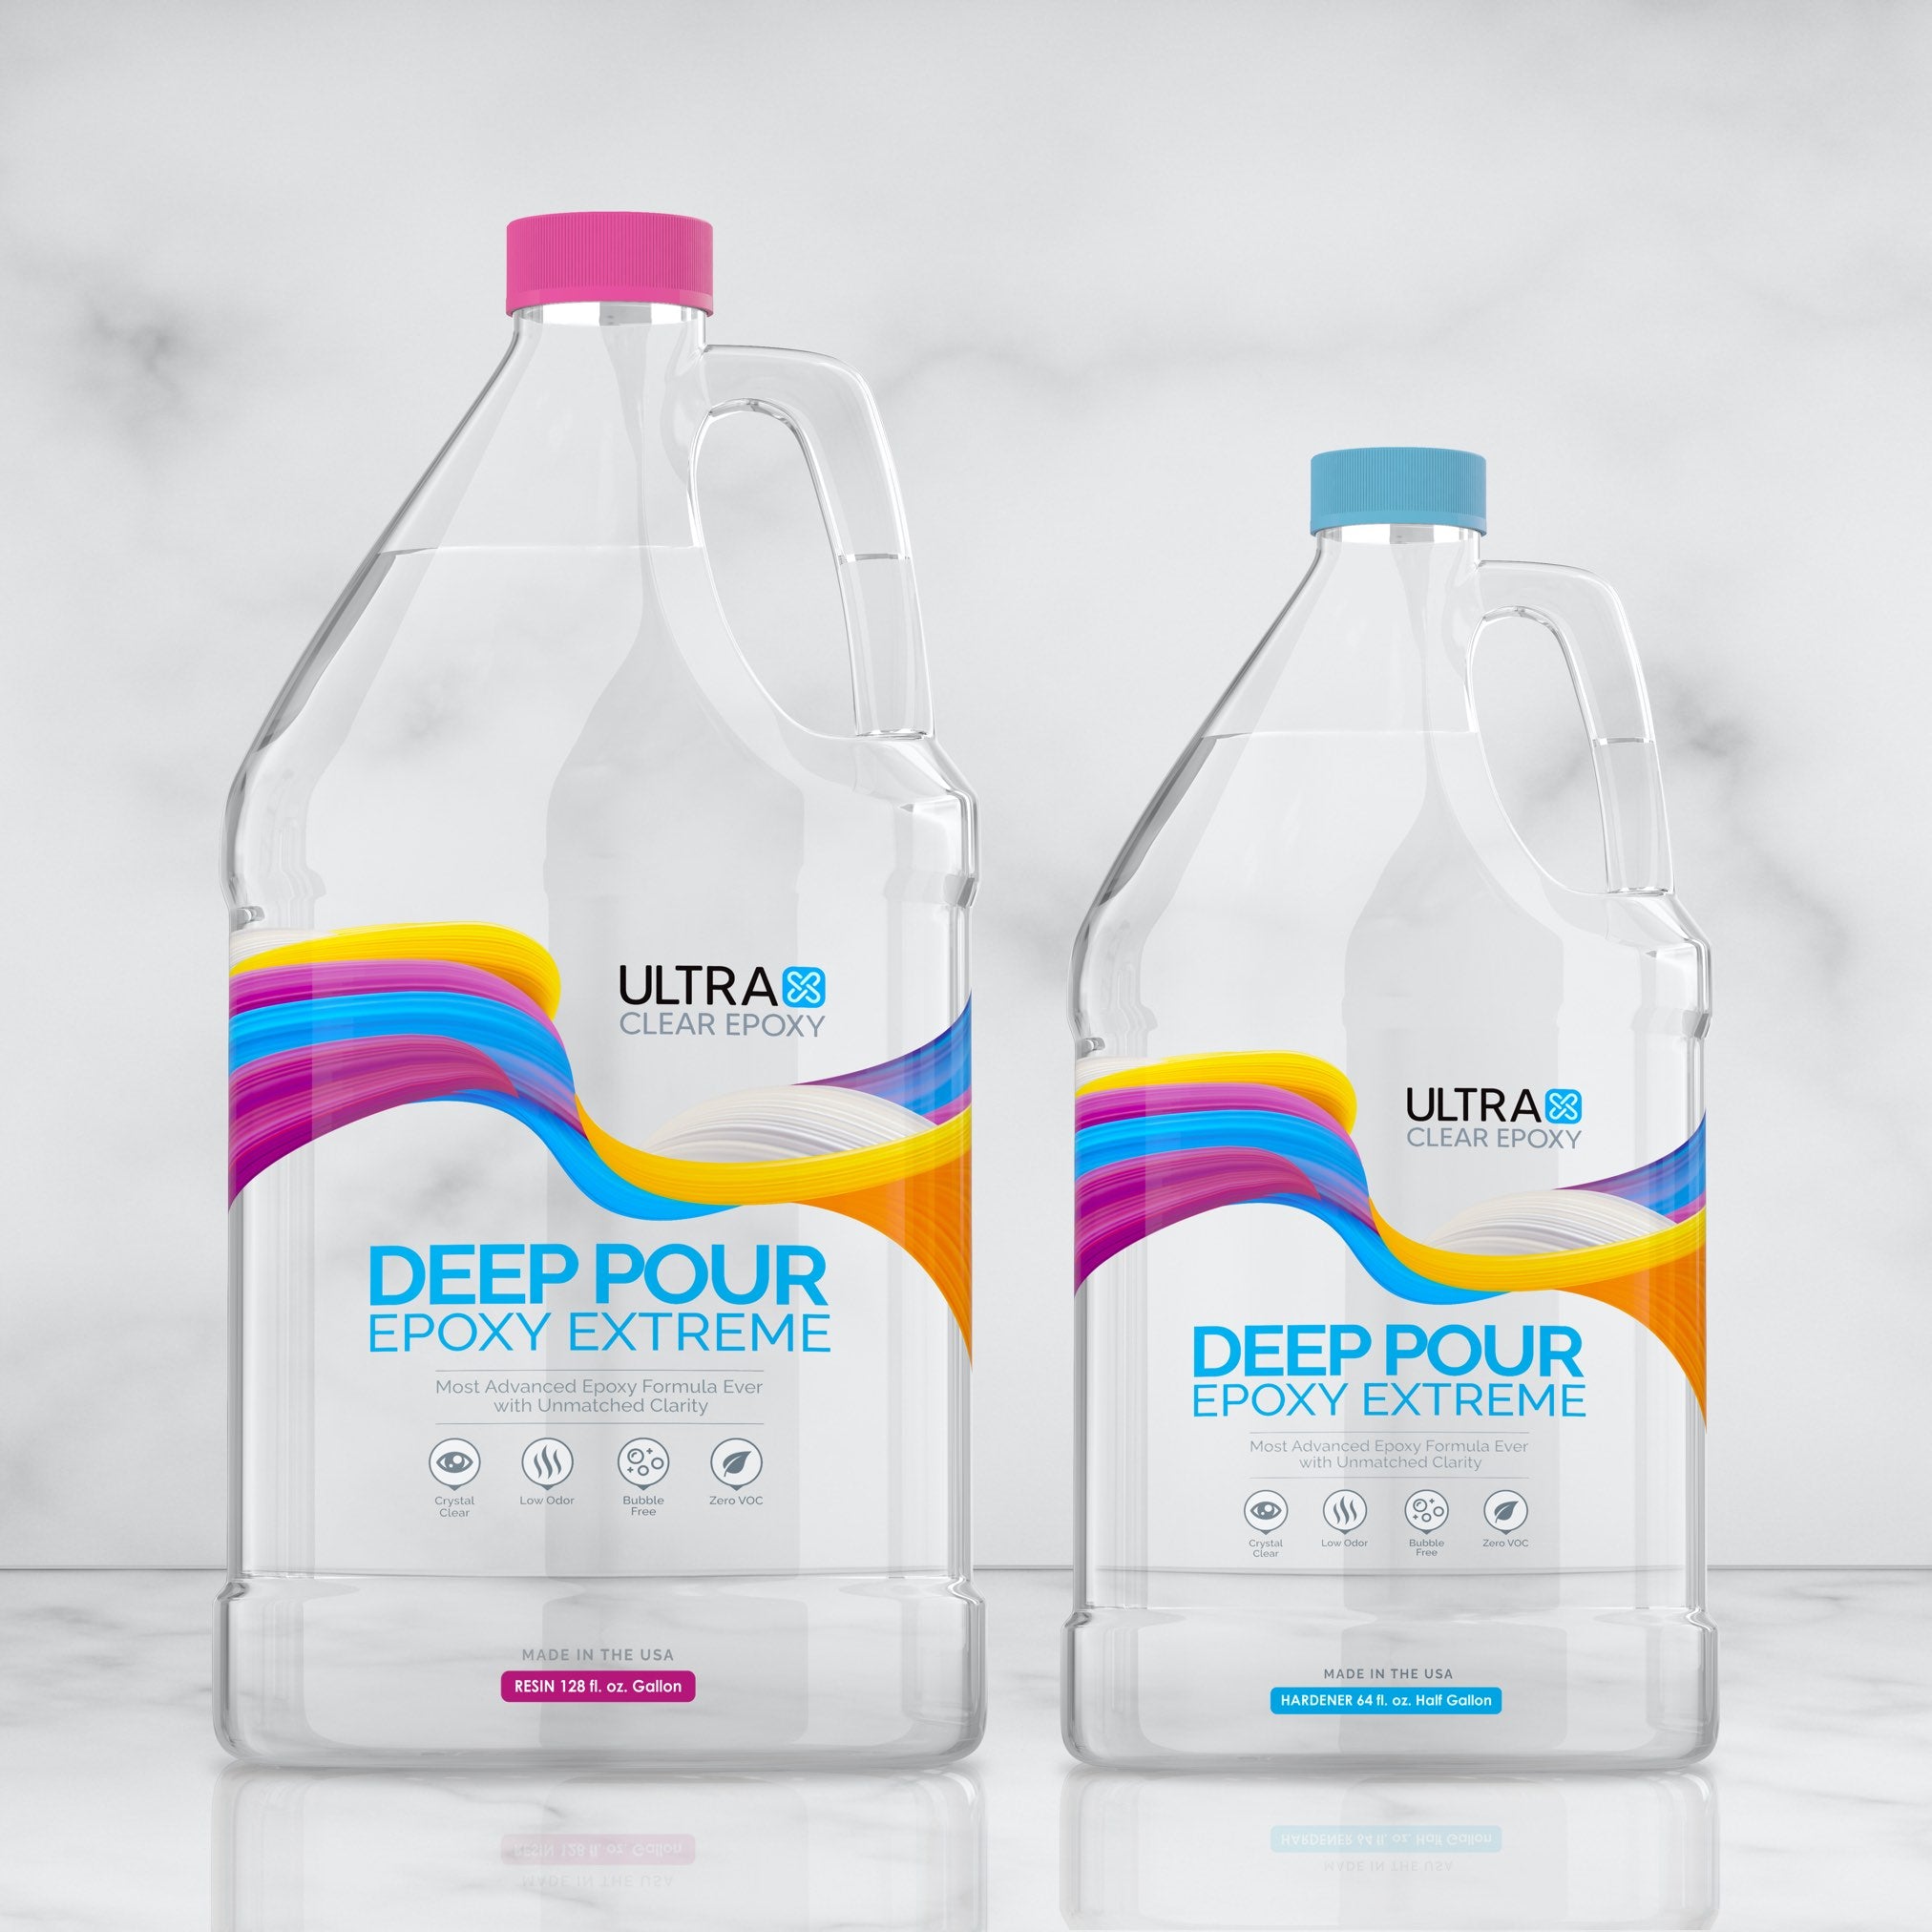
UltraClear Deep Pour Epoxy: Designed for thick, layered pours or projects that require embedding objects. Ideal when depth or creative accents are part of the design.
-
UltraClear Art & Craft Epoxy: Perfect for artistic countertops with intricate pigment blends or unique designs. Offers excellent flow and color compatibility for maximum visual impact.
Longevity & Maintenance for Epoxy Countertops
Epoxy countertops are built to last, but like any surface in a high-use area, they benefit from regular care. Fortunately, maintaining their shine and strength doesn’t require specialized products or complicated routines. Simple, consistent upkeep will keep them looking pristine for years.
Routine Maintenance Tips:
-
Clean with mild soap and water: For everyday cleaning, use a soft cloth or sponge and a gentle dish soap. Avoid harsh chemicals or abrasive scrubbers, which can dull the epoxy’s glossy finish over time.
-
Wipe up spills promptly: While epoxy is highly resistant to staining, it’s still best to clean up spills quickly—especially from acidic substances like vinegar, citrus juice, or wine. Prolonged exposure may not cause damage but could affect the shine.
-
Use cutting boards and trivets: Avoid cutting directly on the surface, as knives can scratch the epoxy. Similarly, place hot pans on trivets instead of the countertop to prevent thermal stress, which could weaken the surface over time.
-
Avoid prolonged UV exposure: Although epoxy is durable, extended direct sunlight can cause yellowing. If your countertop is near a window, consider using UV-blocking curtains or films to protect the surface.
With proper maintenance, epoxy countertops can last 10 to 20 years or more. However, over time, even the most durable surfaces can show signs of wear. Fortunately, epoxy can be restored with simple touch-ups or resurfacing.
Long-Term Care Considerations:
-
Polishing to restore shine: If your countertop starts to lose its luster after several years, a polishing compound can bring back the glossy finish. Be sure to choose a polish compatible with epoxy surfaces and follow manufacturer instructions closely.
-
Minor scratch repair: Light surface scratches can often be buffed out with a fine polishing pad or sanded lightly with 320-grit sandpaper, then resealed with a fresh topcoat. This refreshes the surface without needing a full redo. See our repair guide for details on this and other fixes.
-
Full resurfacing if needed: In cases of deep damage or heavy wear, sanding down the surface and applying a new epoxy coat can make the countertop look brand new. This process is significantly more affordable than replacing the entire counter and offers an opportunity to update the design as well.
-
Check for edge wear or peeling: Over the years, edges or corners might show signs of wear. Touch-ups with a small amount of epoxy or edge resealing can restore these areas and prevent further degradation.
Epoxy Countertop FAQs
Can I install epoxy over existing countertops?
Yes—if the surface is structurally sound, clean, and sanded for adhesive grip.
How thick should the epoxy layer be?
Aim for 1–2 mm; thicker layers risk excessive heat and shrinkage.
What’s the cure schedule?
Once mixed, epoxy will harden from a liquid to a solid. The time it takes varies by epoxy brand and type.
For UltraClear Bar & Table Top Epoxy:
- At 24 hours: The epoxy surface will have set, making it safe to touch but not use.
- At 72 hours: It becomes safe for ordinary use.
- At 2 weeks: The epoxy will have fully hardened.
Is epoxy food safe?
When fully cured, UltraClear Bar & Table Top Epoxy is inert, making it food safe. As with any material, always clean your countertop surfaces before using them for food prep.
Avoid using uncured or hobby-grade epoxies.
Can I color the top like stone or marble?
Yes—add pigments or powders during the flood step for natural stone effects.
See our guide to marble-style finishes here.
What if small bubbles appear?
Use a heat gun or propane torch to break surface bubbles immediately after pouring. Do a full pass from several inches above the surface and never linger for more than a second over any individual spot.
Double-check afterward to see if the bubbles have been cleared away, and repeat if they have not.
Can I repair chips later?
Lightly sand the damaged area and pour a small patch of epoxy. Sand and polish to blend.
See our repairs guide for detailed instruction.
Do I really need ventilation during my project?
Yes—work in a ventilated space or open windows with airflow.
What about UV yellowing?
UltraClear resists discoloration over time; indoor installations typically stay crystal clear. For outdoor projects, there are several ways to mitigate and prevent yellowing, such as applying a high-gloss, UV urethane topcoat.
Can epoxy go over sinks or cooktops?
Not directly—sinks and appliances require separate sealing; countertop epoxy should stop directly adjacent to them.
Have Questions? Want Advice? We're Here to Help!
If you have any questions about epoxy countertops, or if you'd like assistance in planning an epoxy project, please reach out to us at UltraClear Epoxy—our epoxy experts are ready to assist!
You can contact us via phone or email here. During business hours, you can also text chat online with one of our resin specialists by clicking the Help button at the bottom of your screen.
In our online store, you'll find a variety of useful tools and supplies, ideal for resin projects, plus our award-winning UltraClear Bar & Table Top Epoxy and our UltraClear Deep Pour Epoxy.
UltraClear Epoxy—Trusted by over 1 Million+ Happy Customers


